环境:
Ubuntu 20.04
ROS2 foxy
OpenCV 4.4.0(4版本以上的应该都可以)
安装orb_slam3 搭建环境参考:
https://mp.csdn.net/mp_blog/creation/editor/129137521
git clone https://github.com/zang09/ORB-SLAM3-STEREO-FIXED.git ORB_SLAM3
cd ORB_SLAM3
chmod +x build.sh
./build.sh
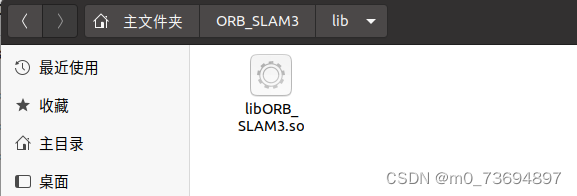
这将在lib文件夹中创建libORB_SLAM3.so,只需要安装到这一步,生成 libORB_SLAM3.so 动态库即可。后面的ros程序安装是ros1的,ros1早晚会被ros2替代的,所以后面的ros程序我们就不在安装了。

安装ros2 foxy版orb_slam3程序:
安装相关的ROS2软件包:
sudo apt install ros-$ROS_DISTRO-message-filters
安装orb_slam3_ros2
mkdir -p colcon_ws/src
cd ~/colcon_ws/src
git clone https://github.com/zang09/ORB_SLAM3_ROS2.git orbslam3_ros2

按自己的目录结构修改CMakeLists.txt 第五行
set(ENV{PYTHONPATH} "/opt/ros/foxy/lib/python3.8/site-packages/")

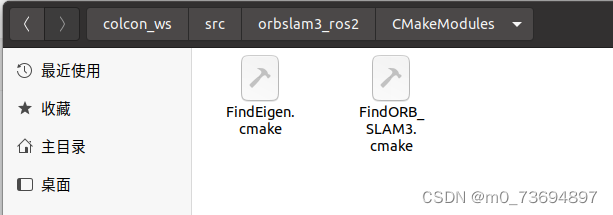
修改 FindORB_SLAM3.cmake 第八行为自己的ORB_SLAM3路径,比如我的:
set(ORB_SLAM3_ROOT_DIR "~/ORB_SLAM3")

编译:
cd ~/colcon_ws
colcon build --symlink-install --packages-select orbslam3
编译报错找不到sophus/se3.hpp:
cd ~/ORB_SLAM3/Thirdparty/Sophus/build
sudo make install
重新编译直至成功。
安装笔记本摄像头驱动:
sudo apt install ros-foxy-usb-cam //foxy安装摄像头驱动
ros2 run usb_cam usb_cam_node_exe //启动摄像头节点
查看摄像头话题:ros2 topic list
/camera_info
/image_raw
/image_raw/compressed
/image_raw/compressedDepth
/image_raw/theora
/parameter_events
/rosout
摄像头发布话题为 : /image_raw
和程序里面的接收话题不一样,需要修改程序内的接收话题名与摄像头发布话题名一致

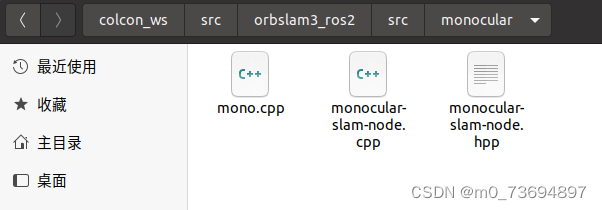
修改 monocular-slam-node.cpp

修改好话题后要重新编译。
运行程序:
- 打开终端开启摄像头节点
ros2 run usb_cam usb_cam_node_exe
- 重新打开一个终端开启单目orbslam3程序
source ~/colcon_ws/install/local_setup.bash
ros2 run orbslam3 mono ~/ORB_SLAM3/Vocabulary/ORBvoc.txt ~/ORB_SLAM3/Examples/Monocular/RealSense_D435i.yaml
上面命令是ros主程序+ ORBvoc.txt + RealSense_D435i.yaml (摄像头配置文件任意选一个就行)路径需要按自己电脑实际路径修改。
可能我的笔记本配置低,需要等待十几秒才能看到图像

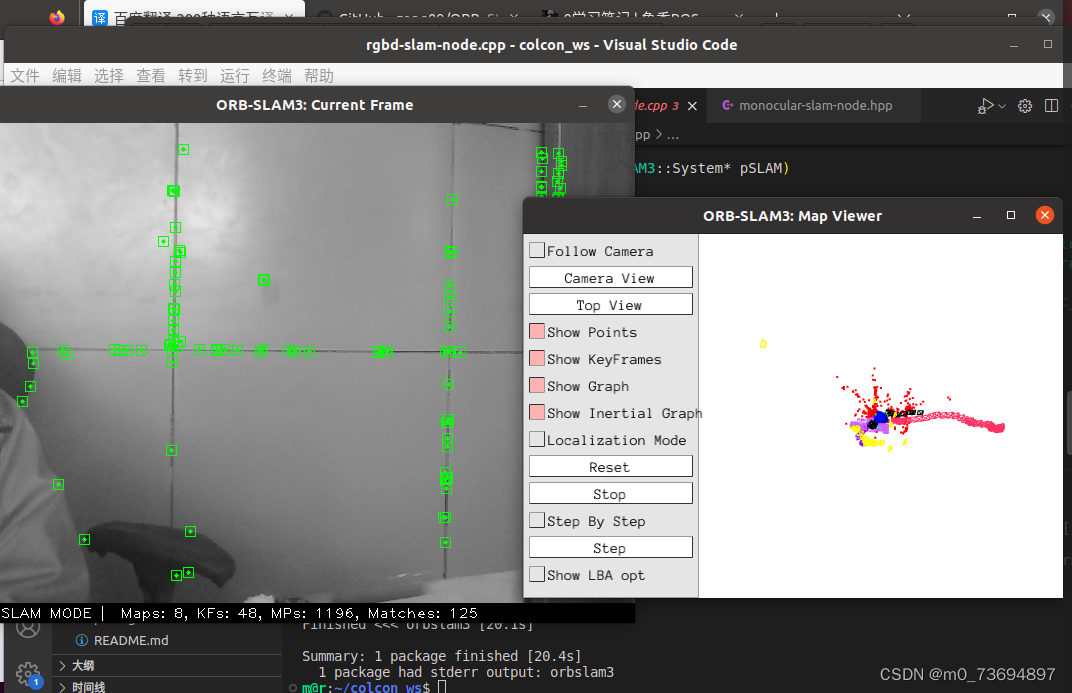
看到图像说明程序正常运行了,如果只是一个黑框出不来图像,移动一下笔记本,跑单目静止画面有时出不来图像。
我们这里的目的是跑通程序,真正要让程序运行好还需要给摄像头做标定。
参考网址:
GitHub - zang09/ORB-SLAM3-STEREO-FIXED: Fixed version of ORB-SLAM3 stereo mode
GitHub - zang09/ORB_SLAM3_ROS2: ROS2 wrapping package for orbslam3 library
版权归原作者 JT_BOT 所有, 如有侵权,请联系我们删除。