Ubuntu20.04部署通义千问Qwen-7B,实测成功
运行环境
Ubuntu 20.04
GPU:RTX 2080Ti
显卡驱动:535.154.05
cuda:12.1
cudnn:8.9.3.28
python:3.9(anaconda3)
pytorch版本:2.2-cu121
torchvision版本:0.17-cu121
anaconda3安装python3.9
# 创建python3.9的虚拟环境
conda create -n Chat python=3.9# 进入创建的虚拟环境source activate Chat
# 安装pytorch,小编采用轮子的方式安装,之前下载过,安装起来比较快
pip install torch-2.2.0+cu121-cp39-cp39-linux_x86_64.whl -i http://pypi.douban.com/simple --trusted-host pypi.douban.com
# 安装torchvision
pip installtorchvision==0.17.0+cu121 -f https://download.pytorch.org/whl/torch_stable.html -i http://pypi.douban.com/simple --trusted-host pypi.douban.com
需要轮子安装的小伙伴,也可以去以下地址进行下载或使用-f拼接下载地址,如小编下载torchvision一样
https://download.pytorch.org/whl/torch_stable.html
拉取代码
git clone https://github.com/QwenLM/Qwen.git
其他依赖环境
cd Qwen
pip install-r requirements.txt -i https://pypi.tuna.tsinghua.edu.cn/simple
pip install-r requirements_web_demo.txt -i https://pypi.tuna.tsinghua.edu.cn/simple
截至到此处,运行环境就安装的差不多了,接下来测试模型,运行demo需要先下载模型,可以切换魔塔进行下载模型,这样下载速度比较快。
pip install modelscope transformers -i https://pypi.tuna.tsinghua.edu.cn/simple
安装完魔塔之后,创建一个chat-7b.py的文件,文件内容如下
# 创建chat-7b.py文件touch chat-7b.py
from modelscope import AutoModelForCausalLM, AutoTokenizer
from modelscope import GenerationConfig

# 可选的模型包括: "qwen/Qwen-7B-Chat", "qwen/Qwen-14B-Chat"
tokenizer = AutoTokenizer.from_pretrained("qwen/Qwen-7B-Chat", trust_remote_code=True)
model = AutoModelForCausalLM.from_pretrained("qwen/Qwen-7B-Chat", device_map="auto", trust_remote_code=True, fp16=True).eval()
model.generation_config = GenerationConfig.from_pretrained("Qwen/Qwen-7B-Chat", trust_remote_code=True)# 可指定不同的生成长度、top_p等相关超参

response, history = model.chat(tokenizer,"你好", history=None)print(response)
response, history = model.chat(tokenizer,"浙江的省会在哪里?", history=history)print(response)
response, history = model.chat(tokenizer,"它有什么好玩的景点", history=history)print(response)
# 运行上面代码
python chat-7b.py
运行的时候出了个错误
OSError: Error no file named pytorch_model.bin, tf_model.h5, model.ckpt.index or flax_model.msgpack found in directory /home/taoxifa/.cache/modelscope/hub/qwen/Qwen-7B-Chat.
#报以上错误时,是因为模型没有下载完成,新创建一个文件,执行以下代码进行模型下载,我下载的是Int4量化版本from modelscope import snapshot_download
model_dir = snapshot_download('qwen/Qwen-7B-Chat-Int4')
再次执行chat-7b.py,成功运行
部署为web端
修改web_demo.py,将transformers修改为modelscope,如下所示
import gradio as gr
import mdtex2html

import torch
#from transformers import AutoModelForCausalLM, AutoTokenizer#from transformers.generation import GenerationConfigfrom modelscope import AutoModelForCausalLM, AutoTokenizer, GenerationConfig

DEFAULT_CKPT_PATH ='qwen/Qwen-7B-Chat-Int4'
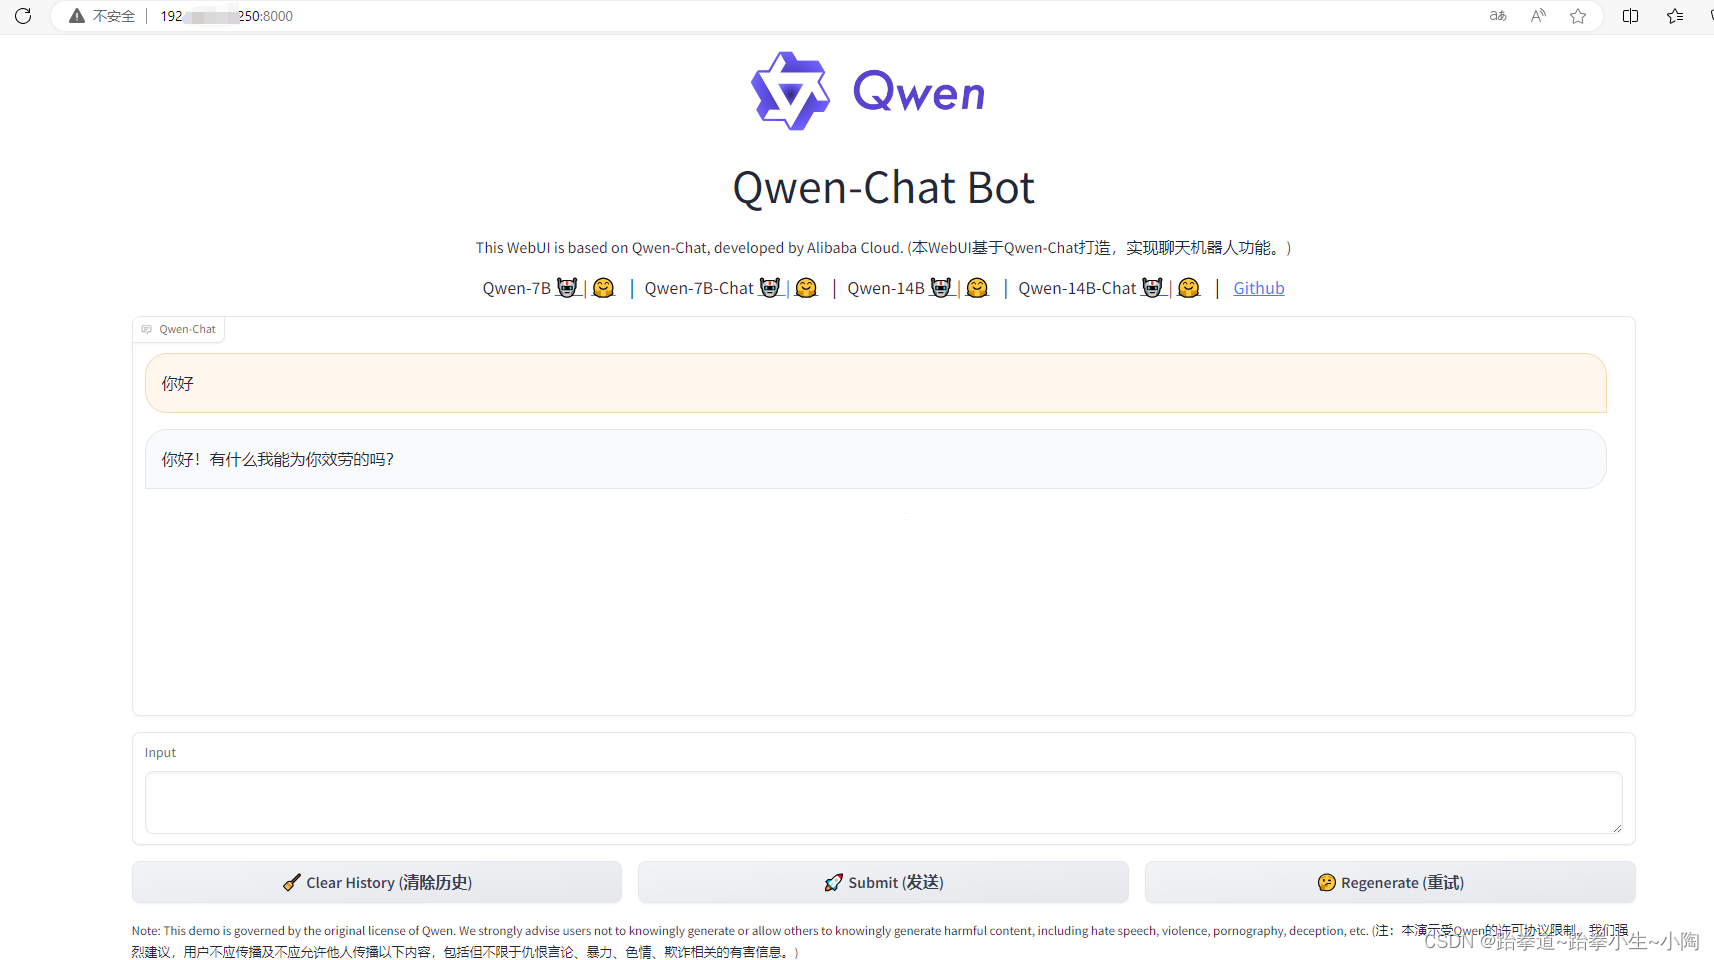
运行web_demo.py,访问本机ip:8000,出现以下页面即部署成功
部署完成之后,大家可以做一些个性化的尝试,接下来小编会尝试对模型进行微调,增加自己的知识库做训练,感兴趣的小伙伴可以阅读后续更新的文章。
版权归原作者 跆拳道~跆拳小生~小陶 所有, 如有侵权,请联系我们删除。