
文章目录
部署环境
系统版本:Windows 10 企业版
版本号:20H2
系统类型:64 位操作系统, 基于 x64 的处理器
处理器:Intel® Core™ i7-8700 CPU @ 3.20GHz 3.19 GHz
机带 RAM:16.0 GB
显卡:NVIDIA RTX 2070(8G)
Python版本:3.10.11
文件下载
文件分为两个部分:
- github上开源的训练、推理、以及运行demo、api的一些代码文件
- huggingface上的语言模型相关文件,主要包含官方训练好的大语言模型文件,以及模型文件对应的一些配置文件,其中模型文件会很大,可以使用GIT LFS下载,或者直接上清华的网盘上下载,本文使用的是从网盘下载,配置文件直接clone即可,clone前设置GIT_LFS_SKIP_SMUDGE=1,可跳过大文件的下载,只下载模型文件之外的配置文件。
项目文件
git clone https://github.com/THUDM/ChatGLM-6B.git
安装依赖:
cd ChatGLM-6B

pip install -r requirements.txt
模型配置文件
GIT_LFS_SKIP_SMUDGE=1 git clone https://huggingface.co/THUDM/chatglm-6b
模型文件
chatglm-6b:(只有chatglm-6b)
https://cloud.tsinghua.edu.cn/d/fb9f16d6dc8f482596c2/
其他:(包含chatglm-6b-int4、chatglm-6b-int8…)
https://cloud.tsinghua.edu.cn/d/fb9f16d6dc8f482596c2/
按需下载,下载后替换至上一步中下载的chatglm-6b目录下。
注:下载之后,需要对比每个文件大小,如果有文件不完整,将运行失败
模型文件必须要和配置文件配套下载,否则运行不成功
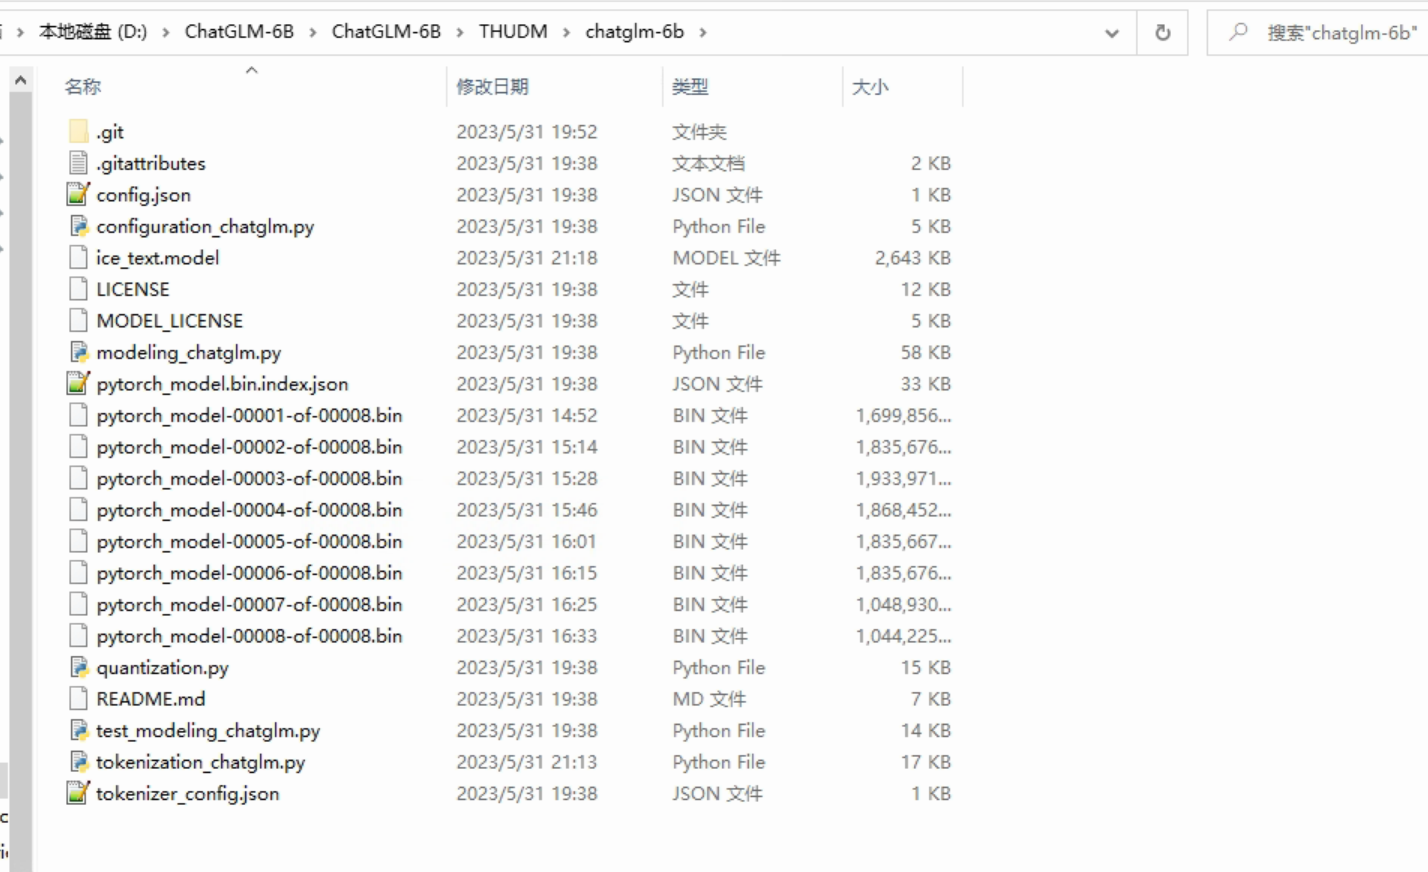
文件保存位置:
D:\ChatGLM-6B\ChatGLM-6B\THUDM\chatglm-6b
下载完成之后,修改第5、6行:将参数文件路径换为本地的

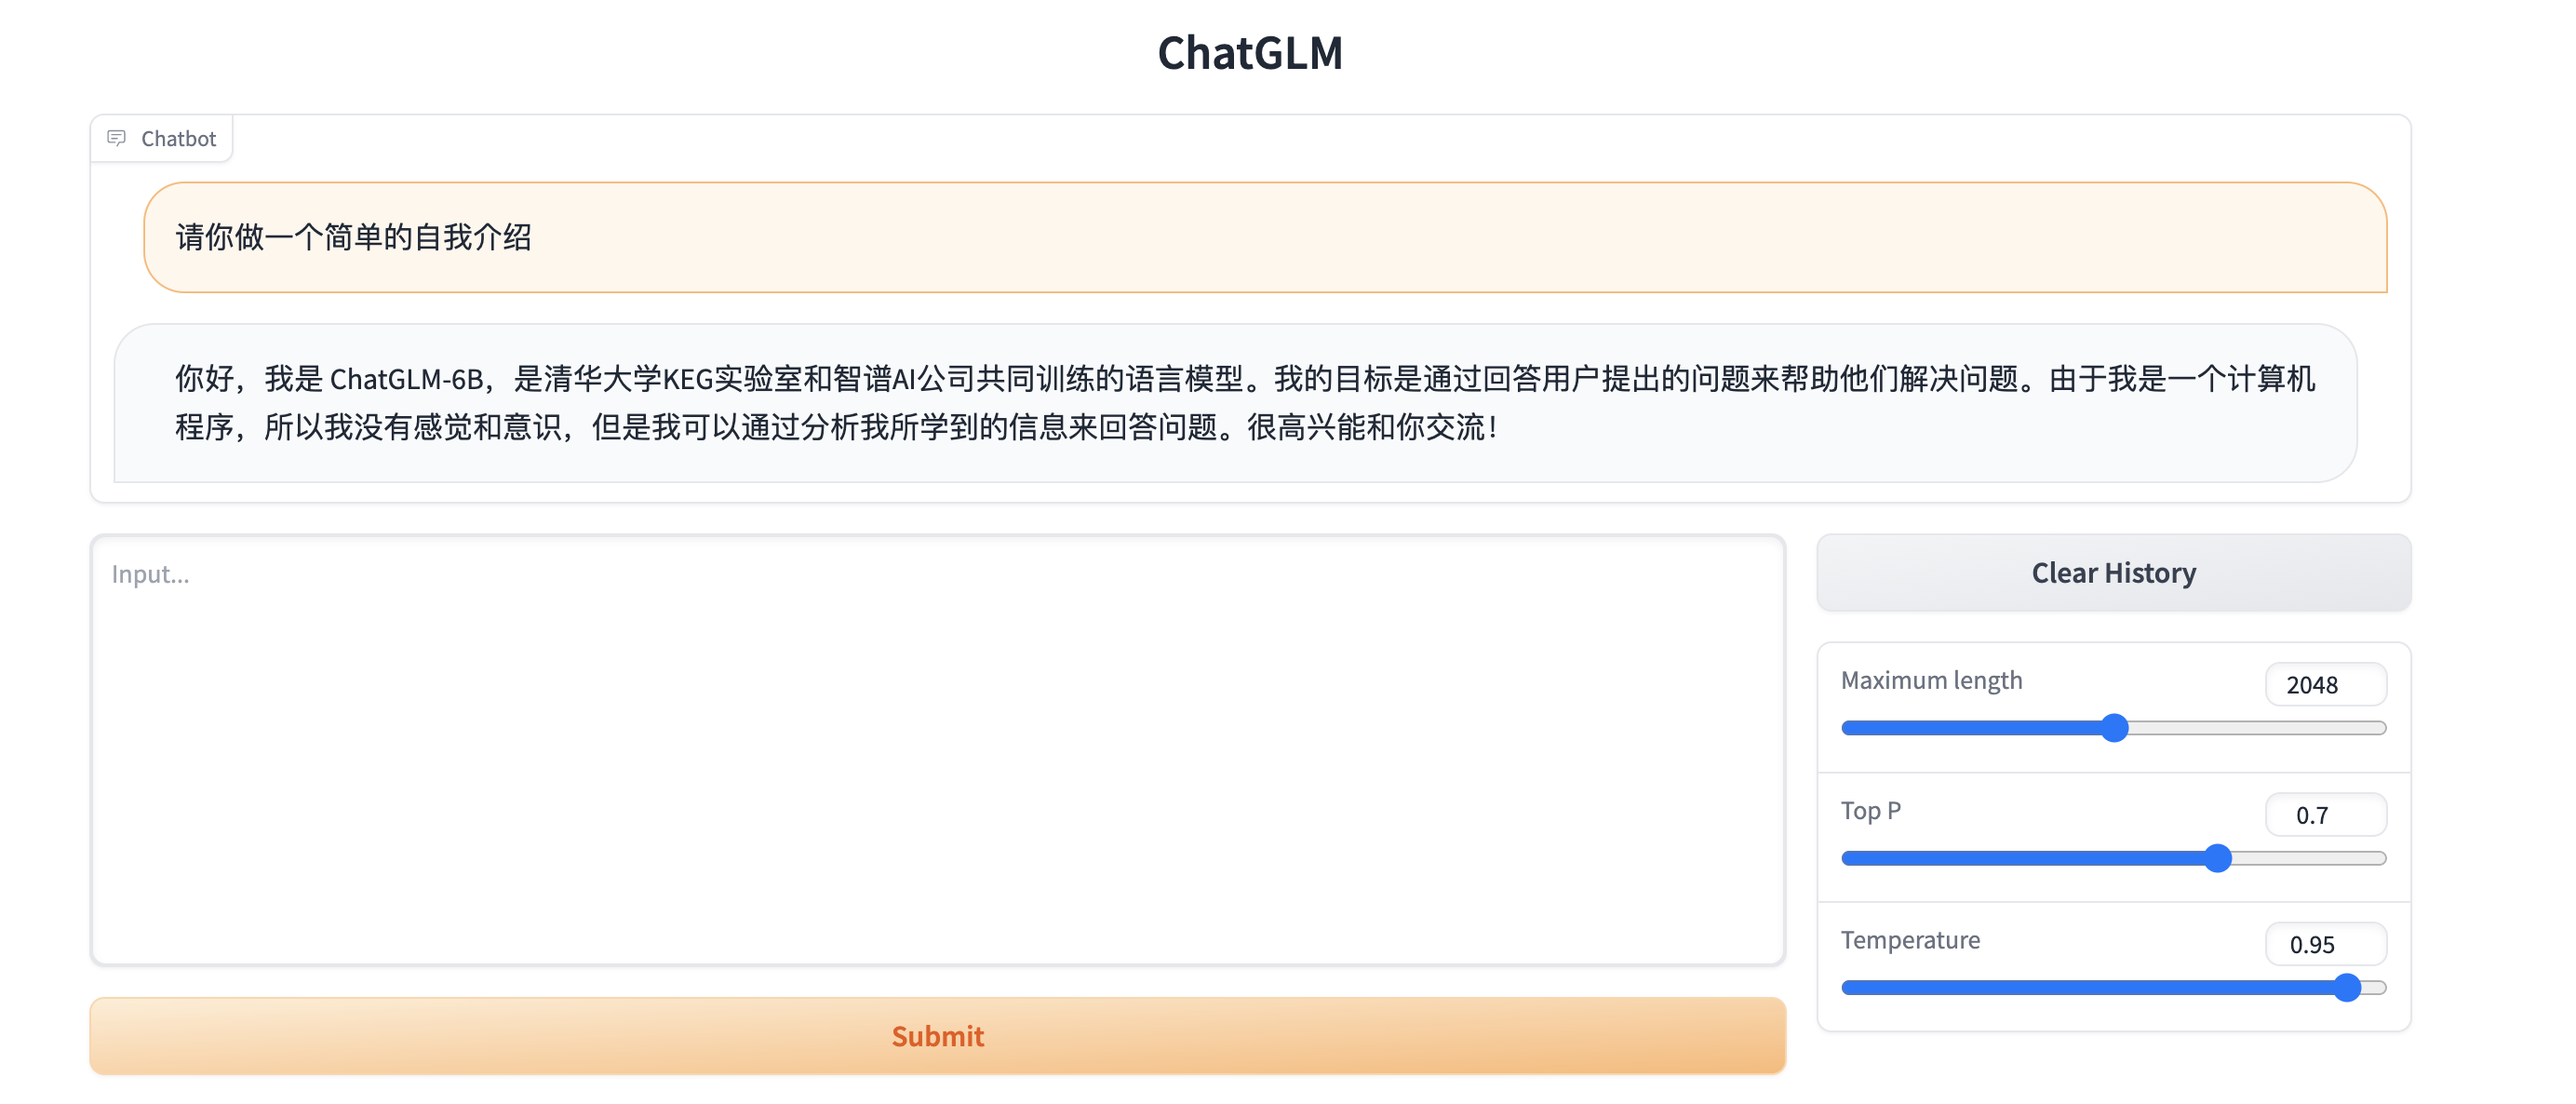
运行demo

python web_demo.py
遇到的问题
- RuntimeError: Internal: D:\a\sentencepiece\sentencepiece\src\sentencepiece_processor.cc(1102) [model_proto->ParseFromArray(serialized.data(), serialized.size())]
Traceback (most recent call last):

  File "D:\ChatGLM-6B\ChatGLM-6B\web_demo.py", line 5, in <module>

    tokenizer = AutoTokenizer.from_pretrained("D:\\ChatGLM-6B\\ChatGLM-6B\\THUDM\\chatglm-6b", trust_remote_code=True, revision="")

  File "D:\python3.10\lib\site-packages\transformers\models\auto\tokenization_auto.py", line 679, in from_pretrained

    return tokenizer_class.from_pretrained(pretrained_model_name_or_path, *inputs, **kwargs)

  File "D:\python3.10\lib\site-packages\transformers\tokenization_utils_base.py", line 1804, in from_pretrained

    return cls._from_pretrained(

  File "D:\python3.10\lib\site-packages\transformers\tokenization_utils_base.py", line 1958, in _from_pretrained

    tokenizer = cls(*init_inputs, **init_kwargs)

  File "C:\Users\liliang22/.cache\huggingface\modules\transformers_modules\chatglm-6b\tokenization_chatglm.py", line 221, in __init__

    self.sp_tokenizer = SPTokenizer(vocab_file, num_image_tokens=num_image_tokens)

  File "C:\Users\liliang22/.cache\huggingface\modules\transformers_modules\chatglm-6b\tokenization_chatglm.py", line 64, in __init__

    self.text_tokenizer = TextTokenizer(vocab_file)

  File "C:\Users\liliang22/.cache\huggingface\modules\transformers_modules\chatglm-6b\tokenization_chatglm.py", line 22, in __init__

    self.sp.Load(model_path)

  File "D:\python3.10\lib\site-packages\sentencepiece\__init__.py", line 905, in Load

    return self.LoadFromFile(model_file)

  File "D:\python3.10\lib\site-packages\sentencepiece\__init__.py", line 310, in LoadFromFile

    return _sentencepiece.SentencePieceProcessor_LoadFromFile(self, arg)

RuntimeError: Internal: D:\a\sentencepiece\sentencepiece\src\sentencepiece_processor.cc(1102) [model_proto->ParseFromArray(serialized.data(), serialized.size())]
解决:对比下载的所有配置文件,是否有不完整的文件,执行命令:GIT_LFS_SKIP_SMUDGE=1 git clone https://huggingface.co/THUDM/chatglm-6b 时,有个2mb左右的文件,没有成功下载:ice_text.model
- AssertionError: Torch not compiled with CUDA enabled原因是你试图用GPU跑,但是你安装的 Torch 不支持CUDA,是仅支持CPU的版本,执行命令:
python -c "import torch; print(torch.cuda.is_available())"如果返回False,说明安装的PyTorch不支持CUDA。1. 更新显卡驱动为最新的(官方驱动 | NVIDIA)2. 下载安装cuda_toolkit(https://developer.nvidia.com/cuda-toolkit)<这一步尚未验证是否必须>3. 重启电脑4. 执行命令安装torch:pip install torch==2.0.1+cu118 -f https://download.pytorch.org/whl/torch_stable.html(第一次没有操作2、3步,没有成功,第二次安装了toolkit后重启好了,但不能确定这两步是否有效,可以先忽略这两步,不行再尝试)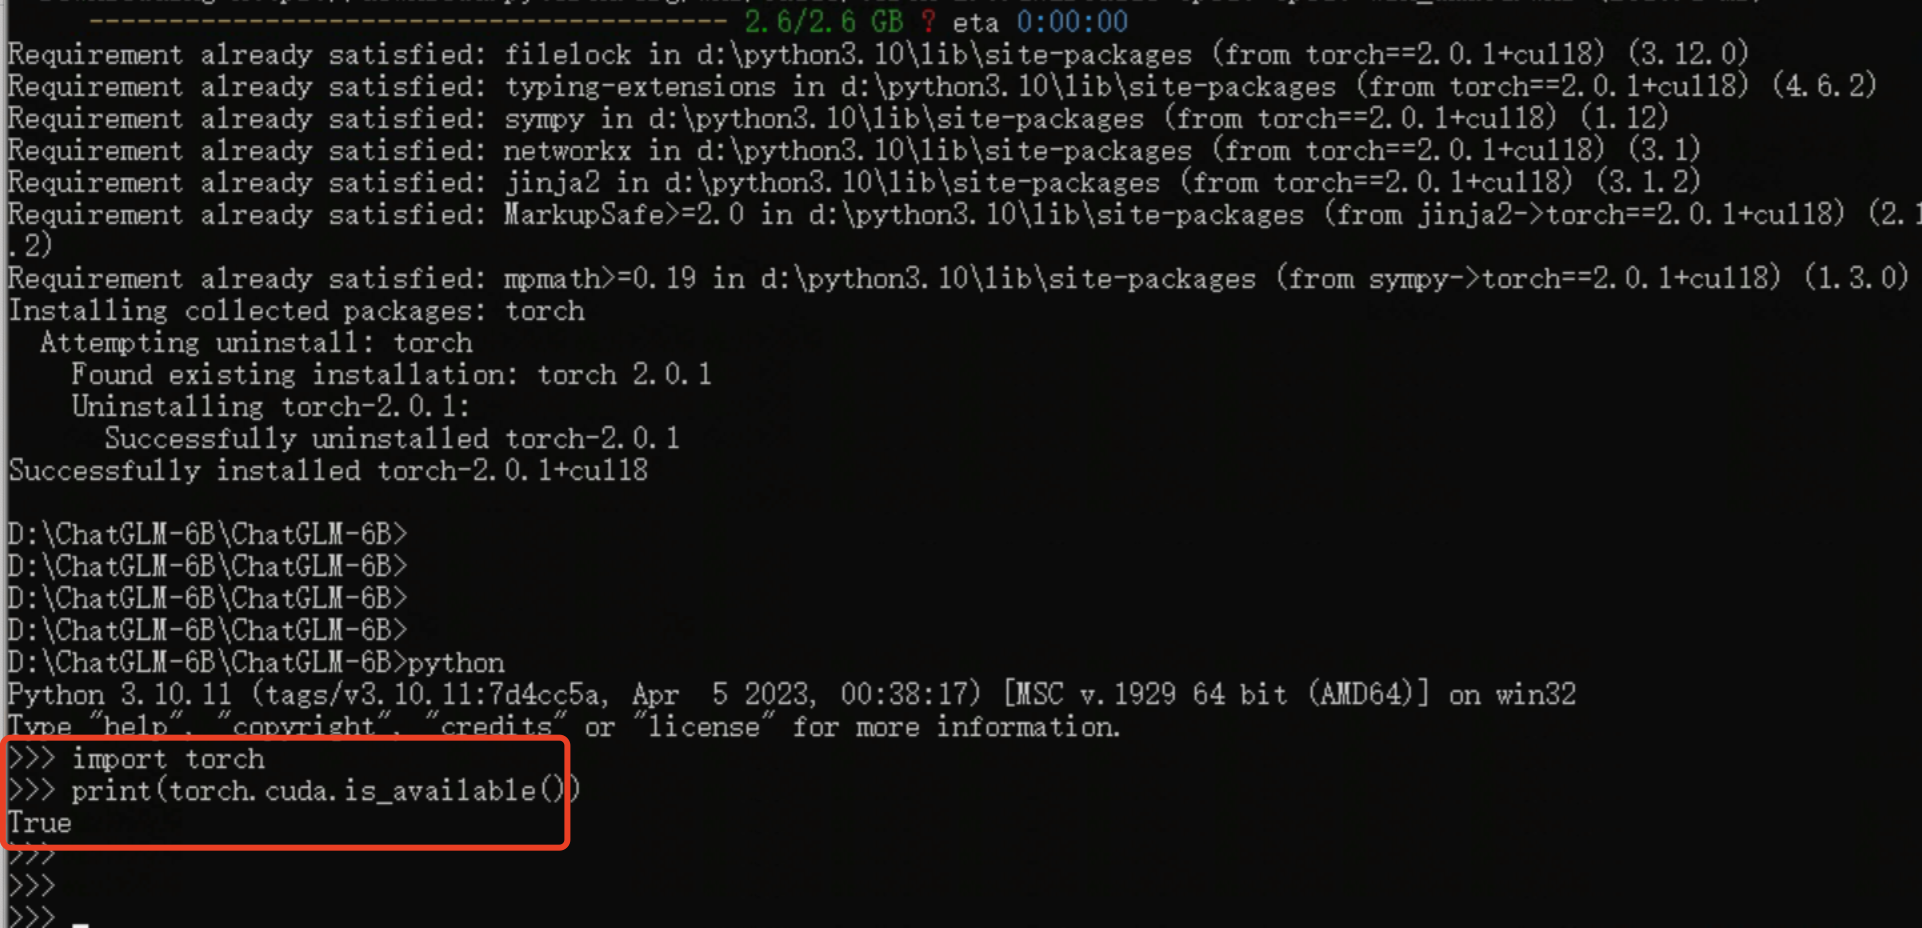
需要下载一个2.6G的文件,安装完成后,print(torch.cuda.is_available())为True,大功告成。
可以在Previous PyTorch Versions | PyTorch 查看自己的显卡CUDA版本对应的torch版本,如果没找到,可以尝试一个最接近的比实际小的版本。
查看CUDA版本:

或者直接执行命令:nvidia-smi 查看

- 这个配置运行非量化的chatglm-6b,响应很慢很慢,重新下载chatglm-6b-Int4的模型文件和配置文件部署后,速度正常了。
版权归原作者 喝不完一杯咖啡 所有, 如有侵权,请联系我们删除。