资源下载地址:https://download.csdn.net/download/sheziqiong/85836848
资源下载地址:https://download.csdn.net/download/sheziqiong/85836848
相机标定正畸并生成鸟瞰图
实验目的和要求
参考 Learning OpenCV 示例 18-1,利用棋盘格图像进行相机定标,将参数写入 XML 文件保存。棋盘格图像见群文件 LearningOpenCV/LearningOpenCV_Code/LearningOpenCV_Code/calibration
参考示例 19-1,根据求得的内参实现鸟瞰图(俯视)转换,测试图片见群文件 Learning OpenCV/LearningOpenCV_Code/LearningOpenCV_Code/birdseye
实验内容和原理
相机参数标定
参考 OpenCV 官方给出的文档(),可以看到它给出的理论知识。对于畸变,OpenCV 考虑了径向和切向因素。径向畸变的存在表现为“桶”或“鱼眼”效应,对于径向畸变使用以下公式正畸:

由于成像透镜与成像平面不会完全平行,所以会产生切向畸变。可通过以下公式表示:

因此,我们有五个失真参数,在 OpenCV 中表示为一行五列矩阵:

摄像机矩阵中包括了光学中心坐标

和焦距

,可以用它来将世界坐标转换为像素坐标:
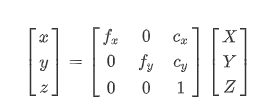
坐标是以齐次的方式写的,其中 Z=z=1。
鸟瞰视角
本次实验中要求的鸟瞰视角是利用标定时得到的棋盘格坐标与理想中棋盘格应有的坐标一一对应来完成视角转换得到的。
利用得到的图像中的棋盘格的四个角的坐标和理想中的(0, 0), (0, 8), (5, 0), (5, 8),可以得到一个映射矩阵,再利用这个矩阵处理照片,即可得到照片中每个像素点映射到以棋盘格为标准坐标系的空间中对应的位置。
实验步骤与分析
读入图片并标注棋盘格。
利用了 glob 来读入当前路径下的图片,使用 cv2 自带的函数进行棋盘格的识别(6*9 个内部角点)。(因此在 esc 时不会直接退出而会继续处理下一张图像)
由于一张图用来求相机参数就基本够了,所以没有对所有照片求参再合并。
img = cv2.imread(fname)
      img = cv2.resize(img, (0, 0), fx = 0.5, fy = 0.5)
            gray = cv2.cvtColor(img,cv2.COLOR_BGR2GRAY)
                   cv2.imshow('img', img)
                   cv2.waitKey(1)
                   plt.subplot(2,2,1), plt.title('original image')
                   plt.imshow(img)
                   print('Done\n')

# Find the chess board corners
                   print('\nFinding Chessboard...')
                   print('-----------------------------------------')
                   ret, corners = cv2.findChessboardCorners(gray, (9,6),None)

# If found, add object points, image points (after refining them)
                                  if ret == True:
                                  objpoints.append(objp)

                                      corners2 = cv2.cornerSubPix(gray,corners,(11,11),(-1,-1),criteria)
                                              imgpoints.append(corners2)

                                              img_ = img.copy()
# Draw and display the corners
# Use img_ here instead of img is for the later use of undistorted image
                                                      img_ = cv2.drawChessboardCorners(img_, (9,6), corners2,ret)
                                                              cv2.imshow('img',img)
                                                              cv2.waitKey(1)
正畸
利用 cv2 给出的 calibrateCamera 函数,可以获得相机的参数矩阵和图像畸变的具体参数
# Using the cv2.calibrateCamera function, it can generate the needed matrices for the camera pose and how the image is distorted
ret, mtx, dist, rvecs, tvecs = cv2.calibrateCamera(objpoints, imgpoints, gray.shape[::-1],None,None)
将参数保存至 matrices.xml 中及 coefs.npz 中(后者方便 python 程序直接使用)
# serialize the matrices
np.savez('coefs.npz', mtx=mtx, dist=dist, rvecs=rvecs, tvecs=tvecs)
cv_file = cv2.FileStorage("./save/matrices.xml", cv2.FILE_STORAGE_WRITE)
          cv_file.write("mtx", mtx)
          cv_file.write("dist", dist)
          cv_file.write("rvecs", rvecs[0])
          cv_file.write("tvecs", tvecs[0])
          cv_file.release()
找到 x 和 y 方向上像素点的畸变函数,再将像素点映射到校正后的位置上
# undistort
h,  w = img.shape[:2]# generate the new matrix of camera pose after undistortion
newcameramtx, roi=cv2.getOptimalNewCameraMatrix(mtx,dist,(w,h),1,(w,h))# here we can get how the pixels are mapped to the new image
mapx,mapy = cv2.initUndistortRectifyMap(mtx,dist,None,newcameramtx,(w,h),5)
dst = cv2.remap(img,mapx,mapy,cv2.INTER_LINEAR)
得到剪切后的图像
x,y,w,h = roi
          cropped = dst[y:y+h, x:x+w]
生成鸟瞰图
使用校正后的图像来重新标定棋盘格的位置,获取鸟瞰图的视角变换矩阵。
# use the undistorted image as the source, find the corners for generate the birdview image
img = dst
gray = cv2.cvtColor(img,cv2.COLOR_BGR2GRAY)
ret, corners = cv2.findChessboardCorners(gray, (9,6),None)
print('ret = ', ret)
if ret == True:
    objpoints.append(objp)

    corners2 = cv2.cornerSubPix(gray,corners,(11,11),(-1,-1),criteria)
    imgpoints.append(corners2)

    img_ = img.copy()
    # Draw and display the corners
    img_ = cv2.circle(img_, (corners[0][0][0], corners[0][0][1]), 63, (0, 0, 255), 5)
    img_ = cv2.circle(img_, (corners[8][0][0], corners[8][0][1]), 63, (0, 255, 0), 5)
    img_ = cv2.circle(img_, (corners[45][0][0], corners[45][0][1]), 63, (255, 255, 0), 5)
    img_ = cv2.circle(img_, (corners[53][0][0], corners[53][0][1]), 63, (255, 0, 255), 5)
    img_ = cv2.drawChessboardCorners(img_, (9,6), corners2,ret)
    cv2.imshow('img',img_)
    cv2.waitKey(1)

corners = np.squeeze(corners)
进行 50x 的缩放,防止生成的图像太小。
Scale = 50
objpts = np.float32([[0, 0], [8, 0], [0, 5], [8, 5]])
objpts = objpts * Scale
print(objpts)
imgpts = np.float32([corners[0],corners[8],corners[45],corners[53]])
print(imgpts)

cv2.destroyAllWindows()

# find how it transformed
H = cv2.getPerspectiveTransform(imgpts, objpts)
显示鸟瞰图,并进行键盘动作的处理。
print("\nPress 'd' for lower birdseye view, and 'u' for higher (it adjusts the apparent 'Z' height), Esc to exit")

Z = H[2, 2]
while True:
    H[2, 2] = Z
    Perspective_img = cv2.warpPerspective(img, H, (img.shape[1], img.shape[0]))
    cv2.imshow("Birdseye View", Perspective_img)
    KEY = cv2.waitKey() & 0xFF

    if KEY == ord('u'):
        Z += 0.05
    if KEY == ord('d'):
        Z -= 0.05
    if KEY == 27:
        cv2.destroyAllWindows()
        exit()
实验结果
自己拍摄的照片
由于给出的图畸变不是很明显,直接使用了自己拍摄的照片来测试正畸效果。
正畸
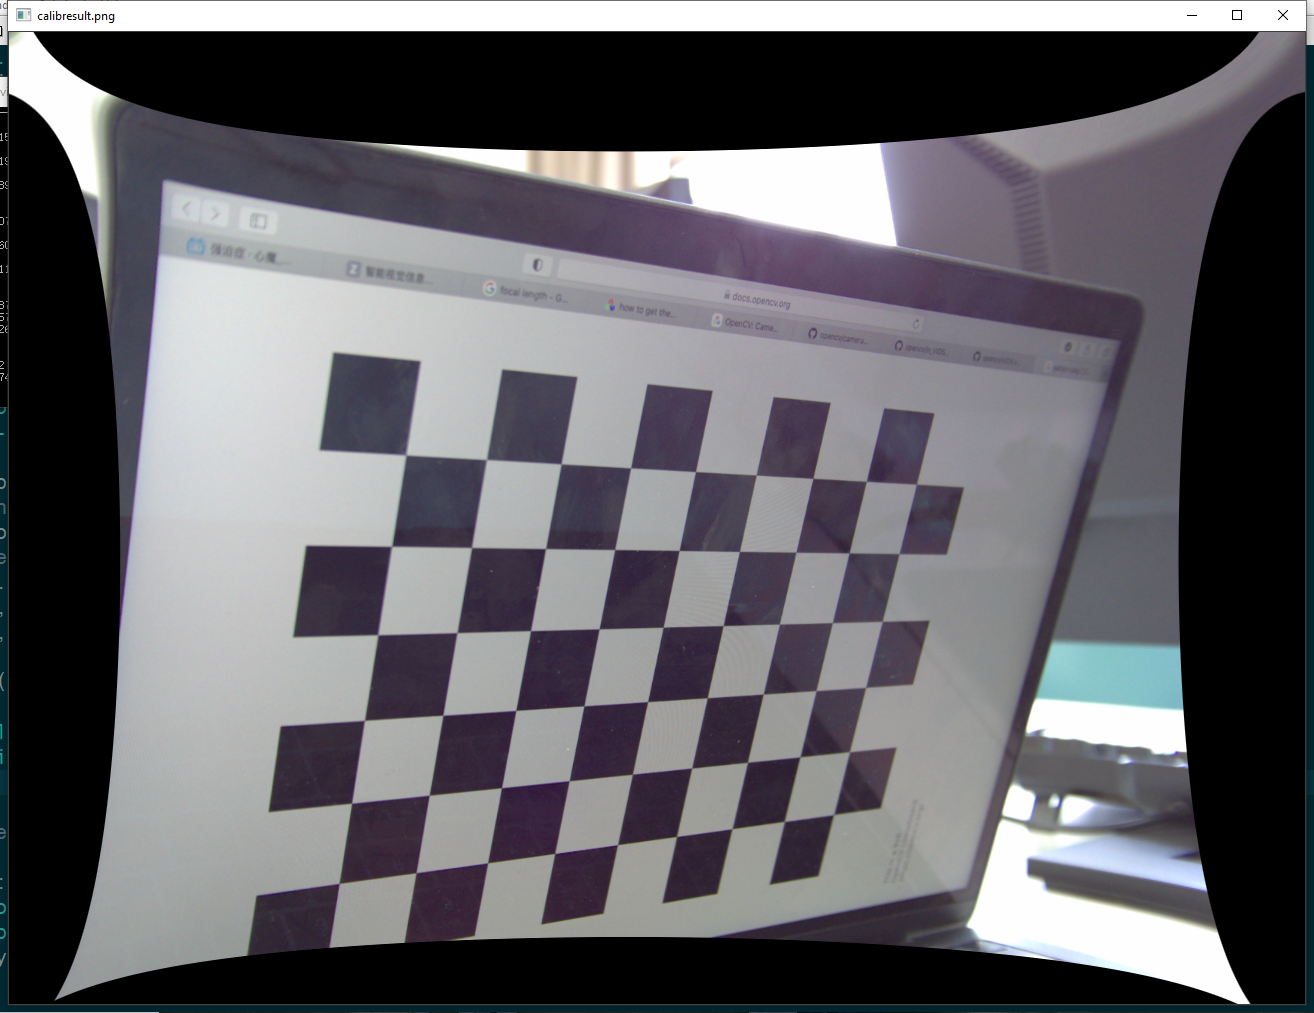
标定棋盘格:

校正后的图像:
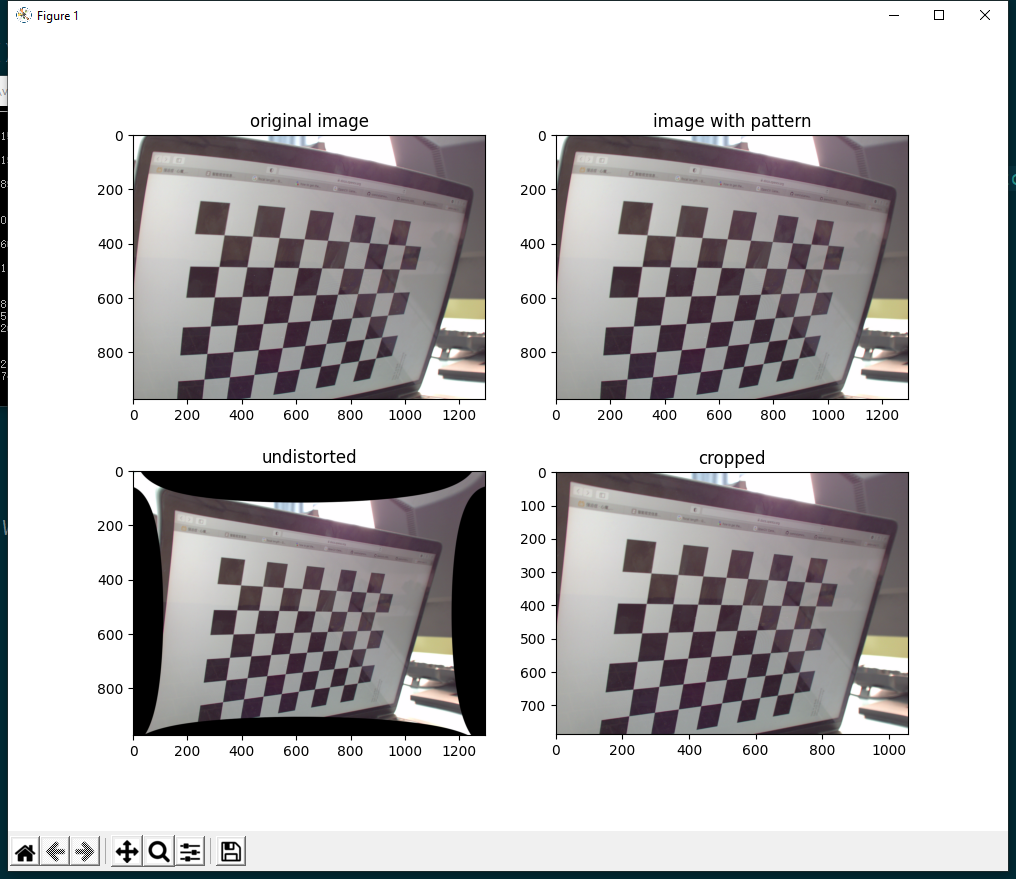
输出了整个过程中的图像:
输出的 XML 文件:
<?xml version="1.0"?>
              <rows>3</rows><cols>3</cols>
              <dt>d</dt>
              <data> 1.9185538075266456e+03 0. 6.6351052686831258e+02 0. 1.9239847846858713e+03 5.2501768650563508e+02 0. 0. 1.</data></mtx><rows>1</rows><cols>5</cols>
              <dt>d</dt>
              <data> -6.5131737583550275e-01 1.2672234354930185e+00 -7.6049220720545881e-03 -1.1437164634492115e-02 -5.9703308825363361e+00</data></dist><rows>3</rows><cols>1</cols>
              <dt>d</dt>
              <data> 3.2420766902989018e-01 -6.4589768076974197e-01 1.1011907909749442e-01</data></rvecs><rows>3</rows><cols>1</cols>
              <dt>d</dt>
              <data> -2.6876180482710543e+00 -1.2541719558169395e+00 1.5495572059324372e+01</data></tvecs></opencv_storage>
鸟瞰视角
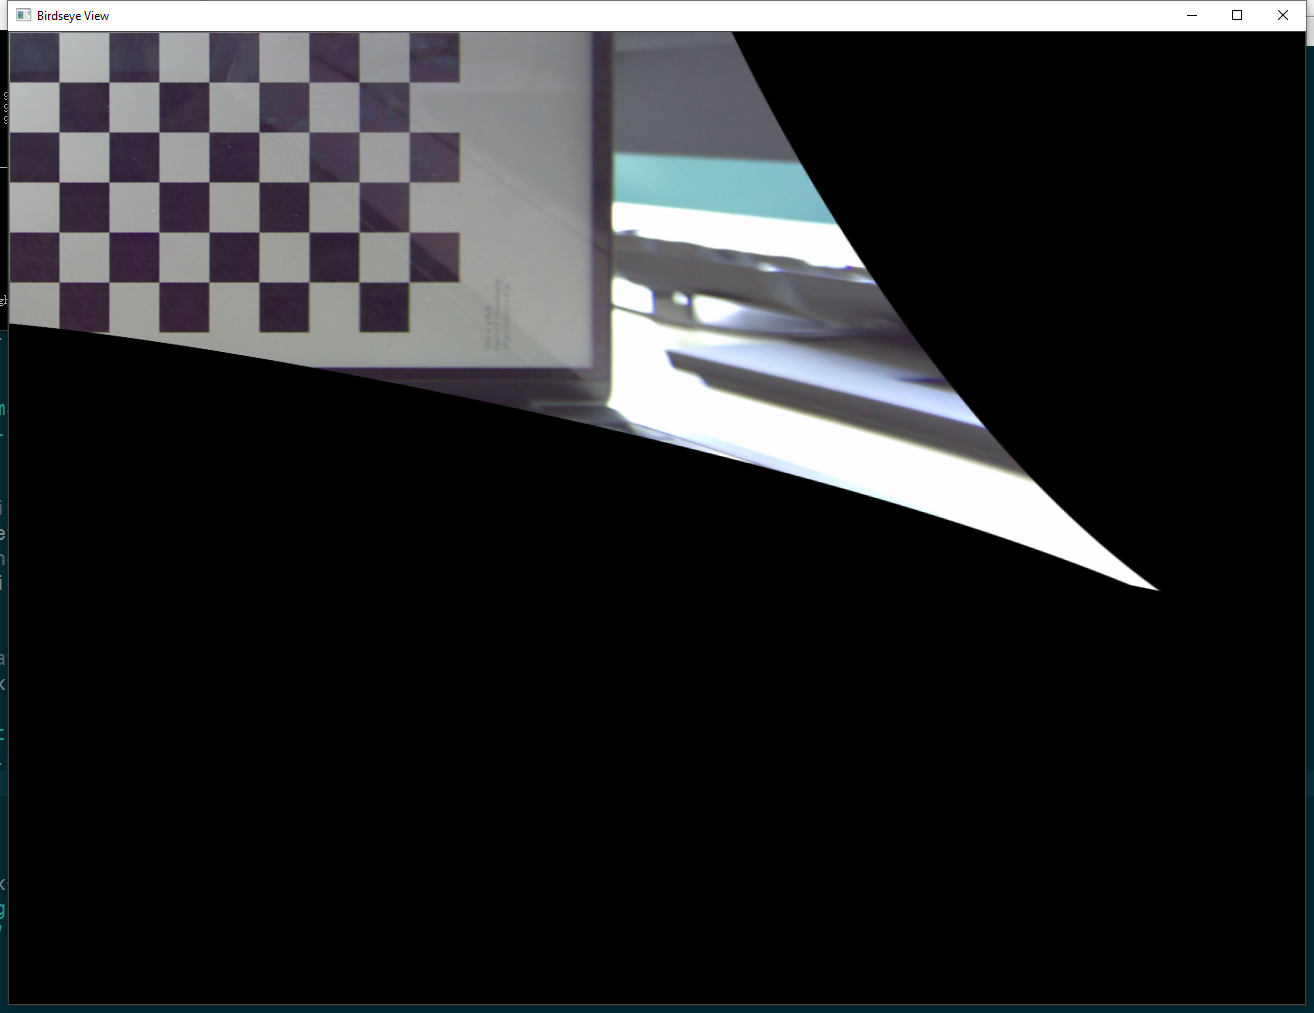
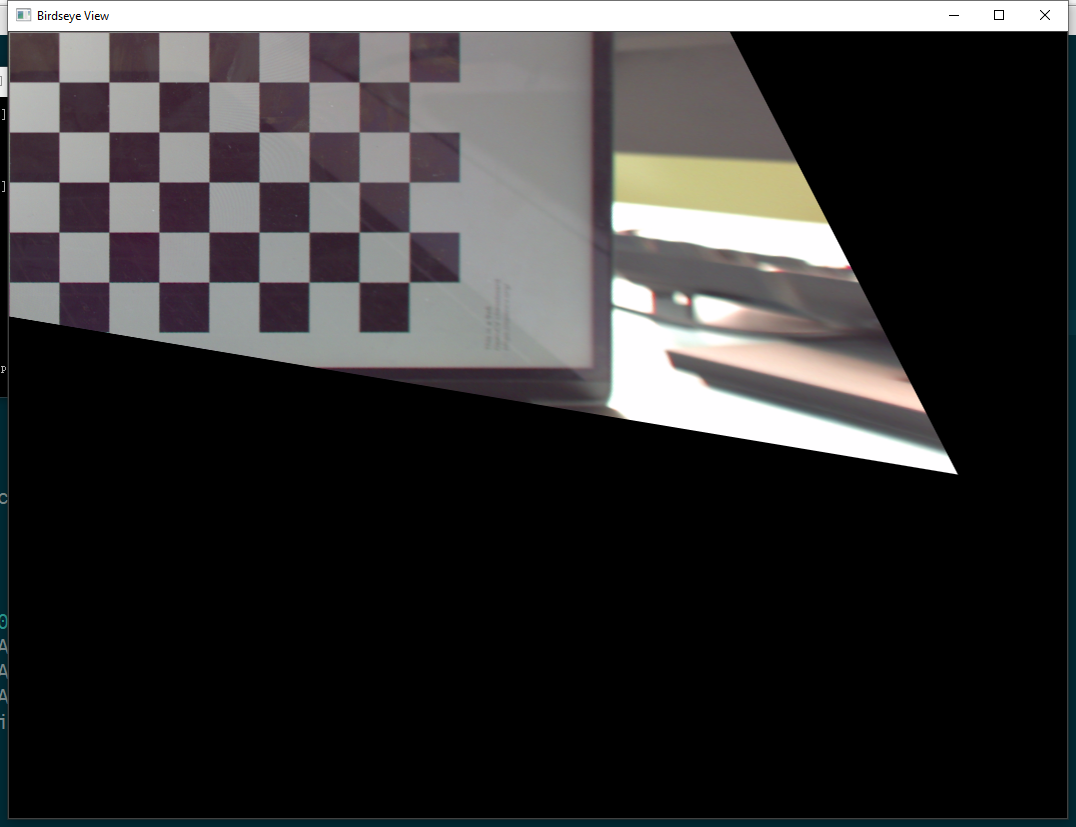
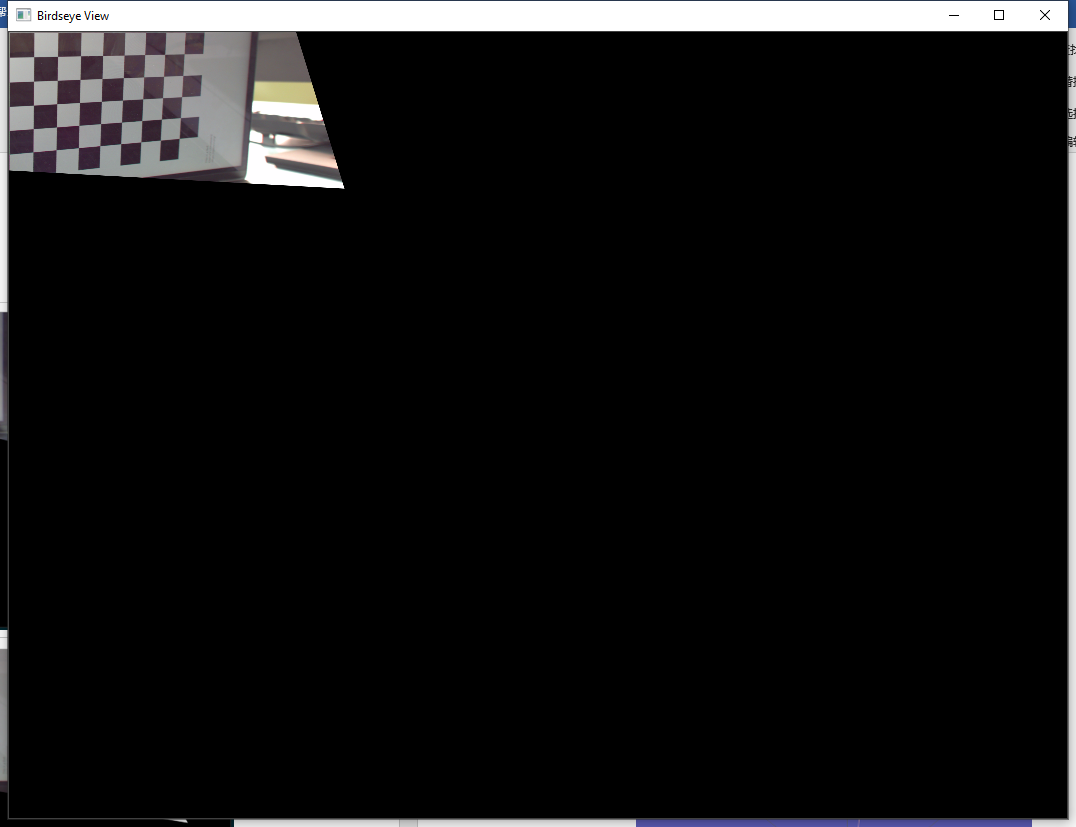
很明显,将棋盘格映射到了左上角,并且可以通过 d 和 u 来控制视角升高与降低
其中上一张图是使用了 crop 前的图像,在上升下降时会产生较严重的畸变。

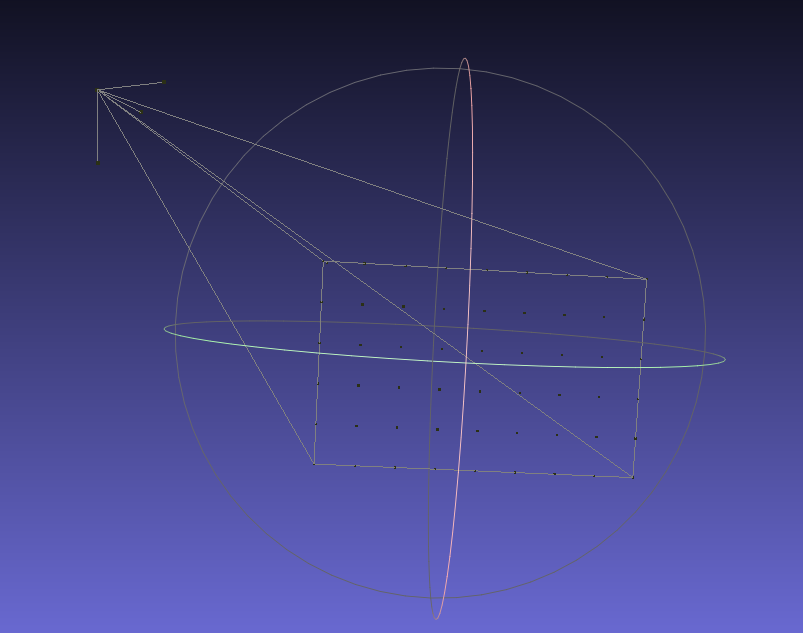
(顺便利用以前写的小工具生成了相机视角的 ply 文件):
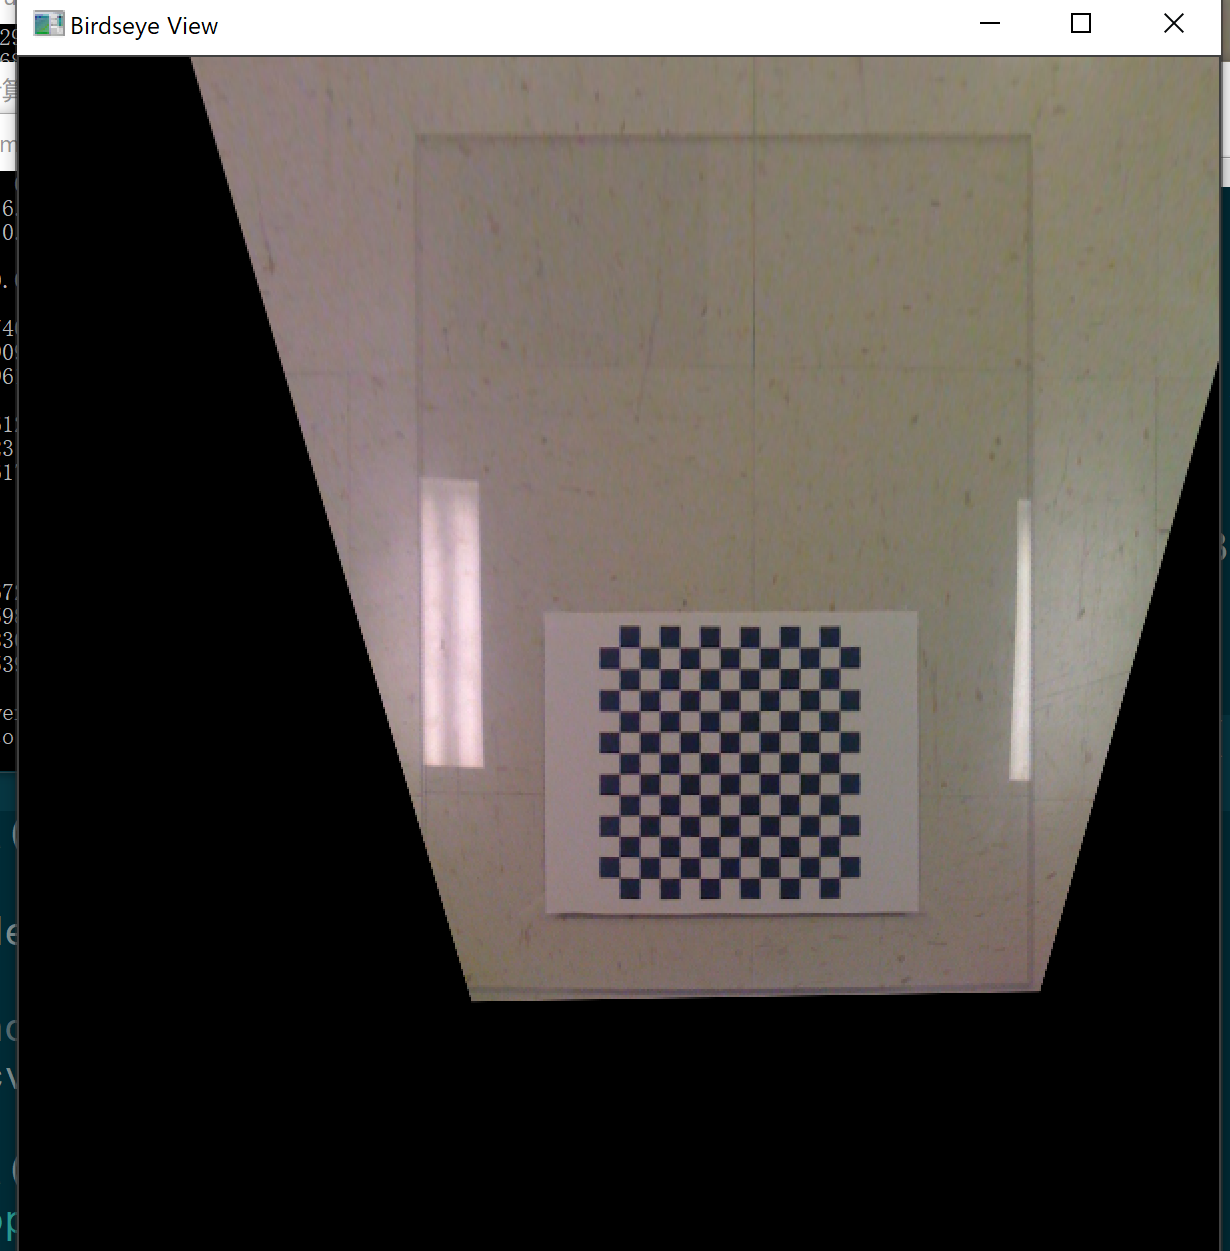
- 课程给出的测试图片(由于效果非常好所以不做 undistort 直接运行)
- 由于电脑内存较小,所以稍微改了一下对老师给出的图像进行处理的程序。希望验收的时候使用我自己拍的图(效果更好 QAQ)
资源下载地址:https://download.csdn.net/download/sheziqiong/85836848
资源下载地址:https://download.csdn.net/download/sheziqiong/85836848
版权归原作者 biyezuopin 所有, 如有侵权,请联系我们删除。