
1. 介绍
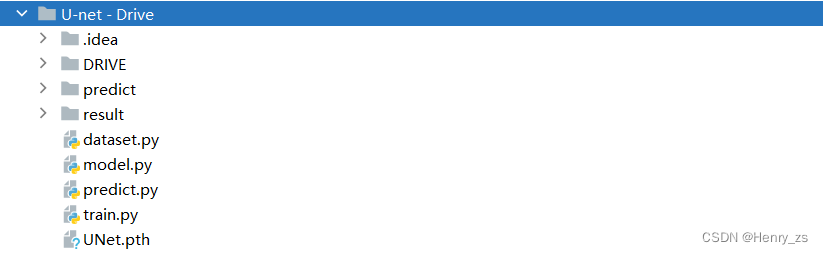
项目的目录如下所示
- DRIVE 存放的是数据集
- predict 是待分割的图像
- result 里面放分割predict 的结果
- dataset 是处理数据的文件、model存放unet网络、predict是预测、train是网络的训练、UNet.pth 是训练好的权重文件
之前做了一个图像分割的例子,里面大部分的代码和本篇的内容重合,所以每个脚本的代码只会做简单的介绍。具体的可以参考之前的内容,这里给出链接:
model : UNet - unet网络
dataset :UNet - 数据加载 Dataset
train : UNet - 训练数据train
predict : UNet - 预测数据predict(多个图像的分割)
DRIVE ( Digital Retinal Images for Vessel Extraction ):用于血管提取的数字视网膜图像
训练样本:灰度图像
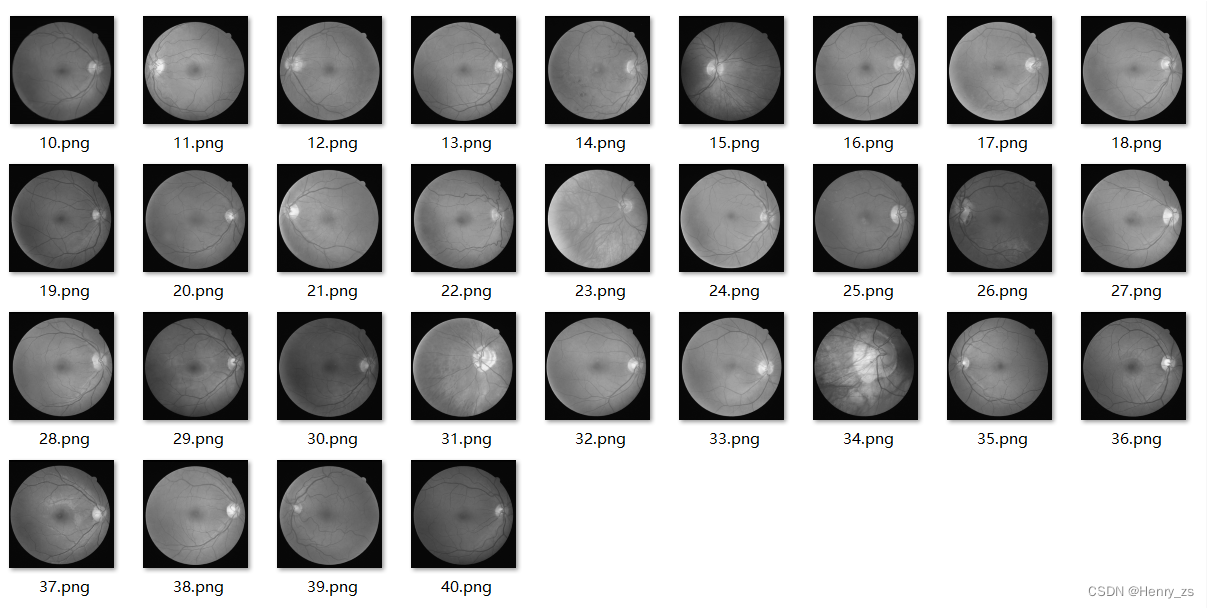
对应的标签:二值图像

因为这个分割项目完成几周了,最近才整理。所以,原数据集 DRIVE 可能是彩色图像 + mask 掩膜(具体的记不清了)
- 这里没有使用 mask
- 如果是彩色图像的话,在生成unet网络的时候,传入的channel设置成3就行了。或者想用灰度图像的形式,要么用opencv转一下,可以看见灰度化的效果类似于展示的那样;要么在预处理的里面转成灰度图片 transform.Grayscale()
2. 搭建 UNet 网络
和之前unet网络不同的是,这里通过填充size,可以保证任意图像维度的输入
之前的代码需要经过4此下采样,每次维度扩展,size减半,所以需要保证输入图像的大小是 2的4次方
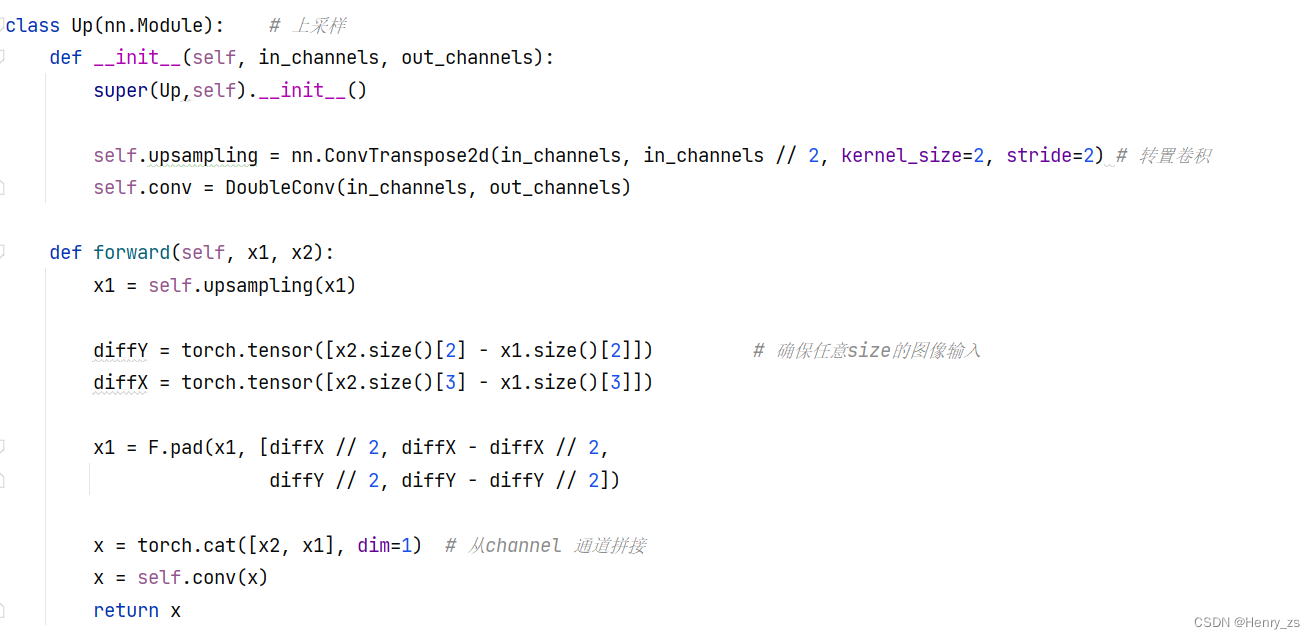
具体这块怎么实现我也看不懂,经过测试,可以实现任意输入的size
3. dataset 数据加载
数据加载的时候,将图像的预处理也放到了这里
这里训练的图像要 ToTensor ,归一化+改变通道顺序+转为tensor等等。同时,为了加快训练,对图像正规化,因为训练的图像是灰度图,所以只需要单通道的均值和标准差

然后是 数据加载 的初始化

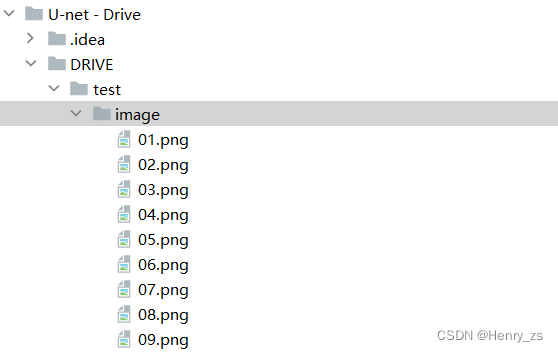
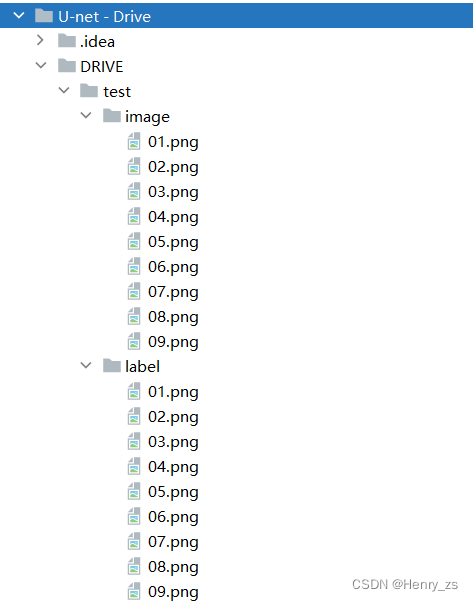
这里的imgs里面的内容是,传入路径root下的图像路径,这里是:
['01.png', '02.png', '03.png', '04.png', '05.png', '06.png', '07.png', '08.png', '09.png']
self.imgs 是将root 路径和root 里面每个图像的路径 拼接在一块的路径,这里是:
['./DRIVE/test/image\01.png', './DRIVE/test/image\02.png', './DRIVE/test/image\03.png', './DRIVE/test/image\04.png', './DRIVE/test/image\05.png', './DRIVE/test/image\06.png', './DRIVE/test/image\07.png', './DRIVE/test/image\08.png', './DRIVE/test/image\09.png']
如图:
初始化路径和预处理后,需要对图像进行处理
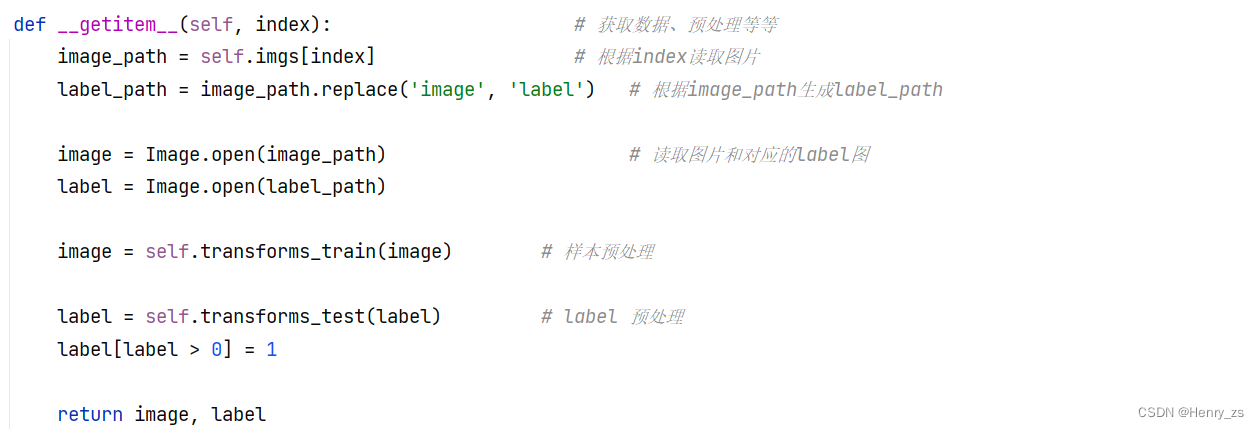
这里训练的样本和对应的二值图像的label文件名要保证一样,否则需要做别的处理。例如,这里只需要将训练样本的图像路径里面的image 替换(replace)成label 就能找到对应的分割图像
然后读取图像,预处理之后,在进行返回即可。
这里为了防止label不是严格的二值图像,在归一化(灰度值 / 255)后,将中间的灰度值也映射为前景像素点

4. train 训练网络
训练网络的代码基本上没有改变,这里简单介绍
判断网络运行的设备,将网络to到device上

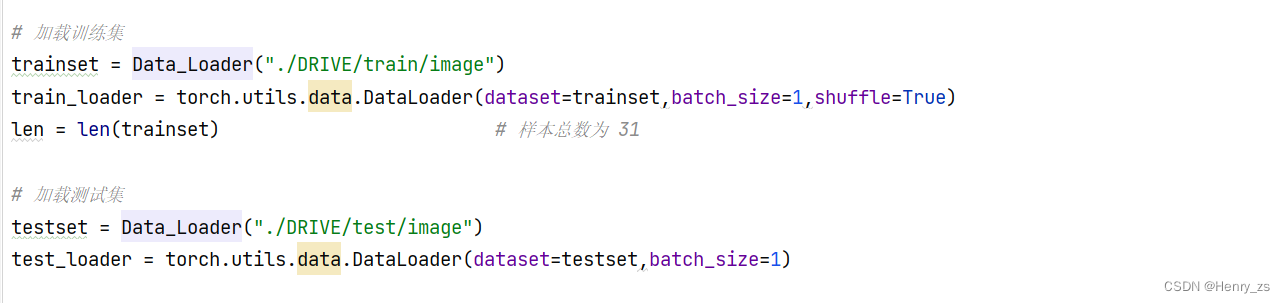
加载训练集+测试集
这里传入的是训练的样本,因为Data_loader 会将样本的路径替换成 label找到对应分割的标签图像
因为内存不足,所以这里将batch size 设置成 1
然后定义优化器+损失函数,并且保存网络的训练权重文件
有关BCEWithLogitsLoss可以参考这个:聊聊关于图像分割的损失函数 - BCEWithLogitsLoss

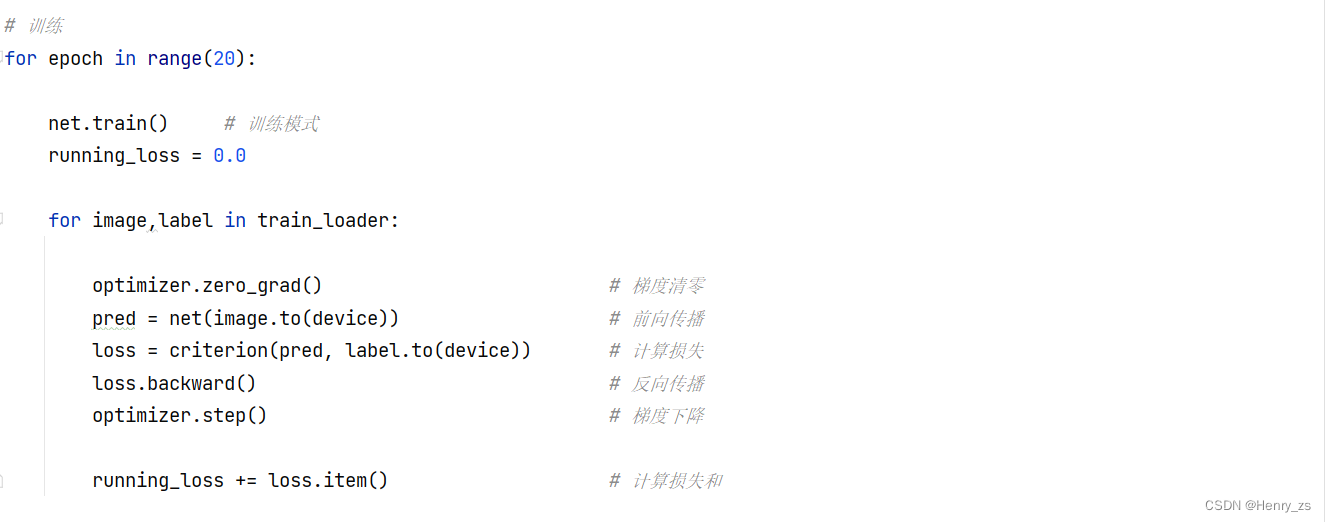
训练的时候,需要网络在train模式下,然后就是正确的前向传播预测+反向梯度下降的内容
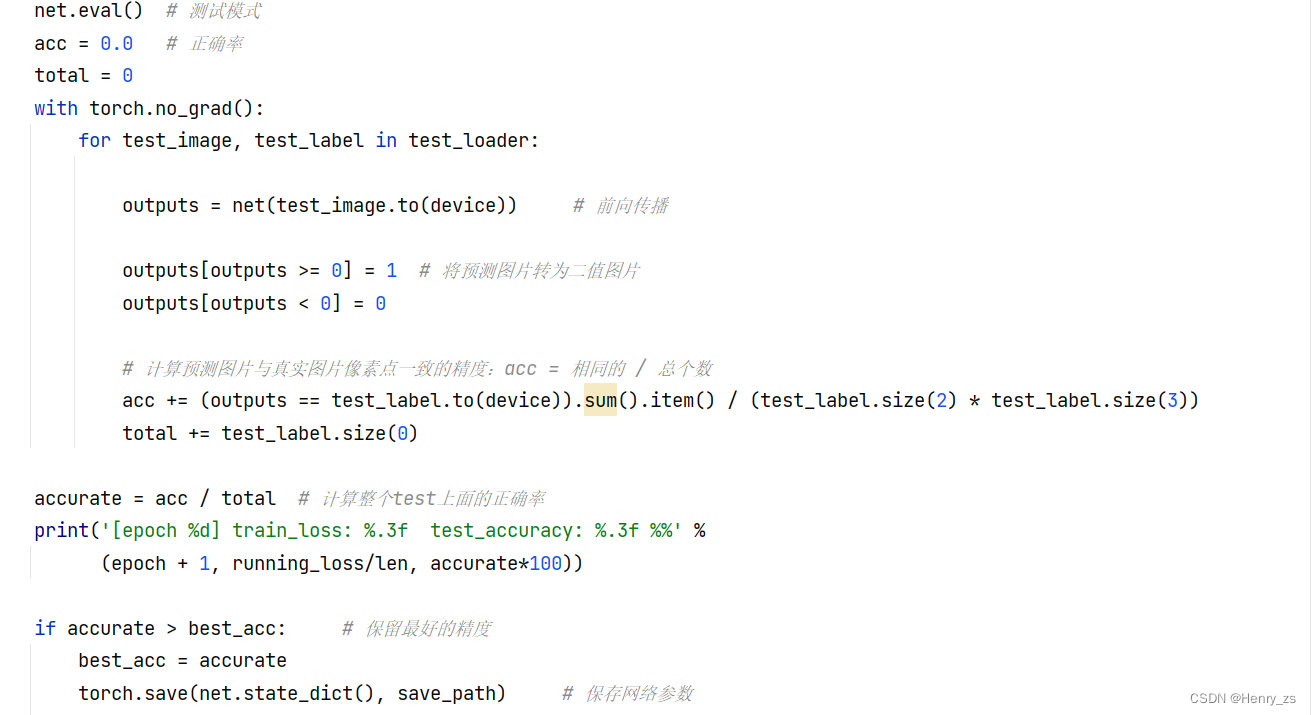
最后是计算正确率,需要将网络放到eval模式下
这里将网络的预测转为二值图像,然后计算准确率的方式是预测的二值图像和label进行逐个像素点的比对,最后比上整幅图像的空间分辨率,即图像的大小。
test_label 的通道顺序是:batch、channel、height、width
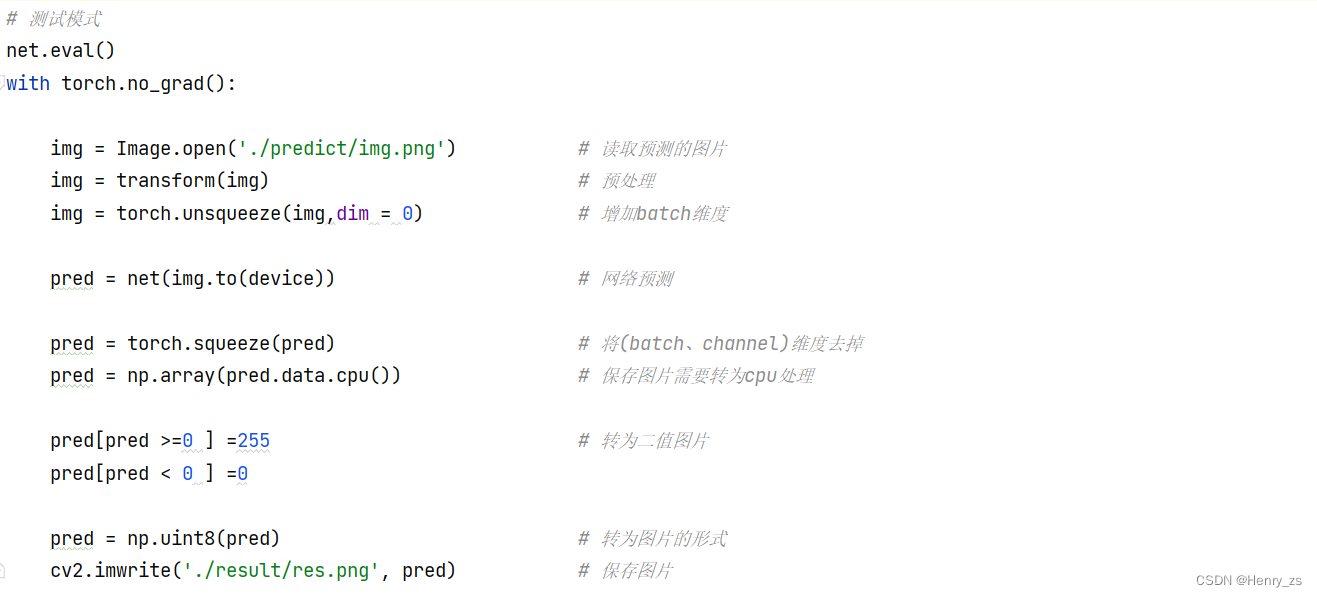
5. predict 分割图像
这里的预处理要和处理样本的预处理一致

加载网络+读取网络参数

预测的时候,需要扩展维度。保存图像的时候,需要将batch和channel减去
然后将预测的结果转为二值图像就可以了
6. show
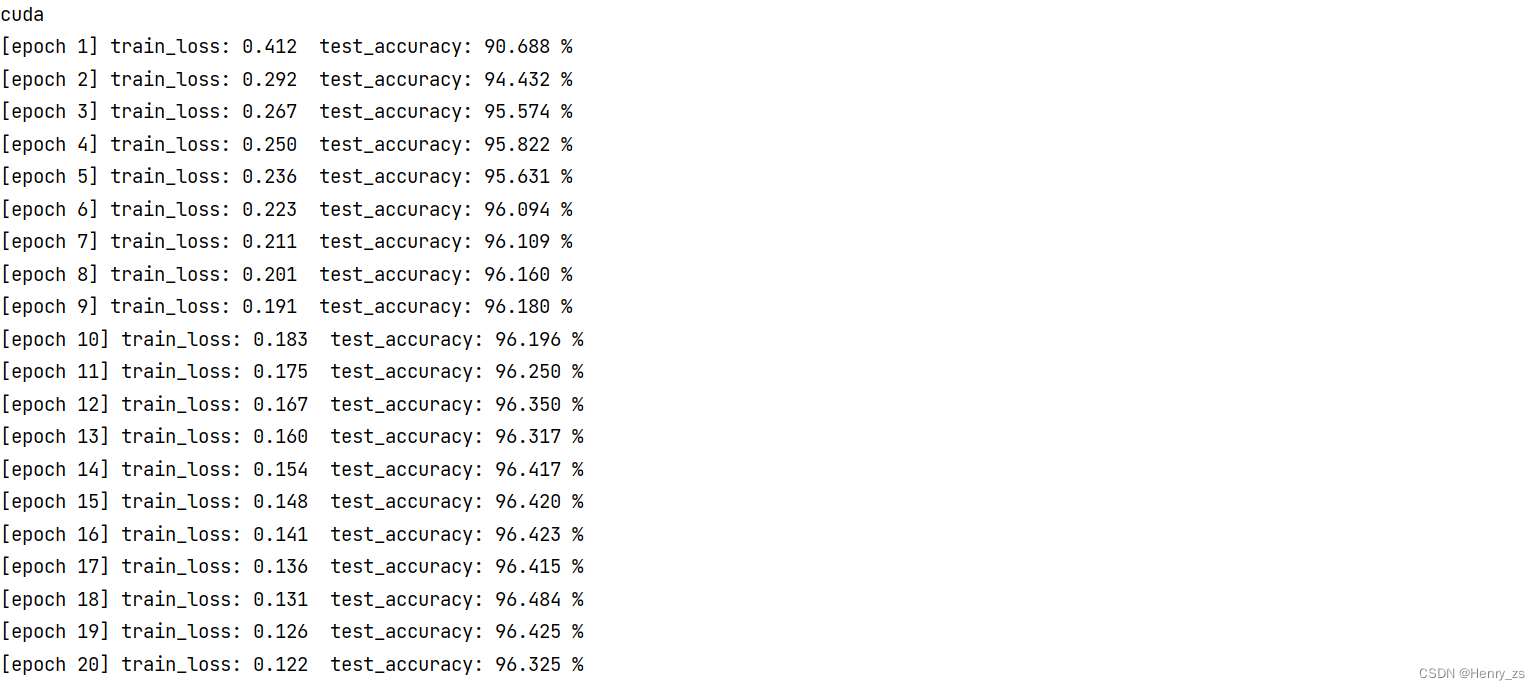
训练了20个epoch,结果显示如下
这里来预测的图像在test数据集里面,predict里面的图像为:
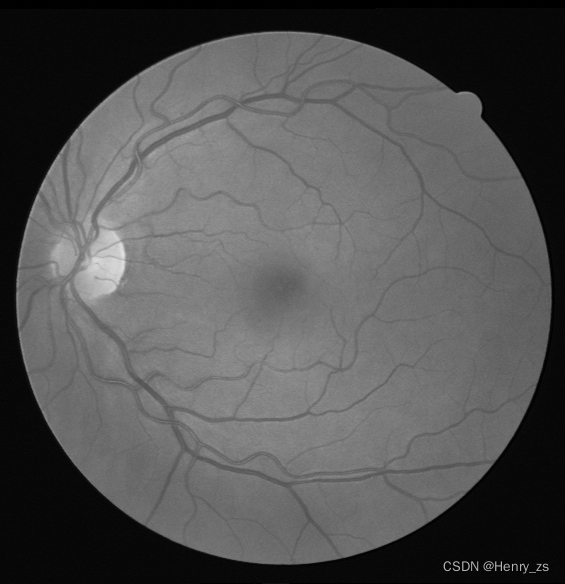
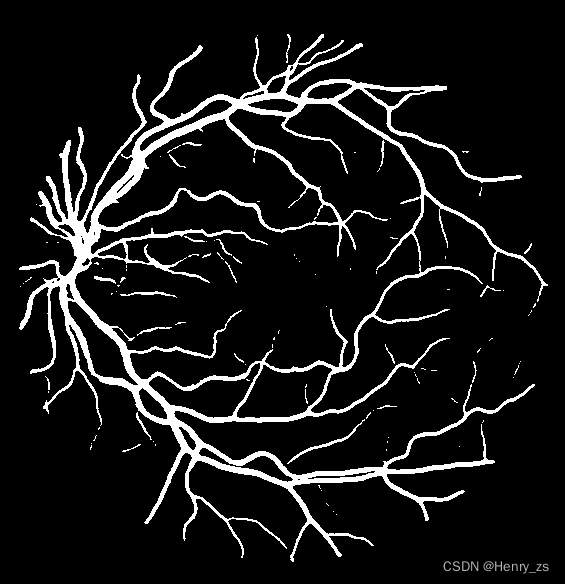
UNet 分割的结果:
真实的label为:
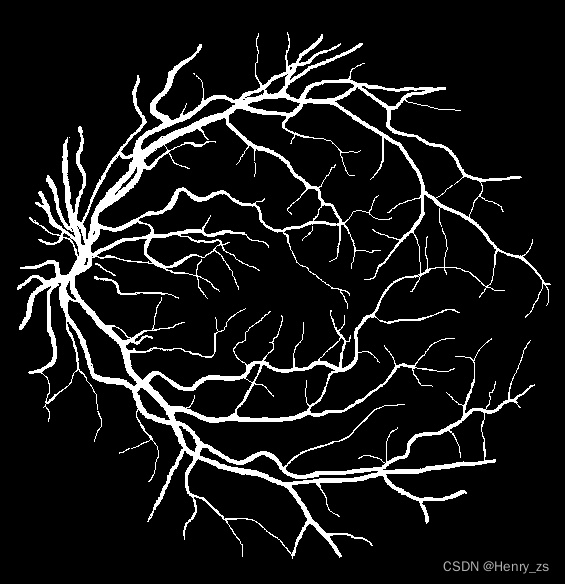
分割了大部分的信息,但是仍有细节没有分割出来
图像的size 是 565*584 的,大概预测的准确率是 0.96 左右
也就是说 还有 5655840.04 = 13198 ,这些损失的像素点就是缺少的细节
7. 完整代码
model部分:
import torch.nn as nn
import torch
import torch.nn.functional as F

# 搭建unet 网络
class DoubleConv(nn.Module):    # 连续两次卷积
    def __init__(self,in_channels,out_channels):
        super(DoubleConv,self).__init__()
        self.double_conv = nn.Sequential(

            nn.Conv2d(in_channels,out_channels,kernel_size=3,padding=1,bias=False),
            nn.BatchNorm2d(out_channels),                           # 用 BN 代替 Dropout
            nn.ReLU(inplace=True),

            nn.Conv2d(out_channels,out_channels,kernel_size=3,padding=1,bias=False),
            nn.BatchNorm2d(out_channels),
            nn.ReLU(inplace=True)
        )

    def forward(self,x):
        x = self.double_conv(x)
        return x

class Down(nn.Module):   # 下采样
    def __init__(self,in_channels,out_channels):
        super(Down, self).__init__()
        self.downsampling = nn.Sequential(
            nn.MaxPool2d(kernel_size=2,stride=2),
            DoubleConv(in_channels,out_channels)
        )

    def forward(self,x):
        x = self.downsampling(x)
        return x

class Up(nn.Module):    # 上采样
    def __init__(self, in_channels, out_channels):
        super(Up,self).__init__()

        self.upsampling = nn.ConvTranspose2d(in_channels, in_channels // 2, kernel_size=2, stride=2) # 转置卷积
        self.conv = DoubleConv(in_channels, out_channels)

    def forward(self, x1, x2):
        x1 = self.upsampling(x1)

        diffY = torch.tensor([x2.size()[2] - x1.size()[2]])         # 确保任意size的图像输入
        diffX = torch.tensor([x2.size()[3] - x1.size()[3]])

        x1 = F.pad(x1, [diffX // 2, diffX - diffX // 2,
                        diffY // 2, diffY - diffY // 2])

        x = torch.cat([x2, x1], dim=1)  # 从channel 通道拼接
        x = self.conv(x)
        return x

class OutConv(nn.Module):   # 最后一个网络的输出
    def __init__(self, in_channels, num_classes):
        super(OutConv, self).__init__()
        self.conv = nn.Conv2d(in_channels, num_classes, kernel_size=1)

    def forward(self, x):
        return self.conv(x)

class UNet(nn.Module):   # unet 网络
    def __init__(self, in_channels = 1, num_classes = 1):
        super(UNet, self).__init__()
        self.in_channels = in_channels
        self.num_classes = num_classes

        self.in_conv = DoubleConv(in_channels, 64)

        self.down1 = Down(64, 128)
        self.down2 = Down(128, 256)
        self.down3 = Down(256, 512)
        self.down4 = Down(512, 1024)

        self.up1 = Up(1024, 512)
        self.up2 = Up(512, 256)
        self.up3 = Up(256, 128)
        self.up4 = Up(128, 64)

        self.out_conv = OutConv(64, num_classes)

    def forward(self, x):

        x1 = self.in_conv(x)
        x2 = self.down1(x1)
        x3 = self.down2(x2)
        x4 = self.down3(x3)
        x5 = self.down4(x4)

        x = self.up1(x5, x4)
        x = self.up2(x, x3)
        x = self.up3(x, x2)
        x = self.up4(x, x1)
        x = self.out_conv(x)

        return x
dataset 数据处理部分:
import os
from torch.utils.data import Dataset
from PIL import Image
from torchvision import transforms

data_transform = {
    "train": transforms.Compose([transforms.ToTensor(),
                                transforms.Normalize((0.5, ), (0.5, ))]),
    "test": transforms.Compose([transforms.ToTensor()])
}

# 数据处理文件
class Data_Loader(Dataset):     # 加载数据
    def __init__(self, root, transforms_train=data_transform['train'],transforms_test=data_transform['test']):    # 初始化
        imgs = os.listdir(root)                                                         # 读取图像的路径
        self.imgs = [os.path.join(root,img) for img in imgs]                            # 取出路径下所有的图片
        self.transforms_train = transforms_train                                        # 预处理
        self.transforms_test = transforms_test

    def __getitem__(self, index):                      # 获取数据、预处理等等
        image_path = self.imgs[index]                  # 根据index读取图片
        label_path = image_path.replace('image', 'label')   # 根据image_path生成label_path

        image = Image.open(image_path)                      # 读取图片和对应的label图
        label = Image.open(label_path)

        image = self.transforms_train(image)        # 样本预处理

        label = self.transforms_test(label)         # label 预处理
        label[label > 0] = 1

        return image, label

    def __len__(self):  # 返回样本的数量
        return len(self.imgs)
train 网络训练部分:
from model import UNet
from dataset import Data_Loader
from torch import optim
import torch.nn as nn
import torch

# 网络训练模块
device = torch.device('cuda' if torch.cuda.is_available() else 'cpu')   # GPU or CPU
print(device)
net = UNet(in_channels=1, num_classes=1)        # 加载网络
net.to(device)                                  # 将网络加载到device上

# 加载训练集
trainset = Data_Loader("./DRIVE/train/image")
train_loader = torch.utils.data.DataLoader(dataset=trainset,batch_size=1,shuffle=True)
len = len(trainset)                         # 样本总数为 31

# 加载测试集
testset = Data_Loader("./DRIVE/test/image")
test_loader = torch.utils.data.DataLoader(dataset=testset,batch_size=1)

# 加载优化器和损失函数
optimizer = optim.RMSprop(net.parameters(), lr=0.00001,weight_decay=1e-8, momentum=0.9)     # 定义优化器
criterion = nn.BCEWithLogitsLoss()                             # 定义损失函数

# 保存网络参数
save_path = './UNet.pth'       # 网络参数的保存路径
best_acc = 0.0                 # 保存最好的准确率

# 训练
for epoch in range(20):

    net.train()     # 训练模式
    running_loss = 0.0

    for image,label in train_loader:

        optimizer.zero_grad()                          # 梯度清零
        pred = net(image.to(device))                   # 前向传播
        loss = criterion(pred, label.to(device))       # 计算损失
        loss.backward()                                # 反向传播
        optimizer.step()                               # 梯度下降

        running_loss += loss.item()                    # 计算损失和

    net.eval()  # 测试模式
    acc = 0.0   # 正确率
    total = 0
    with torch.no_grad():
        for test_image, test_label in test_loader:

            outputs = net(test_image.to(device))     # 前向传播

            outputs[outputs >= 0] = 1  # 将预测图片转为二值图片
            outputs[outputs < 0] = 0

            # 计算预测图片与真实图片像素点一致的精度:acc = 相同的 / 总个数
            acc += (outputs == test_label.to(device)).sum().item() / (test_label.size(2) * test_label.size(3))
            total += test_label.size(0)

    accurate = acc / total  # 计算整个test上面的正确率
    print('[epoch %d] train_loss: %.3f  test_accuracy: %.3f %%' %
          (epoch + 1, running_loss/len, accurate*100))

    if accurate > best_acc:     # 保留最好的精度
        best_acc = accurate
        torch.save(net.state_dict(), save_path)     # 保存网络参数
predict 预测部分:
import numpy as np
import torch
import cv2
from model import UNet
from torchvision import transforms
from PIL import Image

transform = transforms.Compose([
        transforms.ToTensor(),
        transforms.Normalize((0.5,),(0.5))
    ])

# 加载模型
device = torch.device('cuda' if torch.cuda.is_available() else 'cpu')
net = UNet(in_channels=1, num_classes=1)
net.load_state_dict(torch.load('UNet.pth', map_location=device))
net.to(device)

# 测试模式
net.eval()
with torch.no_grad():

    img = Image.open('./predict/img.png')           # 读取预测的图片
    img = transform(img)                            # 预处理
    img = torch.unsqueeze(img,dim = 0)              # 增加batch维度

    pred = net(img.to(device))                      # 网络预测

    pred = torch.squeeze(pred)                      # 将(batch、channel)维度去掉
    pred = np.array(pred.data.cpu())                # 保存图片需要转为cpu处理

    pred[pred >=0 ] =255                            # 转为二值图片
    pred[pred < 0 ] =0

    pred = np.uint8(pred)                           # 转为图片的形式
    cv2.imwrite('./result/res.png', pred)           # 保存图片
版权归原作者 十七的太阳 所有, 如有侵权,请联系我们删除。