
本次实践的目的就在于通过对apache common日志进行分析,计算一些关键指标。
一、导入数据
进入虚拟机,在桌面点击右键打开终端。
1、启动hadoop
指令:start-all.sh
2、在hdfs下创建文件夹hadoop_class
指令:hdfs dfs -mkdir /hadoop_class
3、查询文件夹是否创建成功
指令:hdfs dfs -ls /

4、在hadoop_class下创建一个文件夹存放总数据
指令:hdfs dfs -mkdir /hadoop_class/web_log
5、检查是否创建成功
指令:hdfs dfs -ls /hadoop_class

6、在web_log中创建两个文件分别存放已处理的数据和未处理的数据
存放已处理的数据
指令:hdfs dfs -mkdir /hadoop_class/web_log/cleaned
存放未处理的数据
指令:hdfs dfs -mkdir /hadoop_class/web_log/unclean
7、查看是否创建成功
指令:hdfs dfs -ls /hadoop_class/web_log

8、因为日志数据共有两天,所以要在cleaned和unclean中分别创建两个文件夹来存放30和31两天的日志数据
cleaned文件夹中
指令: hdfs dfs -mkdir /hadoop_class/web_log/cleaned/2013_05_30
hdfs dfs -mkdir /hadoop_class/web_log/cleaned/2013_05_31
unclean文件夹中
指令: hdfs dfs -mkdir /hadoop_class/web_log/unclean/2013_05_30
hdfs dfs -mkdir /hadoop_class/web_log/unclean/2013_05_31
9、 将两份未处理的日志数据分别传入相对应的日期中
30号
指令:hdfs dfs -copyFromLocal /home/liuxuanting/access_2013_05_30.log /hadoop_class/web_log/unclean/2013_05_30
31号
指令: hdfs dfs -copyFromLocal /home/liuxuanting/access_2013_05_31.log /hadoop_class/web_log/unclean/2013_05_31
数据上传步骤完毕
二、数据清理
使用java清理数据
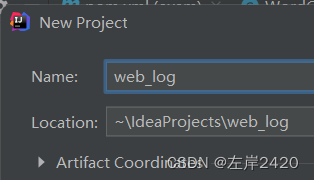
1、创建一个Java项目,项目名字叫web_log

2、配置Java项目中的pom.xml(注意应该与自己的Java的版本一致,我的Java版本是1.8)
<?xml version="1.0" encoding="UTF-8"?>
<project xmlns="http://maven.apache.org/POM/4.0.0"
         xmlns:xsi="http://www.w3.org/2001/XMLSchema-instance"
         xsi:schemaLocation="http://maven.apache.org/POM/4.0.0 http://maven.apache.org/xsd/maven-4.0.0.xsd">
    <modelVersion>4.0.0</modelVersion>

    <groupId>org.example</groupId>
    <artifactId>web_log</artifactId>
    <version>1.0-SNAPSHOT</version>

    <properties>
        <maven.compiler.source>8</maven.compiler.source>
        <maven.compiler.target>8</maven.compiler.target>
    </properties>
    <dependencies>
        <dependency>
            <groupId>org.apache.hadoop</groupId>
            <artifactId>hadoop-common</artifactId>
            <version>2.8.5</version>
        </dependency>
        <!-- https://mvnrepository.com/artifact/org.apache.hadoop/hadoop-hdfs -->
        <dependency>
            <groupId>org.apache.hadoop</groupId>
            <artifactId>hadoop-hdfs</artifactId>
            <version>2.8.5</version>
        </dependency>
        <!-- https://mvnrepository.com/artifact/org.apache.hadoop/hadoop-mapreduce-client-core -->
        <dependency>
            <groupId>org.apache.hadoop</groupId>
            <artifactId>hadoop-mapreduce-client-core</artifactId>
            <version>2.8.5</version>
        </dependency>
        <!-- https://mvnrepository.com/artifact/org.apache.hadoop/hadoop-client -->
        <dependency>
            <groupId>org.apache.hadoop</groupId>
            <artifactId>hadoop-client</artifactId>
            <version>2.8.5</version>
        </dependency>
        <!-- https://mvnrepository.com/artifact/org.apache.hadoop/hadoop-yarn-api -->
        <dependency>
            <groupId>org.apache.hadoop</groupId>
            <artifactId>hadoop-yarn-api</artifactId>
            <version>2.8.5</version>
        </dependency>

    </dependencies>
</project>
3、配置完成后启动,为了获得配置的包(点击绿色的三角运行)

4、在Java下创建文件LogParser来编写工具类,用来提取文件中的ip、时间、url、状态、流量

源代码:
//此代码的作用是将文件中的ip、时间、url、状态、流量分别提取出来

import java.text.ParseException;
import java.text.SimpleDateFormat;
import java.util.Date;
import java.util.Locale;

class LogParser {
    public static final SimpleDateFormat FORMAT = new SimpleDateFormat(
            "d/MMM/yyyy:HH:mm:ss", Locale.ENGLISH);
    public static final SimpleDateFormat dateformat1 = new SimpleDateFormat(
            "yyyyMMddHHmmss");/**   //将美国的写法(d天、M月、y年、H时、m分、s秒)转换成中国(年月日时分秒)的写法
     * 解析英文时间字符串
     *
     * @param string
     * @return
     * @throws ParseException
     */
    private Date parseDateFormat(String string) {
        Date parse = null;
        try {
            parse = FORMAT.parse(string);
        } catch (ParseException e) {
            e.printStackTrace();
        }
        return parse;
    }

    /**
     * 解析日志的行记录
     *
     * @param line
     * @return 数组含有5个元素,分别是ip、时间、url、状态、流量
     */
    public String[] parse(String line) {
        String ip = parseIP(line);
        String time = parseTime(line);
        String url = parseURL(line);
        String status = parseStatus(line);
        String traffic = parseTraffic(line);

        return new String[] { ip, time, url, status, traffic };
    }
//处理字符串,也可以用正则表达式
    private String parseTraffic(String line) {
        final String trim = line.substring(line.lastIndexOf("\"") + 1)
                .trim();
        String traffic = trim.split(" ")[1];
        return traffic;
    }

    private String parseStatus(String line) {
        final String trim = line.substring(line.lastIndexOf("\"") + 1)
                .trim();
        String status = trim.split(" ")[0];
        return status;
    }

    private String parseURL(String line) {
        final int first = line.indexOf("\"");
        final int last = line.lastIndexOf("\"");
        String url = line.substring(first + 1, last);
        return url;
    }

    private String parseTime(String line) {
        final int first = line.indexOf("[");
        final int last = line.indexOf("+0800]");
        String time = line.substring(first + 1, last).trim();
        Date date = parseDateFormat(time);  //转换时间,美国转中国
        return dateformat1.format(date);
    }

    private String parseIP(String line) {
        String ip = line.split("- -")[0].trim();  //这句话的意思是用- -做分隔符,然后取分隔符的左边并去除空白
        return ip;
    }
}
5、创建文件编写MapReduce
(1)、编写Map
在Java下创建文件MyMapper
源代码:
import org.apache.hadoop.io.LongWritable;
import org.apache.hadoop.io.Text;
import org.apache.hadoop.mapreduce.Mapper;

class MyMapper extends
        Mapper<LongWritable, Text, LongWritable, Text> {
    LogParser logParser = new LogParser();
    Text outputValue = new Text();

    protected void map(
            LongWritable key,
            Text value,
            org.apache.hadoop.mapreduce.Mapper<LongWritable, Text, LongWritable, Text>.Context context)
            throws java.io.IOException, InterruptedException {
        final String[] parsed = logParser.parse(value.toString());

        // step1.过滤掉静态资源访问请求
        if (parsed[2].startsWith("GET /static/")
                || parsed[2].startsWith("GET /uc_server")) {
            return;
        }
        // step2.过滤掉开头的指定字符串
        if (parsed[2].startsWith("GET /")) {
            parsed[2] = parsed[2].substring("GET /".length());
        } else if (parsed[2].startsWith("POST /")) {
            parsed[2] = parsed[2].substring("POST /".length());
        }
        // step3.过滤掉结尾的特定字符串
        if (parsed[2].endsWith(" HTTP/1.1")) {
            parsed[2] = parsed[2].substring(0, parsed[2].length()
                    - " HTTP/1.1".length());
        }
        // step4.只写入前三个记录类型项
        outputValue.set(parsed[0] + "\t" + parsed[1] + "\t" + parsed[2]);
        context.write(key, outputValue);
    }
}
(2)、编写Reduce
在Java下创建文件MyReducer
源代码:
import org.apache.hadoop.io.LongWritable;
import org.apache.hadoop.io.NullWritable;
import org.apache.hadoop.io.Text;
import org.apache.hadoop.mapreduce.Reducer;

class MyReducer extends
        Reducer<LongWritable, Text, Text, NullWritable> {
    protected void reduce(
            LongWritable k2,
            java.lang.Iterable<Text> v2s,
            org.apache.hadoop.mapreduce.Reducer<LongWritable, Text, Text, NullWritable>.Context context)
            throws java.io.IOException, InterruptedException {
        for (Text v2 : v2s) {
            context.write(v2, NullWritable.get());
        }
    };
}
(3)、编写主类
在Java下创建LogCleanJob
源代码:
import java.net.URI;
import org.apache.hadoop.conf.Configuration;
import org.apache.hadoop.conf.Configured;
import org.apache.hadoop.fs.FileSystem;
import org.apache.hadoop.fs.Path;
import org.apache.hadoop.io.LongWritable;
import org.apache.hadoop.io.NullWritable;
import org.apache.hadoop.io.Text;
import org.apache.hadoop.mapreduce.Job;
import org.apache.hadoop.mapreduce.lib.input.FileInputFormat;
import org.apache.hadoop.mapreduce.lib.output.FileOutputFormat;
import org.apache.hadoop.util.Tool;
import org.apache.hadoop.util.ToolRunner;

public class LogCleanJob extends Configured implements Tool {

    public static void main(String[] args) {
        Configuration conf = new Configuration();
        try {
            int res = ToolRunner.run(conf, new LogCleanJob(), args);
            System.exit(res);
        } catch (Exception e) {
            e.printStackTrace();
        }
    }

    @Override
    public int run(String[] args) throws Exception {
        final Job job = new Job(new Configuration(),
                LogCleanJob.class.getSimpleName());
        // 设置为可以打包运行
        job.setJarByClass(LogCleanJob.class);
        FileInputFormat.setInputPaths(job, args[0]);
        job.setMapperClass(MyMapper.class);
        job.setMapOutputKeyClass(LongWritable.class);
        job.setMapOutputValueClass(Text.class);
        job.setReducerClass(MyReducer.class);
        job.setOutputKeyClass(Text.class);
        job.setOutputValueClass(NullWritable.class);
        FileOutputFormat.setOutputPath(job, new Path(args[1]));
        // 清理已存在的输出文件
        FileSystem fs = FileSystem.get(new URI(args[0]), getConf());
        Path outPath = new Path(args[1]);
        if (fs.exists(outPath)) {
            fs.delete(outPath, true);
        }

        boolean success = job.waitForCompletion(true);
        if(success){
            System.out.println("Clean process success!");
        }
        else{
            System.out.println("Clean process failed!");
        }
        return 0;
    }
}
6、双击package进行打包
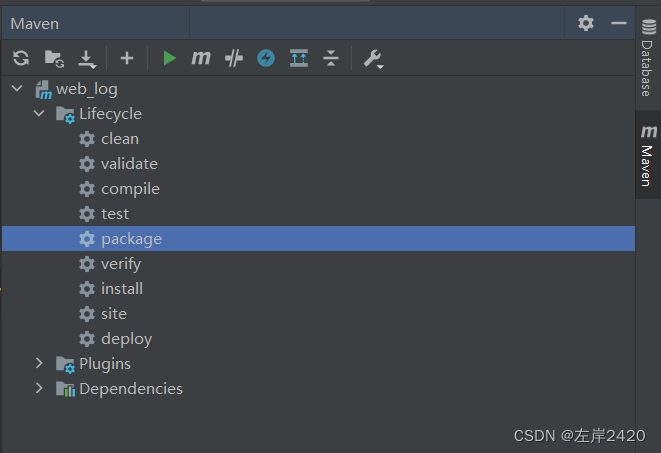
打好的包均在target中
7、右键target,点击Open in,再点击Explorer

8、将target中的包复制到虚拟机中

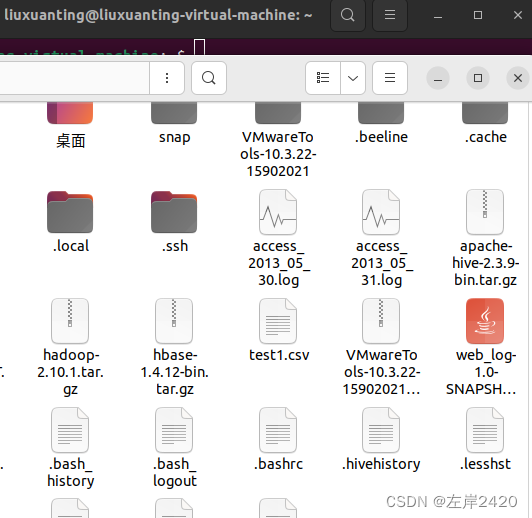
9、运行jar文件并导入数据
指令:hadoop jar /home/liuxuanting/web_log-1.0-SNAPSHOT.jar LogCleanJob /hadoop_class/web_log/unclean/2013_05_30 /hadoop_class/web_log/cleaned/2013_05_30
结果有success表示成功:

10、查看是否导入成功
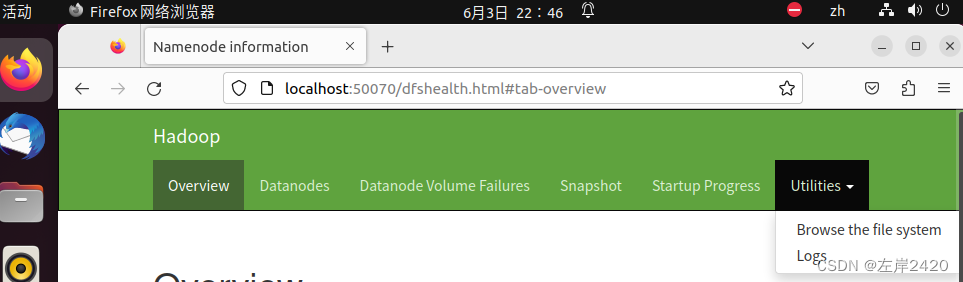
(1)、点击虚拟机中的浏览器,输入http://localhost:50070/dfshealth.html
(2)、点击Utilities,再点击Browse the file system
(3)、然后按自己所创建的路径寻找
我的最终路径是:http://localhost:50070/explorer.html#/hadoop_class/web_log/cleaned/2013_05_30
成功导入数据结果显示:

11、 第9步做的是第30 天的,同上现在做第31天的日志数据
指令:hadoop jar /home/liuxuanting/web_log-1.0-SNAPSHOT.jar LogCleanJob /hadoop_class/web_log/unclean/2013_05_31 /hadoop_class/web_log/cleaned/2013_05_31
数据清理步骤完毕
三、数据分析
1、建表装数据
指令:hdfs dfs -mkdir /hadoop_class/web_log/hive_table
2、将处理好的文件移动到hive_table这个表中,并将文件重命名
30号
指令:hdfs dfs -mv /hadoop_class/web_log/cleaned/2013_05_30/part-1-00000 /hadoop_class/web_log/hive_table/2013_05_30
31号
指令:hdfs dfs -mv /hadoop_class/web_log/cleaned/2013_05_31/part-1-00000 /hadoop_class/web_log/hive_table/2013_05_31
3、打开hive
指令:hive
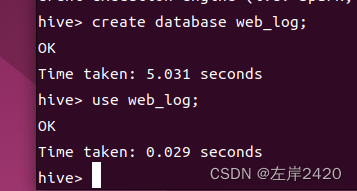
 4、创建并进入web_log数据库
创建指令:create database web_log;
进入指令:use web_log;
5、创建外部表
指令:CREATE EXTERNAL TABLE techbbs(ip string, atime string, url string) ROW FORMAT DELIMITED FIELDS TERMINATED BY '\t' LOCATION '/hadoop_class/web_log/hive_table';

6、检查是否导入
指令:select * from techbbs;
数据很多很多,跑很久都不会跑完,若检查已导入进去,按ctrl+c会强制退出,然后再重复3、4步即可。
7、 现在就可以查看具体数据,例如查看PV有多少条数据
指令:SELECT COUNT(1) AS PV FROM techbbs;
结果展示:共计672261条PV数据

数据分析步骤完毕
版权归原作者 左岸2420 所有, 如有侵权,请联系我们删除。