
文章目录
前言
Win10环境下,通过Qt+Opencv+QThread,实现多路USB摄像头数据显示至ui界面。主要思想是通过Opencv的VideoCapture类,及Qthread类中的moveToThread方法实现,此外由于VideoCapture类的open方法的参数为摄像头的索引号,当外接多个USB摄像头的时候有可能造成索引号顺序不固定的问题,通过判断摄像头的硬件ID,即每个摄像头的vid、pid码,以实现在ui界面固定的位置(QLabel)显示固定的摄像头画面。
本案例中USB摄像头与PC机之间的连接方式要特别注意,每个摄像头应该单独连接至PC机的各个USB接口,不能使用多个摄像头连接至单个USB hub,再将USB hub连接至PC机的方式,本人使用的笔记本自带一个摄像头,然后外接的两个摄像头分别连接在笔记本的两个USB接口上。
效果

代码资源链接
本篇博客工程文件夹内所有代码内容,请至此处下载。
核心代码
pro文件
本次方案中的Opnecv直接通过官网的windows环境下的.exe安装模式安装,将inclue文件夹及Lib文件夹放至工程文件夹内,并通过"$$PWD"指引到当前文件夹。
QT       += core gui multimedia
greaterThan(QT_MAJOR_VERSION,4): QT += widgets
CONFIG += c++11#You can make your code fail to compile if it uses deprecated APIs.#In order to do so, uncomment the following line.#DEFINES += QT_DISABLE_DEPRECATED_BEFORE=0x060000    # disables all the APIs deprecated before Qt 6.0.0

SOURCES += \
    camera.cpp \
    main.cpp \
    mainwindow.cpp
HEADERS += \
    camera.h \
    mainwindow.h
FORMS += \
    mainwindow.ui
INCLUDEPATH +="$$PWD"/opencv/include\
               "$$PWD"/opencv/include/opencv \
               "$$PWD"/opencv/include/opencv2 \
Debug:{
    LIBS +="$$PWD"/opencv/lib/opencv_world3416d.lib \
            "$$PWD"/VIDPID.lib
}
Release:{
    LIBS +="$$PWD"/opencv/lib/opencv_world3416.lib \
            "$$PWD"/VIDPID.lib
}
DEFINES -= UNICODE
DEFINES += UMBCS
QMAKE_CXXFLAGS -=-Zc:strictStrings
#Default rules for deployment.
qnx: target.path =/tmp/$${TARGET}/bin
else: unix:!android: target.path =/opt/$${TARGET}/bin
!isEmpty(target.path): INSTALLS += target
camera.h
#ifndefCAMERA_H#defineCAMERA_H#include<QObject>#include<QThread>#include<QTime>#include<QImage>#include<opencv2/opencv.hpp>#include<opencv2/highgui.hpp>#include<opencv2/core.hpp>usingnamespace std;usingnamespace cv;classCamera:publicQObject{
    Q_OBJECT
public:Camera();~Camera();

signals:voidsendPicture(const QImage &img);public slots:voidcamNumber(constint&n);voidopenCamera();voidmainwindowDisplay();private:
    VideoCapture capture;
    Mat src_image;int camera_num =0;};#endif// CAMERA_H
camera.cpp
#include"camera.h"#include<QDebug>Camera::Camera(){}Camera::~Camera(){}voidCamera::camNumber(constint&n){
    camera_num = n;}voidCamera::openCamera(){
    capture.set(CV_CAP_PROP_FRAME_HEIGHT,960);
    capture.set(CV_CAP_PROP_FRAME_HEIGHT,1280);//        capture.open(camera_num,cv::CAP_DSHOW);
    capture.open(camera_num);if(!capture.isOpened()){qDebug()<<"camer_num:"<<camera_num<<"not open";return;}}voidCamera::mainwindowDisplay(){qDebug()<< camera_num;
    capture >> src_image;
    QImage img1 =QImage((constunsignedchar*)src_image.data,
                         src_image.cols, src_image.rows,
                         QImage::Format_RGB888).rgbSwapped();
    emit sendPicture(img1);}
mainwindow.h
#ifndefMAINWINDOW_H#defineMAINWINDOW_H#include<QMainWindow>#include<QThread>#include<QTimer>#include<QDebug>#include<QCameraInfo>#include"camera.h"

QT_BEGIN_NAMESPACE
namespace Ui {classMainWindow;}
QT_END_NAMESPACE

classMainWindow:publicQMainWindow{
    Q_OBJECT

public:MainWindow(QWidget *parent =nullptr);~MainWindow();private slots:voidon_pushButton_opencamera_clicked();voidrecivePicture(QImage);voidrecivePicture_1(QImage);voidrecivePicture_2(QImage);private:
    Ui::MainWindow *ui;
    QThread *firstThread;
    Camera *MyCamThread;

    QThread *secondThread;
    Camera *MyCamThread_2;

    QThread *thirdThread;
    Camera *MyCamThread_3;

    QTimer fps_timer;
    QTimer fps_timer_1;
    QTimer fps_timer_2;//    int camer_indx;int A,B,C;

    QList<QCameraInfo> camera_list;};#endif// MAINWINDOW_H
mainwindow.cpp
获取USB摄像头硬件ID的方法见此篇博客,将编译生成的lib文件放入工作文件夹。
#include"mainwindow.h"#include"ui_mainwindow.h"extern"C"__declspec(dllexport)intgetCamIDFromPidVid(constchar* pidvid);MainWindow::MainWindow(QWidget *parent):QMainWindow(parent),ui(new Ui::MainWindow){
    ui->setupUi(this);
    camera_list =QCameraInfo::availableCameras();for(auto i =0;i<camera_list.size();i++){qDebug()<<camera_list.at(i).description();}constchar* pidvid_0 ="vid_2894&pid_0004";
    A =getCamIDFromPidVid(pidvid_0);
    std::cout << A << std::endl;constchar* pidvid_1 ="vid_1e4e&pid_0109";
    B =getCamIDFromPidVid(pidvid_1);
    std::cout << B << std::endl;constchar* pidvid_2 ="vid_30c9&pid_0041";
    C =getCamIDFromPidVid(pidvid_2);
    std::cout << C << std::endl;

    firstThread =new QThread;
    MyCamThread =new Camera;

    secondThread =new QThread;
    MyCamThread_2 =new Camera;

    thirdThread =new QThread;
    MyCamThread_3 =new Camera;

    MyCamThread->moveToThread(firstThread);
    MyCamThread_2->moveToThread(secondThread);
    MyCamThread_3->moveToThread(thirdThread);

    fps_timer.setInterval(30);connect(&fps_timer,SIGNAL(timeout()), MyCamThread,SLOT(mainwindowDisplay()));connect(MyCamThread,SIGNAL(sendPicture(QImage)),this,SLOT(recivePicture(QImage)));connect(&fps_timer,SIGNAL(timeout()), MyCamThread_2,SLOT(mainwindowDisplay()));connect(MyCamThread_2,SIGNAL(sendPicture(QImage)),this,SLOT(recivePicture_1(QImage)));connect(&fps_timer,SIGNAL(timeout()), MyCamThread_3,SLOT(mainwindowDisplay()));connect(MyCamThread_3,SIGNAL(sendPicture(QImage)),this,SLOT(recivePicture_2(QImage)));}MainWindow::~MainWindow(){delete ui;}voidMainWindow::recivePicture(QImage img){
    QImage newImg = img.scaled(ui->label->width(), ui->label->height());
    ui->label->setPixmap(QPixmap::fromImage(newImg));}voidMainWindow::recivePicture_1(QImage img){
    QImage newImg = img.scaled(ui->label_2->width(), ui->label_2->height());
    ui->label_2->setPixmap(QPixmap::fromImage(newImg));}voidMainWindow::recivePicture_2(QImage img){
    QImage newImg = img.scaled(ui->label_3->width(), ui->label_3->height());
    ui->label_3->setPixmap(QPixmap::fromImage(newImg));}voidMainWindow::on_pushButton_opencamera_clicked(){
    MyCamThread->camNumber(C);
    MyCamThread_2->camNumber(B);
    MyCamThread_3->camNumber(A);

    MyCamThread->openCamera();
    MyCamThread_2->openCamera();
    MyCamThread_3->openCamera();

    fps_timer.start();

    firstThread->start();
    secondThread->start();
    thirdThread->start();}
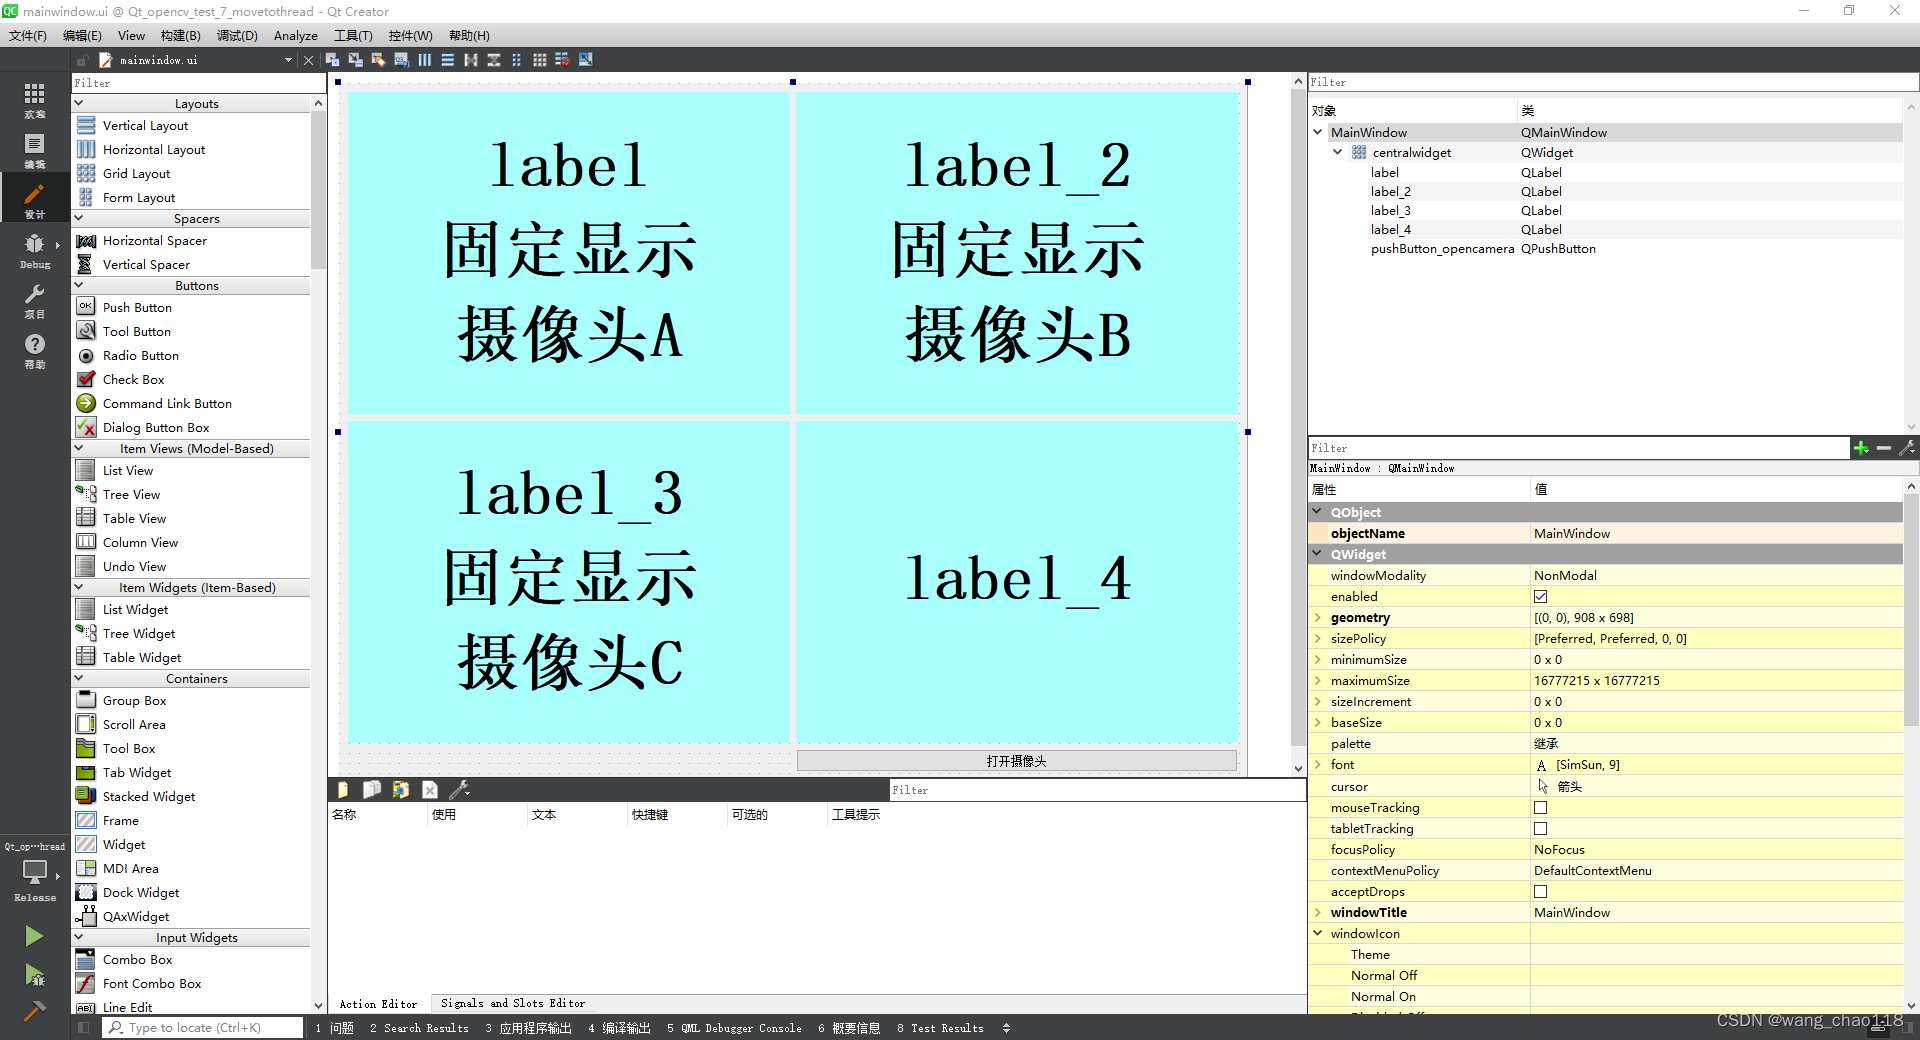
mainwindow.ui
代码资源链接
本篇博客工程文件夹内所有代码内容,请至此处下载。
本文转载自: https://blog.csdn.net/wang_chao118/article/details/126125022
版权归原作者 wang_chao118 所有, 如有侵权,请联系我们删除。
版权归原作者 wang_chao118 所有, 如有侵权,请联系我们删除。