
文章目录
此实验需要最新的sdk实现模型的迁移,最终在1684X上进行推理。
代码地址为:
http://219.142.246.77:65000/sharing/sgZNjWcYK
1. 模型概述
Stable Diffusion 是一个文本生成图像的模型,它是基于 Diffusion 模型的一个变体,Diffusion 模型是一个基于随机游走的生成模型,它可以生成高质量的图像。Stable Diffusion 模型在 Diffusion 模型的基础上,通过引入稳定性约束,使得生成的图像更加稳定,更加逼近真实图像。
2. 模型架构
Stable Diffusion 模型的架构如下图所示: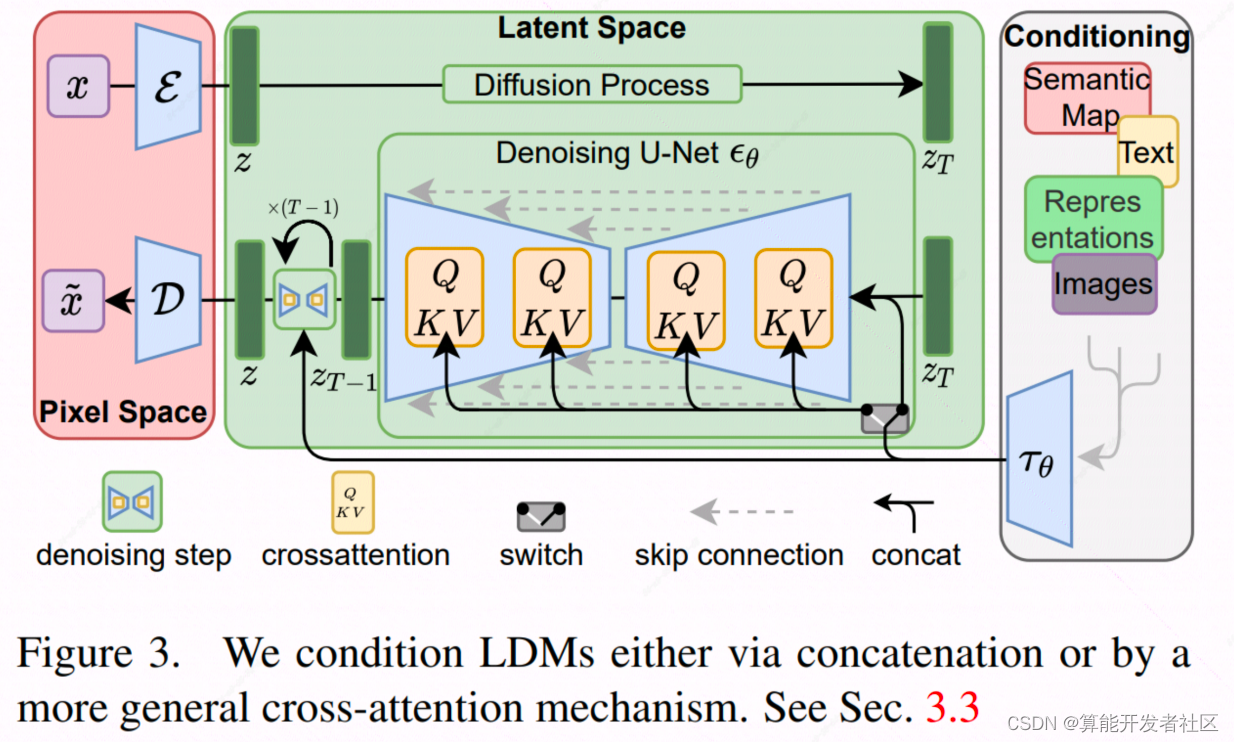
模型由3部分组成:
- CLIP text encoder: 处理文本的输入,得到语义特征
- Text conditioned unet: 通过逆扩散过程,得到图像的特征
- VQ-VAE : 通过Auto-Encoder的方式,得到图像的重构以及图像的latent space vector
3. 模型迁移流程
3.1 前置准备
- 安装必要的库
pip install diffusers==0.2.4 transformers scipy ftfy
from diffusers import StableDiffusionPipeline

# get your token at https://huggingface.co/settings/tokens
pipe = StableDiffusionPipeline.from_pretrained("CompVis/stable-diffusion-v1-4", use_auth_token=YOUR_TOKEN)

prompt ="a photograph of an astronaut riding a horse"#输入文本
image = pipe(prompt)["sample"][0]#得到生成的图片
由此可以从huggingface下载预训练模型
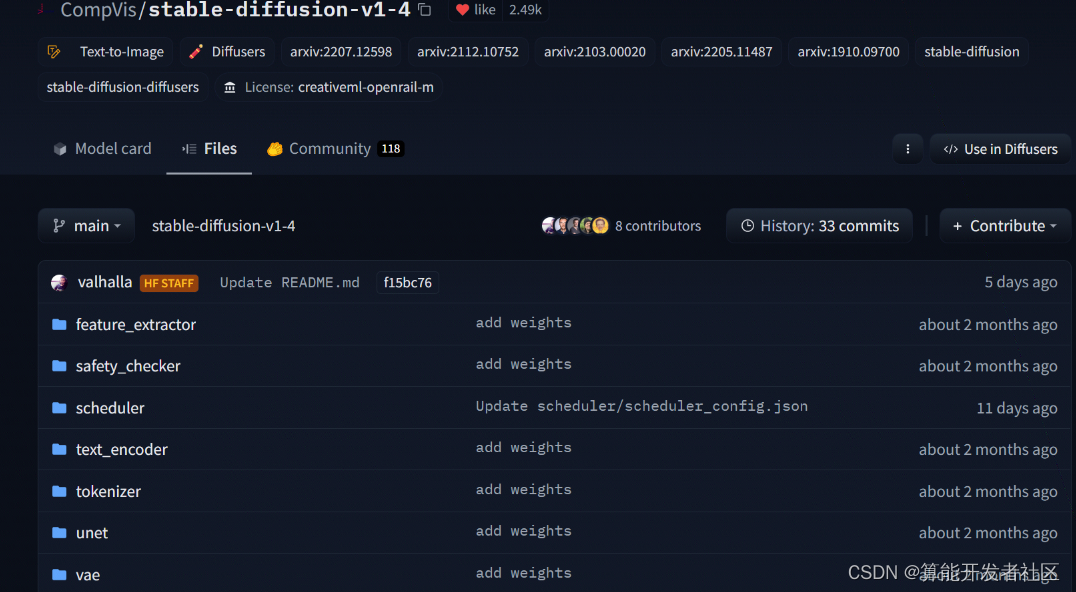
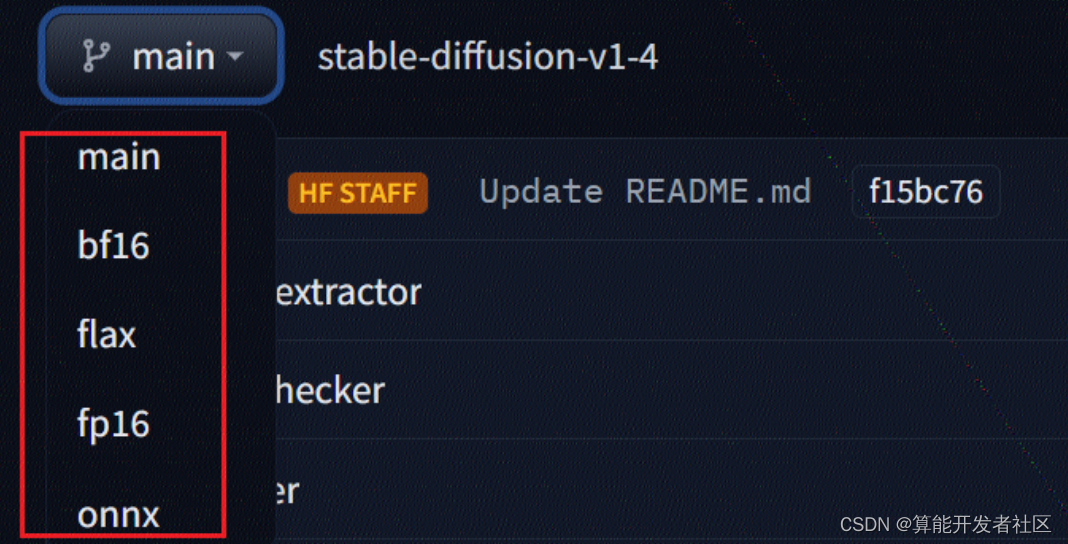
原始仓库提供了多个版本
下载的模型会在.cache里面

stable diffusion 模型由4个模型构成,需要迁移4个模型:
3.2 CLIP text encoder
可以直接使用官网上的onnx模型进行推理:
直接迁移 CLIP 中的 TextEncoder 模型。
需要注意的是: TextEncoder 模型的输入是一个文本token序列,token是从0开始的整数,对应在设置模型的描述时添加数据类型的声明。
转换脚本是:
python3 -m bmneto --model=./text_encoder.onnx \--outdir="./"\--target="BM1684"\--shapes="1,77"\--opt=1\--cmp=false \--net_name="text_encoder"\--descs="[0,int64,0,49409]"
3.3 VQ-VAE (fp16)
VAE decoder onnx 无法使用
bmneto
转换, 因此本次采用的是 PyTorch 的方式:
import torch
from diffusers import StableDiffusionPipeline

pipe = StableDiffusionPipeline.from_pretrained("/mnt/sdb/wangyang.zuo/.cache/huggingface/diffusers/CompVis--stable-diffusion-v1-4.main.7c3034b58f838791fc1c581d435c452ea80af274")deffn(input_tensor):# 构造输入函数 with torch.no_grad():return pipe.vae.decode(input_tensor)

jitmodel = torch.jit.trace(fn, torch.rand(1,4,64,64))
jitmodel.save("vae_decoder.pt")
转换命令
exportBMCOMPILER_LAYER_DTYPE_MODE=auto
exportGLOG_v=4exportBMCOMPILER_STAT_ERR=1

python3 -m bmnetp   --model=./vae_decoder.pt \--outdir="./"\--target="BM1684"\--shapes="1,4,64,64"\--net_name="vae_decoder"\--opt=2\--cmp=false
encoder 也可以采用类似的方式进行转换。
3.4 Text conditioned unet
这个模型较大,得到的jit模型有3.4G,首先需要注意的是,模型是多输入,其输入顺序如源码所示:
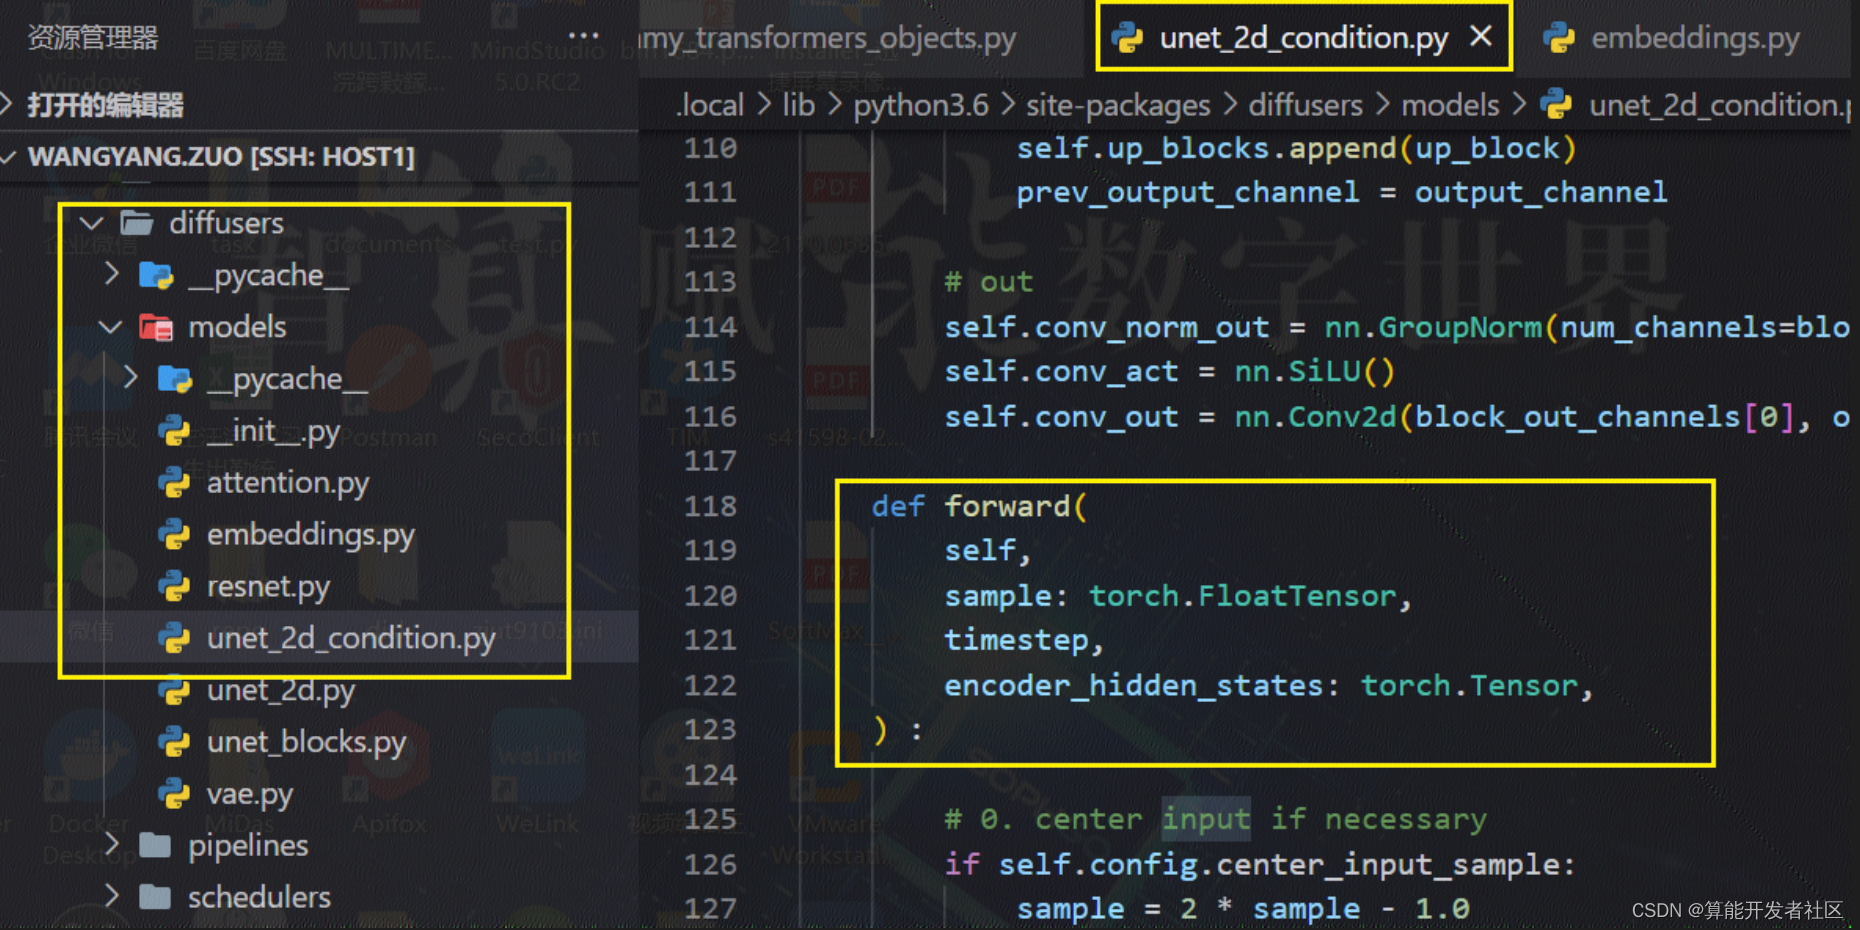
通过构造输入,得到jit模型, 其中各个输入信息如下:
timestep 1
latent_model_input.shape
(2, 4, 64, 64)
text_embeddings.shape
(2, 77, 768)
通过调试可以指导timestep的初始值为999, 因此timestep 为 torch.tensor(999).
查看源码可以看到,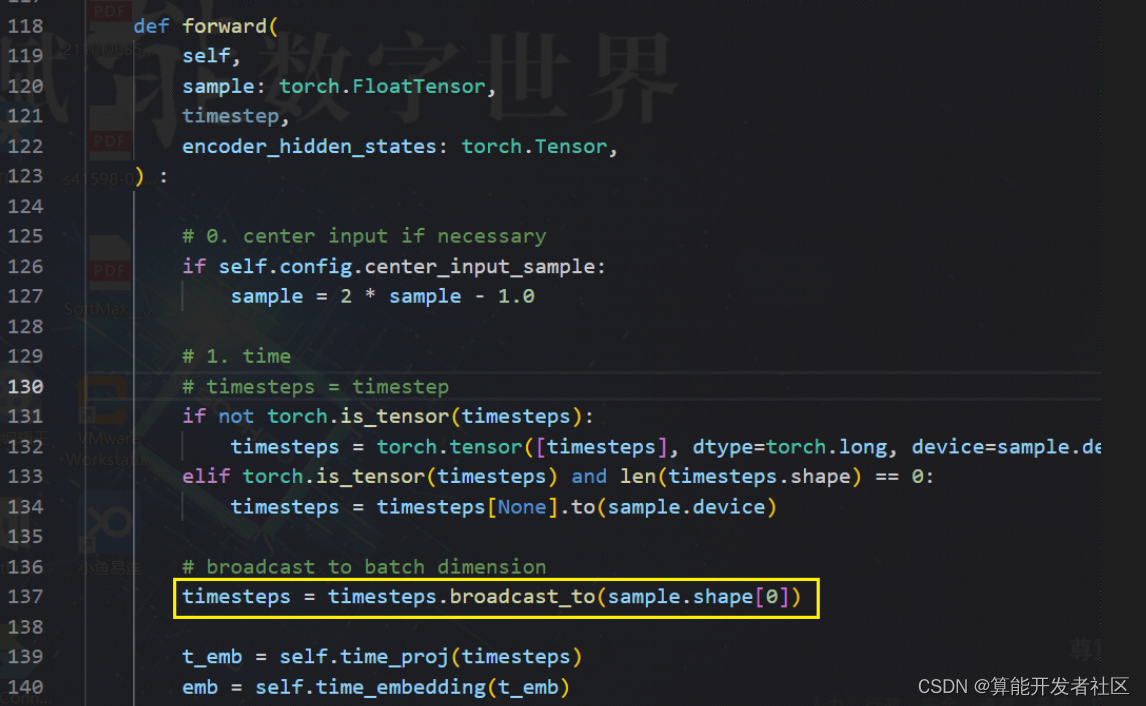
继续查看源码,发现只有这一处出现了
boardcast_to
算子, 而且是在网络前半部分出现的,只于timestamp有关,其作用时将
timestemp
的维度改为输入的
batch
维度. 因此,此算子可以抽离出来,将其转化为预处理, 因此修改源码为:
另外U-Net模型的输出是一个dict,我们将其修改为输出tensor

通过trace得到jit模型,转换命令如下:
exportBMCOMPILER_LAYER_DTYPE_MODE=auto
exportGLOG_v=4exportBMCOMPILER_STAT_ERR=1
import bmnetp
## compile fp32 model
bmnetp.compile(
  model ="./unet/unet_jit_remove_pickle_error.pt",## Necessary
  outdir ="./compilation5",## Necessary
  target ="BM1684X",## Necessary
  shapes =[[2,4,64,64],[2],[2,77,768]],## Necessary
  net_name ="unet2",## Necessary
  opt =0,
  dyn =False,cmp=True,## optional, if not set, default equal to True
  enable_profile =False,## optional, if not set, default equal to False
  desc="[1,int64,0,100]",# 额外添加的参数  )
3.5 创建pipeline
使用
sophon sail
加载模型创建pipeline。
通过
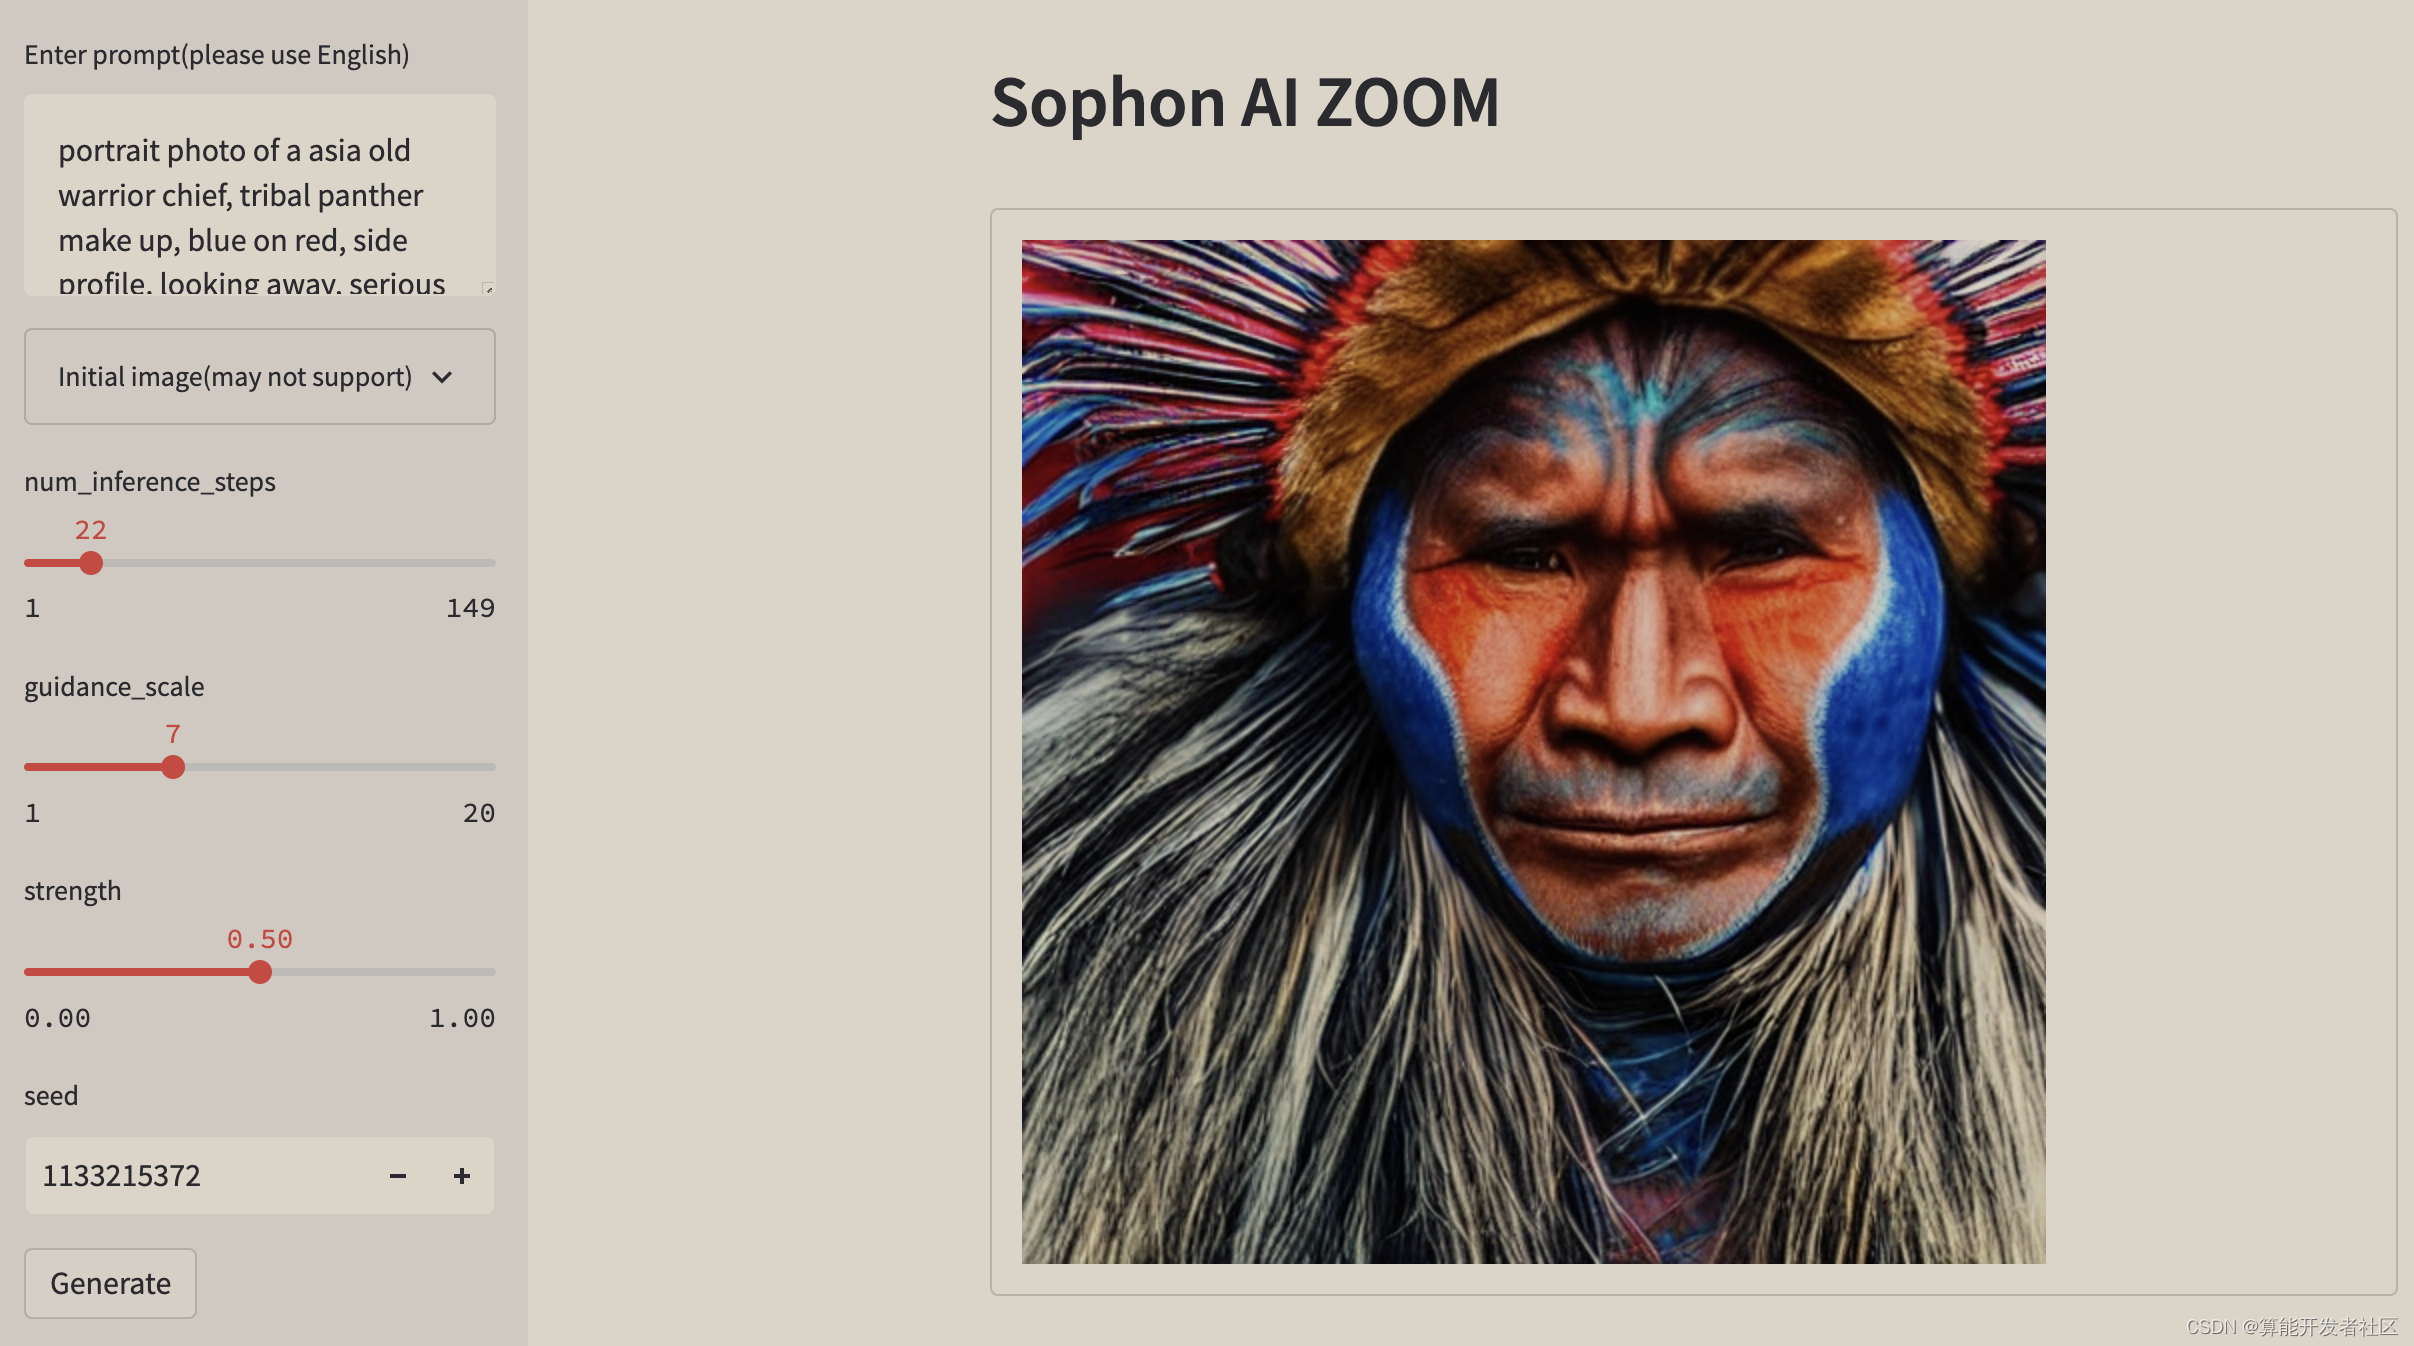
python3 demo_with_bmodel.py --prompt "portrait photo of a asia old warrior chief, tribal panther make up, blue on red, side profile, looking away, serious eyes, 50mm portrait photography, hard rim lighting photography–beta –ar 2:3 –beta –upbeta –upbeta, 4k" --num-inference-steps 32
进行测试。
可以得到如下图:
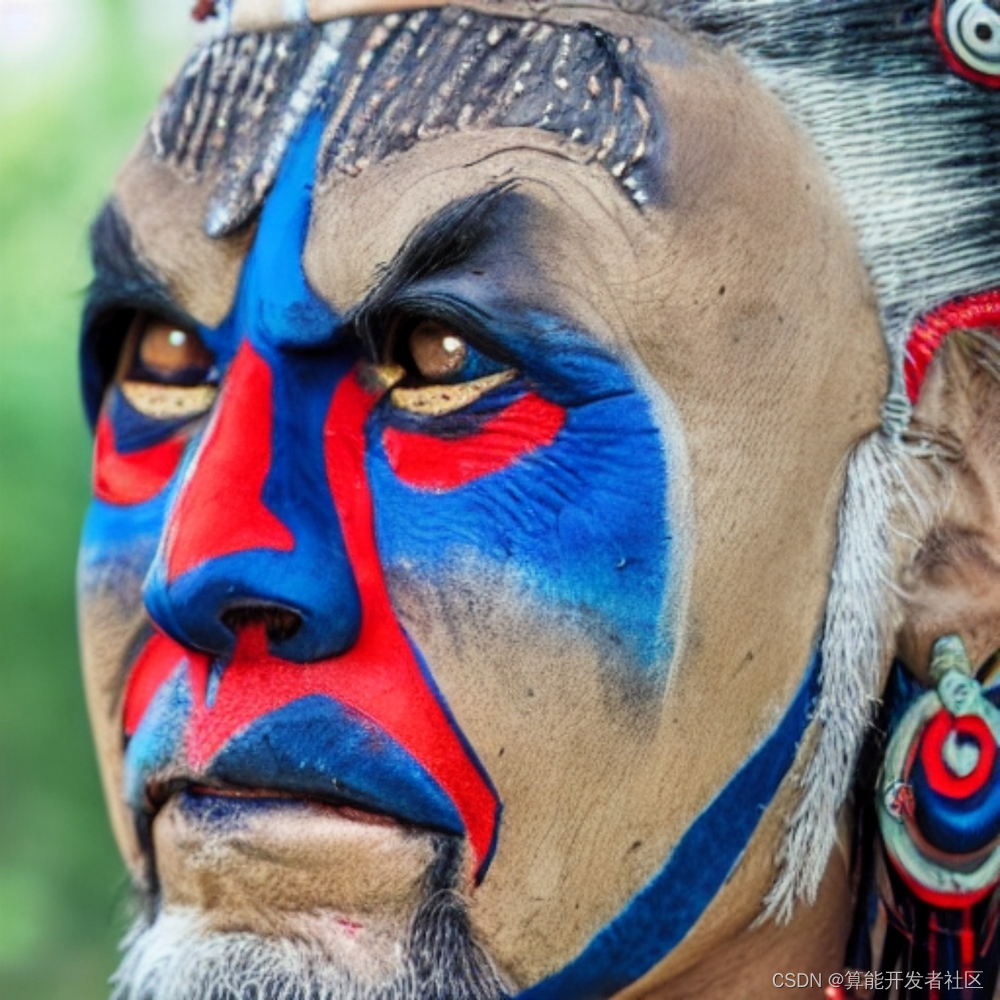
注意生成的图具有随机性,需要固定seed才能得到一摸一样的图。
3.6 web demo部署
运行
streamlit run demo_web.py
启动web服务,通过浏览器访问
http://localhost:8501
可以看到如下界面:
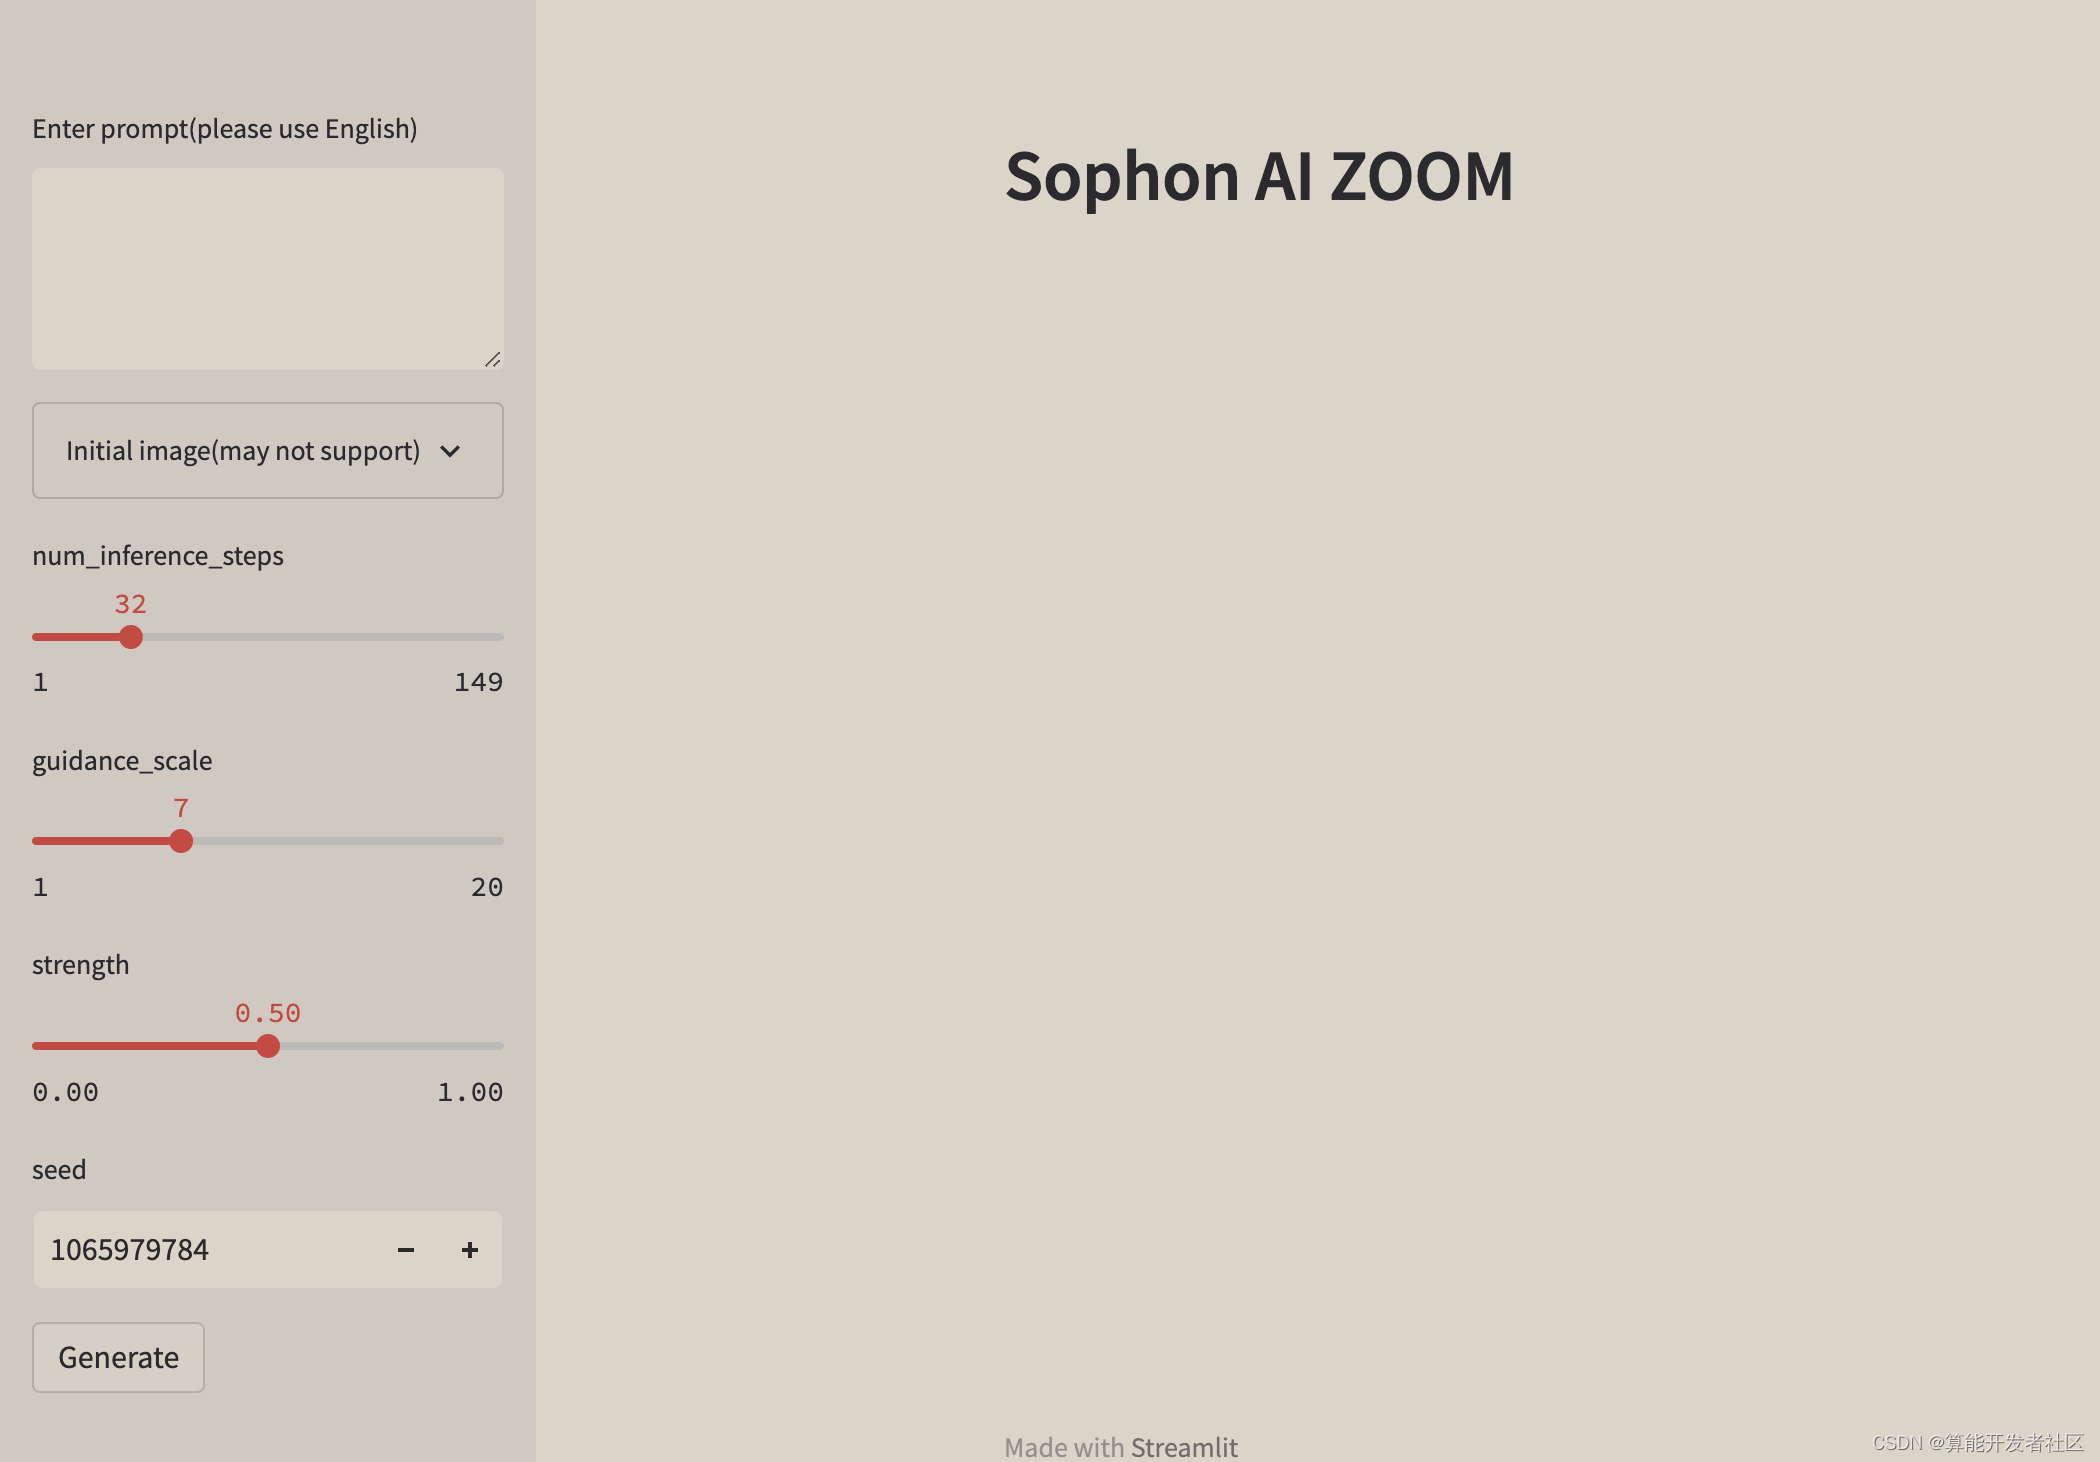
通过在输入框中输入文本描述,可以得到相应的图像,由于生成的图具有随机性,可能需要多次尝试才能得到一个比较好的结果。模型推理时间与输入文本长度无关,与 num_inference_steps 有关,其值越大,生成的图像越清晰,但是推理时间也越长。 注意根据diffusion原理,num_inference_steps不应太小,建议最少大于10.
4. 效果展示
5. 相关链接
样例开源仓库:https://github.com/sophon-ai-algo/examples
BM1684 BMNNSDK文档:https://developer.sophgo.com/site/index/document/6/all.html
编译工具用户开发手册: https://doc.sophgo.com/docs/2.7.0/docs_latest_release/nntc/html/index.html
量化工具用户开发手册:https://doc.sophgo.com/docs/2.7.0/docs_latest_release/calibration-tools/html/index.html
算能量化工具介绍及使用说明:https://www.bilibili.com/video/BV1DA4y1S75p?spm_id_from=333.999.0
官网视频教程:https://developer.sophgo.com/site/index/course/all/all.html
官网文档中心:https://developer.sophgo.com/site/index/document/all/all.html
官网下载中心:https://developer.sophgo.com/site/index/material/all/all.html
版权归原作者 算能开发者社区 所有, 如有侵权,请联系我们删除。