
目录
在平常工程项目开发过程中常常会涉及到机器学习、深度学习算法方面的开发任务,但是受限于C#等语言官方并没有提供预编译包,因此需要通过嵌入代码、调用dll、调用exe等方式。本文总结C#调用Python脚本训练并生成AI模型的各种方法。
环境说明:
CPU:AMD5800 8core 16Thread
GPU:NVIDIA GTX1080Ti
OS:Windows10 专业版
Visual Studio 2019 : .NET SDK 6.0.402(x64)
Windows SDK:Windows 10.0.19041.685
一. C#调用通过IronPython语言移植
1.1 IronPython安装
IronPython 是一种在 NET 和 Mono 上实现的 Python 语言,用于将更多的动态语音移植到NET Framework上。
需要从Visual Studio上打开,安装方式:
工具
->
NuGet包管理器
->
管理解决方案的NuGet程序包
->
搜索框输入IronPython
->
选择项目后点击安装

1.2 示例代码
CSharpCallPython.cs(C#控制台程序)
usingIronPython.Hosting;usingMicrosoft.Scripting.Hosting;usingSystem;namespaceCSharpCallPython{classProgram{staticvoidMain(string[] args){ScriptEngine pyEngine = Python.CreateEngine();//创建Python解释器对象dynamic py = pyEngine.ExecuteFile(@"test.py");//读取脚本文件int[] array =newint[9]{9,3,5,7,2,1,3,6,8};string reStr = py.main(array);//调用脚本文件中对应的函数
            Console.WriteLine(reStr);

            Console.ReadKey();}}}
Python文件test.py需要放在项目的bin/Debug也就是生成exe的目录下: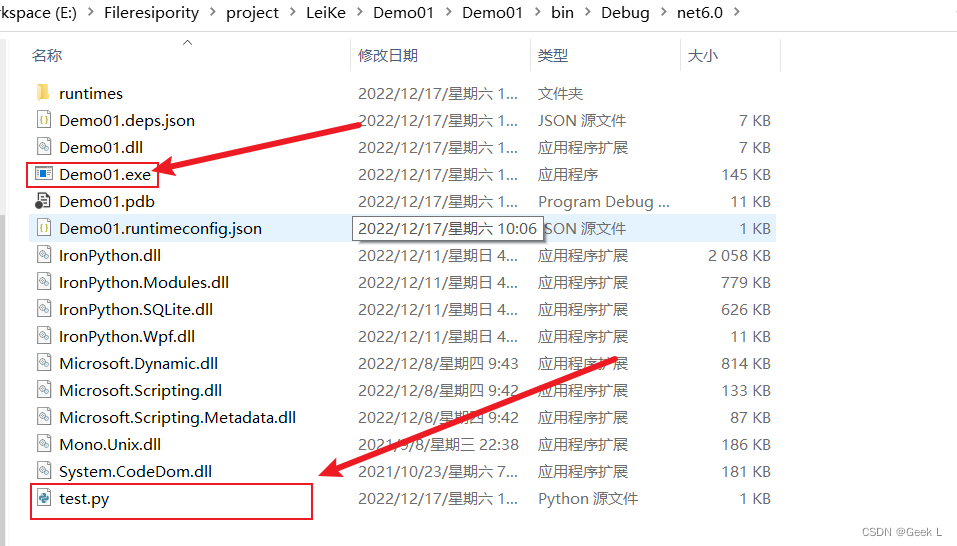
test.py
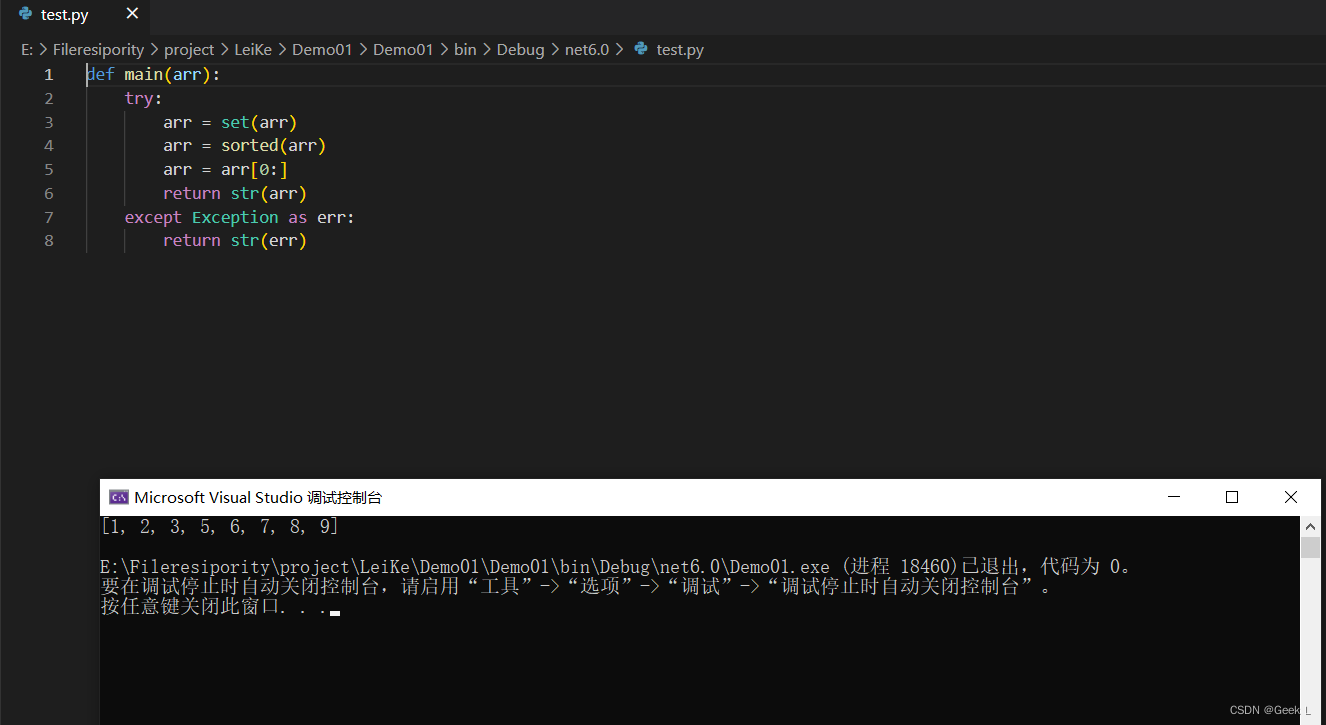
defmain(arr):try:
        arr =set(arr)
        arr =sorted(arr)
        arr = arr[0:]returnstr(arr)except Exception as err:returnstr(err)
1.3 运行结果
1.4 特点
ironPython安装包仅适用于python脚本中不包含第三方模块的情况,且需要客户机上有Python环境。
二. C#调用Python文件打包dll
2.1 步骤
2.1.1 Cython生成python脚本预编译头文件
新建一个目录,命名为"mytest2",在目录mytest2下面先编写一个名为dl.py的python源代码文件:
defstr_add(str1, str2):returnint(str1)+int(str2)
函数很简单,就是将两个字符串转换成int后相加。
在目录mytest2下面再编写一个名为run.pyx的PYX文件:
cdef public int str_add(const char* str1,const char* str2):
  return int(str1) + int(str2)
这两行的含义是将Python中的def改写为cdef,同时加入public的声明。
之后在conda环境中使用Cython运行run.pyx文件得到两个预编译头文件run.c和run.h: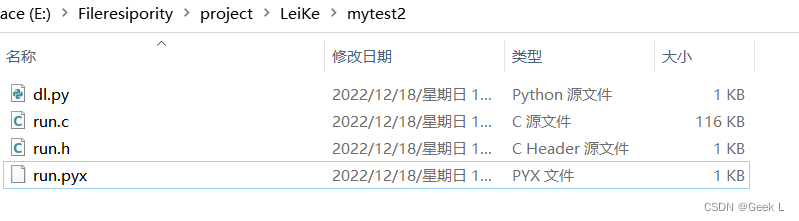
2.1.2 创建windows项目并编写源文件
新建一个
C++
控制台程序,在
源文件
中新建一个名为DllMain.cpp 的文件,用于生成dll。在Visual Studio的项目栏
头文件
一列中加入
run.c
、
run.h
两个文件: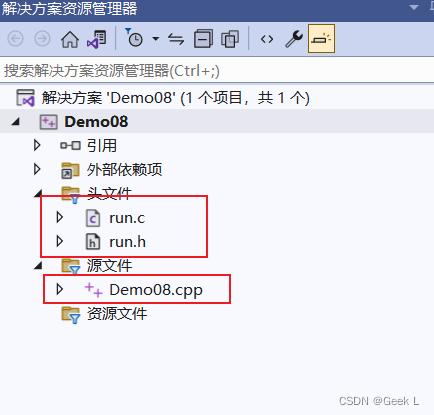
DllMain.cpp
#include<Python.h>#include<Windows.h>#include"run.h"extern"C"{__declspec(dllexport)int __stdcall _str_add(constchar* a,constchar* b)//声明导出函数,类,对象等供外面使用{returnstr_add(a, b);}}
BOOL WINAPI DllMain(HINSTANCE hinstDLL, DWORD fdwReason, LPVOID lpReserved){switch(fdwReason){case DLL_PROCESS_ATTACH:Py_Initialize();PyInit_run();//dll初始化的时候调用,这是python3的写法,python2改成,initrun()。参见生成的run.hbreak;case DLL_PROCESS_DETACH:Py_Finalize();break;}return TRUE;}
其中extern "C"这一部分相当于cpp编译器对.c文件编译时的特殊标识,相当于定义了一个区别于.cpp文件中的str_add函数(如果同名的话);PyInit_run()在run.c中有对应的函数定义。
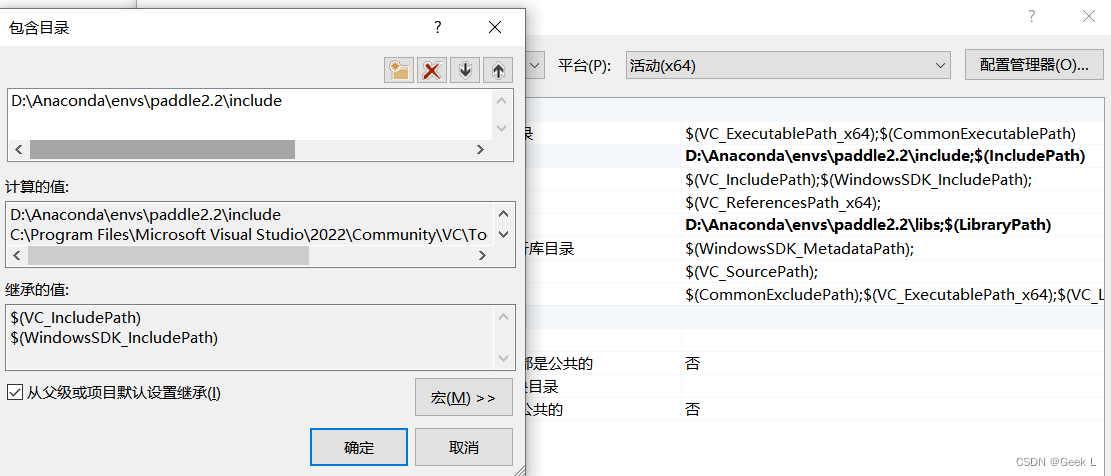
2.1.3 配置项目属性
首先选择Release模式,平台选择**活动(x64)**。
项目
->
属性
->
VC++目录
->
包含目录
->中加入Conda虚拟环境的
include路径
:
项目
->
属性
->
VC++目录
->
库目录
->加入Conda虚拟环境的
libs
路径`: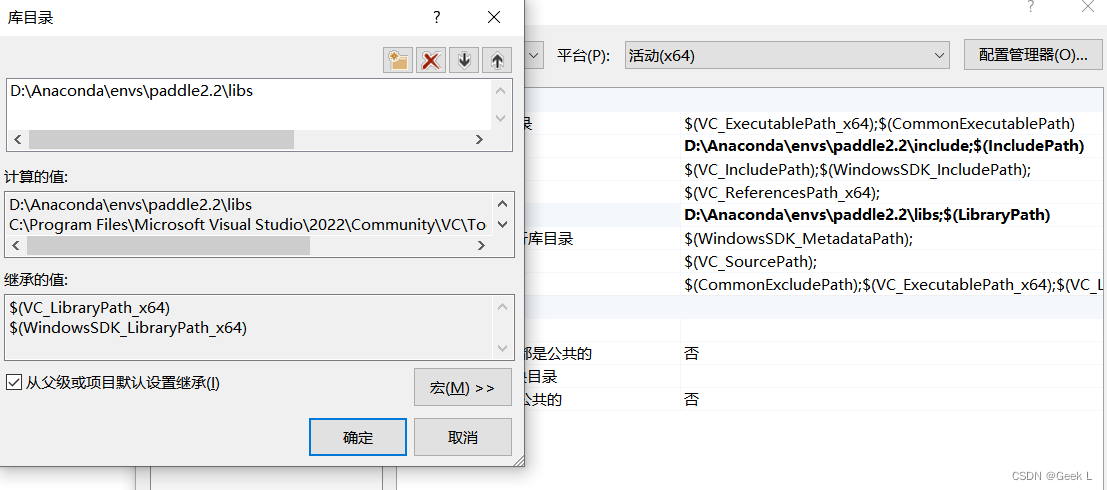
然后项目
属性
中
链接器
->
输入
->
附加依赖项
->选择加入Conda虚拟环境的
libs
路径`: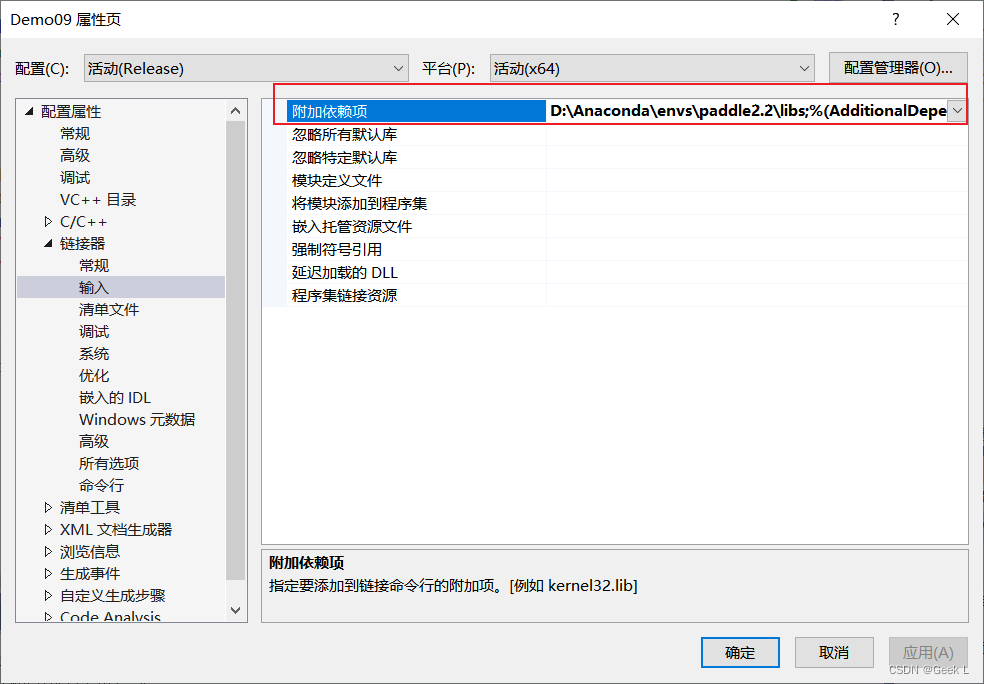
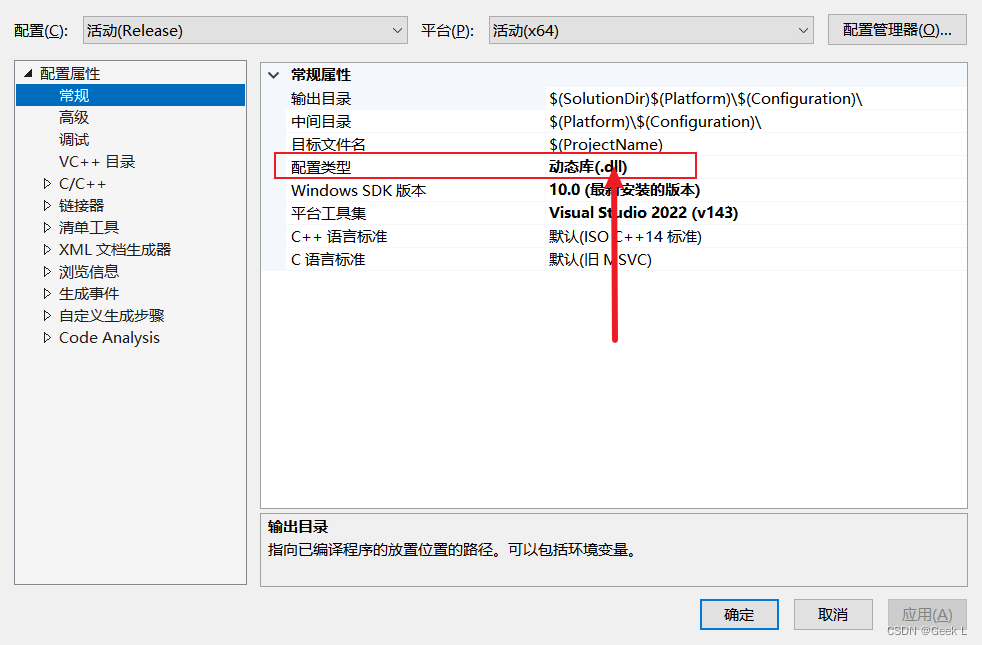
配置属性
->
常规
->
配置类型
->选择
dll
C/C++
->
常规
->
附加包含目录
->加入
include
目录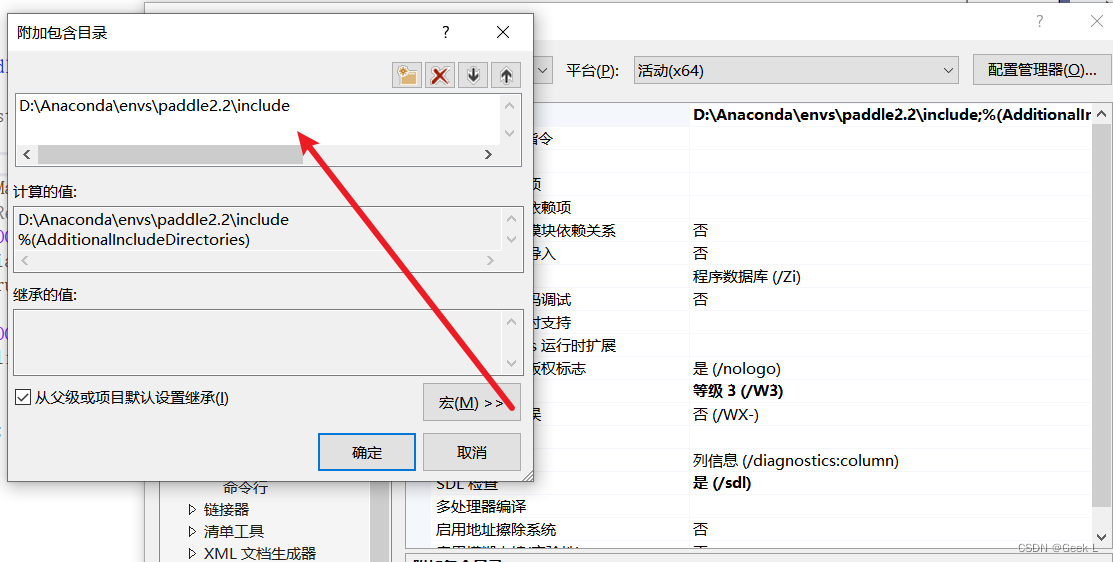
2.1.4 运行项目生成dll
生成后的dll路径在
项目名/x64/Realease
中。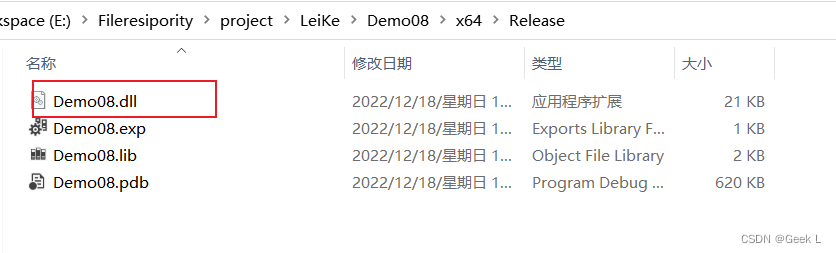
2.1.5 测试生成的dll
新建一个C++控制台项目,建立源文件Demo.cpp用于加载dll做测试。项目同样选择Release模式和**(活动)x64**平台:
Demo.cpp
#include<Windows.h>#include<iostream>#include<tchar.h>usingnamespace std;intmain(){typedefint(*pAdd)(constchar* a,constchar* b);// python_to_DLL.dll为你的dll名字,注意修改
    HINSTANCE hDLL =LoadLibrary(_T("E:\Fileresipority\project\LeiKe\Demo09\Demo09\Demo08.dll"));
    cout <<"hDLL:"<< hDLL << endl;if(hDLL){// 获取DLL中需要调用的函数的地址
        pAdd pFun =(pAdd)GetProcAddress(hDLL,"_str_add");
        cout <<"pFun:"<< pFun << endl;constchar* stra ="12";constchar* strb ="22";if(pFun){int i =pFun(stra, strb);
            cout <<"i = "<< i << endl;}}// 调用dll测试//将字符变成int然后相加system("pause");return0;}
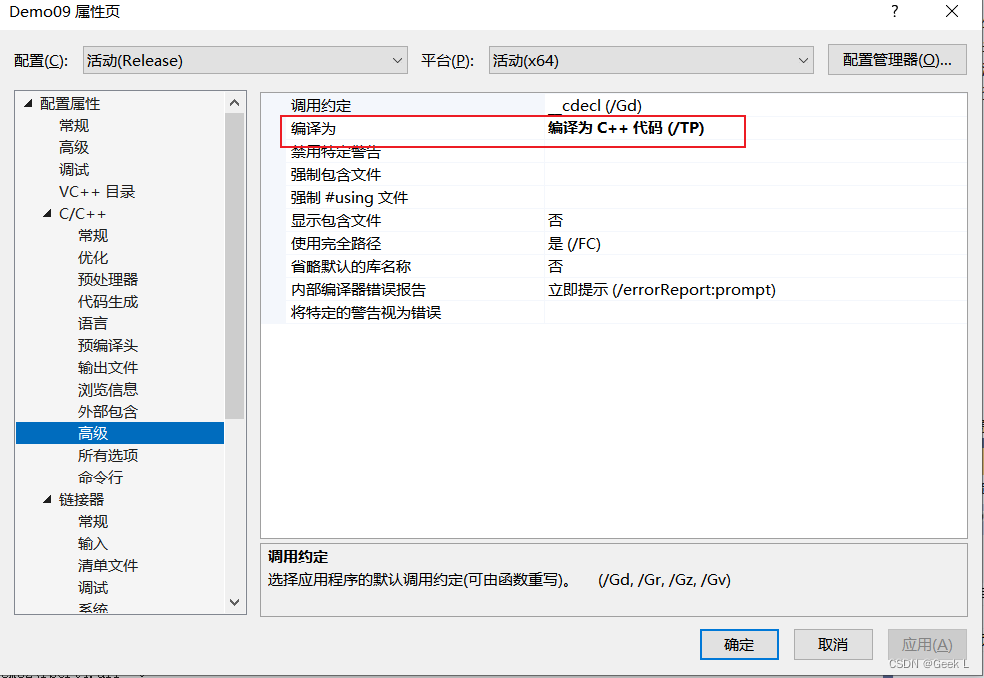
C/C++
->
高级
->
编译为
->选择
编译为C++代码
:
编译运行后加载dll并输出结果: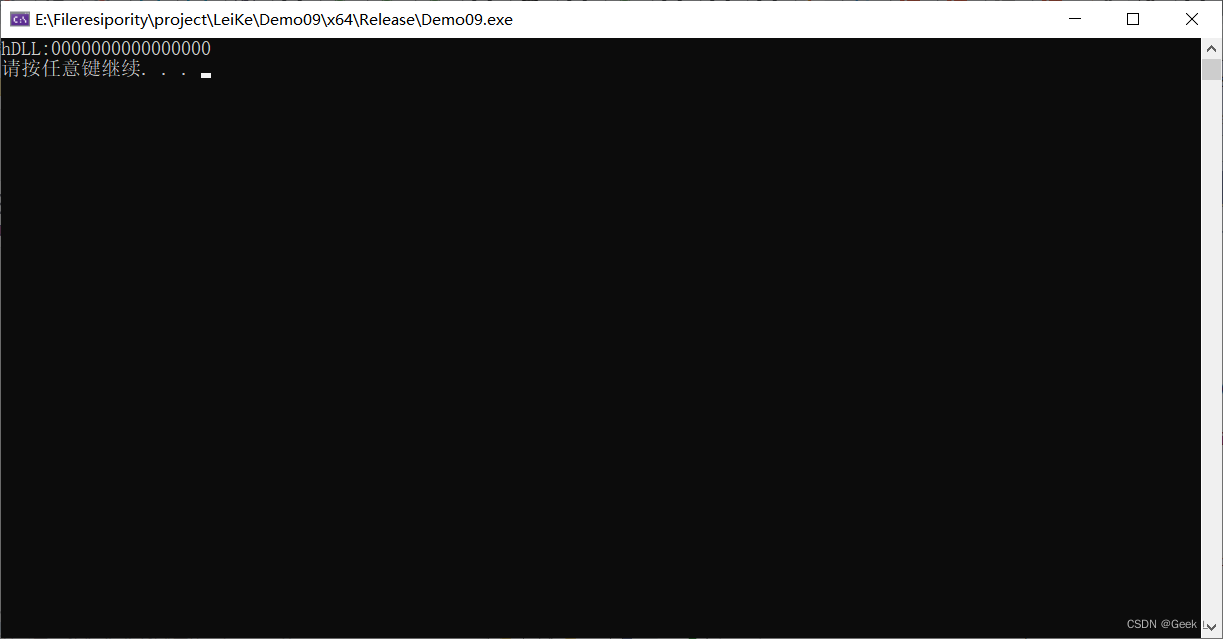
2.2 限制
实现方式很复杂,并且受python版本、(python/vs)32/64位影响,而且要求用户必须有python运行环境。
三. C#命令行调用.py文件执行
3.1 代码
AI模型这里使用Paddle框架的PaddleX工具快速训练并生成模型文件(以蔬菜分类为例),有关PaddleX的使用详见我的《深度学习》专栏。
Test.cs(C#控制台程序)
usingSystem;usingSystem.Collections;usingSystem.Diagnostics;namespaceTest{classProgram{staticvoidMain(string[] args){Process p =newProcess();string path =@"E:\Fileresipority\project\LeiKe\Demo02\Demo02\bin\Debug\reset_ipc.py";//待处理python文件的路径,本例中放在debug文件夹下string sArguments = path;
            p.StartInfo.FileName =@"D:\Anaconda\envs\paddle2.2\python.exe";//PaddleX环境中对应python3.7的安装路径
            p.StartInfo.Arguments = sArguments;//python命令的参数
            p.StartInfo.UseShellExecute =false;
            p.StartInfo.RedirectStandardOutput =true;
            p.StartInfo.RedirectStandardInput =true;
            p.StartInfo.RedirectStandardError =true;
            p.StartInfo.CreateNoWindow =true;
            p.Start();//启动进程

            Console.WriteLine("执行完毕!");

            Console.ReadKey();}}}
reset_ipc.py
import paddle
import paddlex as pdx
from paddlex import transforms as T
# 定义训练和验证时的transforms# API说明:https://github.com/PaddlePaddle/PaddleX/blob/develop/docs/apis/transforms/transforms.md
train_transforms = T.Compose([T.RandomCrop(crop_size=224), T.RandomHorizontalFlip(), T.Normalize()])
eval_transforms = T.Compose([
T.ResizeByShort(short_size=256), T.CenterCrop(crop_size=224), T.Normalize()])# 定义训练和验证所用的数据集# API说明:https://github.com/PaddlePaddle/PaddleX/blob/develop/docs/apis/datasets.md
train_dataset = pdx.datasets.ImageNet(
data_dir='../vegetables_cls/',
file_list='../vegetables_cls/train_list.txt',
label_list='../vegetables_cls/labels.txt',
transforms=train_transforms,
shuffle=True)
eval_dataset = pdx.datasets.ImageNet(
data_dir='../vegetables_cls/',
file_list='../vegetables_cls/val_list.txt',
label_list='../vegetables_cls/labels.txt',
transforms=eval_transforms)# 初始化模型,并进行训练# 可使用VisualDL查看训练指标,参考https://github.com/PaddlePaddle/PaddleX/blob/develop/docs/visualdl.md
num_classes =len(train_dataset.labels)
model = pdx.cls.MobileNetV3_large(num_classes=num_classes)# 自定义优化器:使用CosineAnnealingDecay
train_batch_size =32
num_steps_each_epoch =len(train_dataset)// train_batch_size
num_epochs =10
scheduler = paddle.optimizer.lr.CosineAnnealingDecay(
learning_rate=.001, T_max=num_steps_each_epoch * num_epochs)
warmup_epoch =5
warmup_steps = warmup_epoch * num_steps_each_epoch
scheduler = paddle.optimizer.lr.LinearWarmup(
learning_rate=scheduler,
warmup_steps=warmup_steps,
start_lr=0.0,
end_lr=.001)
custom_optimizer = paddle.optimizer.Momentum(
learning_rate=scheduler,
momentum=.9,
weight_decay=paddle.regularizer.L2Decay(coeff=.00002),
parameters=model.net.parameters())# API说明:https://github.com/PaddlePaddle/PaddleX/blob/95c53dec89ab0f3769330fa445c6d9213986ca5f/paddlex/cv/models/classifier.py#L153# 各参数介绍与调整说明:https://paddlex.readthedocs.io/zh_CN/develop/appendix/parameters.html
model.train(
num_epochs=num_epochs,
train_dataset=train_dataset,
train_batch_size=train_batch_size,
eval_dataset=eval_dataset,
optimizer=custom_optimizer,
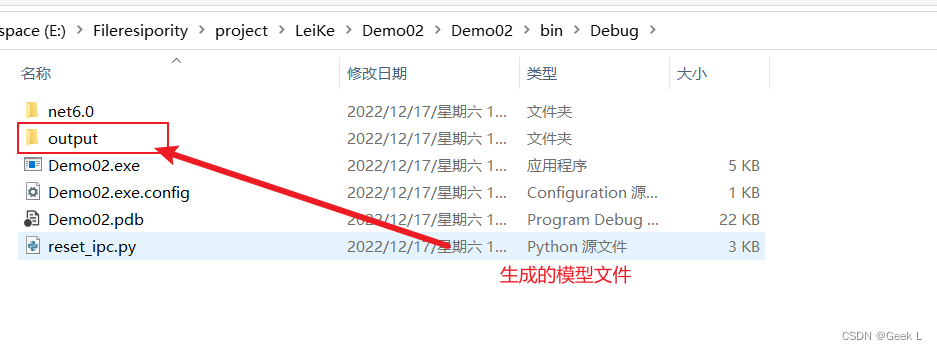
save_dir='output/mobilenetv3_large',
use_vdl=True)
3.3 运行结果
3.4 特点
优点:适用于python脚本中包含第三方模块的情况,且执行速度只比在python本身环境中慢一点,步骤也相对简单。
缺点:需要用户有python环境。
四. C#调用Python可执行exe
4.1 步骤
使用命令行进行传参取返回值
4.1.1 使用pyinstaller打包python程序
安装pyInstaller:
pip install pyInstaller

打包训练模型的py文件:
pyInstaller -F reset_ipc.py
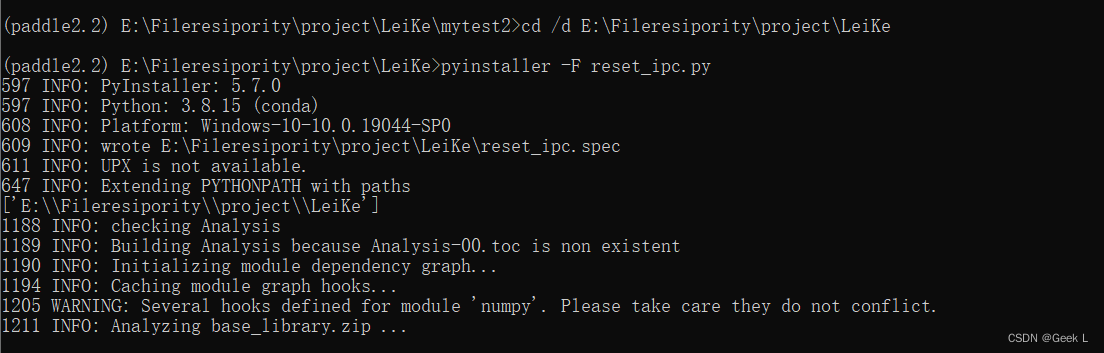
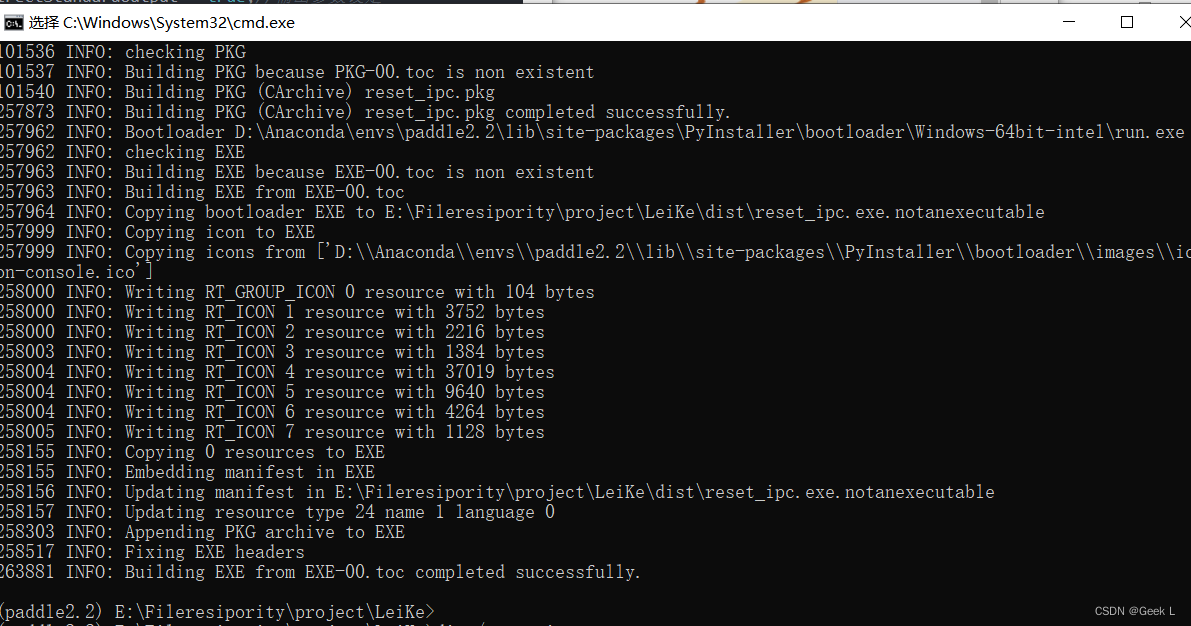
打包的过程非常漫长,可见深度学习的python程序非常臃肿。
运行成功后在
dist
目录下有reset_ipc.exe文件生成: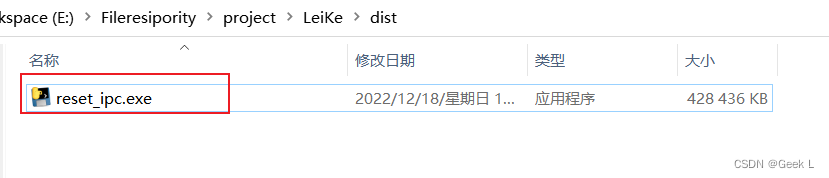
4.1.2 在c#中调用此exe文件
Demo02.cs
namespaceWpfTest2{/// <summary>/// MainWindow.xaml 的交互逻辑/// </summary>在这里插入图片描述publicpartialclassMainWindow:Window{publicMainWindow(){InitializeComponent();}privatevoidButton_Click(object sender,RoutedEventArgs e){//string debugPath = System.Environment.CurrentDirectory;           //此c#项目的debug文件夹路径string pyexePath =@"E:\Fileresipority\project\LeiKe\dist\reset_ipc.exe";//python文件所在路径,一般不使用绝对路径,此处仅作为例子,建议转移到debug文件夹下Process p =newProcess();
            p.StartInfo.FileName = pyexePath;//需要执行的文件路径
            p.StartInfo.UseShellExecute =false;//必需
            p.StartInfo.RedirectStandardOutput =true;//输出参数设定
            p.StartInfo.RedirectStandardInput =true;//传入参数设定
            p.StartInfo.CreateNoWindow =true;
            p.StartInfo.Arguments ="2 3";//参数以空格分隔,如果某个参数为空,可以传入””
            p.Start();string output = p.StandardOutput.ReadToEnd();
            p.WaitForExit();//关键,等待外部程序退出后才能往下执行}
            Console.Write(output);//输出
            p.Close();}}}
打包显示成功了,但运行结果不太理想,事实证明打包深度学习的exe不是很容易:

4.2 特点
优点:无需安装python运行环境
缺点:
1、可能是因为要展开exe中包含的python环境,执行速度很慢。
2、因为是命令行传参形式,需要手动传参:。
3、深度学习项目打包困难。
版权归原作者 东洋 Dongyang 所有, 如有侵权,请联系我们删除。