github项目地址:AUTOMATIC1111/stable-diffusion-webui
前提:
git已经安装(这个很简单,可以去其他教程看)
安装python 3.10.9,这里稍微说一下,用Anaconda或者python官网的环境都是可以的。只要能找到下面这个python.exe文件的位置就可以。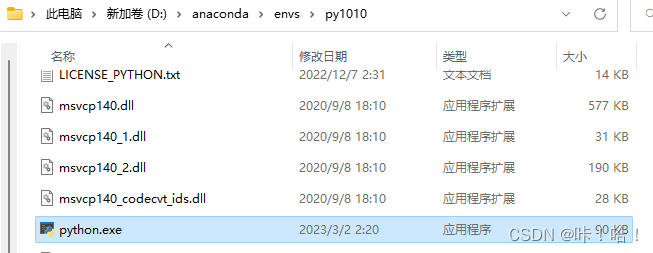
使用git下载novel AI源码
①右键空白的地方-》Git Bash Here -》输入:
git clone https://ghproxy.com/https://github.com/AUTOMATIC1111/stable-diffusion-webui.git

②成功后会出现下面这样一个文件:
③进入到这个文件夹后会找到下面这样一个文件webui-user.bat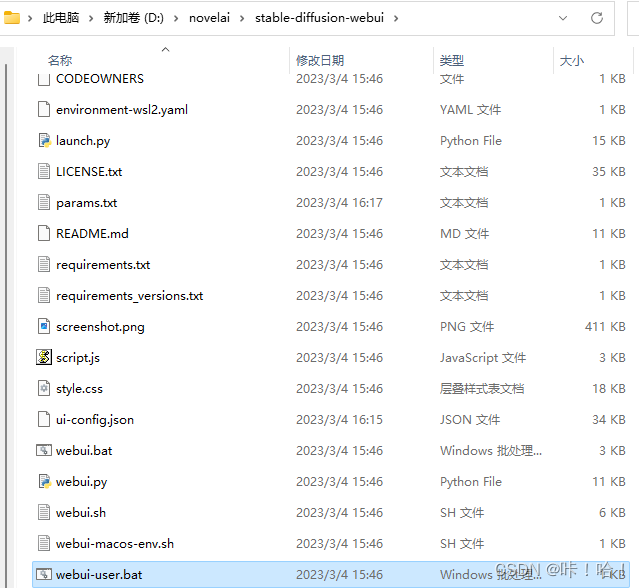
④使用记事本打开后把刚才找到的python.exe文件路径放进去、保存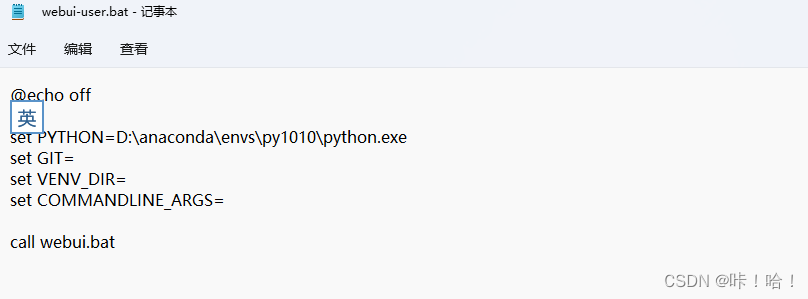
⑤双击webui-user.bat文件
如果你的网络够好,它可以下载,你就等等,直接看第⑦步
如果你网络不好,那么跟我走下一步。
进入到torchvision下载torchvision-0.14.1+cpu-cp310-cp310-win_amd64.whl
进入到torch下载torch-1.13.1+cu117-cp310-cp310-win_amd64.whl
找到这个python.exe文件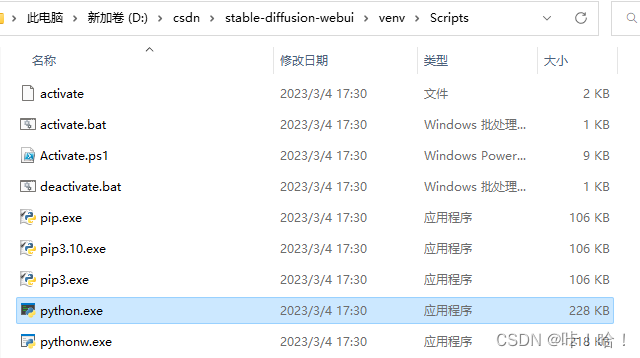
接着打开cmd输入如下代码
D:\csdn\stable-diffusion-webui\venv\Scripts\python.exe -m pip config set global.index-url https://pypi.douban.com/simple/

⑥安装刚刚下载好的两个文件
输入
D:\csdn\stable-diffusion-webui\venv\Scripts\python.exe -m pip install D:\chromeDownLoad\torch-1.13.1+cu117-cp310-cp310-win_amd64.whl
等待安装完成,再输入
D:\csdn\stable-diffusion-webui\venv\Scripts\python.exe -m pip install D:\chromeDownLoad\torchvision-0.14.1+cu117-cp310-cp310-win_amd64.whl
⑦双击webui-user.bat后,会发现不用安装torch和torchvision了。接着会卡在Installing gfpgan。我们关掉这个窗口。
打开cmd,再次输入
D:\csdn\stable-diffusion-webui\venv\Scripts\python.exe -m pip config set global.index-url https://pypi.douban.com/simple/
输入
D:\csdn\stable-diffusion-webui\venv\Scripts\python.exe -m pip install gfpgan


等待安装完成。
⑧双击webui-user.bat文件,这时候就会显示Installing clip
这个时候我们就不要用pip直接安装了
我们用记事本打开与webui-user.bat在同一目录的launch.py文件,ctrl+f搜索clip,找到下面的代码,右面有一个地址https://github.com/openai/CLIP.git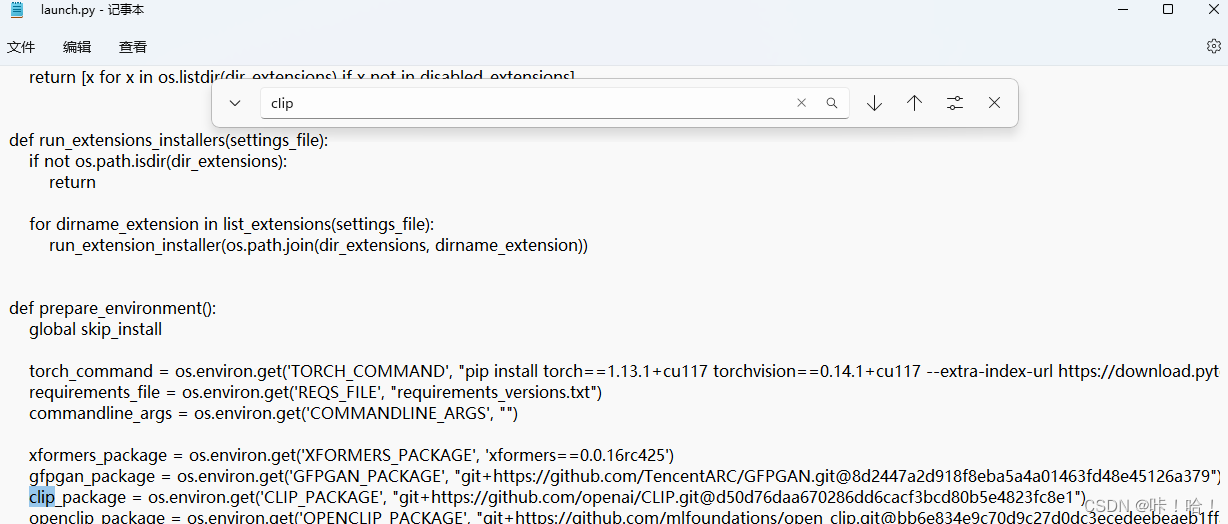
我们随便找一个地方右键-》git bash here
输入
git clone https://ghproxy.com/https://github.com/openai/CLIP.git
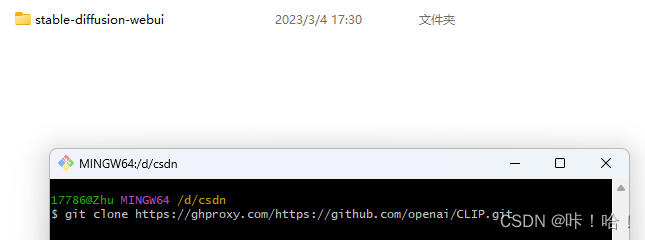
cmd切进这个新下载的目录,输入
D:\csdn\stable-diffusion-webui\venv\Scripts\python.exe setup.py install

⑨双击webui-user.bat文件,这时候就会显示Installing open_clip
与clip类似,用同样的方法安装,我就不写了。
⑩安装
我们打开与webui-user.bat在同一目录的repositories目录,在此目录下使用
git clone https://ghproxy.com/https://github.com/Stability-AI/stablediffusion.git
git clone https://ghproxy.com/https://github.com/CompVis/taming-transformers.git
git clone https://ghproxy.com/https://github.com/crowsonkb/k-diffusion.git
git clone https://ghproxy.com/https://github.com/salesforce/BLIP.git
git clone https://ghproxy.com/https://github.com/sczhou/CodeFormer.git
需要注意的一点是,第一条命令下载后的目录名是
我们需要将它改为launch.py中写的文件名
最后在repositories得到的文件如下所示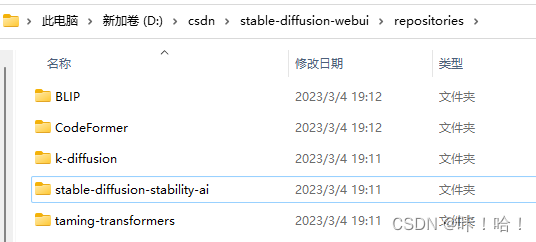
11、双击webui-user.bat文件,等待片刻后会显示缺一个ftfy文件
我们使用命令
D:\csdn\stable-diffusion-webui\venv\Scripts\python.exe -m pip install ftfy
12、双击webui-user.bat文件,开始下载模型
下载完成后,就可以运行了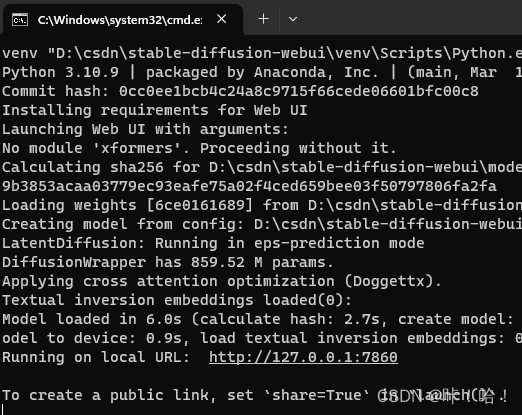
在浏览器中输入http://127.0.0.1:7860
大功告成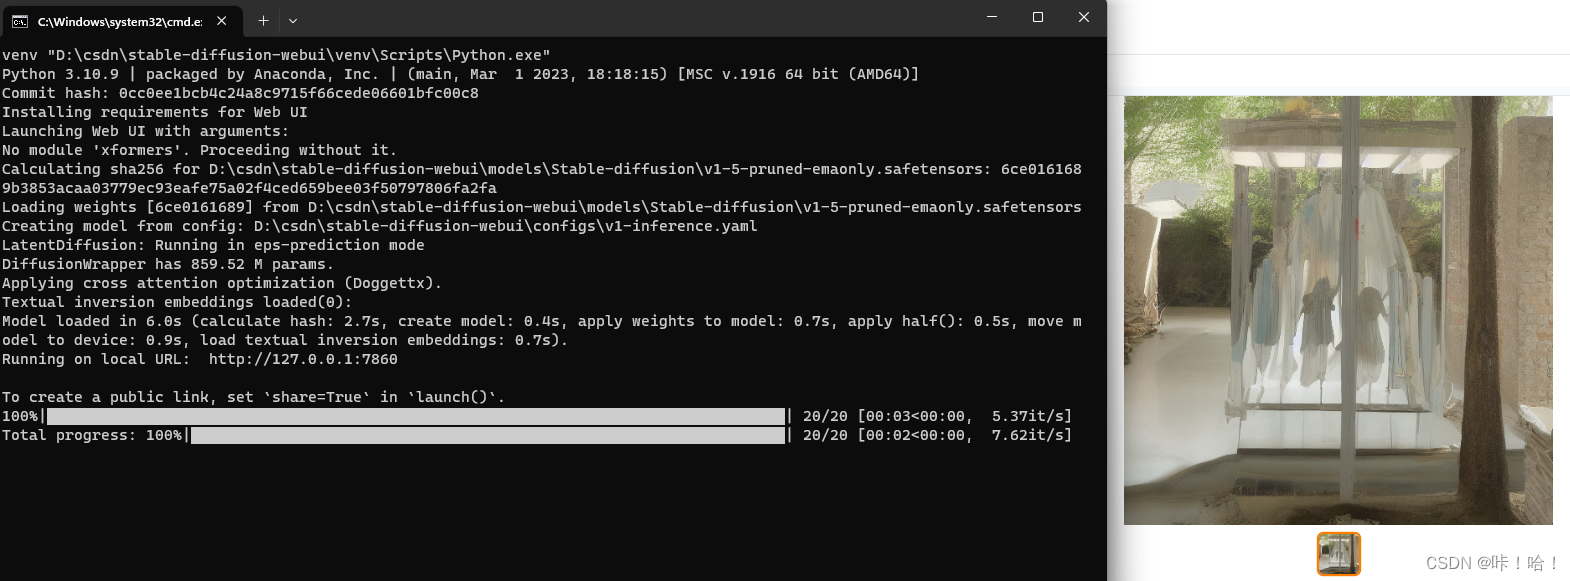
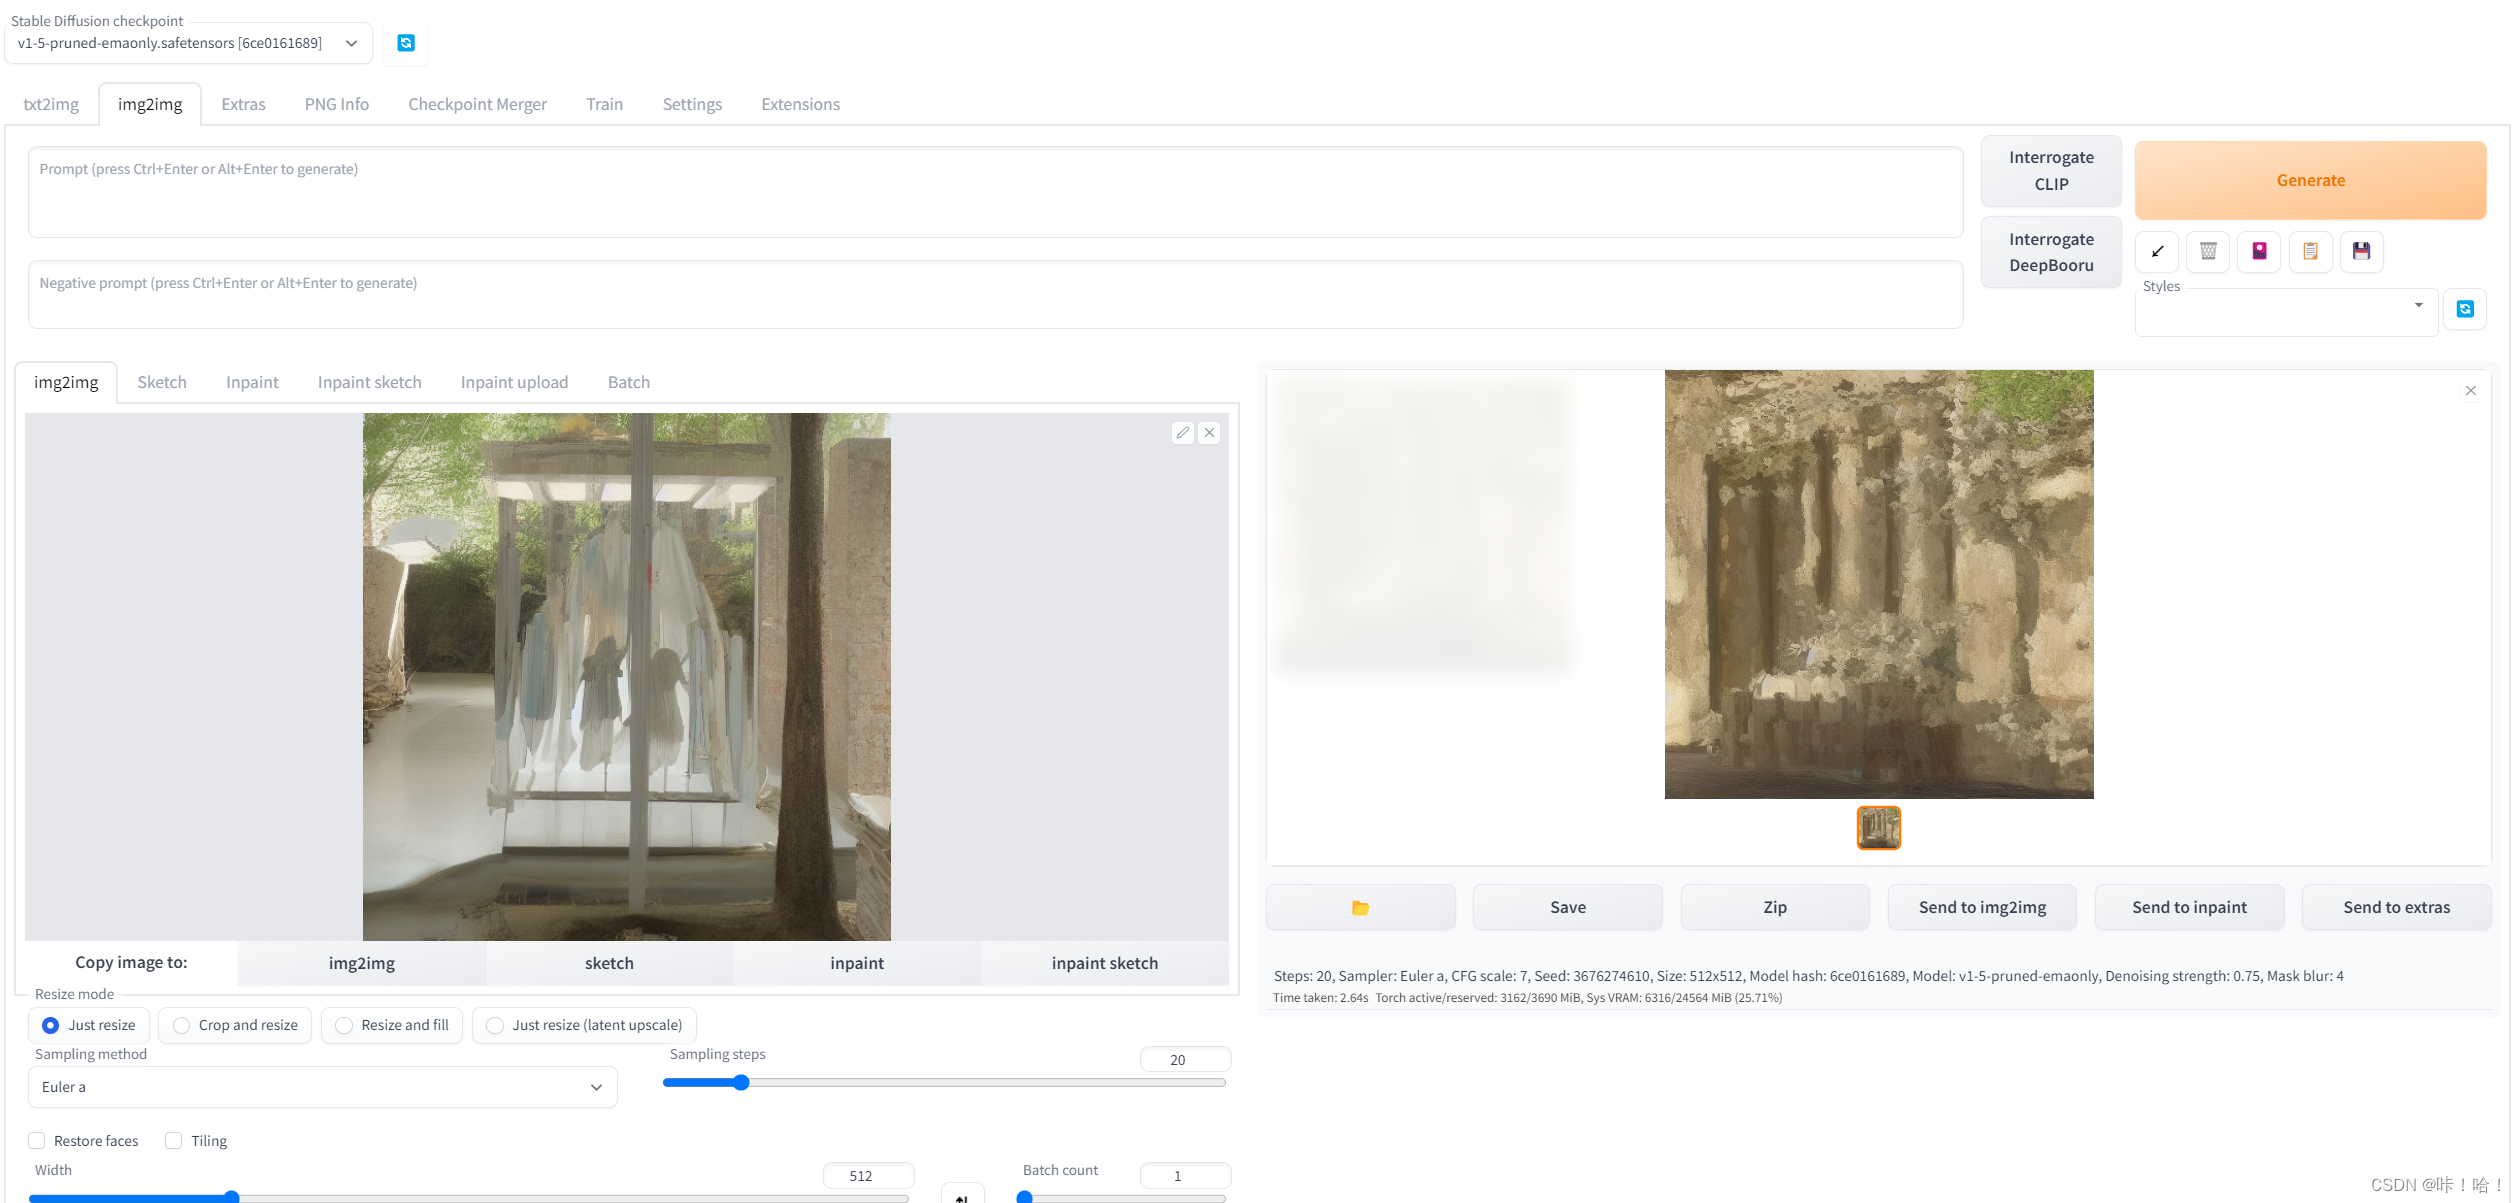
[补充:最后会出现No module ‘xformers’. Proceeding without it.问题,这个问题不管也没关系,加了这个包会加了这个会省一点显存和提一点速度
如果想解决这个问题,可以参考此链接:https://www.bilibili.com/read/cv20259334。不过我按照他的方法配置了后,运行就报错了,有大佬知道是啥问题,可以在评论区说一下。]
版权归原作者 咔!哈! 所有, 如有侵权,请联系我们删除。