
2023年最火爆的分割模型莫过于SAM,截止今天2024年1月19日,github上的star已经达到了41.7k的惊人数量。下面我们来体会一下如何运行这个模型,以及如何用C++部署这个模型。
检查cuda环境
我的Cuda版本是12.0.1,如下,

Cudnn是在官网下载的版本,
cudnn-windows-x86_64-8.9.2.26_cuda12-archive.zip
如果没有cuda也没关系,测试嘛,运行cpu版本就行。有cuda后面要注意版本问题。
下载SAM
SAM的官网地址是:https://github.com/facebookresearch/segment-anything
(base) D:\aiSeg> git clone --recursive https://github.com/facebookresearch/segment-anything
(base) D:\aiSeg>cd segment-anything;
(base) D:\aiSeg\segment-anything>
配置anaconda环境
(base) D:\aiSeg\segment-anything> conda ctreate -n seg
(base) D:\aiSeg\segment-anything> conda activate seg
(seg) D:\aiSeg\segment-anything>
然后,按照pytorch上的说明安装,详情可以参考:
PyTorch
(seg) D:\aiSeg\segment-anything> conda install pytorch torchvision torchaudio pytorch-cuda=12.1 -c pytorch -c nvidia
这里选pytorch-cuda=12.1,反正后面也没碰到啥问题,就酱。
再然后安装cudatools,默认安装了11.8,
(seg) D:\aiSeg\segment-anything> conda install cudatoolkit
The following NEW packages will be INSTALLED:
cudatoolkit pkgs/main/win-64::cudatoolkit-11.8.0-hd77b12b_0
再安装segment-anything,
(seg) D:\aiSeg\segment-anything>pip install -e .
Obtaining file:///D:/aiSeg/segment-anything
Preparing metadata (setup.py) ... done
Installing collected packages: segment-anything
Running setup.py develop for segment-anything
Successfully installed segment-anything-1.0
还有OpenCV等等等等要安装。。。。
(seg) D:\aiSeg\segment-anything>conda install opencv
The following NEW packages will be INSTALLED:
opencv pkgs/main/win-64::opencv-4.6.0-py311h5d08a89_5
(seg) D:\aiSeg\segment-anything>
测试SAM
安装完毕后,用vscode直接打开segment-anything文件夹,选择要测试运行的amg.py文件,

然后配置launch.json中的参数,内容如下,
{
    // Use IntelliSense to learn about possible attributes.
    // Hover to view descriptions of existing attributes.
    // For more information, visit: https://go.microsoft.com/fwlink/?linkid=830387
    "version": "0.2.0",
    "configurations": [
        {
            "name": "Python: Current File",
            "type": "python",
            "request": "launch",
            "program": "${file}",
            "console": "integratedTerminal",
            "justMyCode": false,
            "args": [
                "--input=D:/aiImages/SoderbergLenna/Lenna.png",
                "--output=D:/aiImages/SoderbergLenna/",
                "--model-type=“vit_b",
                "--checkpoint=D:/aiDataset/sam/sam_vit_b_01ec64.pth"
            ]
        }
    ]
}
这时候,就可以点击Starting Debug(F5)直接开跑了,一路顺利的话会得到下面的结果,
原图,

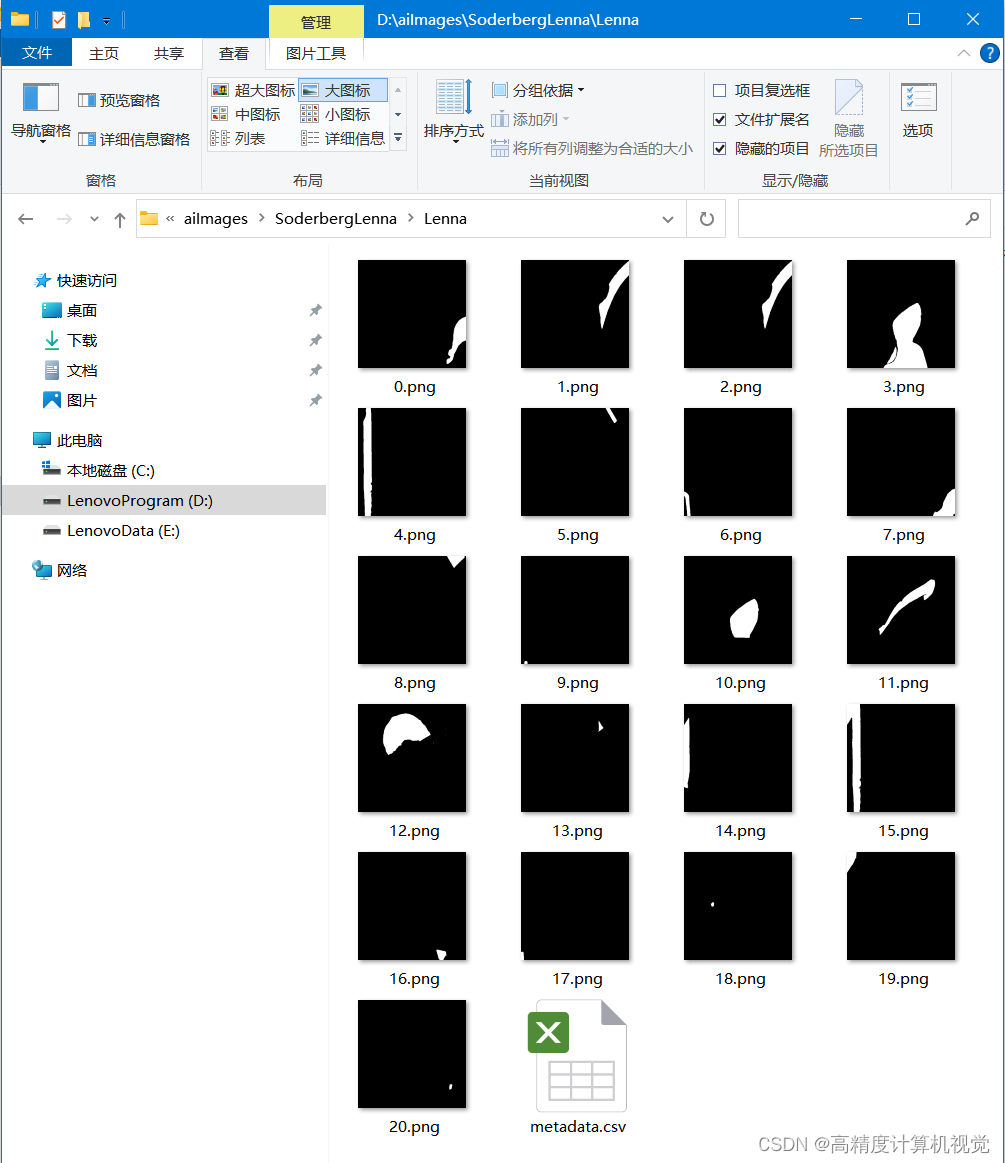
生成的mask,
导出ONNX文件
然后我们导出onnx文件,这一步是为后面的c++部署做准备的。
python scripts/export_onnx_model.py --checkpoint D:/aiDataset/sam/sam_vit_h_4b8939.pth --model-type vit_h --output sam_vit_h_4b8939.onnx
这样,我们就生成了sam_vit_h_4b8939.onnx文件。
下载cpp部署
项目地址在:https://github.com/dinglufe/segment-anything-cpp-wrapper
老办法,
git clone --recursive https://github.com/dinglufe/segment-anything-cpp-wrapper
然后发现作者用的onnxruntime,因此我们也安装一下,
conda install onnx
conda install onnxruntime
另外,还要到 https://github.com/microsoft/onnxruntime
去下载windows上的动态库,我这里的本机地址是,
D:\aiEngine\onnxruntime-win-x64-gpu-1.16.2
生成所需要的辅助文件
项目中有一个export_pre_model.py文件,我略改了一下,因为我没有用hq-sam,直接用的segment-anything,改后内容如下,
# Code formatter may move "import segment_anything as SAM" and "import mobile_sam as SAM" to the top
# But this may bring errors after switching models
import torch
import numpy as np
import os

from segment_anything.utils.transforms import ResizeLongestSide

from onnxruntime.quantization import QuantType
from onnxruntime.quantization.quantize import quantize_dynamic

output_names = ['output']

# Generate preprocessing model of Segment-anything in onnx format
# Use original segment-anything, Mobile-SAM or HQ-SAM model
# Each in a separate Python virtual environment

# Uncomment the following lines to generate preprocessing model of Segment-anything
import segment_anything as SAM
# # Download Segment-anything model "sam_vit_h_4b8939.pth" from https://github.com/facebookresearch/segment-anything#model-checkpoints
# # and change the path below
checkpoint = 'sam_vit_h_4b8939.pth'
model_type = 'vit_h'
output_path = 'models/sam_preprocess.onnx'
quantize = True

# Target image size is 1024x720
image_size = (1024, 720)

output_raw_path = output_path
if quantize:
    # The raw directory can be deleted after the quantization is done
    output_name = os.path.basename(output_path).split('.')[0]
    output_raw_path = '{}/{}_raw/{}.onnx'.format(
        os.path.dirname(output_path), output_name, output_name)
os.makedirs(os.path.dirname(output_raw_path), exist_ok=True)

sam = SAM.sam_model_registry[model_type](checkpoint=checkpoint)
sam.to(device='cpu')
transform = ResizeLongestSide(sam.image_encoder.img_size)

image = np.zeros((image_size[1], image_size[0], 3), dtype=np.uint8)
input_image = transform.apply_image(image)
input_image_torch = torch.as_tensor(input_image, device='cpu')
input_image_torch = input_image_torch.permute(
    2, 0, 1).contiguous()[None, :, :, :]

class Model(torch.nn.Module):
    def __init__(self, image_size, checkpoint, model_type):
        super().__init__()
        self.sam = SAM.sam_model_registry[model_type](checkpoint=checkpoint)
        self.sam.to(device='cpu')
        self.predictor = SAM.SamPredictor(self.sam)
        self.image_size = image_size

    def forward(self, x):
        self.predictor.set_torch_image(x, (self.image_size))
        if 'interm_embeddings' not in output_names:
            return self.predictor.get_image_embedding()
        else:
            return self.predictor.get_image_embedding(), torch.stack(self.predictor.interm_features, dim=0)

model = Model(image_size, checkpoint, model_type)
model_trace = torch.jit.trace(model, input_image_torch)
torch.onnx.export(model_trace, input_image_torch, output_raw_path,
                  input_names=['input'], output_names=output_names)

if quantize:
    quantize_dynamic(
        model_input=output_raw_path,
        model_output=output_path,
        per_channel=False,
        reduce_range=False,
        weight_type=QuantType.QUInt8,
    )
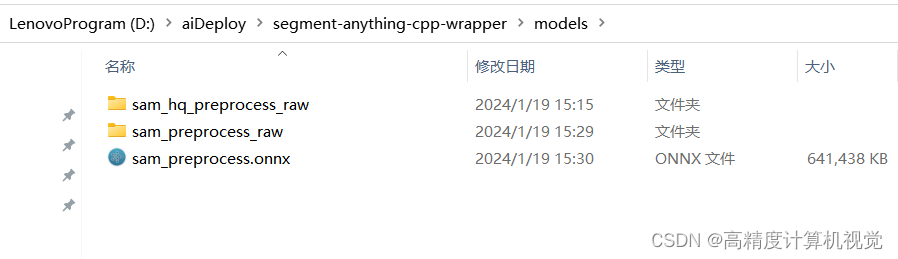
生成的这一堆文件如下,
然后cmake生成项目,就可以把项目跑起来了,最后的视频效果如下所示。
segment-anything-cpp-wrapper
注意事项
- 注意配置路径,让项目能找到相应的dll文件。
- 注意如果要使用HQ-sam,要另外再建一个conda的环境,不然生成onnx文件时会有冲突报错。
本文结束。
版权归原作者 高精度计算机视觉 所有, 如有侵权,请联系我们删除。