Segment-Anything是Meta开源的图像分割模型,顾名思义,可以分割所有东西,感觉这东西可以用于遥感影像分割,于是找来源码测试一下。
项目地址:https://github.com/facebookresearch/segment-anything
1. 构建环境
首先需要pytorch环境,在之前的文章中PyTorch安装记录及Anaconda环境配置已经详细介绍了怎么配置pytorch环境,这次我们直接复制这个环境就好了。
conda create --name sam --clone pytorch
这里我们以之前建的pytorch环境来创建新的环境sam。
2. 项目准备
- 获取源码 可以从github上下载这个项目的源码(https://github.com/facebookresearch/segment-anything),下载后放到自己的文件夹目录下面
- 获取模型文件 模型文件下载放到segment-anything 目录下就行 default or vit_h: https://dl.fbaipublicfiles.com/segment_anything/sam_vit_h_4b8939.pth vit_l: https://dl.fbaipublicfiles.com/segment_anything/sam_vit_l_0b3195.pth vit_b: https://dl.fbaipublicfiles.com/segment_anything/sam_vit_b_01ec64.pth 3个权重文件,base最小,large中等,huge最大 ,根据显卡显存自行选择个
- 安装依赖 在命令行中进入segment_anything的目录下面

然后运行命令:
 pip install-e.
 pip install opencv-python pycocotools matplotlib onnxruntime onnx
3.运行
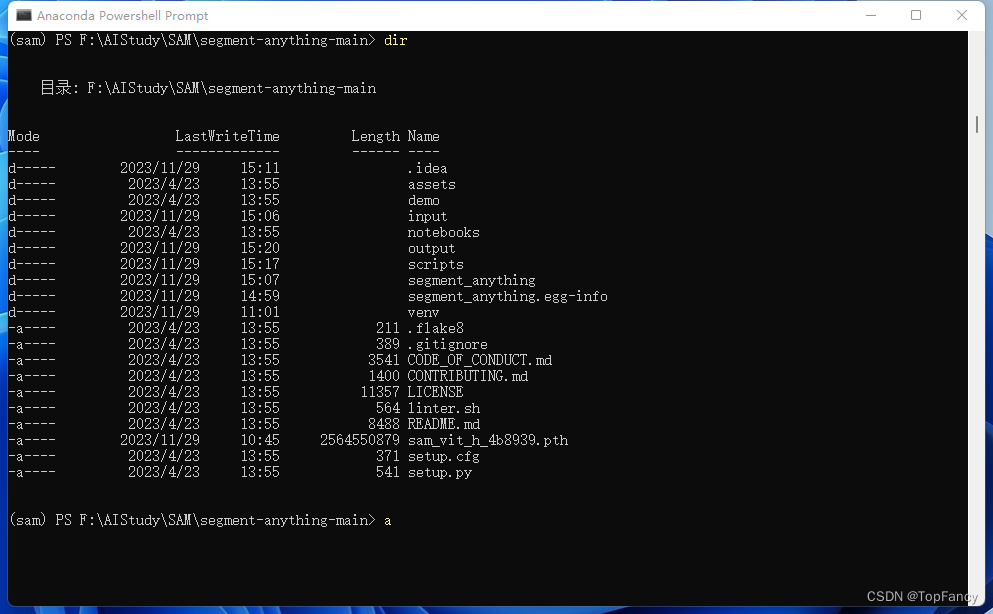
在segment_anything的目录下新建两个文件夹input、output用于图片文件的输入和输出,
input中随便在网上下载了遥感影像放入其中:
python scripts/amg.py --checkpoint sam_vit_h_4b8939.pth --model-type vit_h --input ./input --output ./output
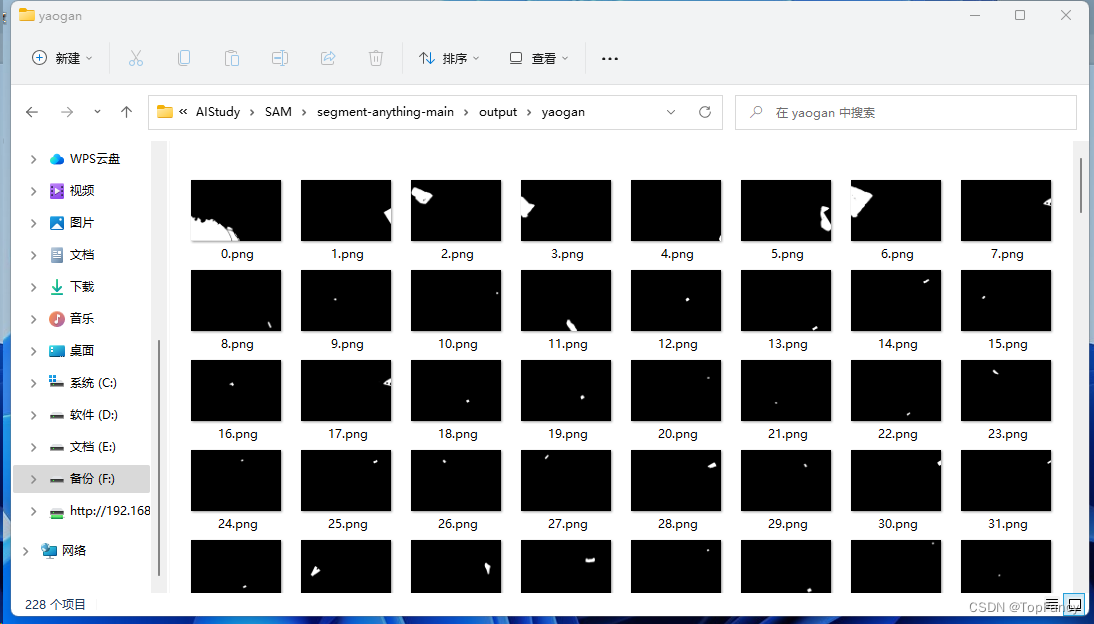
等待运行完成,运行时间及显存占用情况因图片大小而已,我这边测试使用的902*612大小的图片,使用4070显卡占用7G显存,gpu占用25%,运行时间倒是挺快,在加载完模型之后几秒钟就运行完成了。输出的是掩膜图片
其他应用后续再做讨论。
版权归原作者 AI柱子哥 所有, 如有侵权,请联系我们删除。