
参考文章:
ubuntu20.04下ros运行A-LOAM
Ubuntu20.04下运行LOAM系列:A-LOAM、LeGO-LOAM、SC-LeGO-LOAM、LIO-SAM 和 LVI-SAM
需要学习源码的同学可以下载LOAM论文
LOAM论文链接
1.需要安装的库文件
1.1Eigen 3.3
可以直接使用apt命令安装,或者去官网下载源码安装
sudo apt-get install libeigen3-dev
安装成功如下,我这里之前装过所以显示如下,可以看到安装的版本为3.3.7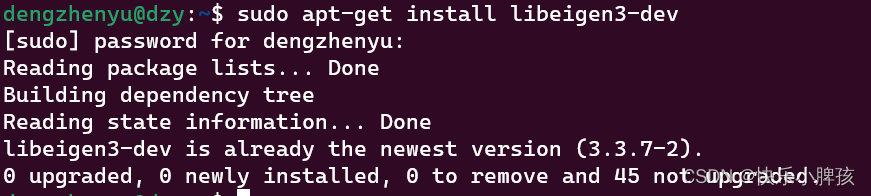
1.2 ceres
//克隆下来,如果网络不好一直下载不了就去官网下载源码然后解压
git clone https://ceres-solver.googlesource.com/ceres-solver//在当前目录下创建文件夹ceres-bin
sudo mkdir ceres-bin
cd ceres-bin
cmake ../ceres-solver
make -j4
make test
sudo make install
按照上面的步骤装好之后,我们再来测试一下ceres是否装好了
测试ceres
sudo mkdir ceres_test
cd ceres_test
touch CMakeLists.txt
touch cere_example.cpp
sudo mkdir build
cd build
cmake ..
make
./ceres_example
其中CMakeLists.txt和ceres_example.cpp文件内容分别如下
CMakeLists.txt
cmake_minimum_required(VERSION 3.8.0)project(ceres_example)set(CMAKE_CXX_STANDARD 17)set(CMAKE_CXX_STANDARD_REQUIRED ON)find_package(Ceres REQUIRED)include_directories(
  ${CERES_INCLUDE_DIRS})add_executable(ceres_example
ceres_example.cpp)target_link_libraries(ceres_example
    ${CERES_LIBRARIES})
ceres_example
#include<ceres/ceres.h>classCostFunctor{public:template<typenameT>booloperator()(const T*const x, T* residual)const{
        residual[0]=10.0- x[0];returntrue;}};intmain(int argc,charconst* argv[]){double initial_x =5.0;double x = initial_x;// Build the problem.
    ceres::Problem problem;// Set up the only cost function (also known as residual). This uses// auto-differentiation to obtain the derivative (jacobian).
    ceres::CostFunction* cost_function =new ceres::AutoDiffCostFunction<CostFunctor,1,1>(new CostFunctor);
    problem.AddResidualBlock(cost_function,nullptr,&x);// Run the solver!
    ceres::Solver::Options options;
    options.linear_solver_type = ceres::DENSE_QR;
    options.minimizer_progress_to_stdout =true;
    ceres::Solver::Summary summary;Solve(options,&problem,&summary);

    std::cout << summary.BriefReport()<<"\n";
    std::cout <<"x : "<< initial_x
              <<" -> "<< x <<"\n";return0;}
运行后输出如下,就代表测试成功,ceres安装成功
1.3 pcl
同样的可以使用apt安装,或者去官网下载源码自行安装
sudo apt install libpcl-dev
2 下载编译A-LOAM
2.1下载源码
A-LOAM开源地址
//建立A-LOAM工作空间
sudo mkdir ALOAM
cd ALOAM
sudo mkdir src
cd src
 //clone下来,如果网络不好同样可以直接去官网下载源码下来解压
git clone https://github.com/HKUST-Aerial-Robotics/A-LOAM.git
2.2修改CMakeLists.txt
由于PCL版本1.10,将C++标准改为14,在A-LOAM源码中的CMakeLists.txt中进行如下修改
//set(CMAKE_CXX_FLAGS "-std=c++11")set(CMAKE_CXX_FLAGS "-std=c++14")
2.2 修改源码
如果我们下载下来源码之后直接对其编译,是会发生报错的,因此我们需要对源码进行一些修改
- 将四个.cpp文件中的/camera_init修改为camera_init
- 将scanRegistration.cpp中的 #include <opencv/cv.h> 修改为#include <opencv2/imgproc.hpp>
- 修改kittiHelper.cpp中 CV_LOAD_IMAGE_GRAYSCALE为 cv::IMREAD_GRAYSCALE
- 如果编译遇到大量未找到Eigen相关错误,将四个.cpp文件中的#include <eigen3/Eigen/Dense>修改为#include <Eigen/Dense>
2.3 编译ALOAM
//定位至我们原来新建的工作空间中进行编译
cd ~/ALOAM/
catkin_make
编译成功显示如下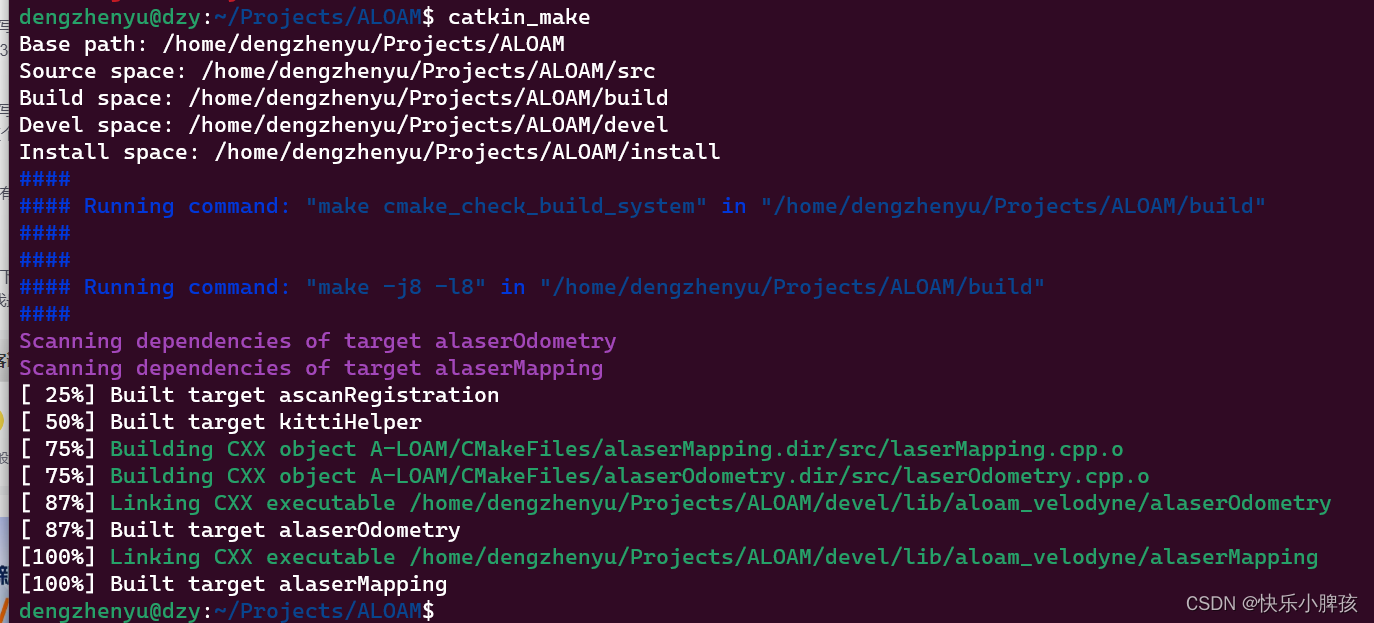
3 运行测试ALOAM
在A-LOAM源码中新建dataSet文件夹存放我们的数据集,将nsh_indooroutdoor.bag数据集下载至该文件夹中。
在A-LOAM源码中找打launch文件夹,在该文件夹中打开终端并输入如下命令
roslaunch aloam_velodyne_VLP_16.launch
然后再在dateSet文件夹中打开一个终端,输入如下命令开始播放数据集
rosbag play nsh_indoor_outdoor.bag
显示效果如下: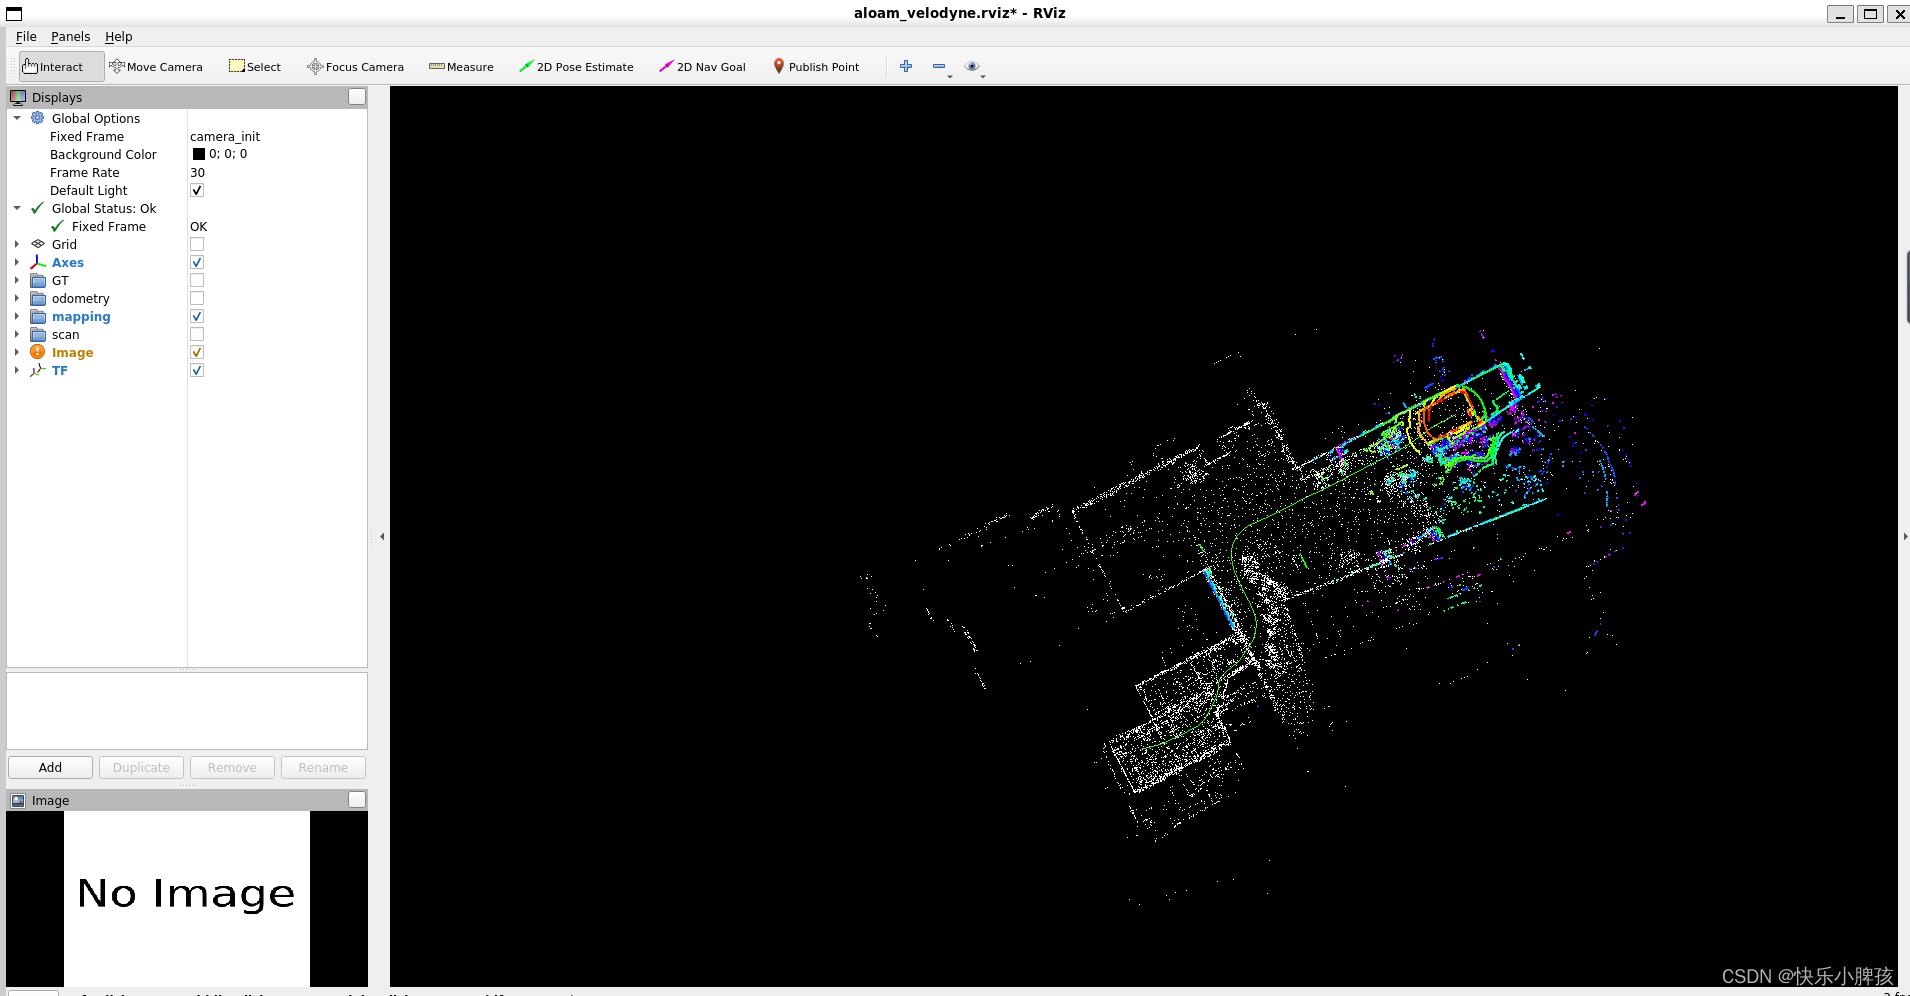
最后测试成功。
4 关于报错
如果我们在编译ALOAM的时候出现大量关于ceres的报错,如下图所示
解决方法:
是因为ceres版本的问题,我们可以将ceres更换至和A-LOAM配套的版本,或者进行如下的源码修改:
在laserMapping.cpp(row567-568)和 laserOdometry.cpp(row286-287)这两个cpp文件中,将如下代码
ceres::LocalParameterization *q_parameterization =new ceres::EigenQuaternionParameterization();
改为:
ceres::Manifold *q_parameterization =new ceres::EigenQuaternionManifold();
再次进行catkin_make发现编译成功,问题解决!
版权归原作者 快乐小脾孩 所有, 如有侵权,请联系我们删除。