
OpenCV学习笔记(9):图像的基本变换
文章目录
01 图像的放大与缩小 cv2.resize()
# 01 图像的放大与缩小 cv2.resize()# cv2.resize(src, dsize, dst=None, fx=None, fy=None, interpolation=None) 超级实用的技能
先读图片
     girl1 = cv2.imread('picture.png')
    girl2 = cv2.imread('picture_2.png')

    cv2.imshow('girl1', girl1)
    cv2.imshow('girl2', girl2)print(girl1.shape)# (500, 500, 3)print(girl2.shape)# (1387, 640, 3)
图片为:

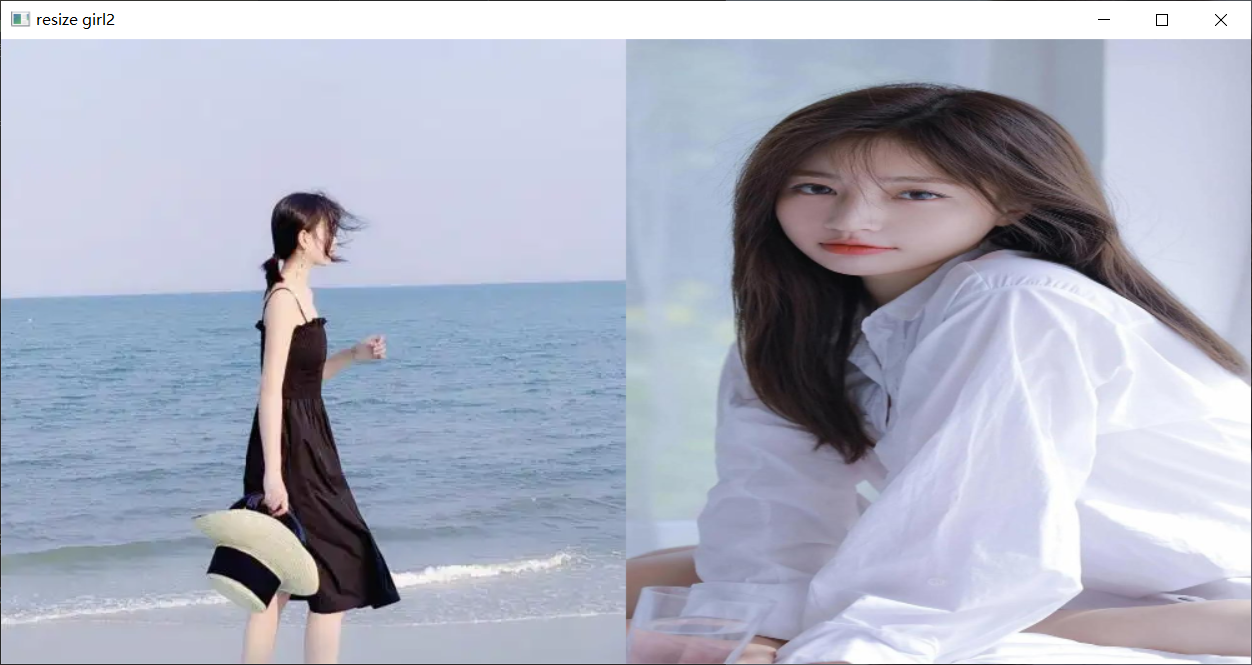
把girl2缩小成girl1大小,拼接后显示
    new_girl2 = cv2.resize(girl2, girl1.shape[0:2])
    cv2.imshow('resize girl2', np.hstack((girl1, new_girl2)))
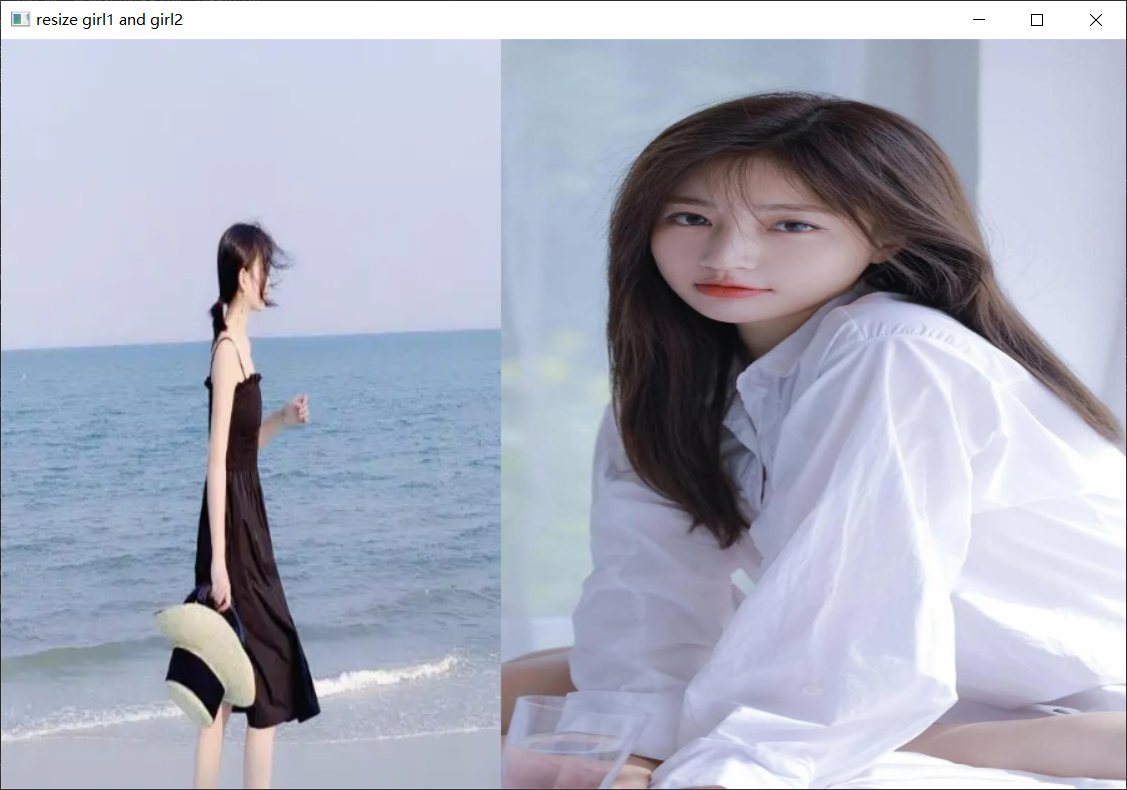
或者再试一下把girl1放大成girl2,注意opencv内部读取图片是先读高,再读宽
    new_girl1 = cv2.resize(girl1,(400,600))# 这里注意 你写的话应该是先写宽的
    new_girl2 = cv2.resize(girl2,(500,600))print(new_girl1.shape)# ((600, 400, 3)
    cv2.imshow('resize girl1 and girl2', np.hstack((new_girl1, new_girl2)))# 水平打包需要图像的高一致
下面确认参数interpolation的作用。默认为INTER_LINEAR
INTER_AREA:最好 #INTER_CUBIC (slow) or #INTER_LINEAR(faster but still looks OK).
# INTER_AREA:最好 #INTER_CUBIC (slow) or #INTER_LINEAR(faster but still looks OK).
    newgirl1_1 = cv2.resize(girl1,(650,650), interpolation=cv2.INTER_NEAREST)
    newgirl1_2 = cv2.resize(girl1,(650,650), interpolation=cv2.INTER_LINEAR)# 默认
    newgirl1_3 = cv2.resize(girl1,(650,650), interpolation=cv2.INTER_CUBIC)
    newgirl1_4 = cv2.resize(girl1,(650,650), interpolation=cv2.INTER_AREA)# 区别在nearest和area区别很大# cv2.imshow('nearest', newgirl1_1)# cv2.imshow('linear', newgirl1_1)# cv2.imshow('cubic', newgirl1_1)# cv2.imshow('area', newgirl1_1)
对比结果如下:


把图缩小了,看的结果不是很明显,记住上边结论就行。
还可以按照x, y轴的比例进行缩放
new_girl2 = cv2.resize(girl2, dsize=None, fx=0.5, fy=0.5)print(new_girl2.shape)# (694, 320, 3)# cv2.imshow('girl2', girl2)# cv2.imshow('resize girl2 fx fy', new_girl2)
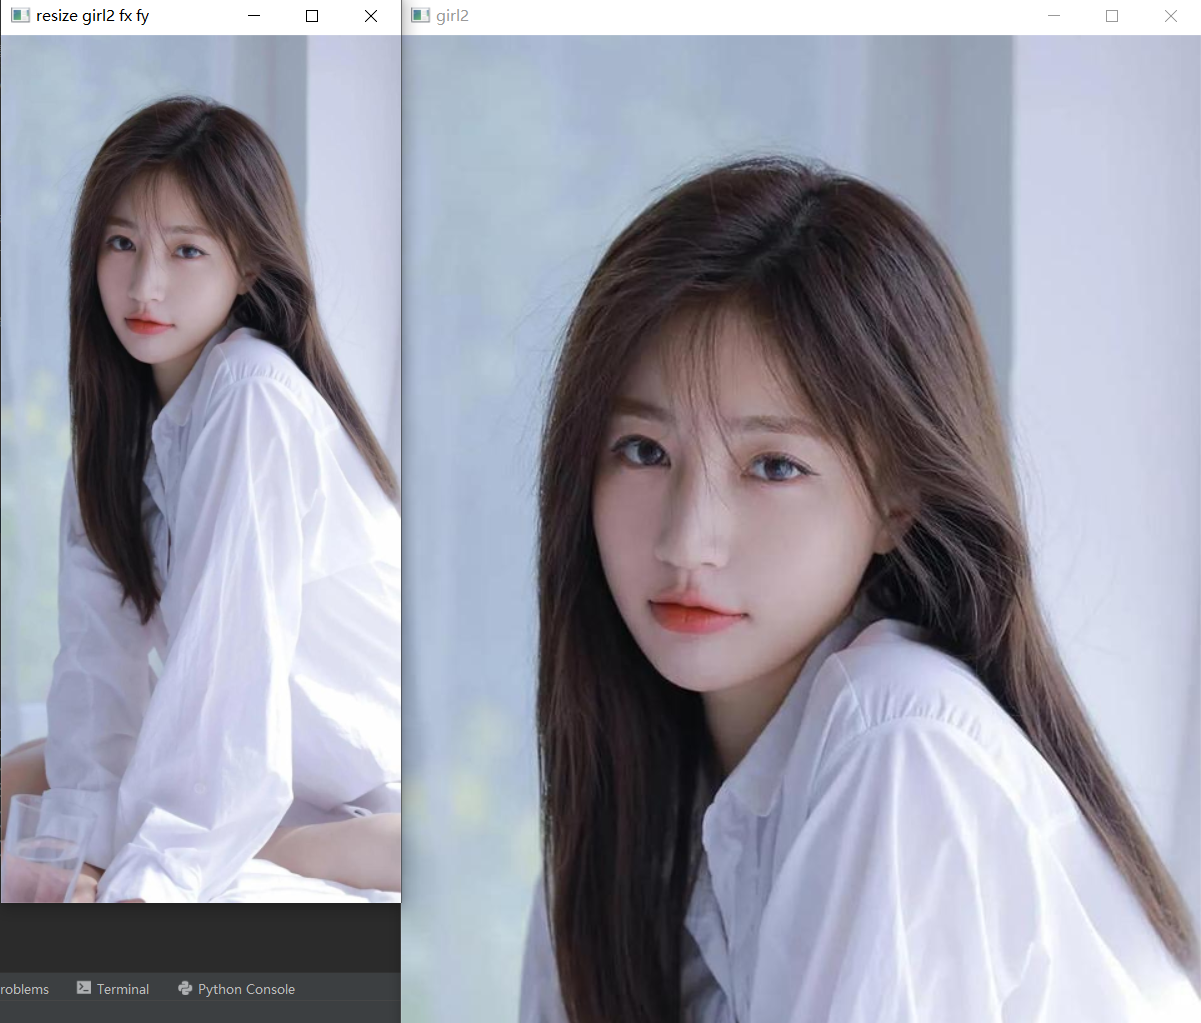
由于屏幕大小的限制,图片不能完整显示,只需知道缩放了即可,缩放为原来图片的一半大小,x和y轴可以任意分别缩放。
完整代码为:
# 01 图像的放大与缩小# cv2.resize(src, dsize, dst=None, fx=None, fy=None, interpolation=None) 超级实用的技能defresize_picture():
    girl1 = cv2.imread('picture.png')
    girl2 = cv2.imread('picture_2.png')# cv2.imshow('girl1', girl1)# cv2.imshow('girl2', girl2)print(girl1.shape)# (500, 500, 3)print(girl2.shape)# (1387, 640, 3)# 把girl2缩小成girl1大小
    new_girl2 = cv2.resize(girl2, girl1.shape[0:2])# cv2.imshow('resize girl2', np.hstack((girl1, new_girl2)))# 再试一下把girl1放大成girl2,注意opencv内部读取图片是先读高,再读宽
    new_girl1 = cv2.resize(girl1,(400,600))# 这里注意 你写的话应该是先写宽的
    new_girl2 = cv2.resize(girl2,(500,600))print(new_girl1.shape)# (600, 400, 3)# cv2.imshow('resize girl1 and girl2', np.hstack((new_girl1, new_girl2)))   # 水平打包需要图像的高一致# 对比interpolation 默认为INTER_LINEAR# INTER_AREA:最好 #INTER_CUBIC (slow) or #INTER_LINEAR(faster but still looks OK).
    newgirl1_1 = cv2.resize(girl1,(650,650), interpolation=cv2.INTER_NEAREST)
    newgirl1_2 = cv2.resize(girl1,(650,650), interpolation=cv2.INTER_LINEAR)# 默认
    newgirl1_3 = cv2.resize(girl1,(650,650), interpolation=cv2.INTER_CUBIC)
    newgirl1_4 = cv2.resize(girl1,(650,650), interpolation=cv2.INTER_AREA)# 在nearest和area区别大结果较明显# cv2.imshow('nearest', newgirl1_1)# cv2.imshow('linear', newgirl1_1)# cv2.imshow('cubic', newgirl1_1)# cv2.imshow('area', newgirl1_1)# 还可以按照x, y轴的比例进行缩放
    new_girl2 = cv2.resize(girl2, dsize=None, fx=0.5, fy=0.5)print(new_girl2.shape)# (694, 320, 3)
    cv2.imshow('girl2', girl2)
    cv2.imshow('resize girl2 fx fy', new_girl2)

    cv2.waitKey(0)
    cv2.destroyAllWindows()

resize_picture()
02 图像的翻转 cv2.flip()
重要参数:flipCode 等于0时为上下翻转,大于0时左右翻转,小于0时则为上下加左右翻转
# cv2.flip(src, flipCode[, dst])# flipCode == 0上下翻转 flipCode > 0左右翻转 flipCode < 0 上下+左右
读取图片
girl = cv2.imread('picture.png')
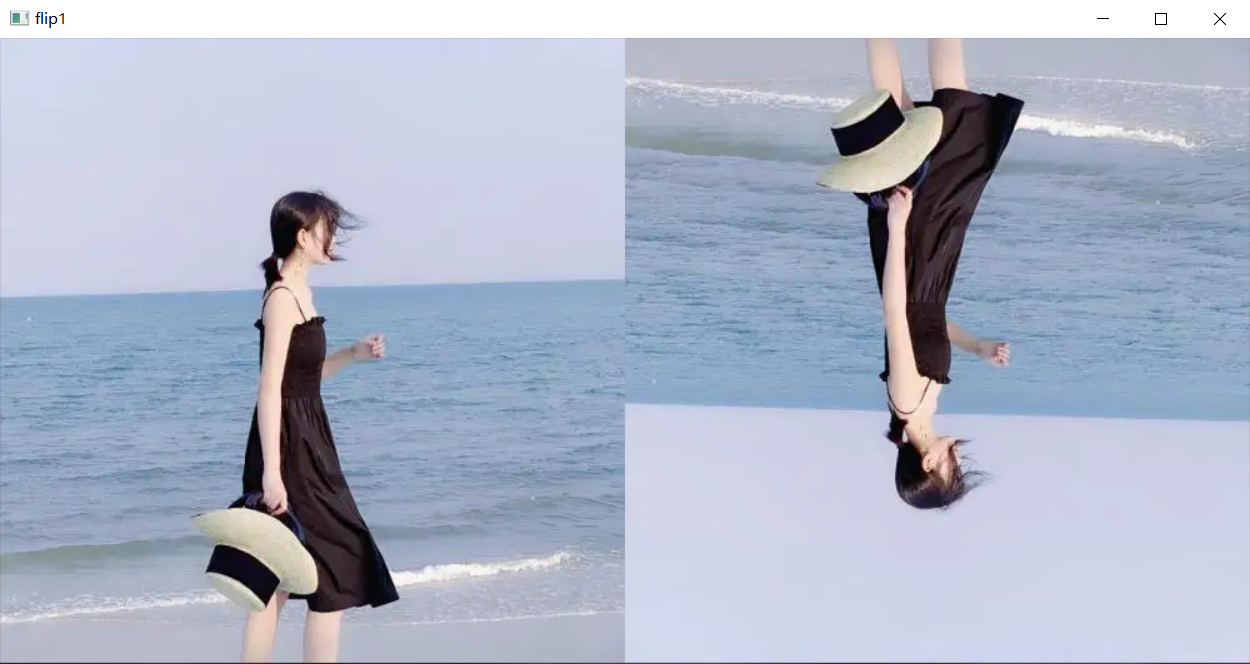
上下翻转
new_girl = cv2.flip(girl,0)# 上下翻转
cv2.imshow('flip1', np.hstack((girl, new_girl)))
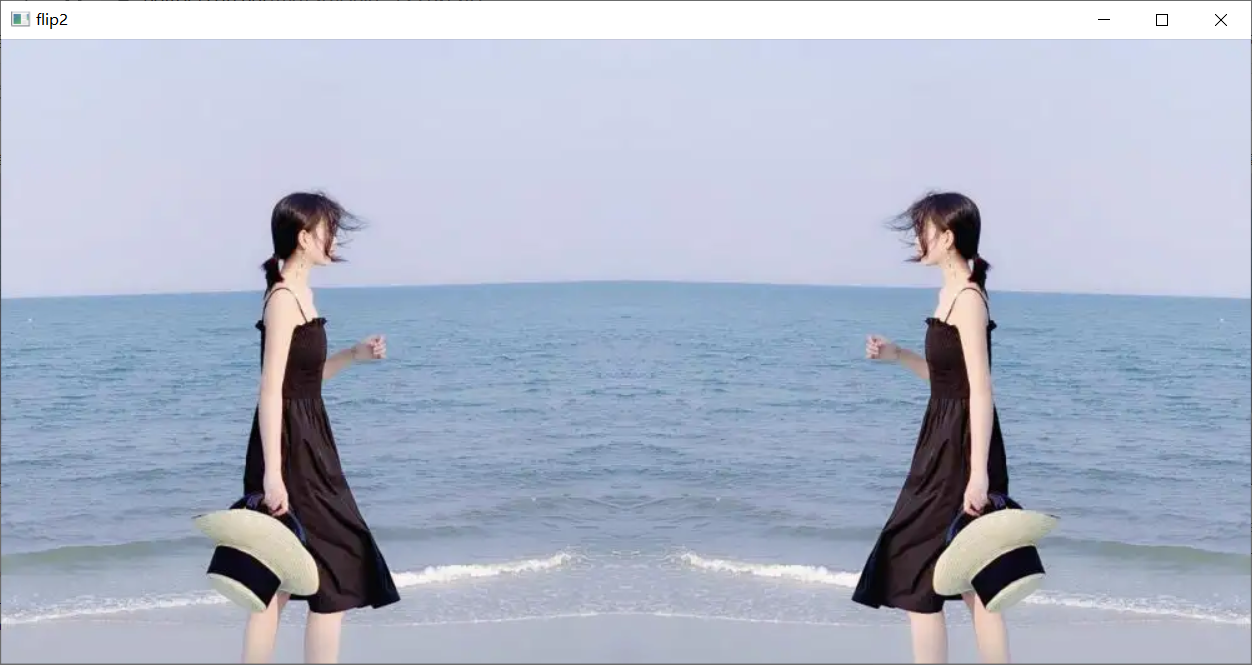
左右翻转
new_girl2 = cv2.flip(girl, flipCode=1)# 左右翻转
cv2.imshow('flip2', np.hstack((girl, new_girl2)))
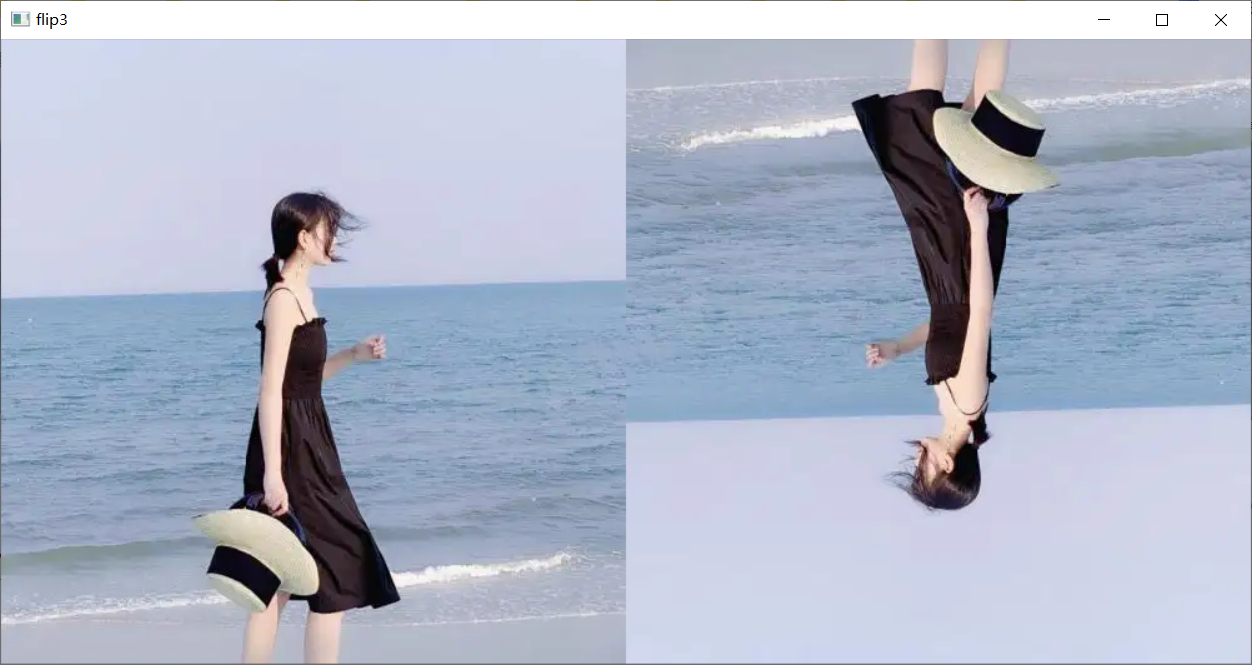
上下+左右
new_girl3 = cv2.flip(girl, flipCode=-1)# 上下+左右
cv2.imshow('flip3', np.hstack((girl, new_girl3)))
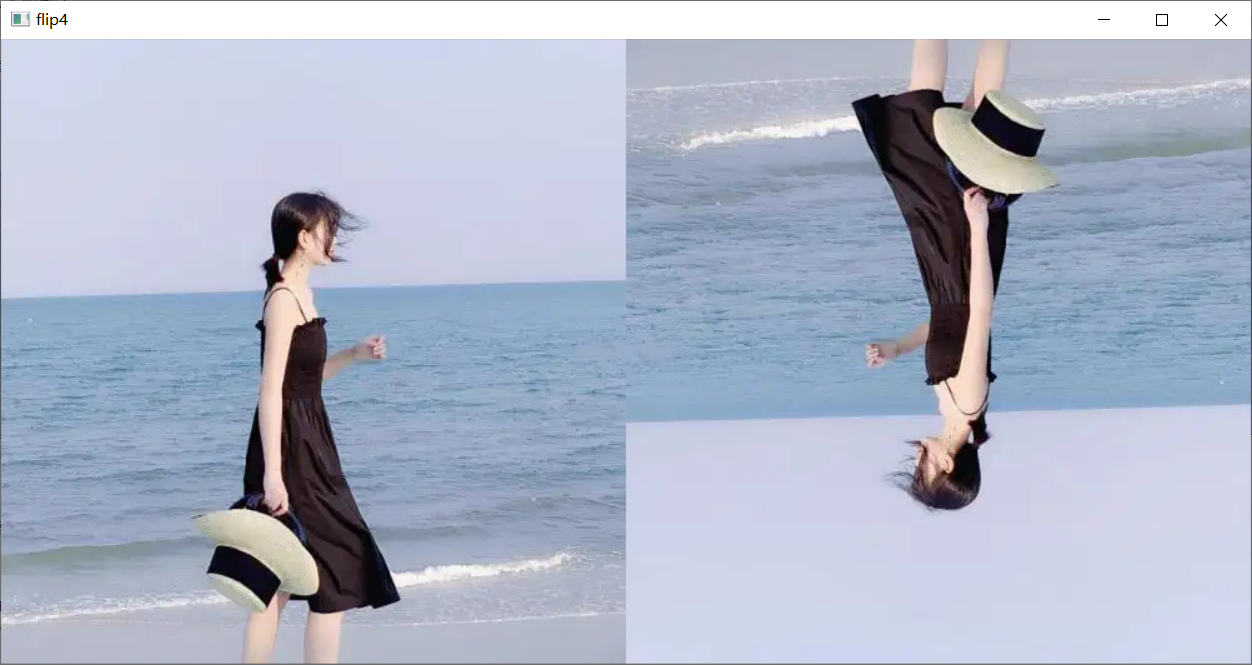
测试一下,-1或者-2没有影响的,都是上下+左右
new_girl4 = cv2.flip(girl, flipCode=-2)
cv2.imshow('flip4', np.hstack((girl, new_girl4)))
再一个:利用numpy的知识
new_girl5 = girl[::-1,::-1]
cv2.imshow('flip5', np.hstack((girl, new_girl5)))
结果和flip4一样,不再展示。
03 图像的旋转 cv2.rotate()
重要参数:rotateCode参数 ROTATE_90_CLOCKWISE 90度 ROTATE_180 180度 ROTATE_90_COUNTERCLOCKWISE 270度(逆时针90度)
# cv2.rotate(src, rotateCode, dst=None)# rotateCode参数:ROTATE_90_CLOCKWISE 90度 ROTATE_180 180度 ROTATE_90_COUNTERCLOCKWISE 270度(逆时针90度)
不是很复杂,直接放在一块了
defrotate_picture():
    girl = cv2.imread('picture.png')# 把图片缩小一点,注意要是拼接的话,旋转以后高应该相等才行,否则会报错
    girl = cv2.resize(girl,(300,300))

    new_girl1 = cv2.rotate(girl, rotateCode=cv2.ROTATE_90_CLOCKWISE)
    new_girl2 = cv2.rotate(girl, rotateCode=cv2.ROTATE_180)
    new_girl3 = cv2.rotate(girl, rotateCode=cv2.ROTATE_90_COUNTERCLOCKWISE)

    cv2.imshow('rotate', np.hstack((girl, new_girl1, new_girl2, new_girl3)))# 要是其他角度呢# new_girl4 = cv2.rotate(girl, rotateCode=60)   # 不行!!!会报错,opencv不支持这些任意角度,不灵性有没有 其实后边有# print(new_girl4.shape)# cv2.imshow('rotate:60', new_girl4)

    cv2.waitKey(0)
    cv2.destroyAllWindows()

rotate_picture()
结果为:
04 仿射变换 cv2.warpAffine()
仿射变换是图像旋转、缩放、平移的总称 具体做法是通过一个矩阵和原图片坐标进行计算,得到新的坐标完成变换,所以关键就是这个矩阵
# cv2.warpAffine(src, M, dsize, dst=None, flags=None, borderMode=None, borderValue=None)# warp: 弯曲 affine: 仿射的# M:变换矩阵(这是最重要的一个参数) dsize:输出图像大小 flag:与resize中的插值算法一致 mode:边界外推法标志 value:填充边界值
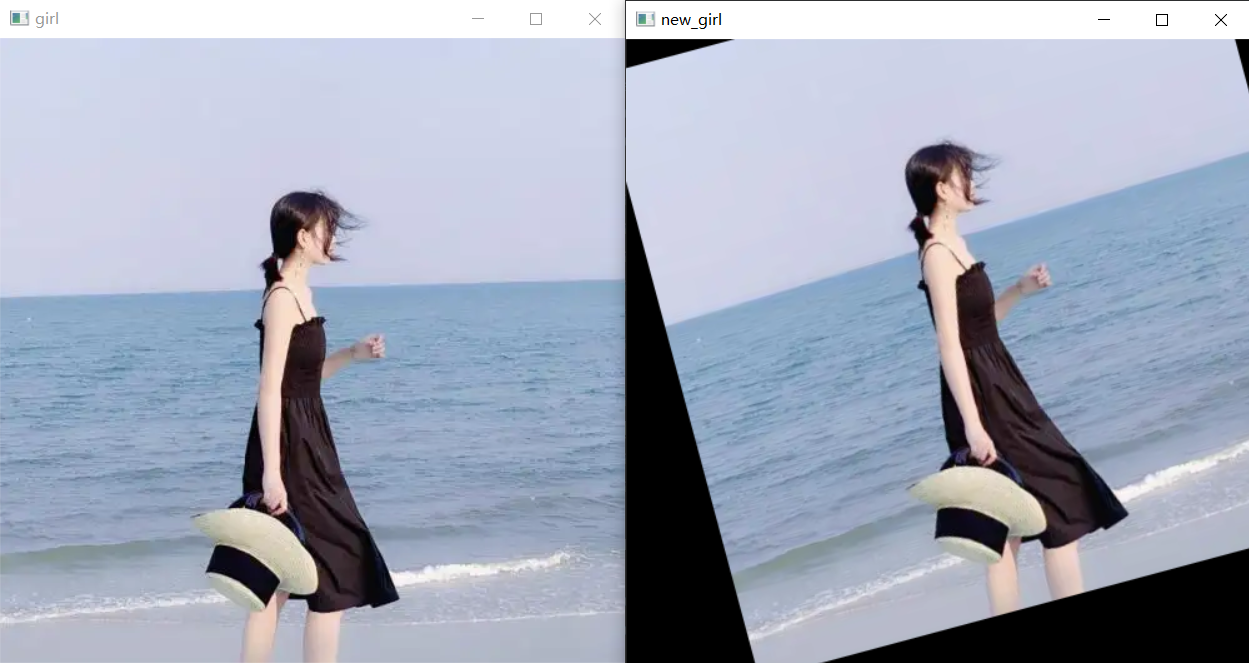
仿射变换之图像平移操作
girl = cv2.imread('picture.png')
h, w, ch = girl.shape
变换矩阵 最少是float32的,这里是通过直接手动计算变换矩阵M的,后边还有两种方式
M = np.float32([[1,0,200],[0,1,0]])
new_girl = cv2.warpAffine(girl, M, dsize=(w, h))

cv2.imshow('girl', girl)
cv2.imshow('new_girl', new_girl)
平移后结果为:
仿射变换之获取变换矩阵API(1) cv2.getRotationMatrix2D()
简单的平移可以自己算M矩阵,那复杂一点的变换呢
opencv提供了计算变换矩阵的API cv2.getRotationMatrix2D()
通过中心点、旋转角度和缩放比例计算变换矩阵M
# cv2.getRotationMatrix2D(center, angle, scale)# center: 中心点,旋转中心 angle:旋转角度(逆时针) scale:缩放比例
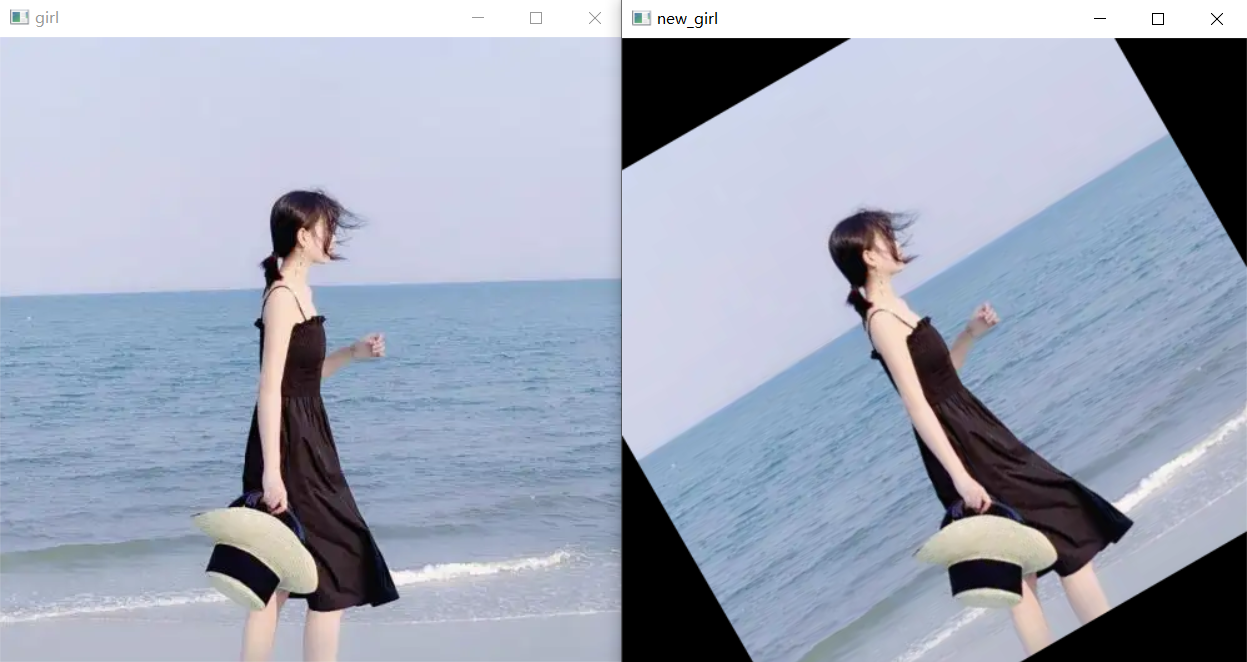
旋转位置(100, 100) 旋转角度15度 缩放比例 1
M = cv2.getRotationMatrix2D((100,100),15,1)
new_girl = cv2.warpAffine(girl, M, dsize=(w, h))

cv2.imshow('girl', girl)
cv2.imshow('new_girl', new_girl)
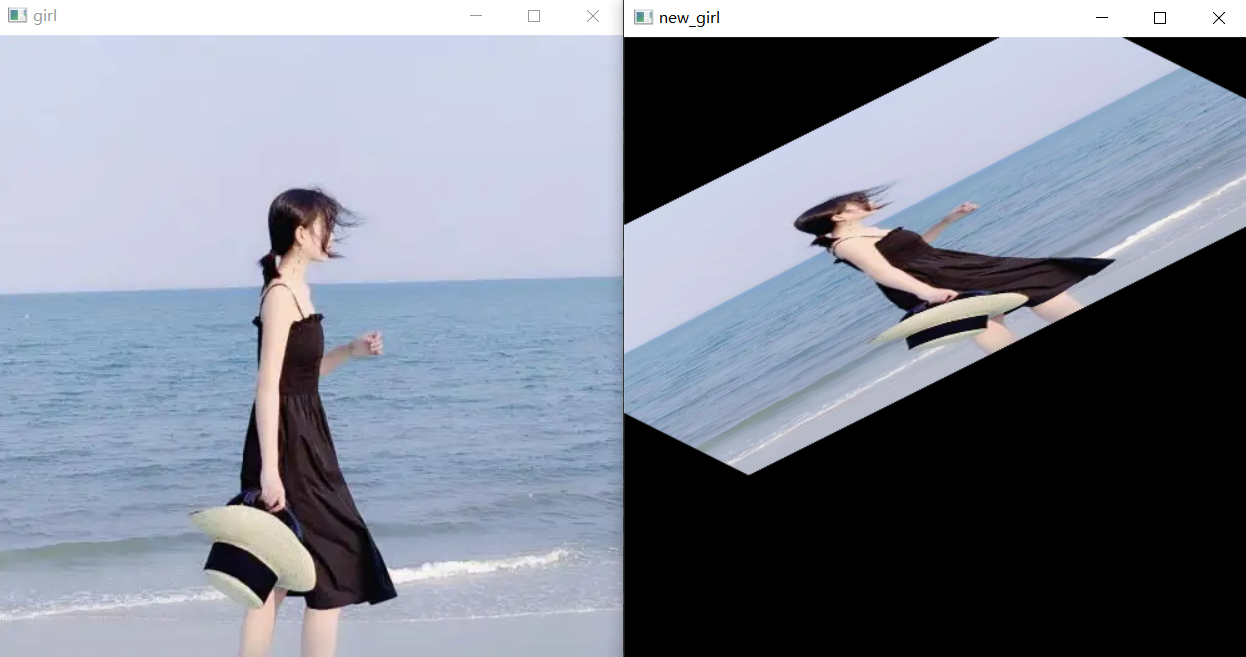
再试试按照中心位置转
M = cv2.getRotationMatrix2D((w /2, h /2),30,1)
仿射变换之获取变换矩阵API(2) cv2.getAffineTransform()
通过三点可以确定变换后的位置,相当于解方程,能解出偏移的参数和旋转的角度
# cv2.getAffineTransform(src, dst)# src 原图的三个点 dst 旋转后的三个点
先计算M矩阵,再仿射变换
    src = np.float32([[200,100],[300,100],[200,300]])
    dst = np.float32([[100,150],[200,100],[200,200]])
    M = cv2.getAffineTransform(src, dst)

    new_girl = cv2.warpAffine(girl, M, dsize=(w, h))

    cv2.imshow('girl', girl)
    cv2.imshow('new_girl', new_girl)
仿射变换之透视变换 cv2.warpPerspective()
透视变换就是将一种坐标系换成另一种坐标系。简单来说,可以把一张倾斜的图片变正
类似于手机自带的拍照文档模式一样
# cv2.warpPerspective(src, M, dsize, dst=None, flags=None, borderMode=None, borderValue=None)
读取图片,这里新找了一张倾斜的网图
挺大的,先缩小
    img = cv2.imread('toushe.png')print(img.shape)# (720, 960, 3)
    img = cv2.resize(img,(360,480))
获取变换矩阵
getPerspectiveTransform(src, dst, solveMethod=None)
# 获取变换矩阵# getPerspectiveTransform(src, dst, solveMethod=None)# src:原图的4个坐标
    src = np.float32([[0,0],[900,80],[0,720],[900,680]])
    dst = np.float32([[0,0],[1000,0],[0,720],[1000,720]])
    M = cv2.getPerspectiveTransform(src, dst)

    new_img = cv2.warpPerspective(img, M,(360,480))

    cv2.imshow('img', img)
    cv2.imshow('new_img', new_img)
多次调整,结果为:
觉得有用的小伙伴点个赞加个关注支持一下吧!有错误或者不恰当的地方请指出!一起学习、进步!!!
版权归原作者 爱吃肉的牛牛 所有, 如有侵权,请联系我们删除。