只需要简单几步即可操作:
1、以管理员权限运行PowerShell
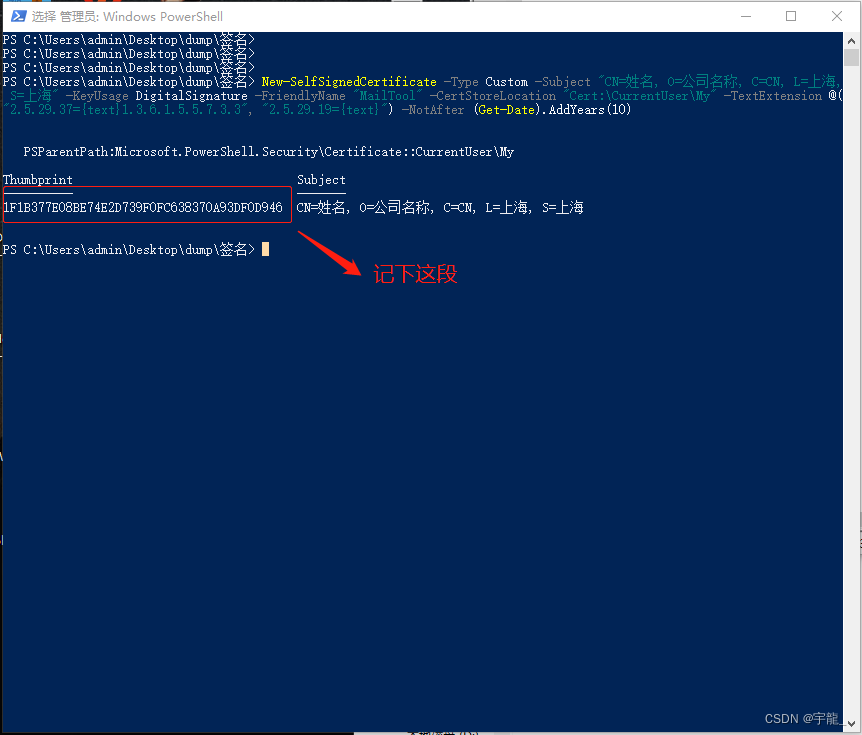
2、执行如下命令
New-SelfSignedCertificate -Type Custom -Subject "CN=姓名, O=公司名称, C=CN, L=上海, S=上海" -KeyUsage DigitalSignature -FriendlyName "MailTool" -CertStoreLocation "Cert:\CurrentUser\My" -TextExtension @("2.5.29.37={text}1.3.6.1.5.5.7.3.3", "2.5.29.19={text}") -NotAfter (Get-Date).AddYears(10)
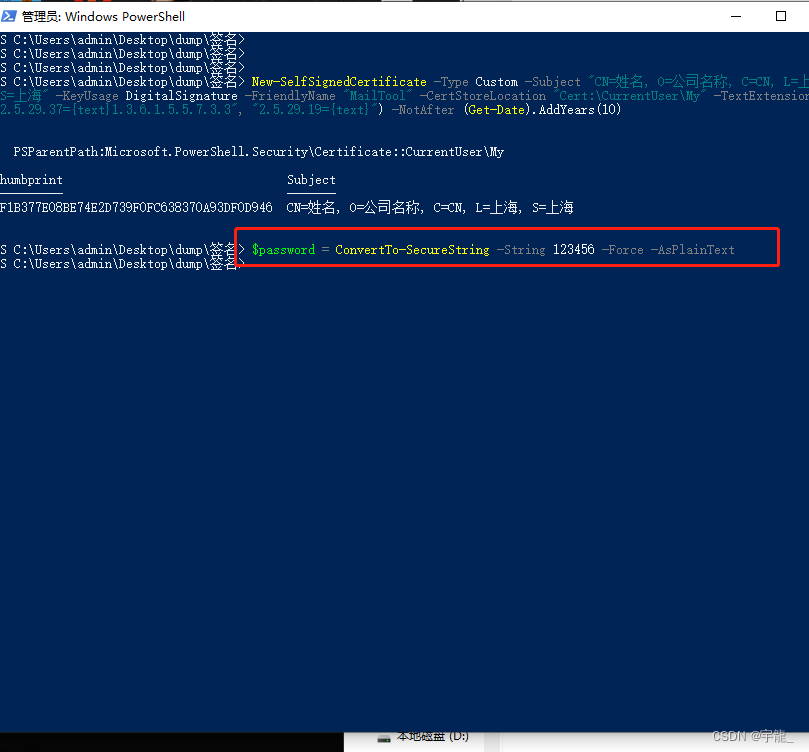
** 3、执行如下命令**
$password = ConvertTo-SecureString -String 123456 -Force -AsPlainText
4、执行命令导出证书,得根据实际情况修改下路径等信息
Export-PfxCertificate -cert "Cert:\CurrentUser\My\1F1B377E08BE74E2D739F0FC638370A93DF0D946" -FilePath C:\Users\admin\Desktop\dump\签名\test.pfx -Password $password
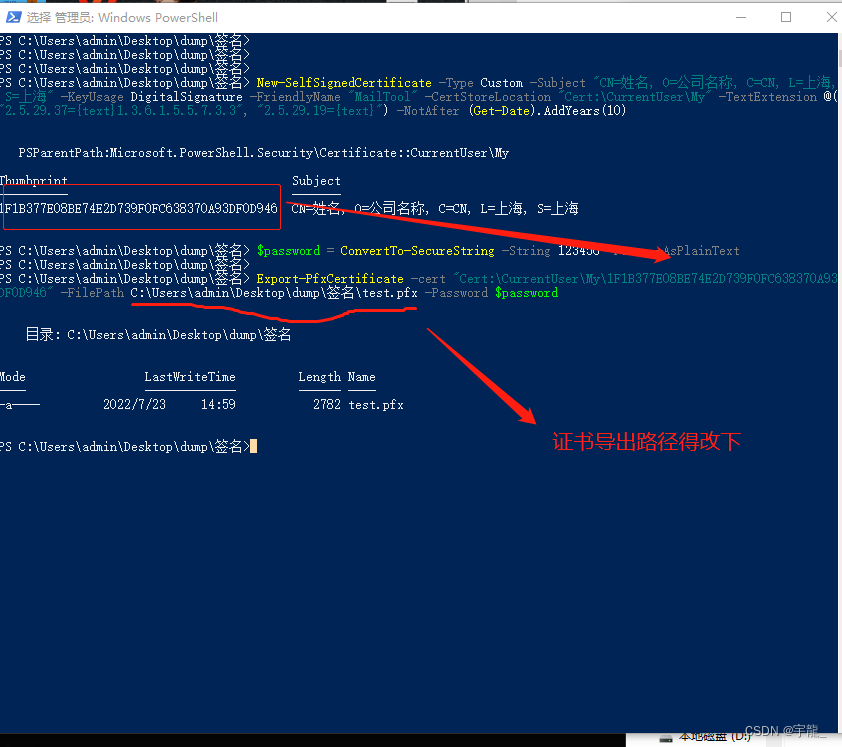
我们观察下签名目录,下面已经生成了test.pfx文件

5、现在我们用证书对Test.exe进行签名:
管理员运行CMD命令行,并切换到签名目录,执行如下命令:
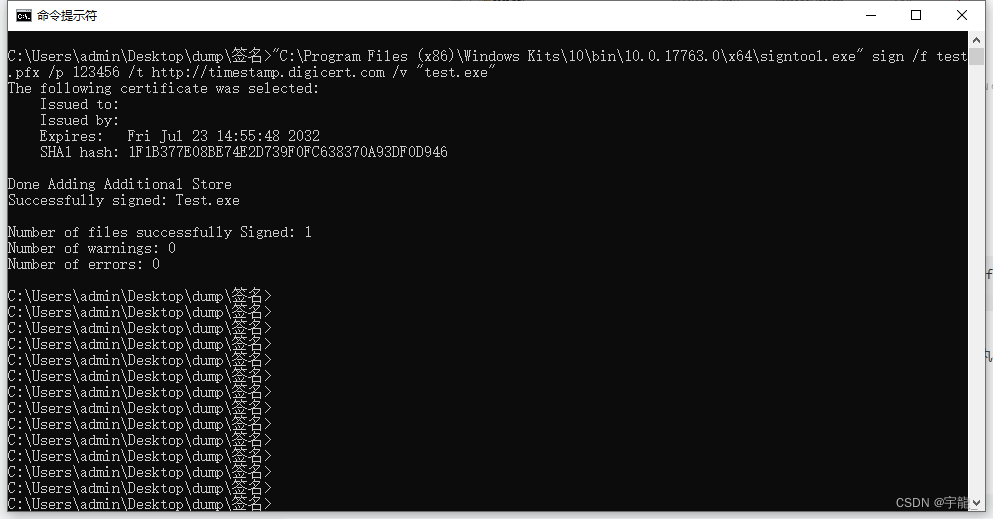
"C:\Program Files (x86)\Windows Kits\10\bin\10.0.17763.0\x64\signtool.exe" sign /f test.pfx /p 123456 /t http://timestamp.digicert.com /v "test.exe"
这个signtool.exe是安装Windows开发包的时候就自带了的,我的是该路径,具体的找找,执行命令之后的结果是这样的:
我们查看下Test.exe的证书
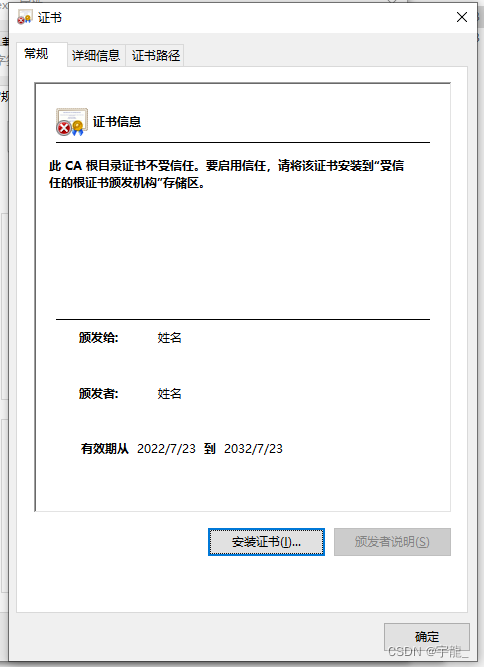
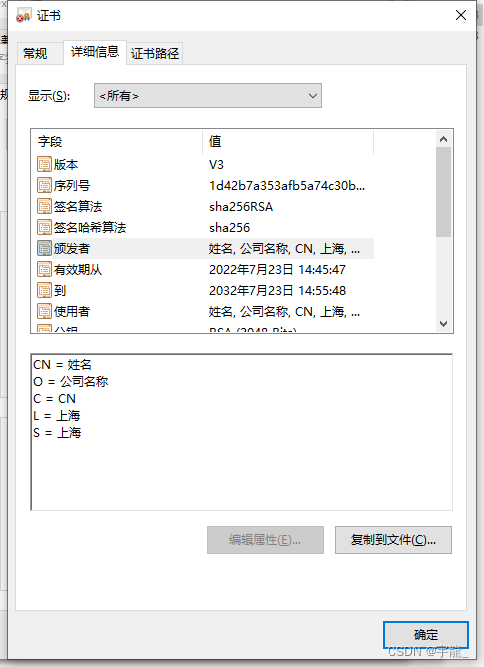
好了,已经可以了。
参考文章:
微软官方文档:
New-SelfSignedCertificate (pki) | Microsoft Docs
SignTool.exe (Sign Tool) - .NET Framework | Microsoft Docs
博客:
版权归原作者 宇龍_ 所有, 如有侵权,请联系我们删除。