
一. 引言
相信现在有很多小伙伴都已经很熟悉SpringBoot技术了。它大大地简化了Spring应用的开发,极大地提高了项目的开发效率,受到广大开发者和企业的青睐。特别是SpringBoot官方针对各种不同的应用场景,提供了非常丰富的场景启动器(也称为起步依赖)。开发人员只需要在项目的POM文件中导入对应的场景依赖,并编写少量的配置,即可快速实现当前场景的应用开发,真正的实现开箱即用。
今天壹哥会通过这篇文章,并结合一个具体的案例来给各位小伙伴介绍一下,我们该如何自定义一个自己的SpringBoot场景启动器,毕竟有时候官方提供的starter不能完全满足我们所有的需求。同时壹哥也希望通过starter的自定义过程,能够加深大家对SpringBoot自动配置原理的理解。
二. 需求说明
我们先来看一段代码:
package com.qf.hello.service;
import com.qf.hello.bean.HelloProperties;
import org.springframework.beans.factory.annotation.Autowired;

public class HelloService {

    @Autowired
    HelloProperties helloProperties;

    public String sayHello(String name){

        return helloProperties.getPrefix() + ":" +  name + ">>>"  + helloProperties.getSuffix();
    }
}
上面我们定义了一个组件HelloService,它有一个非常简单的功能,就是能够根据调用者传递的名字返回一个打招呼的信息,返回的信息内容可以根据配置的前缀和后缀进行指定格式的设置。我们现在需要将这个功能做成一个Starter,将来在其他项目中可以直接以场景启动器的方式导入并使用。
三. 设计思路
回顾我们之前使用已经做好的starter,你会发现无非就是如下几个步骤:
- 在POM文件中导入场景依赖;
- 这个场景依赖中,包含了一个名为xxxAutoConfiguration的自动配置类;
- 自动配置类按照一定的条件进行相关组件的自动装配;
- 这些组件又绑定了名为xxxProperties属性配置类;
- 属性配置类通过指定的前缀,从application.yml配置文件中读取属性的配置信息;
- 最后在项目中直接使用这些配置好的组件。
我们就参考这个步骤开始进行自定义starter的操作。
四. 实现步骤
1. Step1 业务定义
创建一个空项目【customer-starter】,里面包含两个模块:
- 启动器模块【hello-spring-boot-starter】;
- 自动配置模块【hello-spring-boot-starter-configuration】
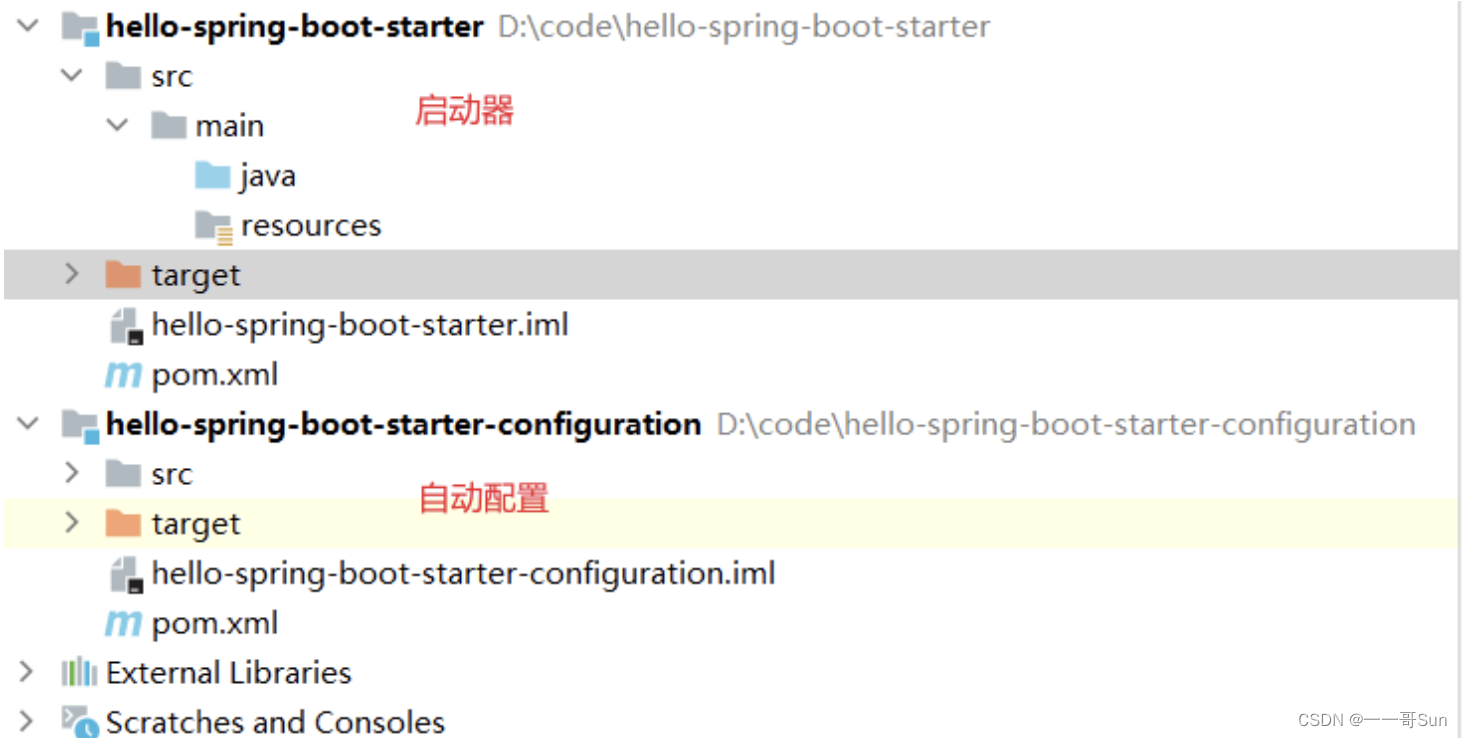
其中启动器项目中无需任何源代码和配置文件,只需要引入自动配置项目的依赖即可。
<?xml version="1.0" encoding="UTF-8"?>
<project xmlns="http://maven.apache.org/POM/4.0.0"
         xmlns:xsi="http://www.w3.org/2001/XMLSchema-instance"
         xsi:schemaLocation="http://maven.apache.org/POM/4.0.0 http://maven.apache.org/xsd/maven-4.0.0.xsd">
    <modelVersion>4.0.0</modelVersion>

    <groupId>com.qf</groupId>
    <artifactId>hello-spring-boot-starter</artifactId>
    <packaging>pom</packaging>
    <version>1.0-SNAPSHOT</version>
    <dependencies>
        <dependency>
            <groupId>com.qf</groupId>
            <artifactId>hello-spring-boot-starter-configuration</artifactId>
            <version>1.0-SNAPSHOT</version>
        </dependency>
    </dependencies>
</project>
自动配置项目必须是一个SpringBoot工程,同时需要引入spring-boot-starter的依赖。
<?xml version="1.0" encoding="UTF-8"?>
<project xmlns="http://maven.apache.org/POM/4.0.0"
         xmlns:xsi="http://www.w3.org/2001/XMLSchema-instance"
         xsi:schemaLocation="http://maven.apache.org/POM/4.0.0 http://maven.apache.org/xsd/maven-4.0.0.xsd">
    <modelVersion>4.0.0</modelVersion>

    <parent>
        <groupId>org.springframework.boot</groupId>
        <artifactId>spring-boot-starter-parent</artifactId>
        <version>2.4.5</version>
    </parent>

    <groupId>com.qf</groupId>
    <artifactId>hello-spring-boot-starter-configuration</artifactId>
    <version>1.0-SNAPSHOT</version>

    <dependencies>
        <dependency>
            <groupId>org.springframework.boot</groupId>
            <artifactId>spring-boot-starter</artifactId>
        </dependency>
    </dependencies>
</project>
2. Step2 自动配置
编写自动配置项目中的内容。
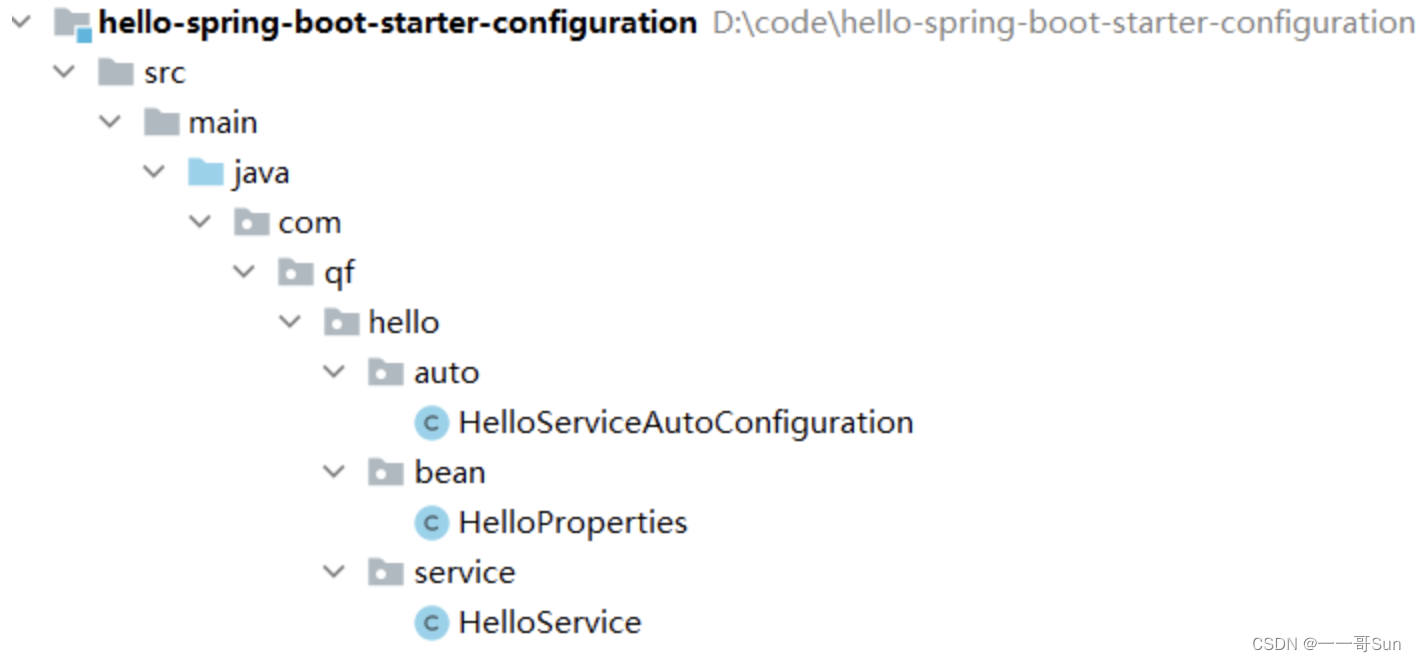
HelloService是整个自定义Starter要装配的核心对象,HelloServiceAutoConfiguration是一个配置类,HelloProperties是HelloService组件绑定的属性配置类,他们的代码分别如下:
2.1 HelloService类
//HelloService:该组件不要默认注册到容器中,而是通过一个自动配置类按条件进行装配
package com.qf.hello.service;

import com.qf.hello.bean.HelloProperties;
import org.springframework.beans.factory.annotation.Autowired;

public class HelloService {

    @Autowired
    HelloProperties helloProperties;
    public String sayHello(String name){
        return helloProperties.getPrefix() + ":" +  name + ">>>"  + helloProperties.getSuffix();
    }
}
2.2 HelloProperties类
//HelloProperties:自配配置属性类
package com.qf.hello.bean;

import org.springframework.boot.context.properties.ConfigurationProperties;

@ConfigurationProperties(prefix = "hello")
public class HelloProperties {
    //sayHello方法使用的前缀信息
    private String prefix;
    //sayHello方法使用的后缀信息
    private String suffix;

    public String getPrefix() {
        return prefix;
    }

    public void setPrefix(String prefix) {
        this.prefix = prefix;
    }

    public String getSuffix() {
        return suffix;
    }

    public void setSuffix(String suffix) {
        this.suffix = suffix;
    }
}
2.3 HelloServiceAutoConfiguration类
//自动配置类
package com.qf.hello.auto;

import com.qf.hello.bean.HelloProperties;
import com.qf.hello.service.HelloService;
import org.springframework.boot.autoconfigure.condition.ConditionalOnMissingBean;
import org.springframework.boot.context.properties.EnableConfigurationProperties;
import org.springframework.context.annotation.Bean;
import org.springframework.context.annotation.Configuration;

@Configuration
@EnableConfigurationProperties(HelloProperties.class)
public class HelloServiceAutoConfiguration {

    @ConditionalOnMissingBean(HelloService.class)
    @Bean
    public HelloService helloService(){
        System.out.println("使用自定义starter提供的HelloService");
        return new HelloService();
    }
}
3. Step3 工厂文件
在自动配置项目中的resources目录中,提供一个名称为META-INF的目录,并在该目录下提供一个名为spring.factories的文件。
resources/META-INF/spring.factories

spring.factories配置的内容如下:
org.springframework.boot.autoconfigure.EnableAutoConfiguration=
\com.qf.hello.auto.HelloServiceAutoConfiguration
4. Step4 安装
将这两个项目clean,并install到本地仓库。
5. Step5 引入使用
创建一个web项目进行自定义starter的使用测试。
5.1 在应用中添加自定义starter依赖坐标
<!-- 1.引入我们自定义的场景启动器 -->
<dependency>
    <groupId>com.qf</groupId>
    <artifactId>hello-spring-boot-starter</artifactId>
    <version>1.0-SNAPSHOT</version>
</dependency>
5.2 编写配置信息
server:
  port: 8080
hello:
  prefix: 千锋
  suffix: 888
5.3 编写测试的Controller
并在该Controller中自动注入自定义场景启动器中的HelloService组件。
package com.qf.boot.controller;

import com.qf.hello.service.HelloService;
import org.springframework.beans.factory.annotation.Autowired;
import org.springframework.web.bind.annotation.GetMapping;
import org.springframework.web.bind.annotation.PathVariable;
import org.springframework.web.bind.annotation.RestController;

@RestController
public class HelloController {

    @Autowired
    HelloService helloService;
    @GetMapping("/hello/{name}")
    public String hello(@PathVariable("name") String name){
        return helloService.sayHello(name);
    }
}
5.4 打开浏览器输入Controller中定义的访问地址

通过测试发现,我们已经可以在其他项目中使用自定义的starter,并使用自动配置好的组件功能了!现在你知道该怎么自定义starter了吗?如果你还有其他问题,可以在评论区留言或私信哦。
版权归原作者 一一哥Sun 所有, 如有侵权,请联系我们删除。