
系列文章目录
第一章 手把手教你搭建自己的博客
文章目录
前言
相信大多数人都有自己搭建博客网站的想法,本文就手把手一步一步的进行,最终结果类似如下样式:

一、网站软件的选择
软件选择成熟而免费的WordPress,WordPress是一款能让您建立出色网站、博客或应用程序的开源软件。
可充分利用超过55,000个插件扩展WordPress,以让您的网站满足需求。您可以增加网店、相册、邮件列表、论坛、统计分析等。
当然也有非常多的网站模板可用。
二、网站空间的选择
建网站,首先得有一个网上的空间,用于存放自己的网站。现在各种云都有相应的服务,一年也没多少钱,现在一般都有活动,如果是新用户建议买三年的。
1. 建议选择有名、大厂的
我用的阿里云的ECS,也推荐你试试,阿里云也有“试用装”:ECS免费试用_ECS试用中心_云服务器ECS_免费试用-阿里云 (aliyun.com)
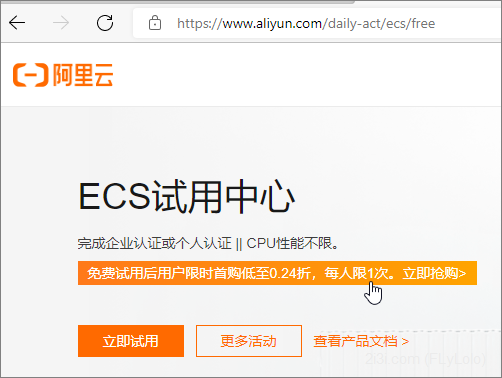
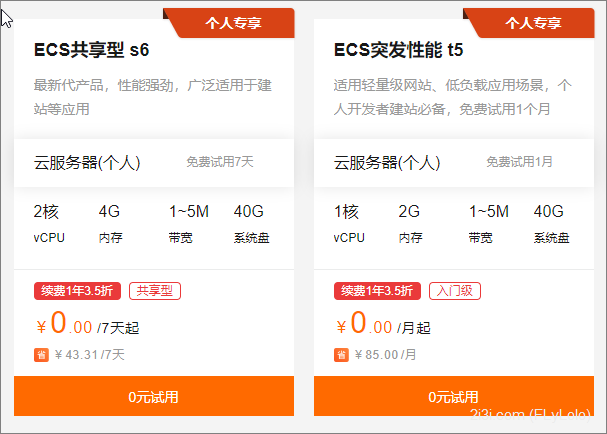
个人的两核4G基本够用了,正好试用的列表里也有,试用一下:
目前各种云挺多,选择哪家呢,我目前用的阿里云的,为什么呢?
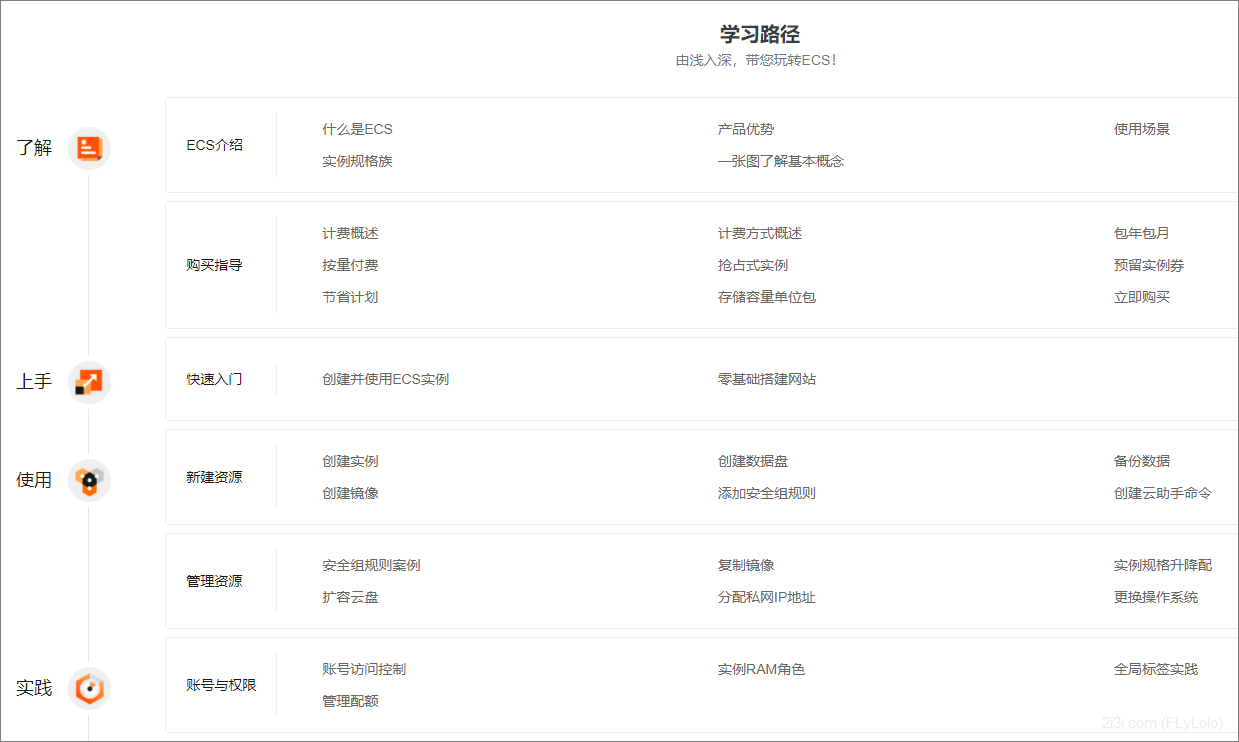
2. 上手容易,丰富而详实的文档
3. 要稳定,少出问题
所以一定要选择几个大厂之一的,名声在外不易出问题。
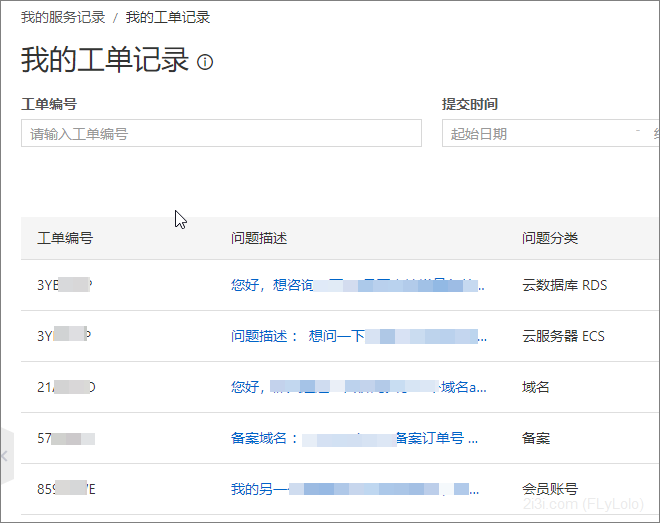
4. 及时处理并有能力处理问题
这是非常重要的,出了问题的处理有足够的技术能力处理,并且处理及时。不止是ECS的使用,还包括其他包括域名备案等一系列问题。
例如我提交的一些工单都能很快的响应并给出处理方案。
三、 环境准备
- WordPress,官网地址:https://cn.wordpress.org
- PHP 7.4或更高版本
- MySQL 5.6或更高版本,或MariaDB 10.1或更高版本
- Nginx或带mod_rewrite模块的Apache
- HTTPS支持
四、 安装PHP8
1. 首先更新一下
dnf upgrade
2. 查看当前dnf库中的php版本
dnf list php
我这里看到的是7.2版,版本过低,
php.x86_64 7.2.24-1.module_el8.2.0+313+b04d0a66 appstream
需要安装个新的。
3. 首先安装Remi存储库
dnf install -y https://rpms.remirepo.net/enterprise/remi-release-8.rpm
remi-release-8.rpm           0 kB/s |26 kB     00:01
依赖关系解决。
=====================================================================================
软件包              架构               版本            仓库                 大小
=====================================================================================
安装:
 remi-release      noarch             8.4-1.el8.remi  @commandline         26 k
安装依赖关系:
 epel-release      noarch             8-11.el8        extras               24 k
会自动安装依赖epel-release,无需单独安装。
4. 列出PHP module
dnf module list php
结果类似如下:
CentOS Linux 8 - AppStream
Name        Stream        Profiles                       Summary
php         7.2[d]       common [d], devel, minimal     PHP scripting language
php         7.3           common [d], devel, minimal     PHP scripting language
php         7.4           common [d], devel, minimal     PHP scripting language

Remi's Modular repository for Enterprise Linux 8 - x86_64
Name        Stream         Profiles                      Summary
php         remi-7.2       common [d], devel, minimal    PHP scripting language
php         remi-7.3       common [d], devel, minimal    PHP scripting language
php         remi-7.4       common [d], devel, minimal    PHP scripting language
php         remi-8.0       common [d], devel, minimal    PHP scripting language
php         remi-8.1       common [d], devel, minimal    PHP scripting language
可以看到已经有了8.0和8.1版本,官网现在8.1还是RC版,准备安装8.0。
期间会询问导入各种公钥,选择“y”即可。
5. 安装php 8.0
dnf module enable php:remi-8.0
dnf install php
===================================================================================
 软件包            架构     版本                 仓库                  大小
===================================================================================
安装:
 php              x86_64   8.0.12-1.el8.remi     remi-modular         1.6 M
安装依赖关系:
 apr              x86_64   1.6.3-11.el8          AppStream            125 k
 apr-util         x86_64   1.6.1-6.el8           AppStream            105 k
 centos-logos-httpd noarch 85.8-1.el8            base                  75 k
 httpd            x86_64   2.4.37-39.module_el8  AppStream            1.4 M
 httpd-filesystem noarch   2.4.37-39.module_el8  AppStream             39 k
 httpd-tools      x86_64   2.4.37-39.module_el8  AppStream            106 k
 libsodium        x86_64   1.0.18-2.el8          epel                 162 k
 libxslt          x86_64   1.1.32-6.el8          base                 250 k
 mailcap          noarch   2.1.48-3.el8          base                  39 k
 mod_http2        x86_64   1.15.7-3.module_el8   AppStream            154 k
 oniguruma5php    x86_64   6.9.7.1-1.el8.remi    remi-safe            210 k
 php-common       x86_64   8.0.12-1.el8.remi     remi-modular         1.2 M
安装弱的依赖:
 apr-util-bdb     x86_64   1.6.1-6.el8           AppStream             25 k
 apr-util-openssl x86_64   1.6.1-6.el8           AppStream             27 k
 nginx-filesystem noarch   1:1.14.1-9.module_el8 AppStream             24 k
 php-cli          x86_64   8.0.12-1.el8.remi     remi-modular         4.7 M
 php-fpm          x86_64   8.0.12-1.el8.remi     remi-modular         1.6 M
 php-mbstring     x86_64   8.0.12-1.el8.remi     remi-modular         525 k
 php-opcache      x86_64   8.0.12-1.el8.remi     remi-modular         768 k
 php-pdo          x86_64   8.0.12-1.el8.remi     remi-modular         156 k
 php-sodium       x86_64   8.0.12-1.el8.remi     remi-modular          94 k
 php-xml          x86_64   8.0.12-1.el8.remi     remi-modular         238 k
启用模块流:
 httpd                     2.4
 nginx                     1.14

事务概要
================================================================================
安装  23 软件包
选择y,等待安装完成。
6. 安装php-mysql扩展
逐一执行下面命令安装扩展
dnf install php-mysql
dnf install php-gd
dnf install php-imagick
dnf install php-zip
7. 验证安装
输入命令查看php版本:
php -v
PHP 8.0.12 (cli)(built: Oct 19202110:34:32)( NTS gcc x86_64 )
Copyright (c) The PHP Group
Zend Engine v4.0.12, Copyright (c) Zend Technologies
    with Zend OPcache v8.0.12, Copyright (c), by Zend Technologies
五、 安装mysql8.0
1. 查看dnf库中mysql版本
dnf list mysql
mysql.x86_64 8.0.26-1.module_el8.4.0+915+de215114 appstream
版本8.0,直接安装。
2. 安装Mysql8.0
输入安装命令,注意有“@”:
dnf install @mysql
依赖关系解决。
========================================================================================
 软件包         架构     版本              仓库                大小
========================================================================================
安装组/模块包:
 mysql-server  x86_64   8.0.26-1.module_el8.4.0+915+de215114   AppStream      25 M
安装依赖关系:
 ...省略....
安装模块配置档案:
 mysql/server
启用模块流:
 perl                   5.26
 perl-IO-Socket-SSL     2.066
 perl-libwww-perl       6.34

事务概要
========================================================================================
安装  54 软件包
选择y等待安装完成。
3.配置
启动mysql
systemctl start mysqld
查看运行状态
systemctl status mysqld
设为开机启动
systemctl enable mysqld
运行配置向导
mysql_secure_installation
根据提示进行操作:
[root@localhost mysql]# mysql_secure_installation## 默认已用空密码登录
Securing the MySQL server deployment.
Connecting to MySQL using a blank password.

##是否安装密码强度验证模块,看自己需求
VALIDATE PASSWORD COMPONENT can be used to test passwords
and improve security. It checks the strength of password
and allows the users to set only those passwords which are
secure enough. Would you like to setup VALIDATE PASSWORD component?
Press y|Y for Yes, any other key for No: no

## 设置root的密码
Please set the password for root here.
New password:
Re-enter new password:

## 是否删除匿名用户,可删
By default, a MySQL installation has an anonymous user,
allowing anyone to log into MySQL without having to have
a user account created for them. This is intended only for
testing, and to make the installation go a bit smoother.
You should remove them before moving into a production
environment.

Remove anonymous users? (Press y|Y for Yes, any other key for No): y
Success.

## 默认情况下只允许本机访问,是否开启远程访问,按自己需求
Normally, root should only be allowed to connect from
'localhost'. This ensures that someone cannot guess at
the root password from the network.

Disallow root login remotely? (Press y|Y for Yes, any other key for No): y
Success.

## 是否删除测试数据库,可删
By default, MySQL comes with a database named 'test' that
anyone can access. This is also intended only for testing,
and should be removed before moving into a production
environment.

Remove test database and access to it? (Press y|Y for Yes, any other key for No): y
 - Dropping test database...
Success.

 - Removing privileges on test database...
Success.

## 是否立即重新加载刚才的配置,选择是
Reloading the privilege tables will ensure that all changes
made so far will take effect immediately.

Reload privilege tables now? (Press y|Y for Yes, any other key for No): y
Success.
## 配置完毕
All done!
4. 为WordPress创建数据库
登录数据库
mysql -uroot -p
提示输入密码,输入刚设置的root的密码。
创建数据库,名称自己定,例如wordpress
create database wordpress;
查看现有数据库
show databases;
可以看到新建好的数据库
+--------------------+
| Database           |
+--------------------+
| information_schema || mysql              || performance_schema || sys                || wordpress          |
+--------------------+
5 rows inset(0.00 sec)
输入exit退出。
六、 安装Nginx
1. 查看dnf库中Nginx版本
dnf list nginx
nginx.x86_64 1:1.14.1-9.module_el8.0.0+184+e34fea82 appstream
版本有点低,安装新版。
2. 安装Nginx1.20
输入安装命令
dnf install http://nginx.org/packages/centos/8/x86_64/RPMS/nginx-1.20.2-1.el8.ngx.x86_64.rpm
==========================================================================================
软件包            架构       版本                        仓库                  大小
==========================================================================================
安装:
 nginx           x86_64     1:1.20.2-1.el8.ngx          @commandline          819 k

事务概要
==========================================================================================
安装  1 软件包
选择y等待安装完成。
3. 查看防火墙
查看是否已开放80端口,修改防火墙设置。某云需要修改安全组设置。
firewall-cmd --query-port=80/tcp
若返回no则未开放。
开放80端口命令:
firewall-cmd --zone=public --add-port=80/tcp --permanent
使设置生效:
firewall-cmd --reload
4. 访问默认网站验证安装
启动nginx
systemctl start nginx
查看运行状态
systemctl status nginx
会看到包含“ Active: active (running)”字样的成功提示。
设置开机自动启动
systemctl enable nginx
访问 http://服务器ip, 正常会是如下页面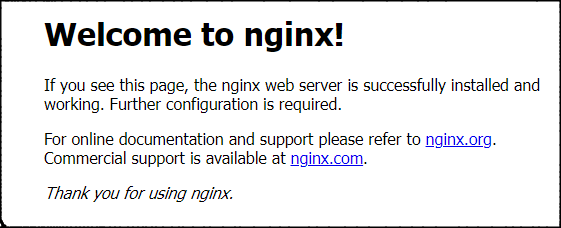
5. 启用php支持
修改nginx配置文件
cd /etc/nginx/conf.d
备份默认的配置文件
cp default.conf default.conf.bak
修改default.conf
vi default.conf
按"i"键,找到如下代码块,默认是注释状态,去掉#号,并修改为如下配置
# pass the PHP scripts to FastCGI server listening on 127.0.0.1:9000#
    location ~ \.php$ {
        root           /usr/share/nginx/html/;
        fastcgi_pass   unix:/run/php-fpm/www.sock;
        fastcgi_index  index.php;
        fastcgi_param  SCRIPT_FILENAME  $document_root$fastcgi_script_name;
        include        fastcgi_params;}
fastcgi_pass对应php-fpm的监听配置, 配置文件为: /etc/php-fpm.d/www.conf,可查看验证。
; The address on which to accept FastCGI requests.
; Valid syntaxes are:
;'ip.add.re.ss:port'    - to listen on a TCP socket to a specific IPv4 address on
;                            a specific port;;'[ip:6:addr:ess]:port' - to listen on a TCP socket to a specific IPv6 address on
;                            a specific port;;'port'                 - to listen on a TCP socket to all addresses
;(IPv6 and IPv4-mapped) on a specific port;;'/path/to/unix/socket' - to listen on a unix socket.
; Note: This value is mandatory.
listen = /run/php-fpm/www.sock
设置默认文件为index.php
    location / {
        root   /usr/share/nginx/html;
        index  index.php index.html index.htm;}
修改完毕后,按ESC,输入:wq保存并退出。
重启nginx:
systemctl restart nginx
七、安装WordPress
1. 访问网站目录
nginx的默认网站目录在/usr/share/nginx/html/,访问并验证一下
cd /usr/share/nginx/html/
ll
可以看到两个html文件,即默认的“Welcome to nginx!”页面。
-rw-r--r--. 1 root root 4945月  25 09:41 50x.html
-rw-r--r--. 1 root root 6125月  25 09:41 index.html
可以删除默认的index.html文件
rm -r index.html
询问是否删除,输入y回车即可。
2. 下载安装包
安装下载和解压工具,如果已安装则忽略
dnf installwget
dnf installtar
下载wordpress
wget https://cn.wordpress.org/latest-zh_CN.tar.gz
下载完成之后,解压
tar -zxvf latest-zh_CN.tar.gz
拷贝到当前目录
cp -R wordpress/* /usr/share/nginx/html/
3. 开始安装
访问"http://服务器ip/wp-admin/install.php",可以看到如下页面: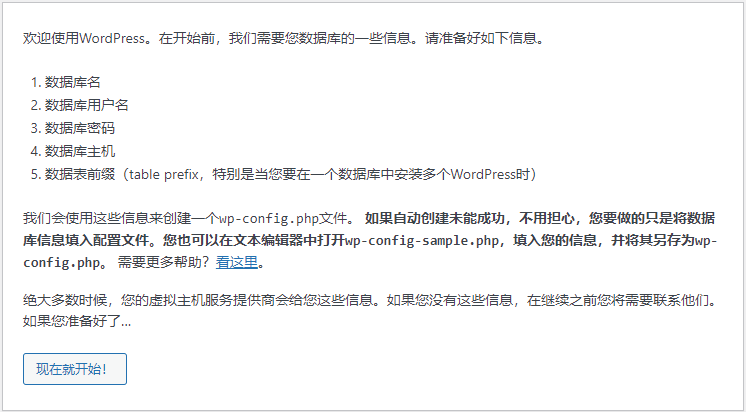
点击按钮开始配置: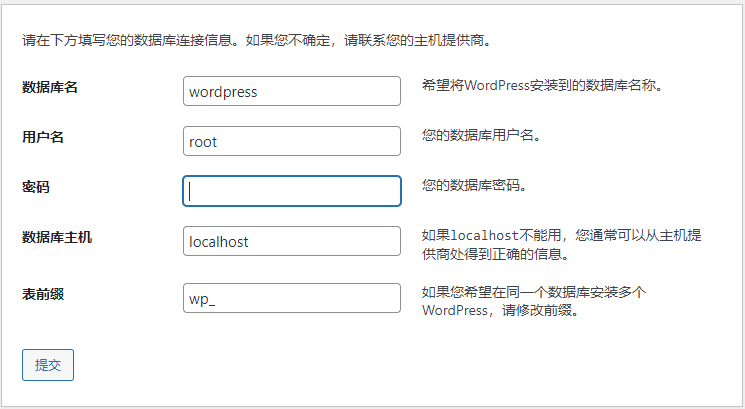
输入准备好的数据库相关信息。
如果提示无法写入wp-config.php,如下图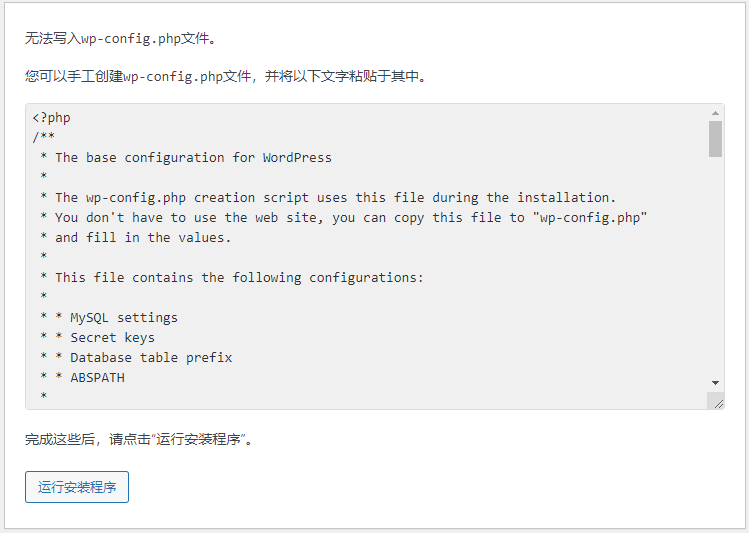
手动创建wp-config.php文件
cd /usr/share/nginx/html/
vi wp-config.php
按i键,粘贴网页中给出的文件内容。
按ESC,输入:wq回车保存。
继续安装,在新页面设置网站的相关信息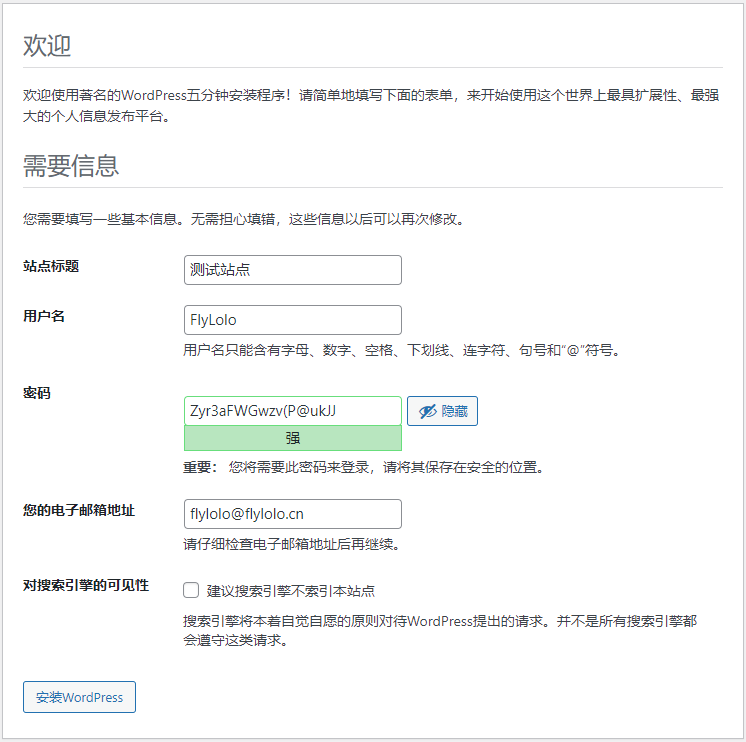
点击按钮开始安装。
安装成功后,访问http://服务器ip即可。
管理后台地址:http://服务器ip/wp-admin
总结
以上就是今天要讲的内容,手把手讲述了一个个人博客网站的搭建,你学会了么。
版权归原作者 FlyLolo 所有, 如有侵权,请联系我们删除。