Linux 源码安装: PostgreSQL 15.6数据库
💖The Begin💖点点关注,收藏不迷路💖
🍒 PostgreSQL 中文文档
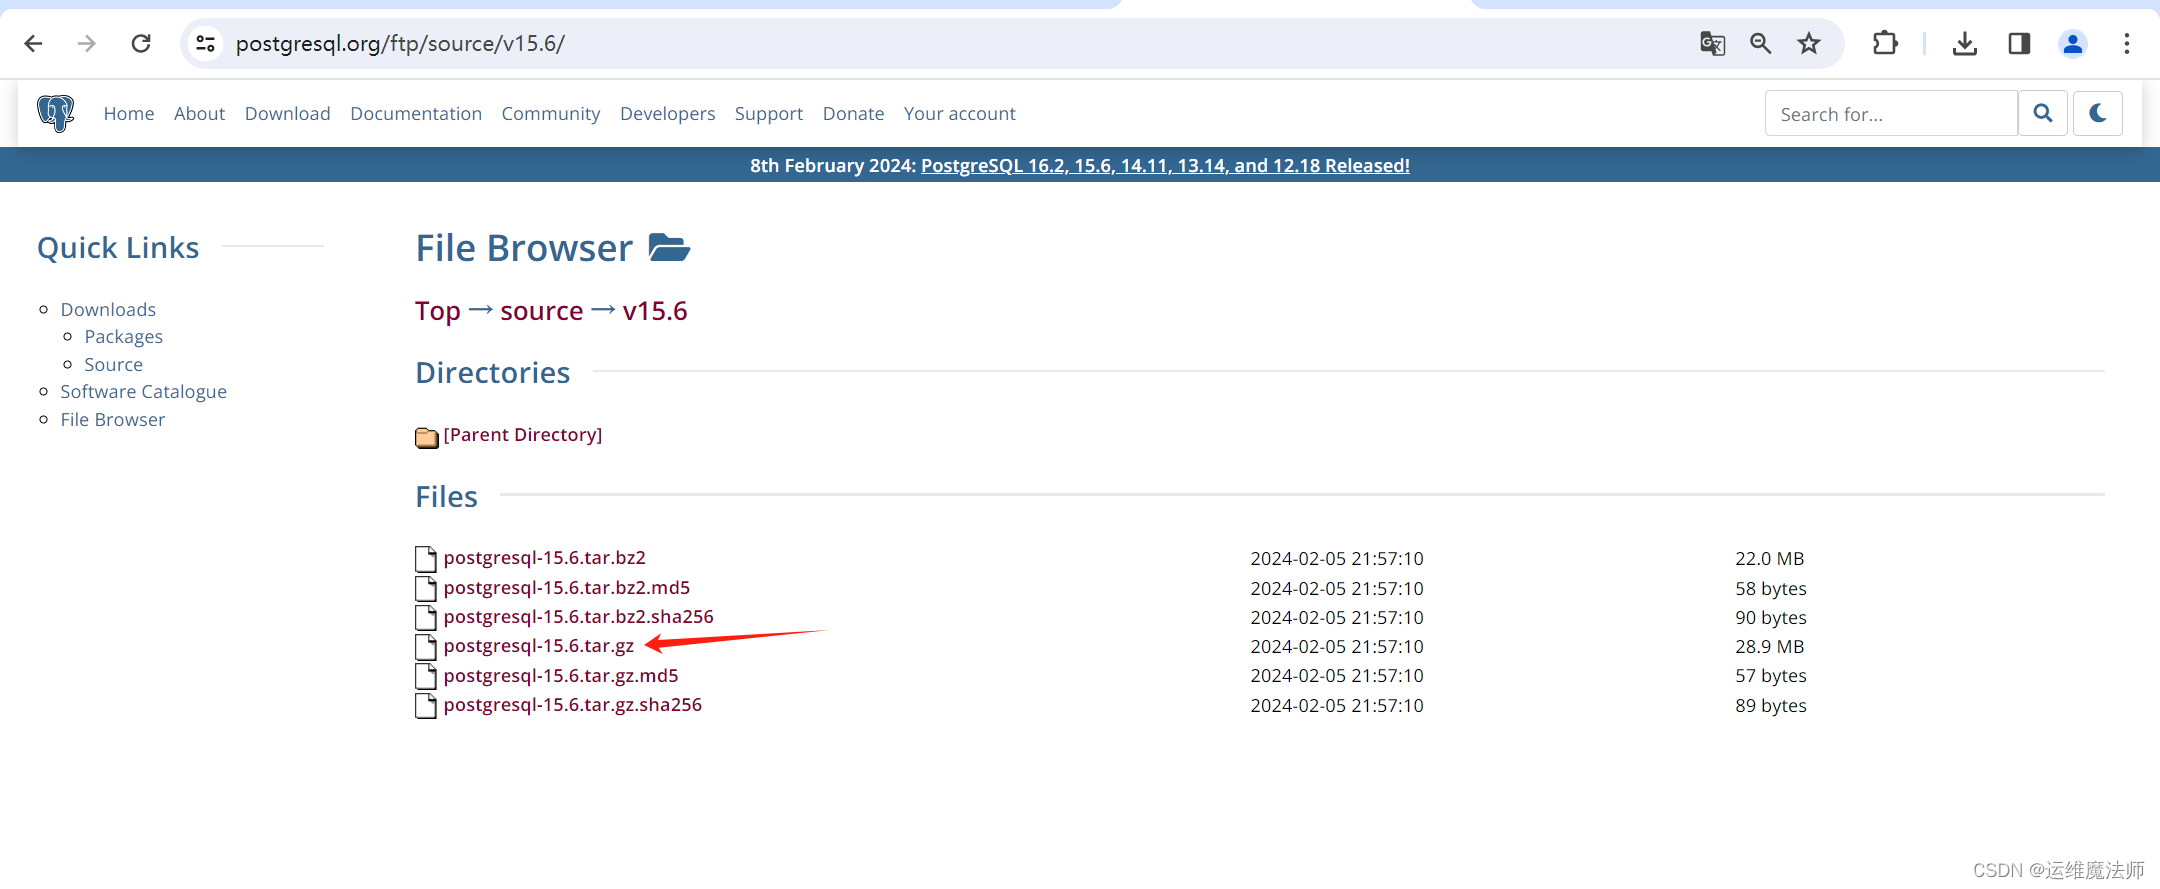
1、下载 postgresql-15.6.tar.gz 源码包
下载地址:https://www.postgresql.org/ftp/source/


2、安装postgresql-15.6
2.1、解压 tar.gz 文件
tar -zxvf postgresql-15.6.tar.gz
2.2、进入解压后的目录
cd postgresql-15.6

2.3、创建 “postgres” 用户和对应的用户组
groupadd -g 500 postgres

useradd -u 501-g 500 postgres

2.4、创建data目录,授权
mkdir /usr/local/pgsql/data
chown postgres:postgres /usr/local/pgsql/data

2.5、编译 PostgreSQL
## 编译./configure

缺少readline library,检查系统是否安装readlilne包。

rpm -qa | grep readline

安装readline-devel包

yum -y install -y readline-devel.x86_64

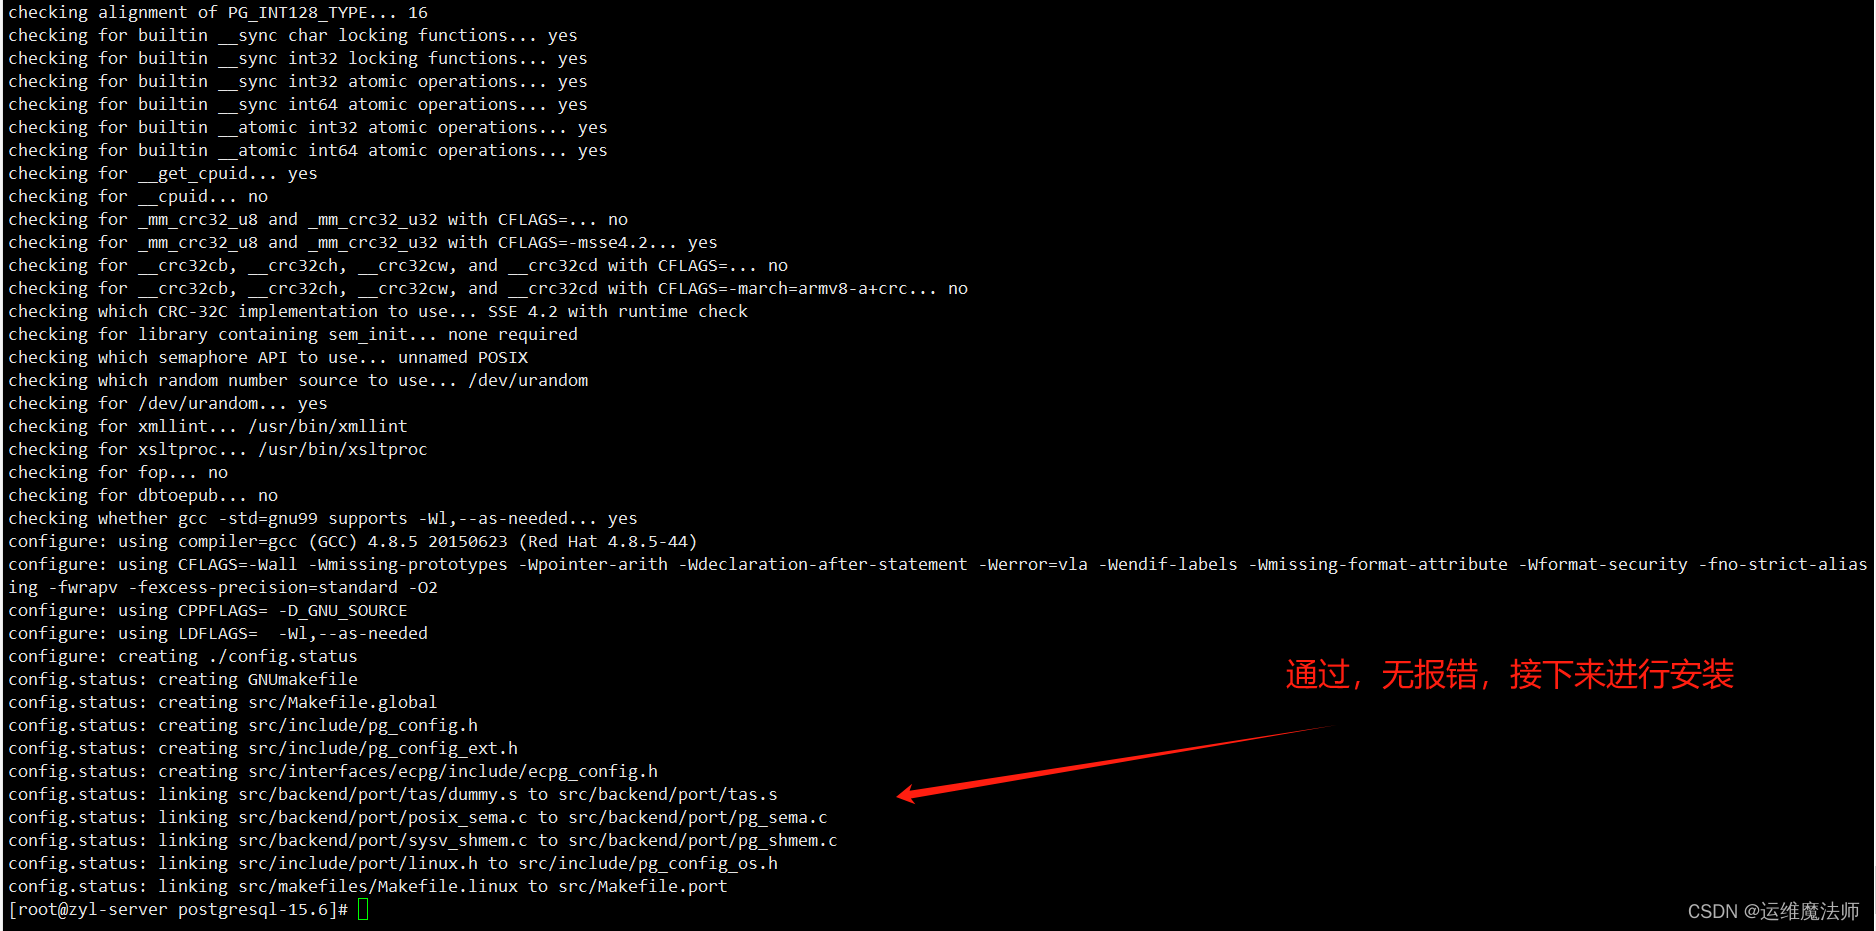
2.6、再次编译检查
## 编译./configure

2.7、安装 PostgreSQL
## 安装
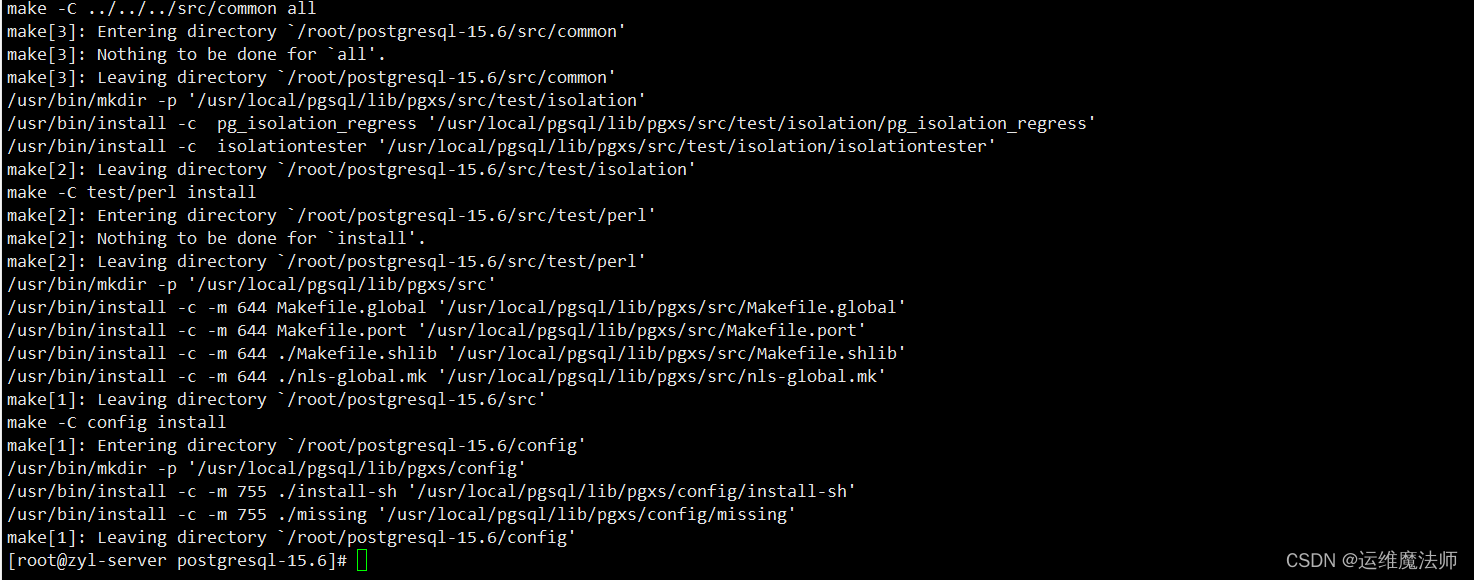
make  &&  make install
安装结果:

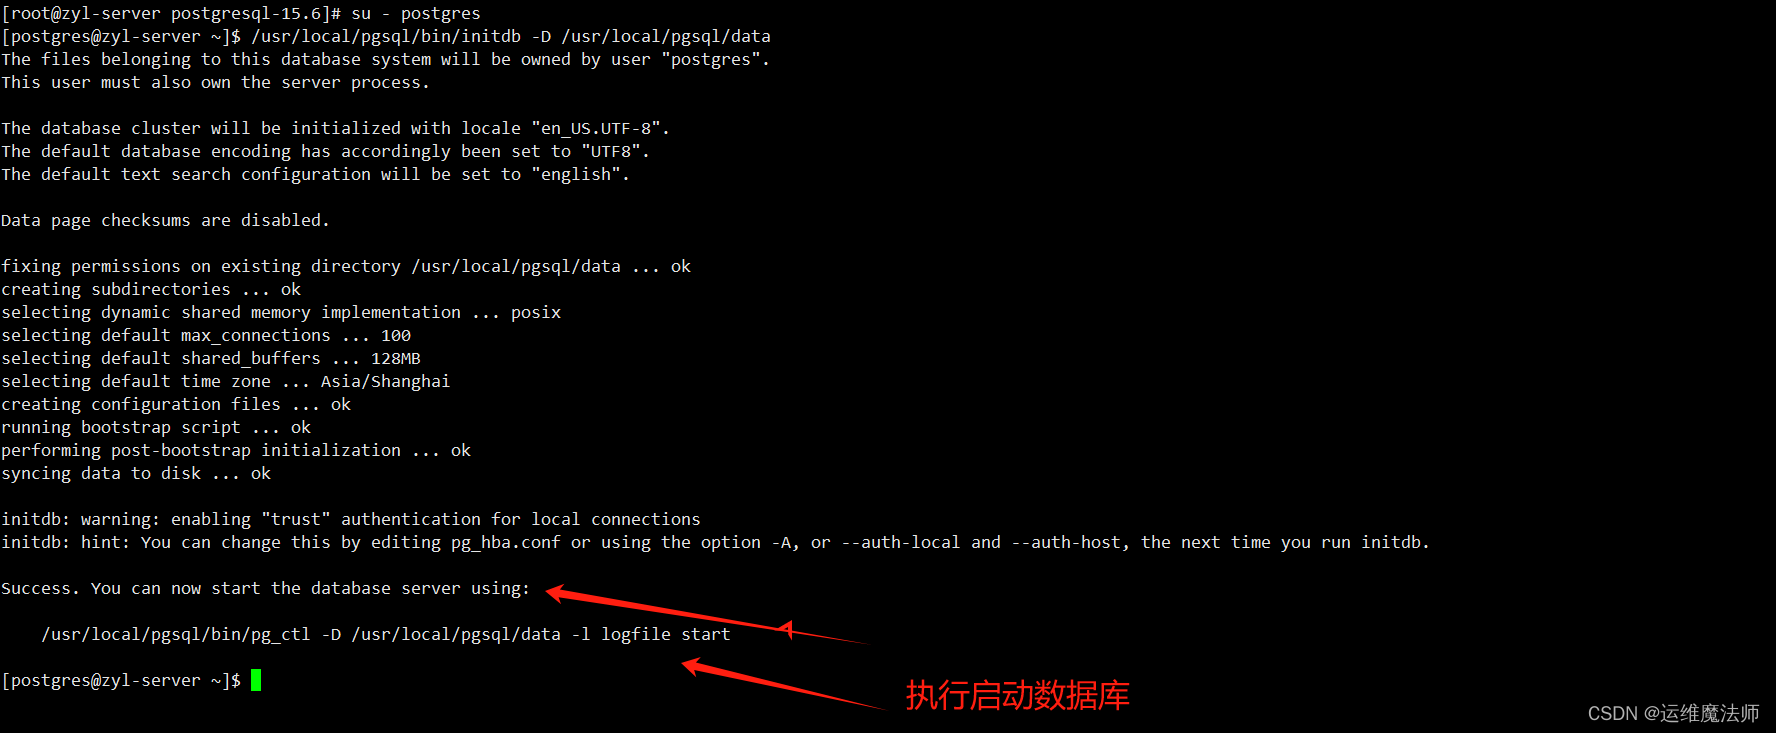
2.8、初始化数据库
## 切换postgres用户

su - postgres

## 其中 -D 用来指定要初始化的数据库目录的路径。## /usr/local/pgsql/data 是指定的数据库数据目录路径,也就是存储数据库文件的位置。/usr/local/pgsql/bin/initdb -D /usr/local/pgsql/data

2.9、启动 PostgreSQL 服务
[postgres@zyl-server ~]$ /usr/local/pgsql/bin/pg_ctl -D /usr/local/pgsql/data-l logfile start
waiting for server tostart.... done
server started
[postgres@zyl-server ~]$
3、配置环境变量(postgres用户)
3.1、编辑环境变量配置文件
vi ~/.bashrc ,如果全局的则编辑/etc/profile。
vi ~/.bashrc

##在文件中添加以下内容来设置 PostgreSQL 的环境变量

export PATH=$PATH:/usr/local/pgsql/bin
export LD_LIBRARY_PATH=$LD_LIBRARY_PATH:/usr/local/pgsql/lib

3.2、使配置生效:
source ~/.bashrc
3.3、验证配置是否成功
可以执行以下命令查看 PostgreSQL 版本信息:
postgres --version

4、设置开机时自动启动
1、创建一个名为 postgresql.service 的服务单元文件:
编辑 /etc/systemd/system/postgresql.service 文件(需要 root 权限)。
vim /etc/systemd/system/postgresql.service
在文件中添加以下内容:
[Unit]
Description=PostgreSQL database server
After=network.target

[Service]Type=forking
User=postgres
ExecStart=/usr/local/pgsql/bin/pg_ctl start-D /usr/local/pgsql/data-l /usr/local/pgsql/data/logfile.log
ExecStop=/usr/local/pgsql/bin/pg_ctl stop -D /usr/local/pgsql/data[Install]
WantedBy=multi-user.target

2、重新加载 systemd 管理的单元文件和启用 PostgreSQL 服务:
[root@zyl-server ~]# sudo systemctl daemon-reload[root@zyl-server ~]# sudo systemctl enable postgresql
Created symlink from/etc/systemd/system/multi-user.target.wants/postgresql.service to/etc/systemd/system/postgresql.service.[root@zyl-server ~]#
3、验证设置:
机器重启后, 查看 PostgreSQL 服务 状态。
sudo systemctl start postgresql      # 启动 PostgreSQL 服务
sudo systemctl stop postgresql       # 停止 PostgreSQL 服务
sudo systemctl restart postgresql    # 重启 PostgreSQL 服务
sudo systemctl status postgresql     # PostgreSQL 服务 状态查看

5、远程登录配置
❤️🔥 具体配置见:https://zuiyl.blog.csdn.net/article/details/136916591
7、创建数据库和表、远程用户zyl
8、pgAdmin远程访问该数据库(db_pg01)
需要进行以下步骤:
1、修改 postgresql.conf 文件:
找到 postgresql.conf 配置文件,通常在 PostgreSQL 的数据目录下,比如 /usr/local/pgsql/data/postgresql.conf。
找到并修改 listen_addresses 选项,将其设置为 ‘*’,表示允许来自任何 IP 地址的连接:
listen_addresses ='*'
2、修改 pg_hba.conf 文件:
找到 pg_hba.conf 文件,该文件也通常位于 PostgreSQL 的数据目录下,比如 /usr/local/pgsql/data/pg_hba.conf。
在文件末尾添加允许远程访问的规则,例如允许所有IP地址的访问:
host allall0.0.0.0/0 md5
3、重启 PostgreSQL 服务:
在完成上述修改后,需要重新启动 PostgreSQL 服务,使配置生效。
[postgres@zyl-server ~]$ systemctl restart postgresql

或者

[postgres@zyl-server ~]$ pg_ctl restart -D /usr/local/pgsql/data

💖The End💖点点关注,收藏不迷路💖
版权归原作者 运维魔法师 所有, 如有侵权,请联系我们删除。