
1.创建Vue项目
可以有两种创建vue的方式,一种是vue CLI脚手架,一种是vite工具
Vue CLI
- 基于webpack工具
- 命令 vue create 项目名
create-vue
- 基于vite工具
- 命令 npm init vue@latest
- 也可以npm init vite-app 项目名
检查一下npm和node版本
npm更新到最新版本方法 npm install -g npm
node需要去下载https://nodejs.org/en/

在公司开发项目的时候,可以添加Vue Router和Pinia,用方向键选择No/Yes。
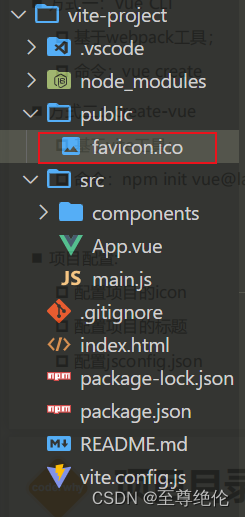
下面是创建完项目后默认的项目结构 。

2.安装项目依赖
使用这个指令就可以下载依赖了。
npm install

会多出来一个package-lock.json的文件。
3.项目的运行
项目运行的指令在package.json是可以看到的,也是可以修改的。

npm run dev
执行完指令很快就运行成功了。

4.项目配置
配置项目的icon
配置项目的标题

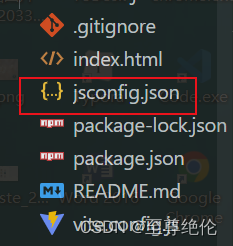
配置jsconfig.json
配置这个文件vscode会有更好的代码提示,如果不想创建这个文件也可以。
//jsconfig.json
{
  "compilerOptions": {
    "target": "es5",
    "module": "esnext",
    "baseUrl": "./",
    "moduleResolution": "node",
    "paths": {
      "@/*": [
        "src/*"
      ]
    },
    "lib": [
      "esnext",
      "dom",
      "dom.iterable",
      "scripthost"
    ]
  }
}
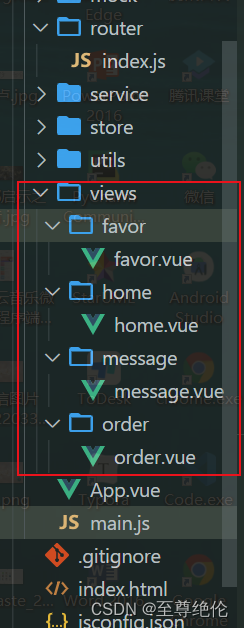
5.项目目录结构划分

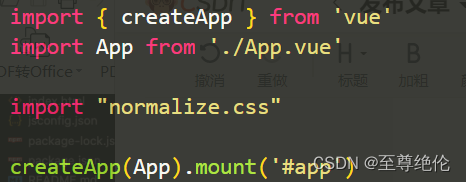
6.css样式重置
需要对样式进行重置,可以用别人的文件。
npm install --save normalize.css
用完这个normalize.css文件之后,还需要一个reset.css来重置样式,common.css来编写一些常用的样式。
//reset.css
body, h1, h2, h3, h4, ul, li {
  margin: 0;
  padding: 0;
}
ul, li {
  list-style: none;
}

a {
  text-decoration: none;
  color: #333;
}

img{
  vertical-align: top;
}
引入到index.css文件里面,可以作为一个唯一的出口。

在main.js导入index.css,相当于导入了reset和common两个文件。

**vue中使用less **
<style lang="less" scoped>

</style>
要在style标签中加上lang="less",并且通过npm install less -D安装less,安装完成之后需要重新跑一下项目,ctrl+c停止项目。
7.路由配置
npm install vue-router
如果前面的项目配置没有选择vue-router的话,也可以手动来配置。先安装vue-router。

在view文件夹里面创建想要的文件。
router创建index.js用来写router配置。
//router index.js
import { createRouter, createWebHashHistory } from 'vue-router'

const router = createRouter({
  history: createWebHashHistory(),
  routes: [
    {
      path:"/",
      redirect: "/home"
    },
    {
      path:"/home",
      component: () => import("@/views/home/home.vue")
    },
    {
      path:"/favor",
      component: () => import("@/views/favor/favor.vue")
    },
    {
      path:"/order",
      component: () => import("@/views/order/order.vue")
    },
    {
      path:"/message",
      component: () => import("@/views/message/message.vue")
    }
  ]
})

export default router
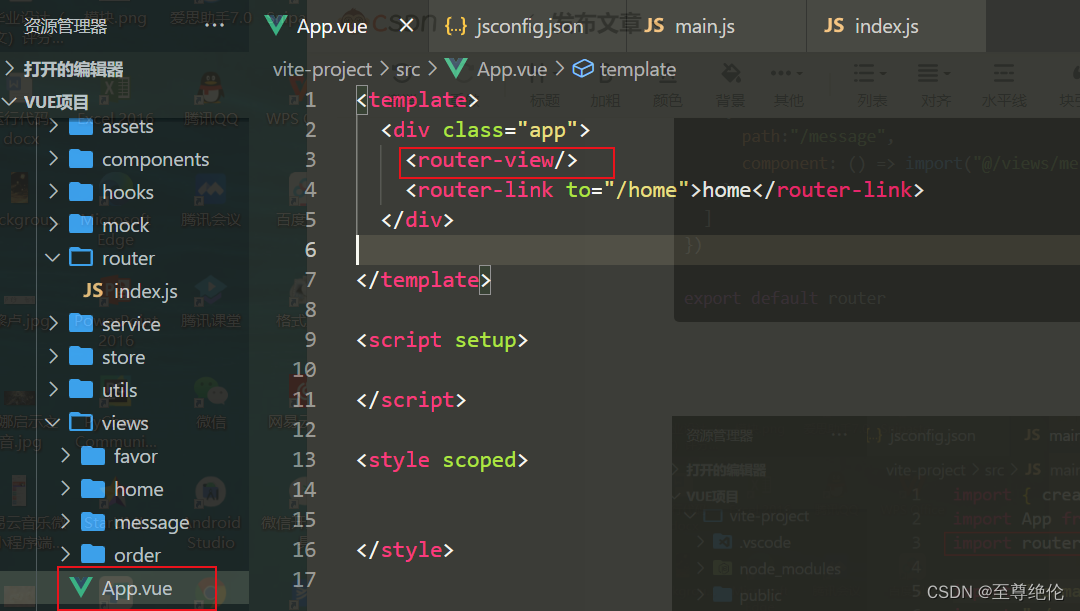
配置完要有router-view才能用。

8.配置状态管理
状态管理库现在有两个方案:
- vuex:目前依然使用较多的状态管理库;
- pinia:推荐的库,未来趋势的状态管理库。
在Vue学习之认识到应用(三)都有讲到用法。
npm install pinia

在store里面创建index.js文件。

pinia可以分模块。
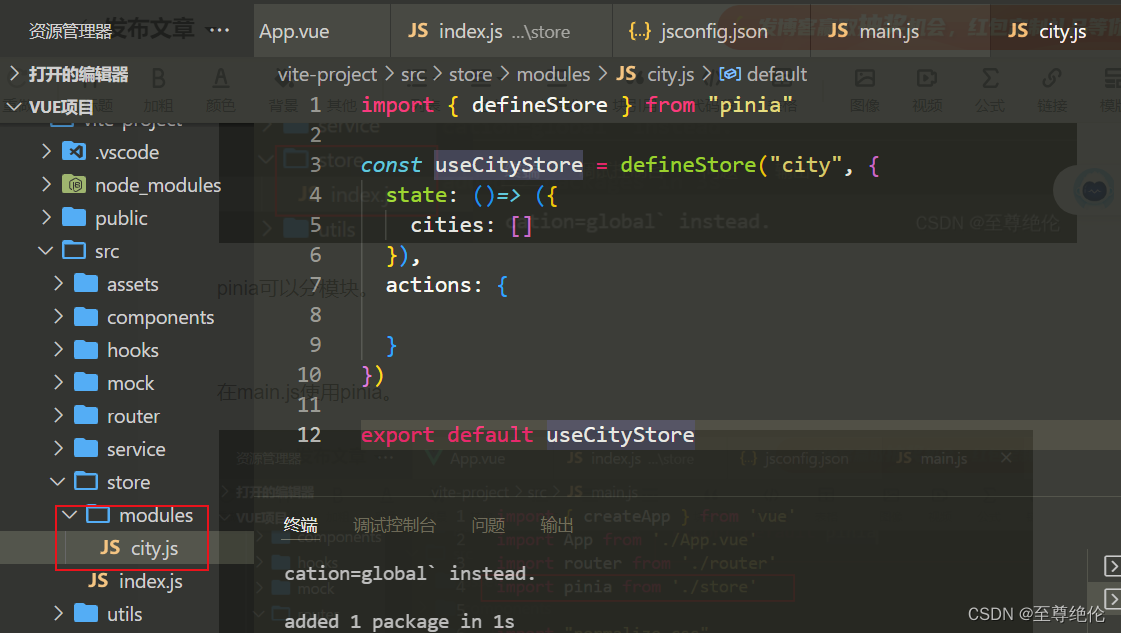
import { defineStore } from "pinia"

const useCityStore = defineStore("city", {
  state: ()=> ({
    cities: []
  }),
  actions: {

  }
})

export default useCityStore
在main.js使用pinia。

9.配置代码快捷
snippet generator
在这个网站把下面的代码复制进去,把生成的代码复制出来。
<template>
  <div class="home">
    <h2>home</h2>
  </div>
</template>

<script setup>

</script>

<style lang="less" scoped>

</style>

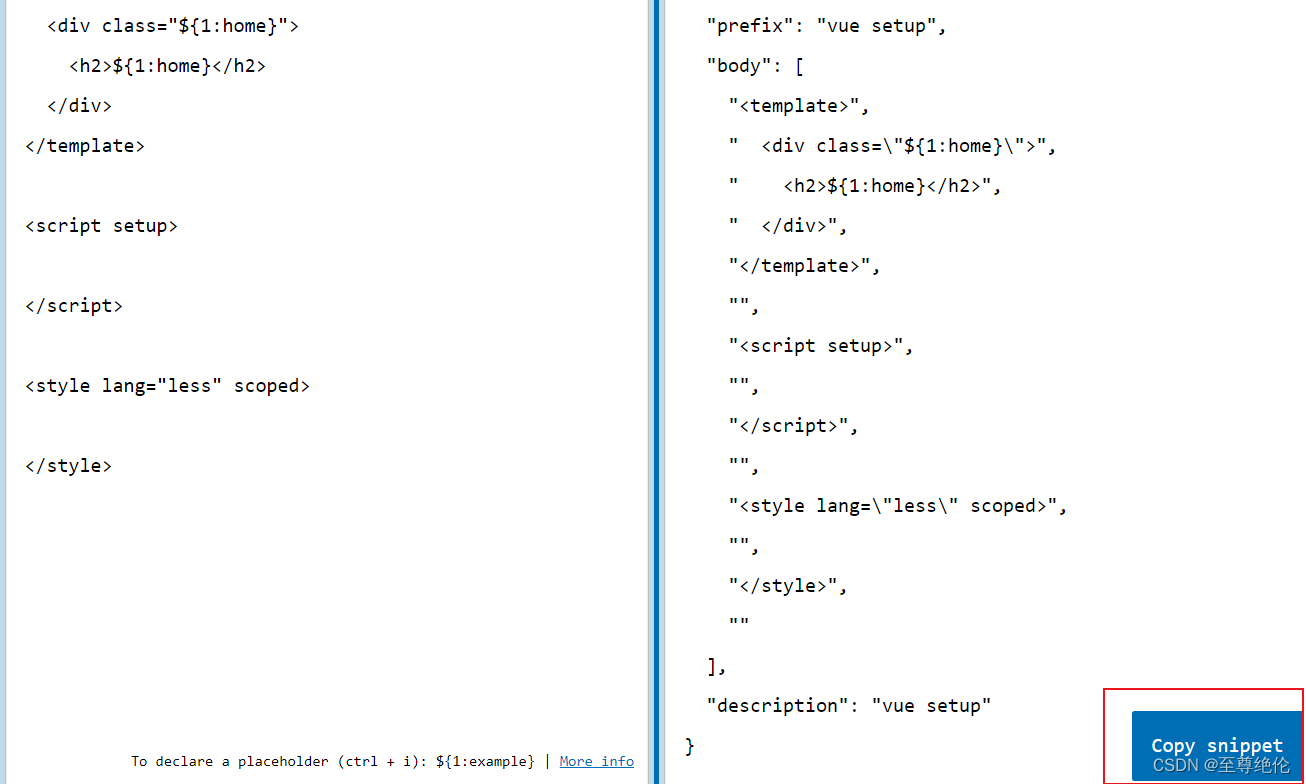
vscode的菜单->文件->首选项->用户片段

把生成的代码粘贴进去就可以了,在vue文件就可以使用vue setup快速生成代码段了。
版权归原作者 至尊绝伦 所有, 如有侵权,请联系我们删除。