安装前需要准备点环境,
因为seatunnel是基于java开发的,因此需要先安装java,我这里使用的java1.8,可以网上搜索下java安装教程,记得配置JAVA_HOME环境变量。
在安装的过程中需要用到mysql命令,因此也需要安装下MySQL环境,这里也不具体讲解了,在网上搜索安装就行。
接下来就是正式安装seatunnel了,
一、seatunnel服务安装
1、下载seatunnel
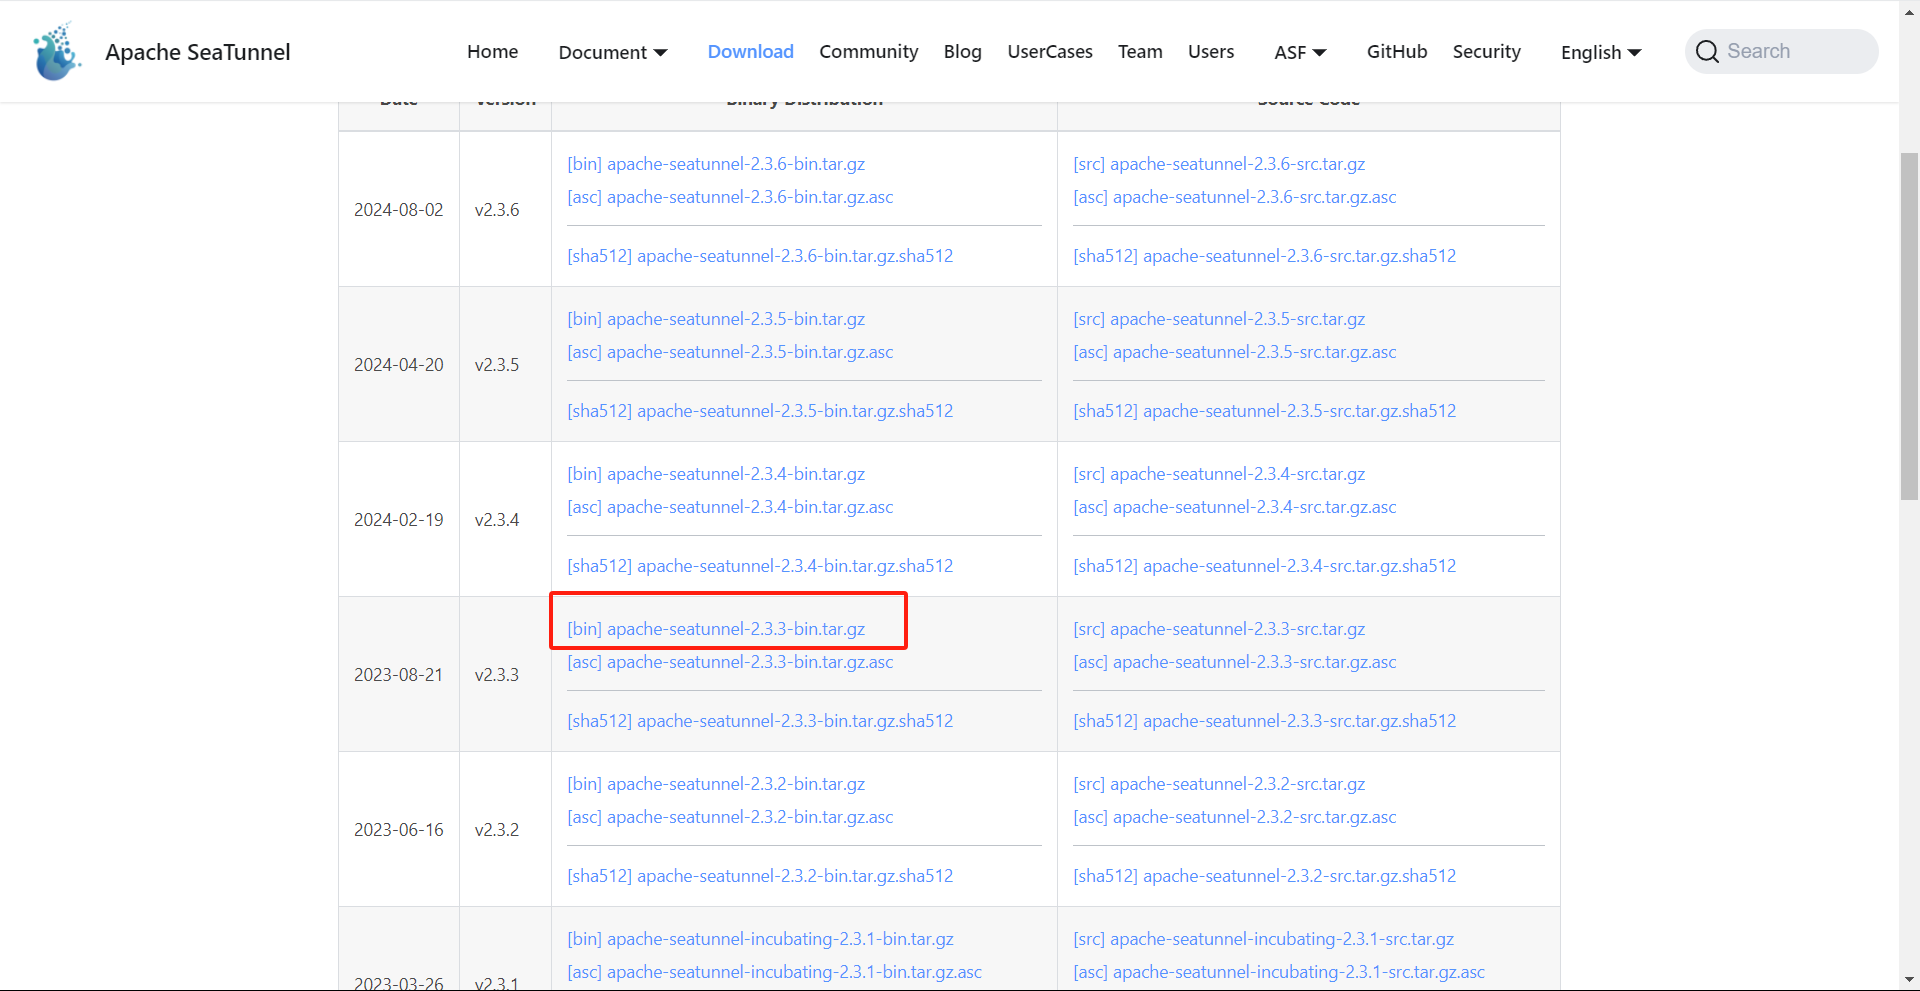
打开seatunnel官网地址,我使用的2.3.3的版本,因为需要搭配dolphin使用(最高支持2.3.3).
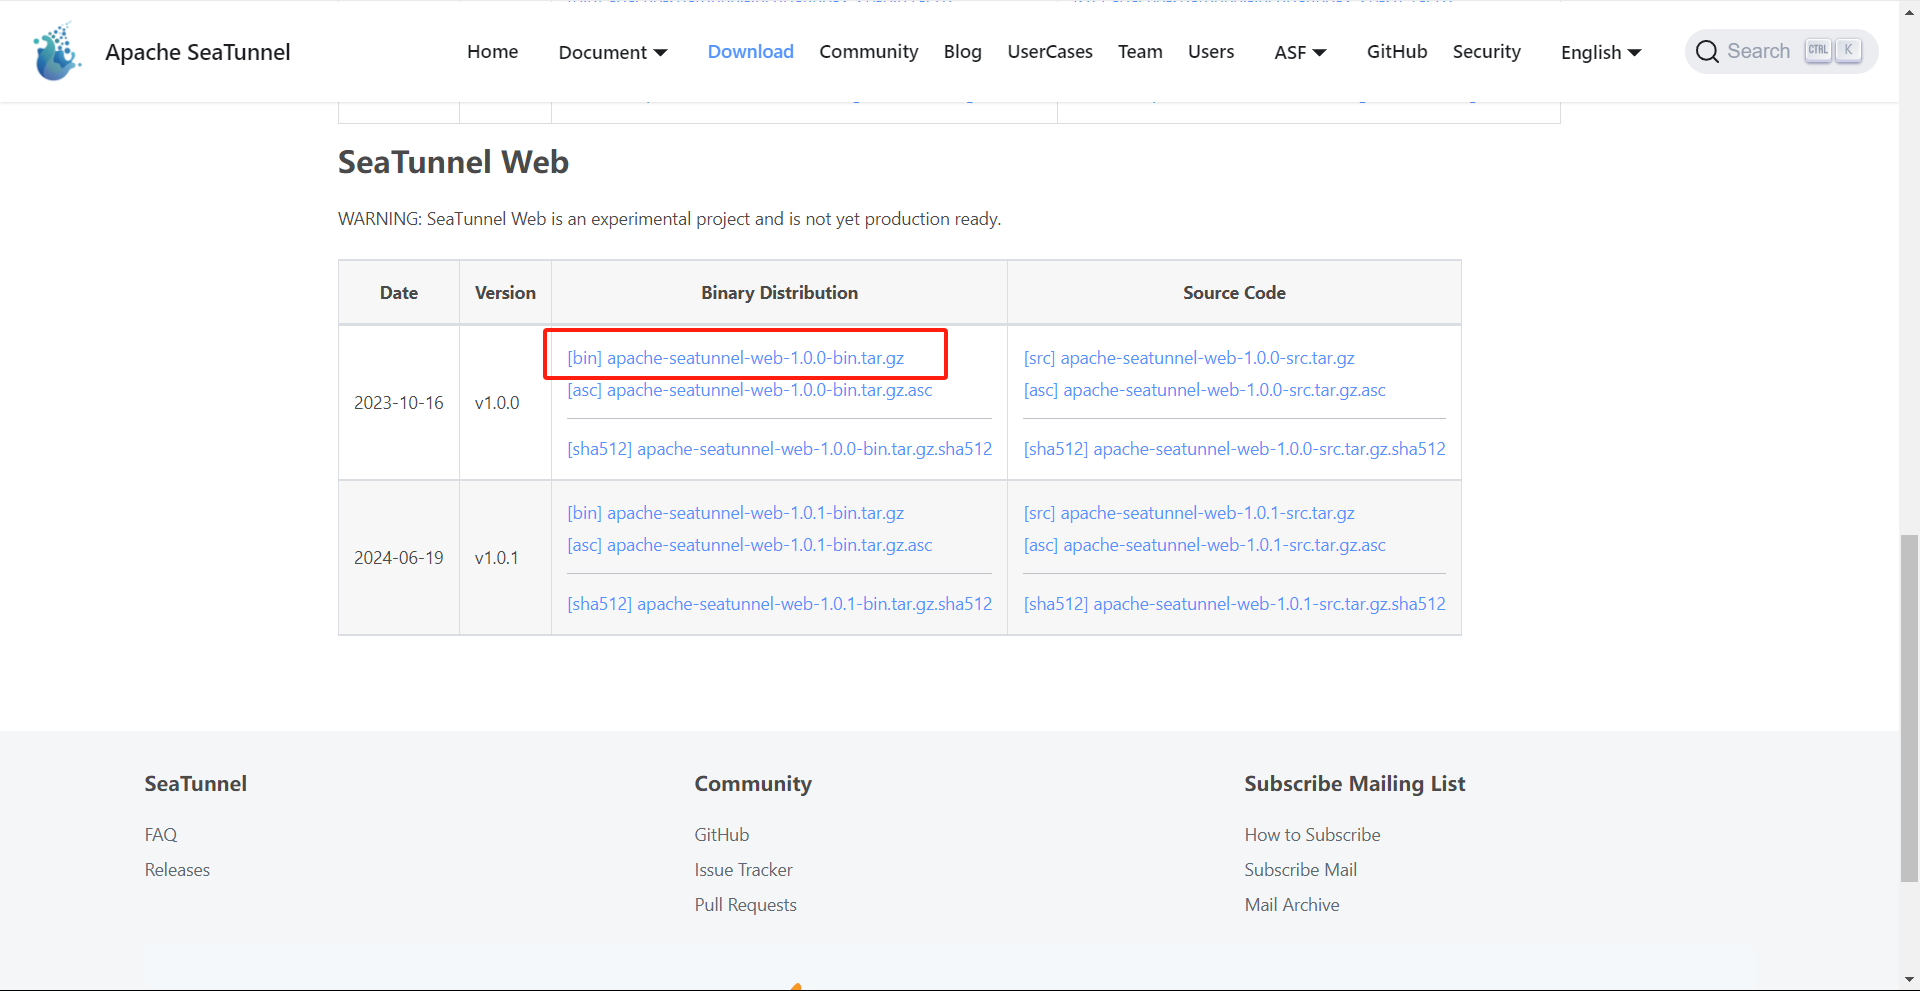
顺带也把seatunnel-web安装文件也下载下来。
2、上传到服务器并解压
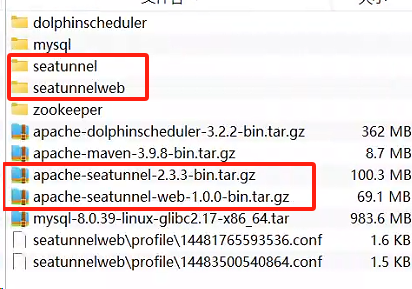
我在/usr/local下新建了个server文件夹专门存放各类服务,因此上传到这个目录下面。
解压seatunnel
tar -zxvf apache-seatunnel-2.3.3-bin.tar.gz
解压seatunnel-web
tar -zxvf apache-seatunnel-web-1.0.0-bin.tar.gz
修改文件名(方便后面操作,名字太长了不好看)
mv apache-seatunnel-2.3.3-bin seatunnel
web也改下
mv apache-seatunnel-web-1.0.0-bin seatunnelweb
3、配置环境变量
vi /etc/profile
添加seatunnel目录到环境变量中

export SEATUNNEL_HOME=/usr/local/server/seatunnel
export PATH=$SEATUNNEL_HOME/bin:$PATH
刷新变量
source /etc/profile
4、下载连接器
网上提到了配置mvn,修改地址方法太麻烦了,直接按发我的连接,下载下来,解压放到seatunnel安装目录的connectors/seatunne 下就可以了。还需要将连接器保存到lib目录下一份。下载地址
cp connectors/seatunnel/* lib/

到此,seatunnel就安装好了。
5、测试功能
在安装目录执行以下命令。
./bin/seatunnel.sh --config ./config/v2.batch.config.template -e local
看下以下界面说明安装没问题。

6、启动、关闭seatunnel
在安装目录执行,会在后台运行seatunnel。
nohup sh bin/seatunnel-cluster.sh 2>&1 &
查看日志
tail -f logs/seatunnel-engine-server.log
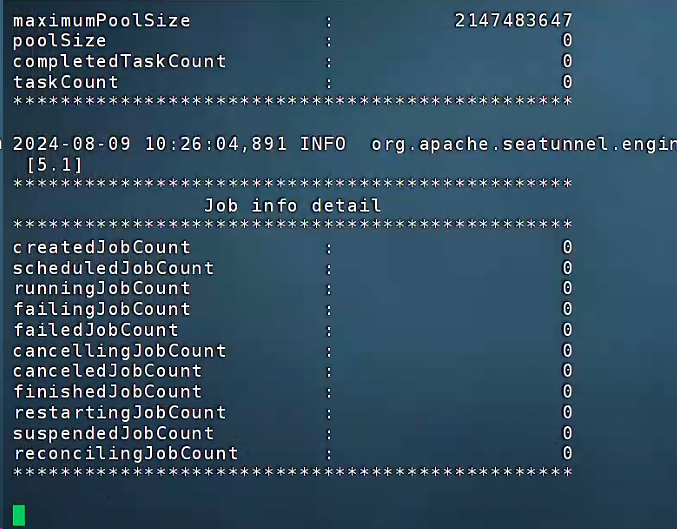
出来以下界面说明启动成功
想要关闭seatunnel需要查看进程,我这里使用lsof命令,seatunnel服务默认使用的5801端口。
lsof -i:5801

查看进程号后杀掉进程就行。
kill 8694
二、seatunnel-web安装
1、初始化数据库
因为web功能是将命令行操作改成界面操作,有些配置功能需要保存到数据库中,因此需要初始化数据库。
进入到web的安装目录的conf文件夹下,按实际情况操作,我是在/usr/local/server/目录下操作的。
cd seatunnelweb/script
修改seatunnel_server_env.sh文件中的数据库连接配置
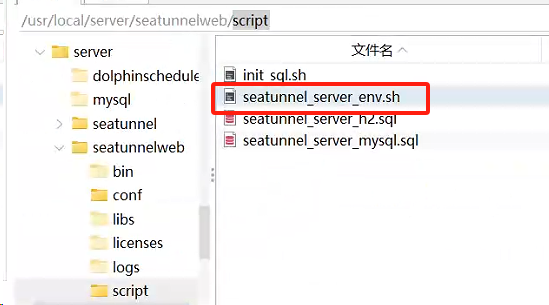
执行以下命令初始化数据库
sh ./init_sql.sh
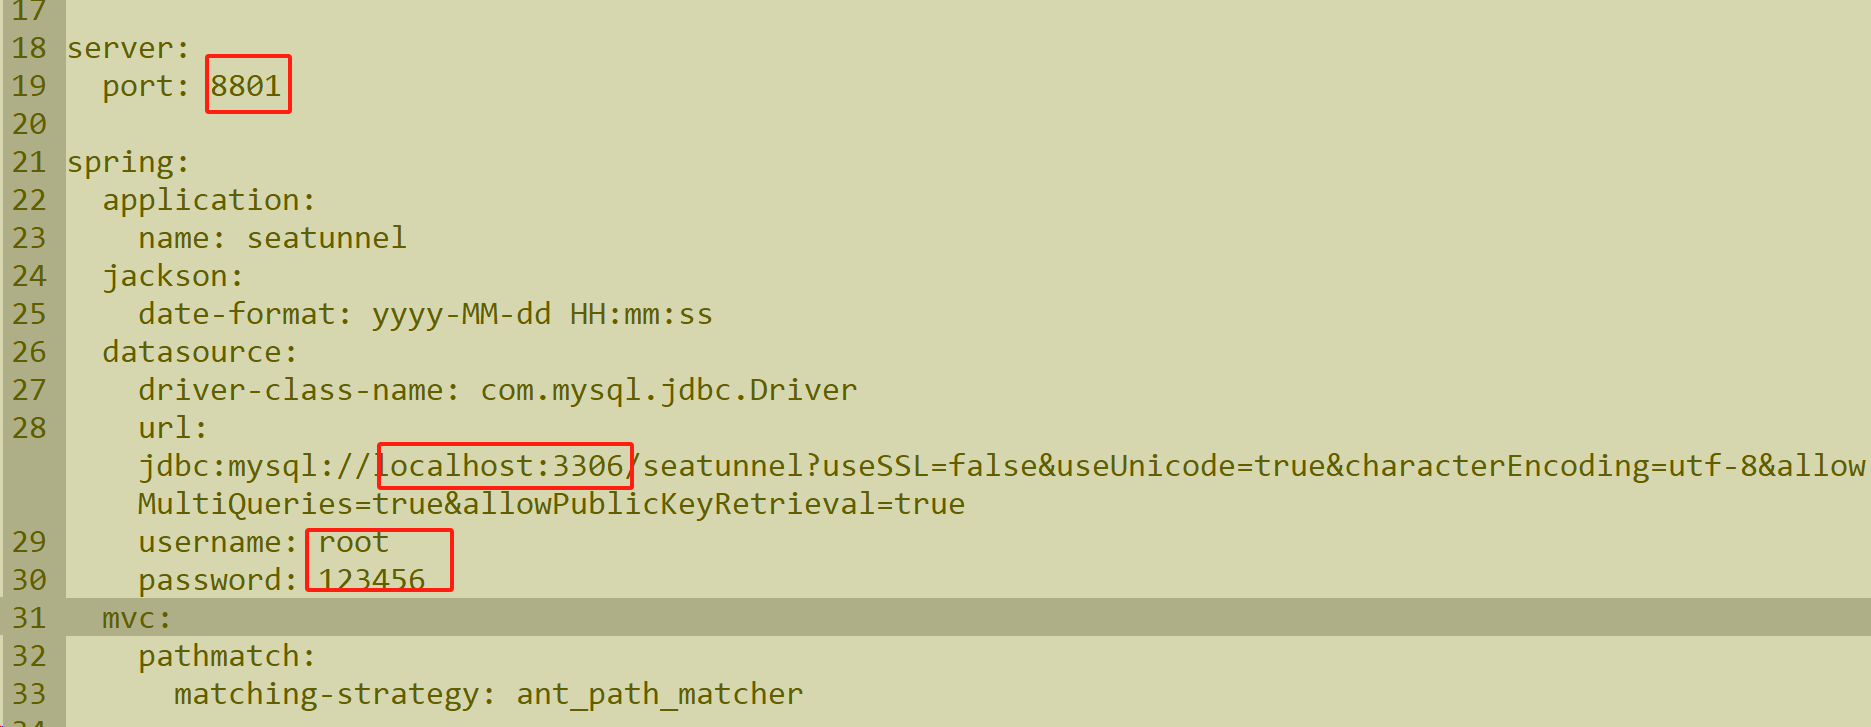
2、修改web应用数据库连接
cd seatunnelweb/conf
修改以下配置文件
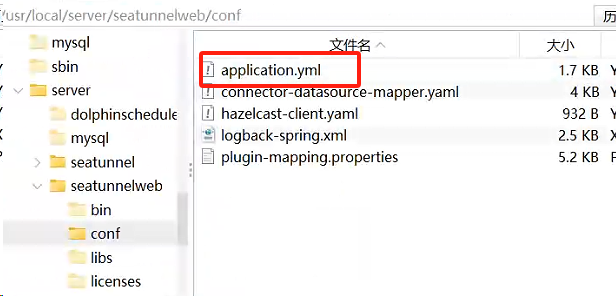
主要修改MySQL的连接和账号密码。
3、下载数据源jar包
进入到web目录bin文件夹下,新建文件 download_datasource.sh
vi download_datasource.sh
复制以下代码到文件中,注意使用命令行复制,不要打开文件复制(有可能存在隐藏字符,执行失败)
#!/bin/bash
#
# Licensed to the Apache Software Foundation (ASF) under one or more
# contributor license agreements.  See the NOTICE file distributed with
# this work for additional information regarding copyright ownership.
# The ASF licenses this file to You under the Apache License, Version 2.0
# (the "License"); you may not use this file except in compliance with
# the License.  You may obtain a copy of the License at
#
#    http://www.apache.org/licenses/LICENSE-2.0
#
# Unless required by applicable law or agreed to in writing, software
# distributed under the License is distributed on an "AS IS" BASIS,
# WITHOUT WARRANTIES OR CONDITIONS OF ANY KIND, either express or implied.
# See the License for the specific language governing permissions and
# limitations under the License.
#

#This script is used to download the connector plug-ins required during the running process.
#All are downloaded by default. You can also choose what you need.
#You only need to configure the plug-in name in config/plugin_config.

# get seatunnel web home
SEATUNNEL_WEB_HOME=$(cd $(dirname $0);pwd)

DATASOURCE_LIB_DIR=${SEATUNNEL_WEB_HOME}/../libs

# the datasource default version is 1.0.0, you can also choose a custom version. eg: 1.1.2:  sh install-datasource.sh 2.1.2
version=1.0.0

if [ -n "$1" ]; then
    version="$1"
fi

# If you don鈥檛 want to download a certain data source, you can delete the element below
datasource_list=(
  "datasource-plugins-api"
  "datasource-elasticsearch"
  "datasource-hive"
  "datasource-jdbc-clickhouse"
  "datasource-jdbc-hive"
  "datasource-jdbc-mysql"
  "datasource-jdbc-oracle"
  "datasource-jdbc-postgresql"
  "datasource-jdbc-redshift"
  "datasource-jdbc-sqlserver"
  "datasource-jdbc-starrocks"
  "datasource-jdbc-tidb"
  "datasource-kafka"
  "datasource-mysql-cdc"
  "datasource-s3"
  "datasource-sqlserver-cdc"
  "datasource-starrocks"
)

echo "Downloading SeaTunnel Web Datasource lib, usage version is ${version}"

for datasource in "${datasource_list[@]}"
do
    echo "Downloading datasource: ${datasource}"
  wget  https://repo.maven.apache.org/maven2/org/apache/seatunnel/${datasource}/${version}/${datasource}-${version}.jar -P $DATASOURCE_LIB_DIR
done
授予权限
chmod 755 download_datasource.sh
下载
sh download_datasource.sh
也可以下载好放到libs目录下。数据源下载
4、复制文件
进入到seatunnel的安装目录,
- 复制两个配置文件。
cp config/hazelcast-client.yaml /usr/local/server/seatunnelweb/conf
cp connectors/plugin-mapping.properties /usr/local/server/seatunnelweb/conf
- 复制连接器到web中
cp /lib/connector-*.jar /usr/local/server/seatunnelweb/libs
- 复制数据源到seatunnel中
cp /libs/datasource-*.jar /usr/local/server/seatunnel/lib
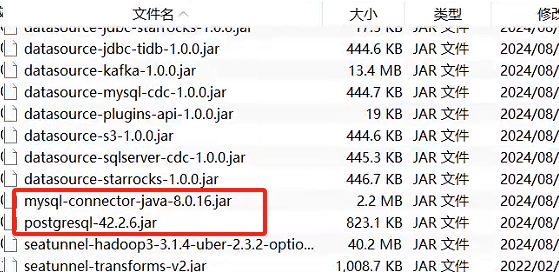
5、下载数据库驱动
下载数据库连接驱动到seatunnel的lib目录下。我这里还用到了pg,因此也上传了pg的驱动。
mysql驱动下载
pg驱动下载
6、启动服务
在seatunnelweb安装的根目录下执行以下命令启动web
sh bin/seatunnel-backend-daemon.sh start
停止
sh bin/seatunnel-backend-daemon.sh stop
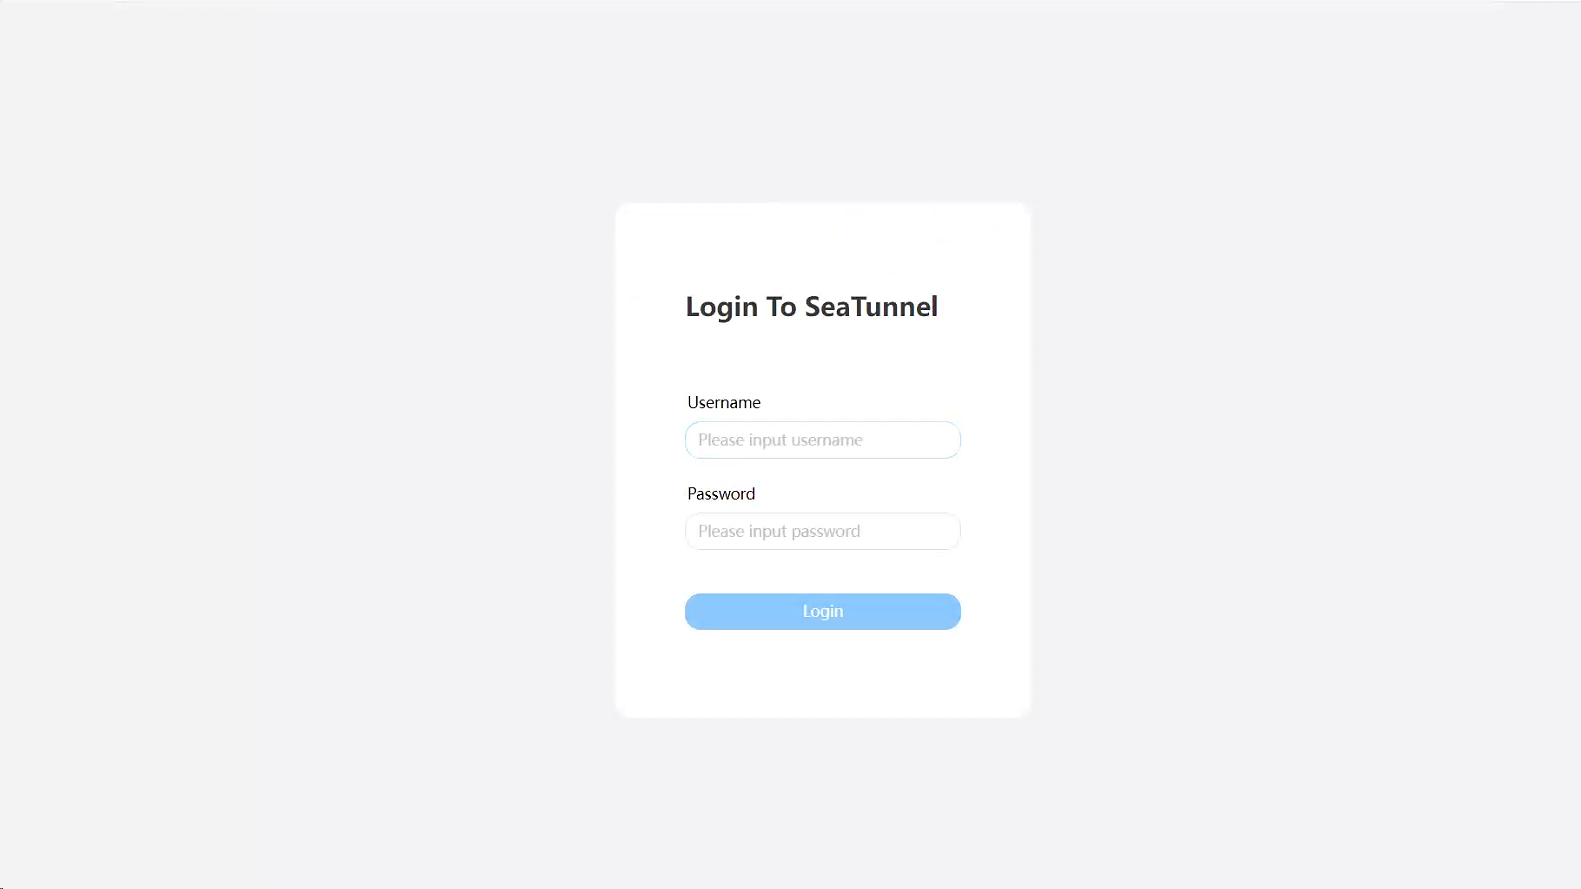
用户名密码都为admin
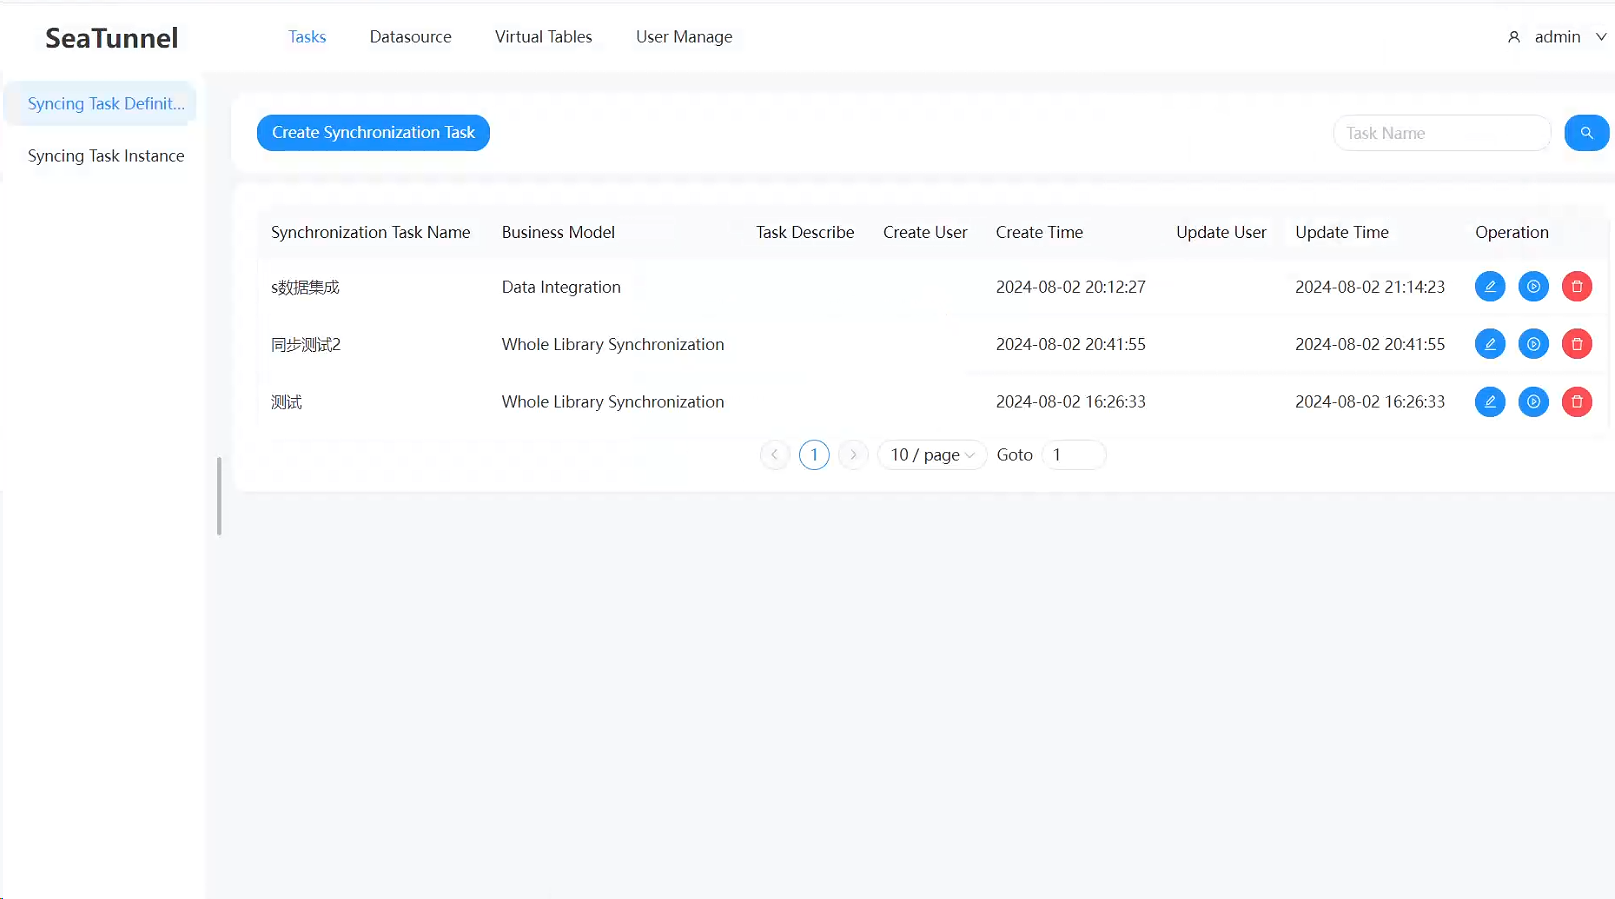
到此就可正常使用了。
版权归原作者 数据馅 所有, 如有侵权,请联系我们删除。