
文章目录
Java后端开发——Spring实验
一、Spring入门
Spring框架是一个开放源代码的J2EE应用程序框架,由Rod Johnson发起,是针对bean的生命周期进行管理的轻量级容器(lightweight container)。 Spring解决了开发者在J2EE开发中遇到的许多常见的问题,提供了功能强大IOC、AOP及Web MVC等功能。Spring可以单独应用于构筑应用程序,也可以和Struts、Webwork、Tapestry等众多Web框架组合使用,并且可以与 Swing等桌面应用程序AP组合。因此, Spring不仅仅能应用于J2EE应用程序之中,也可以应用于桌面应用程序以及小应用程序之中。Spring框架主要由七部分组成,分别是 Spring Core、 Spring AOP、 Spring ORM、 Spring DAO、Spring Context、 Spring Web和 Spring Web MVC。
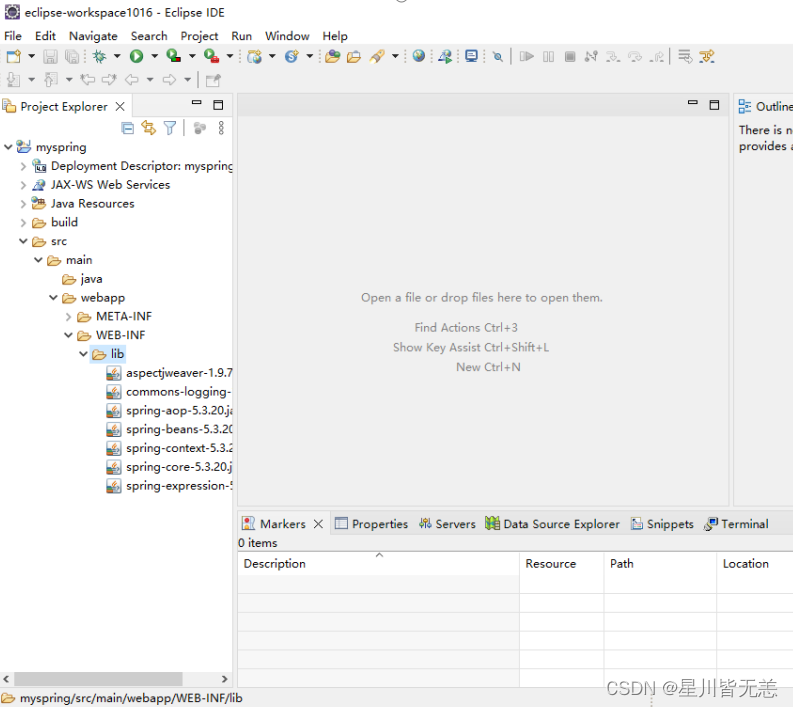
1.创建项目,Spring依赖包。
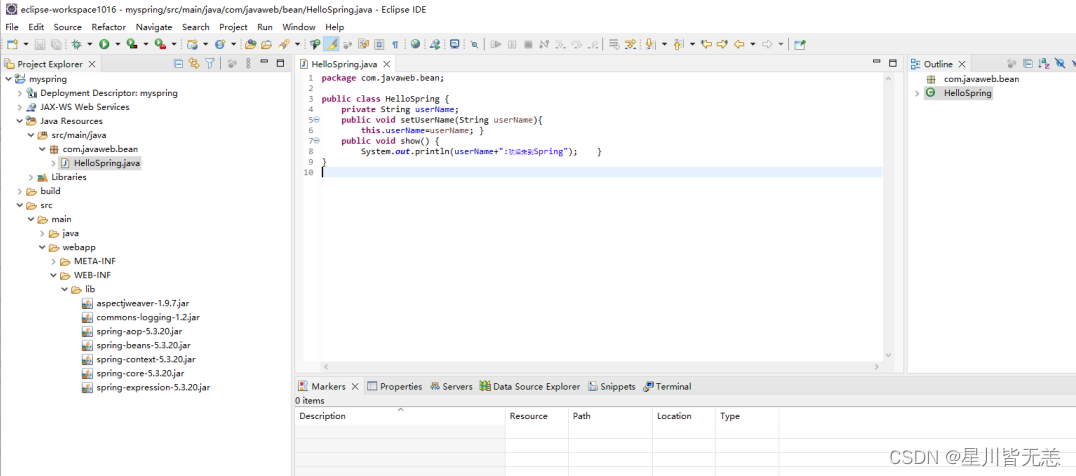
2.创建JavaBean:HelloSpring
package com.javaweb.bean;

public class HelloSpring {
    private String userName;
    public void setUserName(String userName){this.userName=userName;}
    public void show(){
        System.out.println(userName+":欢迎来到Spring");}}
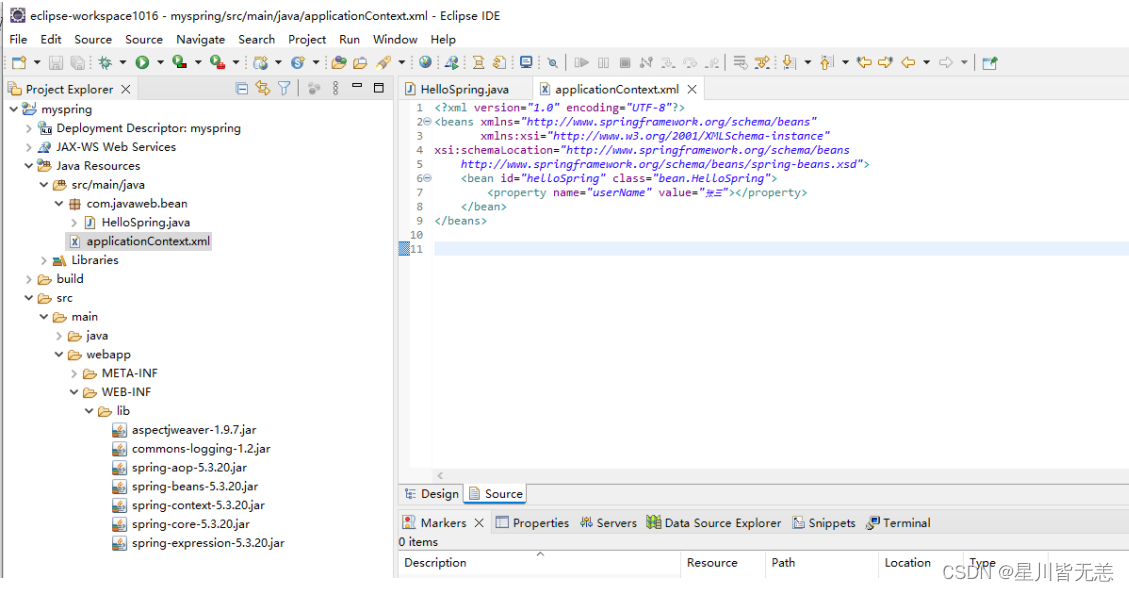
3.编写applicationContext.xml配置文件
<?xml version="1.0"encoding="UTF-8"?><beans xmlns="http://www.springframework.org/schema/beans"
       xmlns:xsi="http://www.w3.org/2001/XMLSchema-instance"
xsi:schemaLocation="http://www.springframework.org/schema/beans
    http://www.springframework.org/schema/beans/spring-beans.xsd"><bean id="helloSpring"class="bean.HelloSpring"><property name="userName"value="张三"></property></bean></beans>
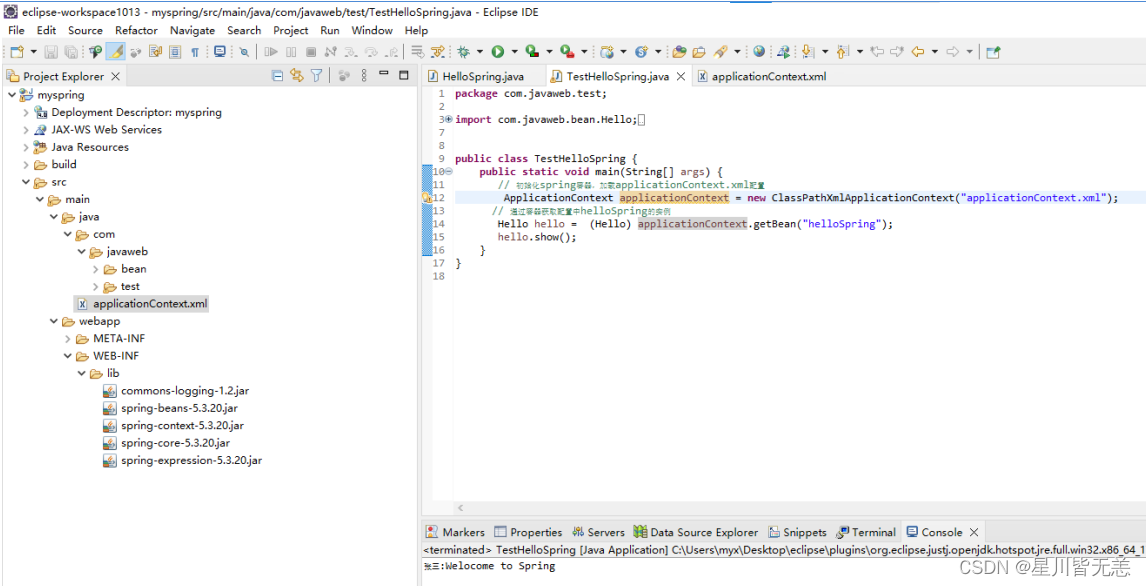
4.测试:启动Spring,获取Hello示例。
package com.javaweb.test;import org.springframework.context.ApplicationContext;import org.springframework.context.support.ClassPathXmlApplicationContext;import com.javaweb.bean.HelloSpring;
public class TestHelloSpring {
  public static void main(String[] args){
     // 初始化spring容器,加载applicationContext.xml配置
     ApplicationContext applicationContext = new ClassPathXmlApplicationContext("applicationContext.xml");
       // 通过容器获取配置中helloSpring的实例
    HelloSpring helloSpring =(HelloSpring) applicationContext.getBean("helloSpring");
        helloSpring.show();// 调用方法 }}}
二、Spring基于XML装配实验
说明:使用Spring IOC模拟实现账户添加功能程序
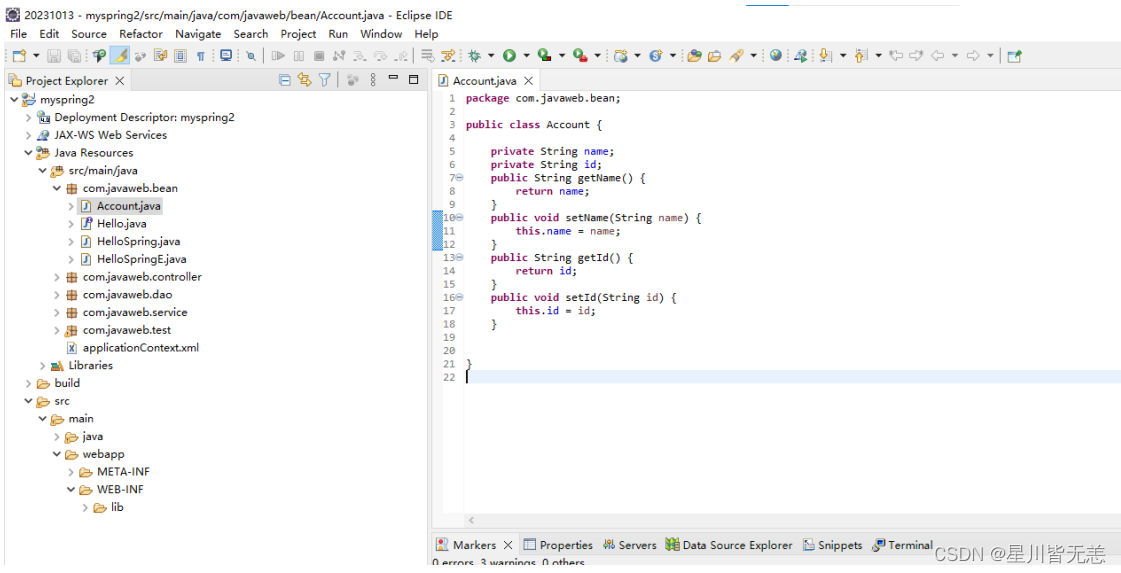
1.创建JavaBean类:Account.java
package com.javaweb.bean;

public class Account {

private String name;
private String id;
public String getName(){return name;}
public void setName(String name){
this.name = name;}
public String getId(){returnid;}
public void setId(String id){
this.id =id;}}
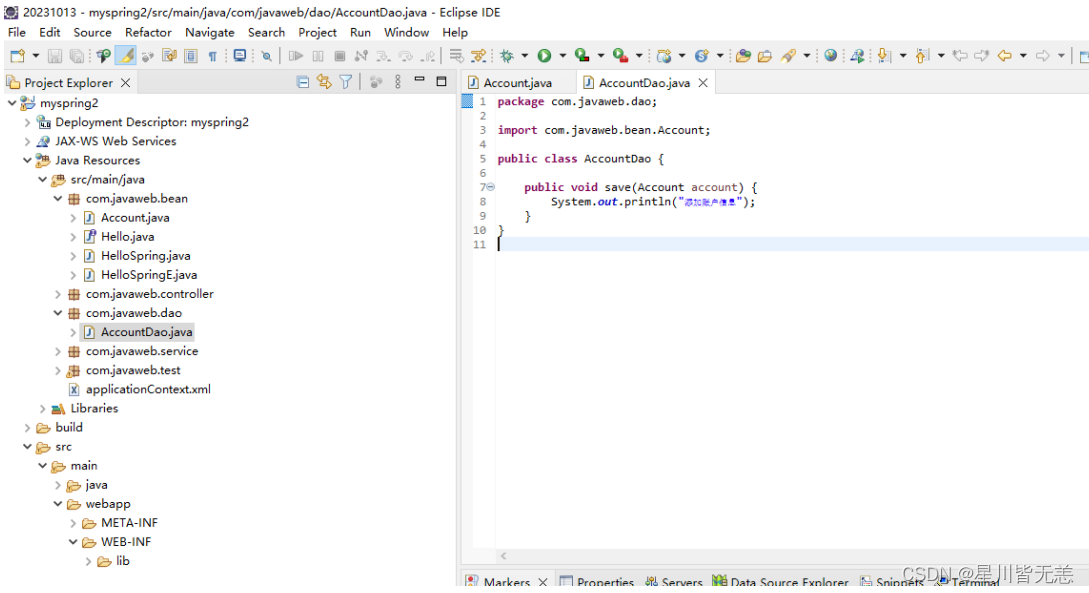
2.创建DAO类: AccountDao.java
模拟账户添加操作
package com.javaweb.dao;import com.javaweb.bean.Account;

public class AccountDao {

public void save(Account account){
System.out.println("添加账户信息");}}
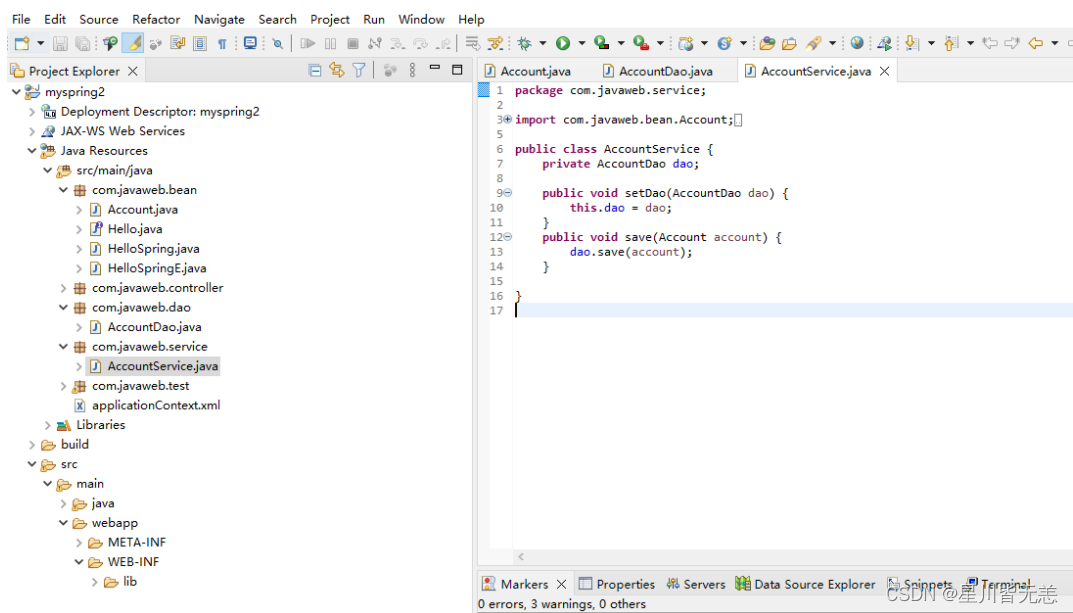
3.创建Service类:AccountService.java
模拟账户添加业务
package com.javaweb.service;import com.javaweb.bean.Account;import com.javaweb.dao.AccountDao;

public class AccountService {
    private AccountDao dao;

    public void setDao(AccountDao dao){
        this.dao = dao;}
    public void save(Account account){
        dao.save(account);}}
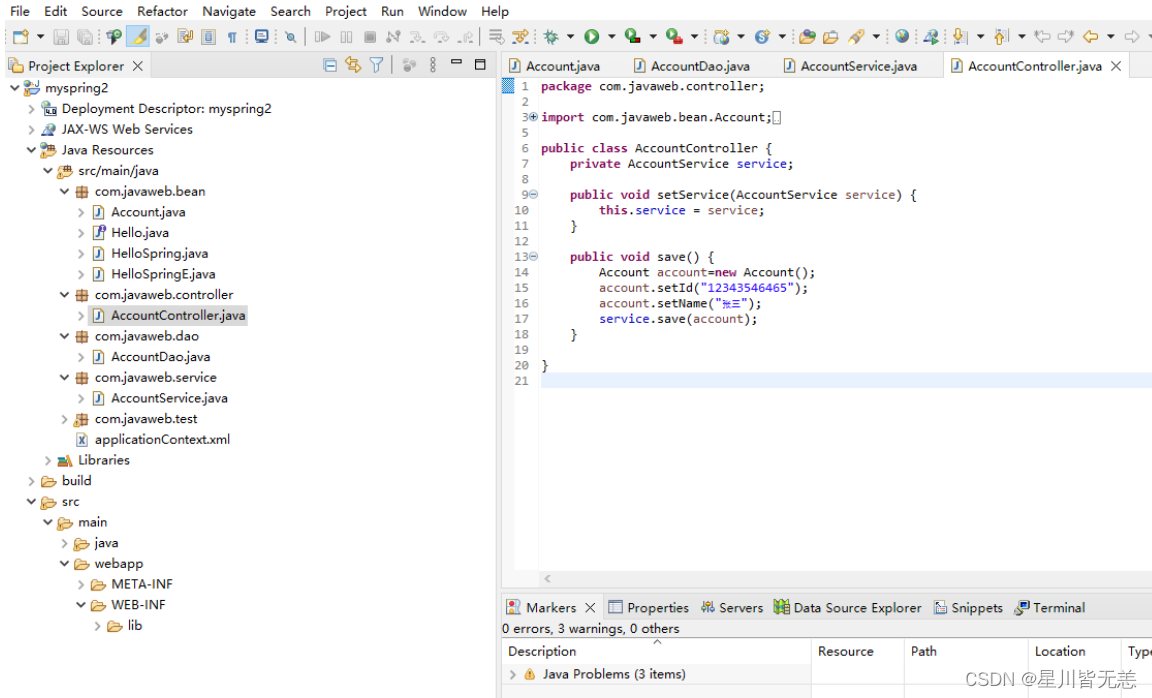
4.创建Controller类:AccountController.java
在Web下模拟账户添加请求。
package com.javaweb.controller;import com.javaweb.bean.Account;import com.javaweb.service.AccountService;

public class AccountController {
    private AccountService service;

    public void setService(AccountService service){
        this.service =service;}

    public void save(){
        Account account=new Account();
        account.setId("12343546465");
        account.setName("张三");
        service.save(account);}}
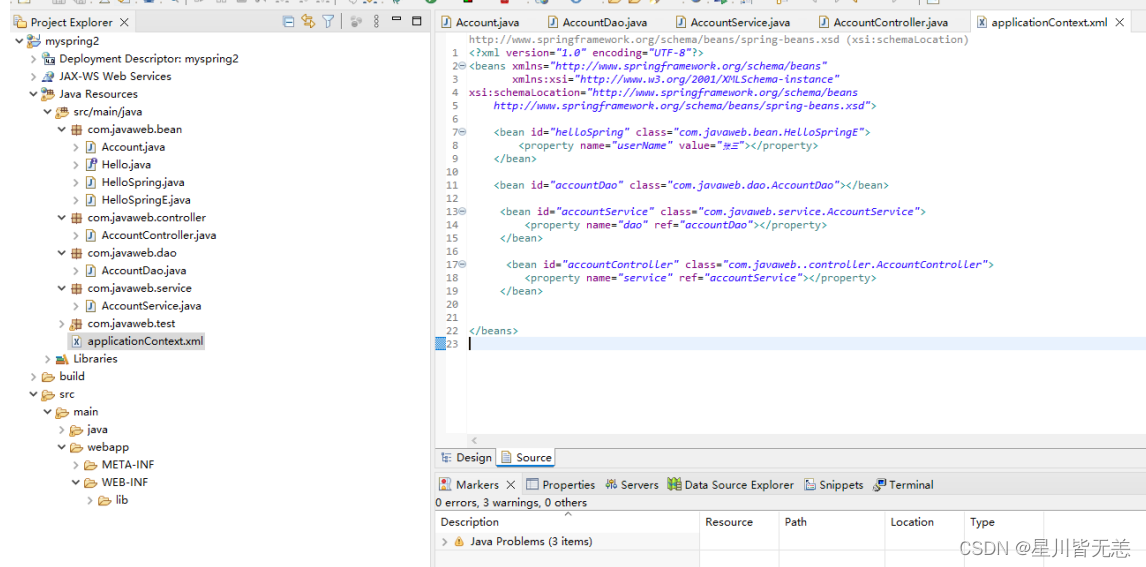
5.编写applicationContext.xml配置文件
Dao装配到Service,Service装配到Controller
<?xml version="1.0"encoding="UTF-8"?><beans xmlns="http://www.springframework.org/schema/beans"
xmlns:xsi="http://www.w3.org/2001/XMLSchema-instance"
xsi:schemaLocation="http://www.springframework.org/schema/beans
http://www.springframework.org/schema/beans/spring-beans.xsd"><bean id="helloSpring"class="com.javaweb.bean.HelloSpringE"><property name="userName"value="张三"></property></bean><bean id="accountDao"class="com.javaweb.dao.AccountDao"></bean><bean id="accountService"class="com.javaweb.service.AccountService"><property name="dao"ref="accountDao"></property></bean><bean id="accountController"class="com.javaweb..controller.AccountController"><property name="service"ref="accountService"></property></bean></beans>
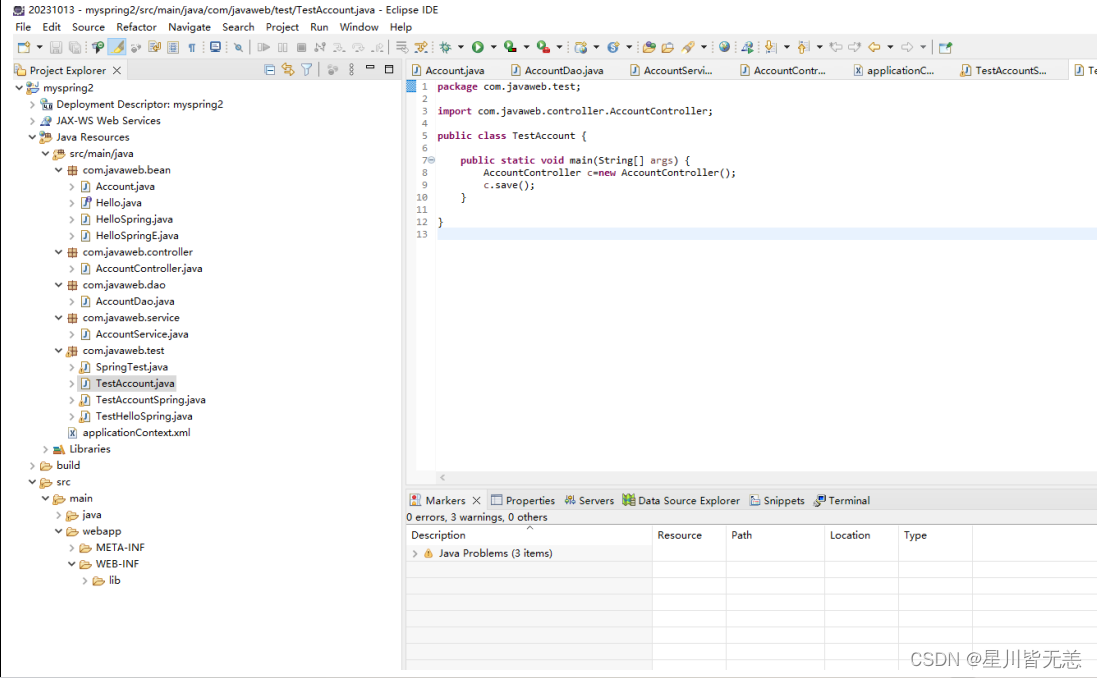
6.创建TestAccount.java
在main()方法中加载XML配置文件,实现Spring容器的初始化,通过Spring容器获取Bean实例accountController完成save()方法调用。
package com.javaweb.test;import com.javaweb.controller.AccountController;

public class TestAccount {

public static void main(String[] args){
AccountController c=new AccountController();
c.save();}}
三、Spring基于注解装配实验
1.导入依赖
在项目中导入spring-aop.jar依赖包,它包含在应用中使用Spring的AOP特性时所需的类,注解实现需要依赖AOP才能实现。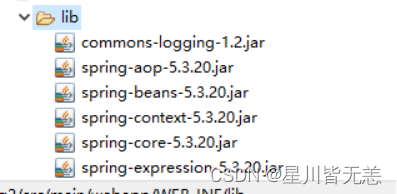
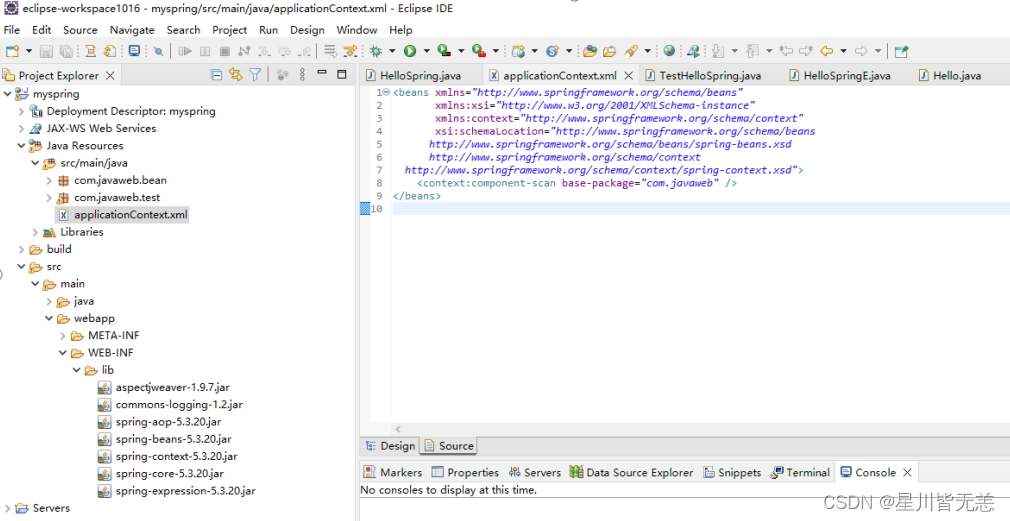
2.XML配置文件
创建applicationContext.xml,在该文件中引入Context约束并启动Bean的自动扫描功能。
<beans xmlns="http://www.springframework.org/schema/beans"
xmlns:xsi="http://www.w3.org/2001/XMLSchema-instance"
xmlns:context="http://www.springframework.org/schema/context"
xsi:schemaLocation="http://www.springframework.org/schema/beans
http://www.springframework.org/schema/beans/spring-beans.xsd
http://www.springframework.org/schema/context
http://www.springframework.org/schema/c
http://www.springframework.org/schema/context/spring-context.xsd"><context:component-scan base-package="com.javaweb" /></beans>
3.定义实体类
新建entity包,在entity包下创建User实体类。
package com.javaweb.entity;import org.springframework.beans.factory.annotation.Value;import org.springframework.context.annotation.Scope;import org.springframework.stereotype.Component;

@Component("user")
@Scope("singleton")
public class User {
@Value("1")
private int id;
@Value("张三")
private String name;
@Value("123")
private String password;
// 省略getter/setter方法和toString()方法
public int getId(){returnid;}
public void setId(int id){
this.id =id;}
public String getName(){return name;}
public void setName(String name){
this.name = name;}
public String getPassword(){return password;}
public void setPassword(String password){
this.password = password;}}

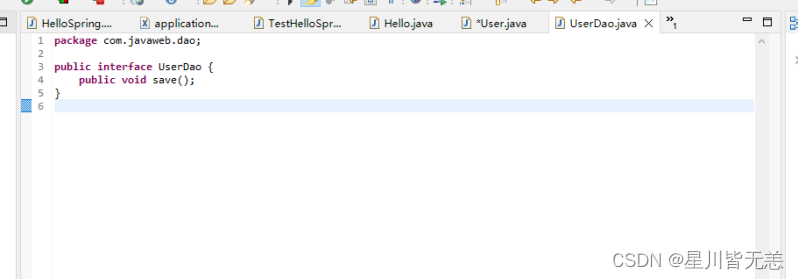
4.定义dao层
创建UserDao接口作为数据访问层接口,并在UserDao接口中声明save()方法,用于查询User实体的对象信息。
package com.javaweb.dao;

public interface UserDao {
public void save();}
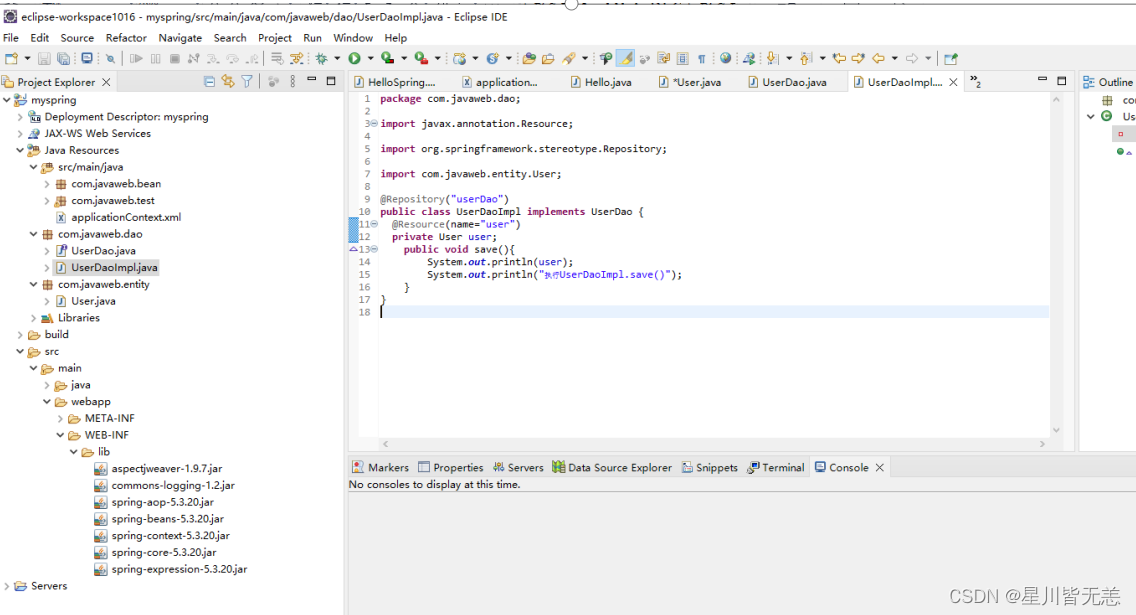
5.实现dao层
创建UserDaoImpl作为UserDao的实现类,并在UserDaoImpl类中实现UserDao接口中的save()方法。
package com.javaweb.dao;import javax.annotation.Resource;import org.springframework.stereotype.Repository;import com.javaweb.entity.User;

@Repository("userDao")
public class UserDaoImpl implements UserDao {
@Resource(name="user")
private User user;
public void save(){
System.out.println(user);
System.out.println("执行UserDaoImpl.save()");}}
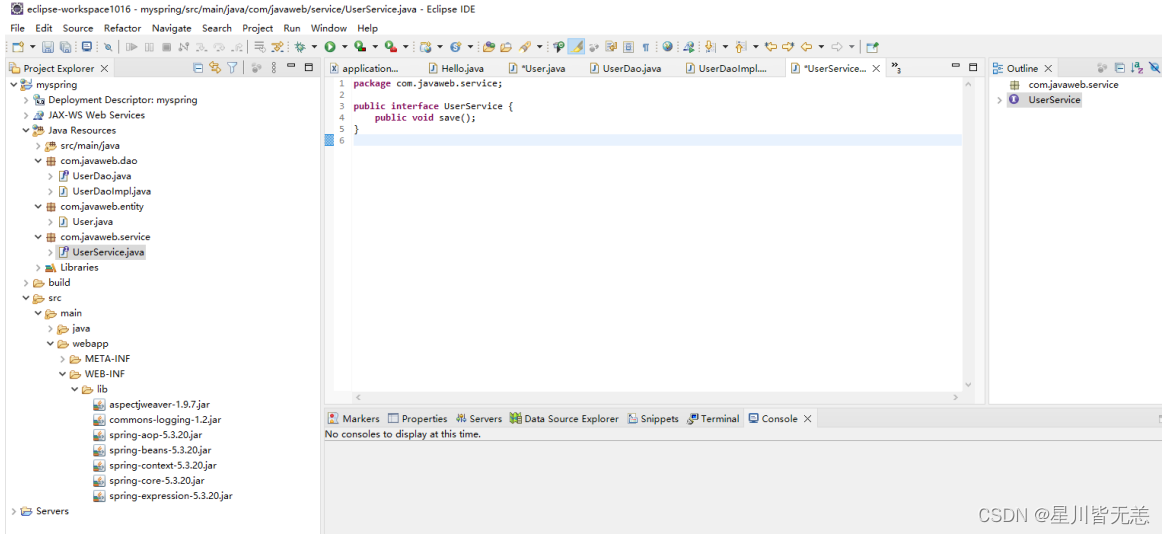
6.定义service层
创建UserService接口作为业务逻辑层接口,并在UserService接口中定义save()方法。
package com.javaweb.service;

public interface UserService {
public void save();}
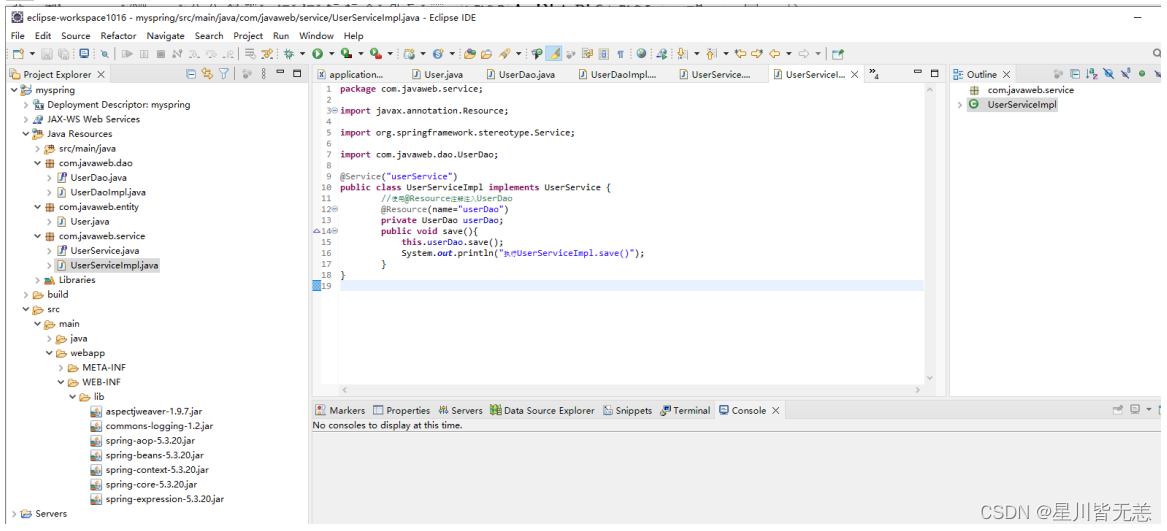
7.实现service层
创建UserServiceImpl作为UserService的实现类,并在UserServiceImpl类中实现UserService接口中的save()方法。
package com.javaweb.service;import javax.annotation.Resource;import org.springframework.stereotype.Service;import com.javaweb.dao.UserDao;

@Service("userService")
public class UserServiceImpl implements UserService {
//使用@Resource注解注入UserDao
@Resource(name="userDao")
private UserDao userDao;
public void save(){
this.userDao.save();
System.out.println("执行UserServiceImpl.save()");}}
8.定义controller层
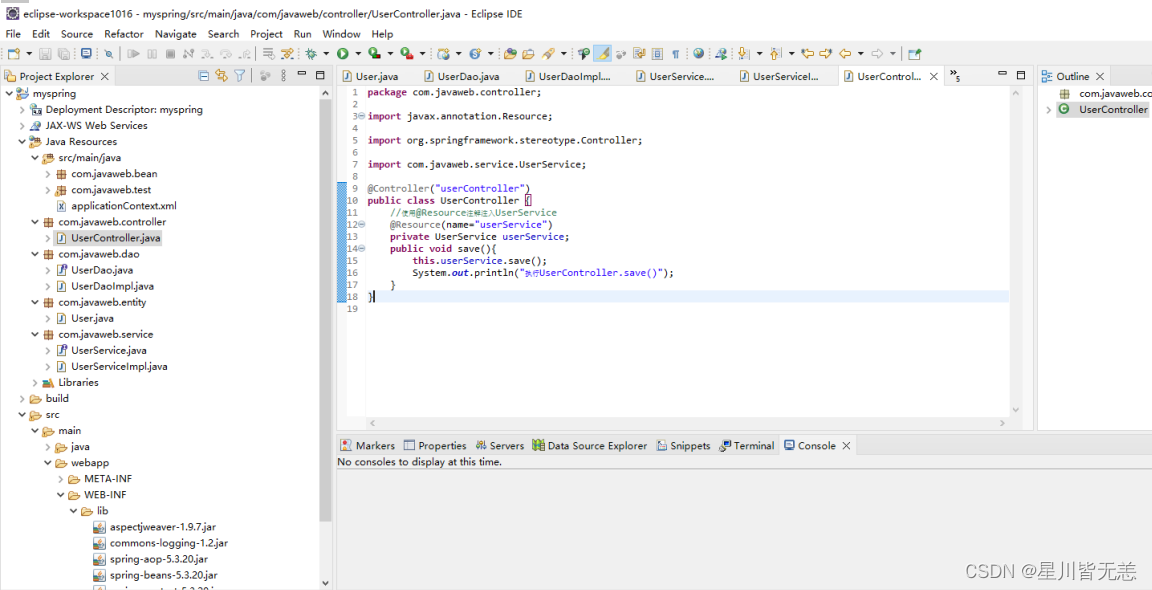
创建UserController类作为控制层。
package com.javaweb.controller;import javax.annotation.Resource;import org.springframework.stereotype.Controller;import com.javaweb.service.UserService;

@Controller("userController")
public class UserController {
//使用@Resource注解注入UserService
@Resource(name="userService")
private UserService userService;
public void save(){
this.userService.save();
System.out.println("执行UserController.save()");}}
9.定义测试类
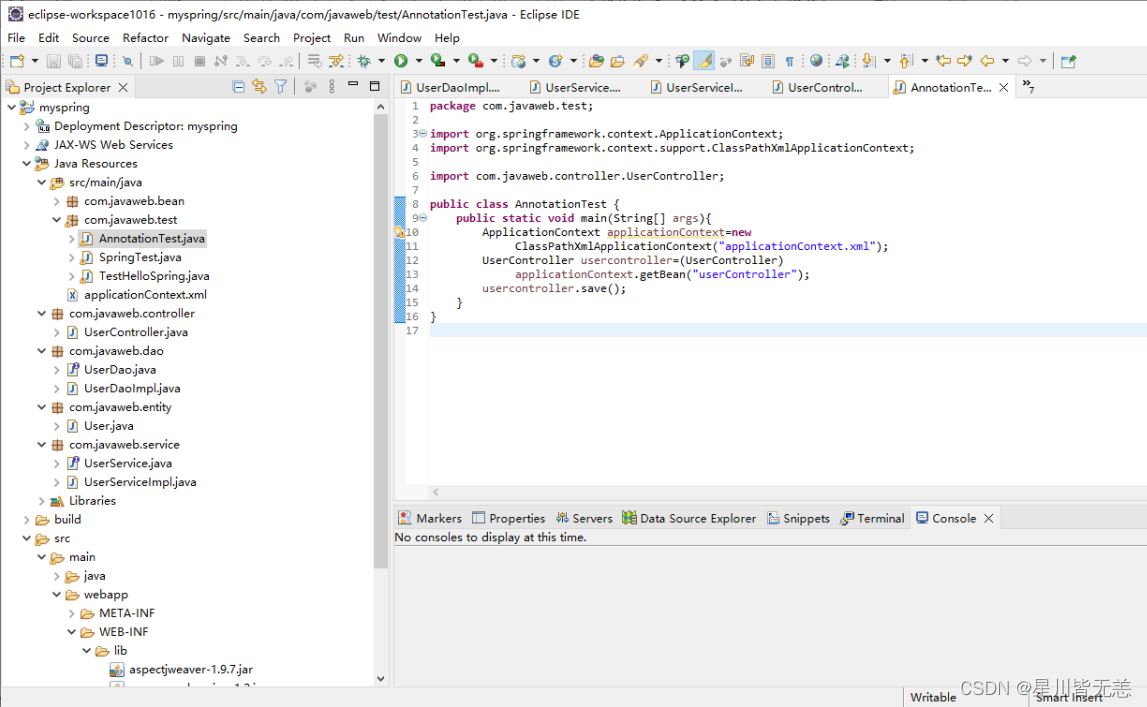
创建测试类AnnotationTest,在该类中编写测试代码,通过Spring容器加载配置文件并获取UserController实例,然后调用实例中的save()方法。
package com.javaweb.test;import org.springframework.context.ApplicationContext;import org.springframework.context.support.ClassPathXmlApplicationContext;import com.javaweb.controller.UserController;

public class AnnotationTest {
public static void main(String[] args){
ApplicationContext applicationContext=new
ClassPathXmlApplicationContext("applicationContext.xml");
UserController usercontroller=(UserController)
applicationContext.getBean("userController");
usercontroller.save();}}
10.查看运行结果
启动AnnotationTest类,控制台会输出结果。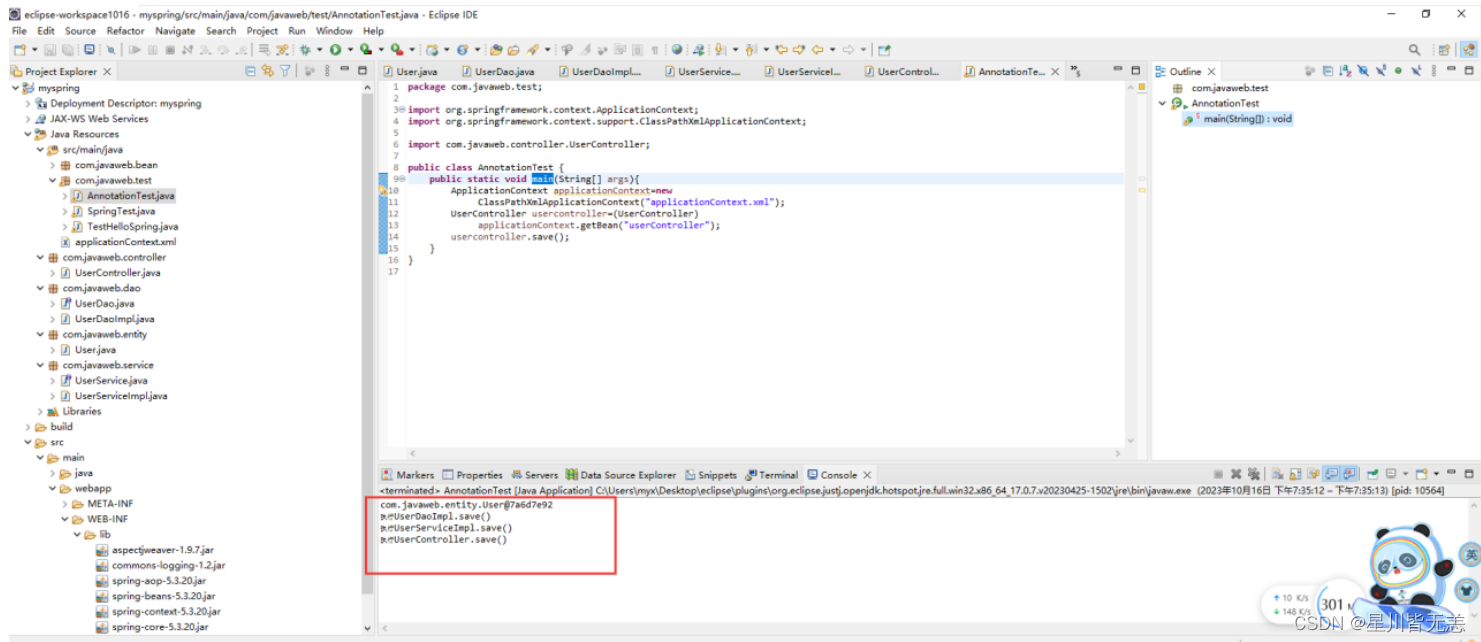
四、纯注解配置类
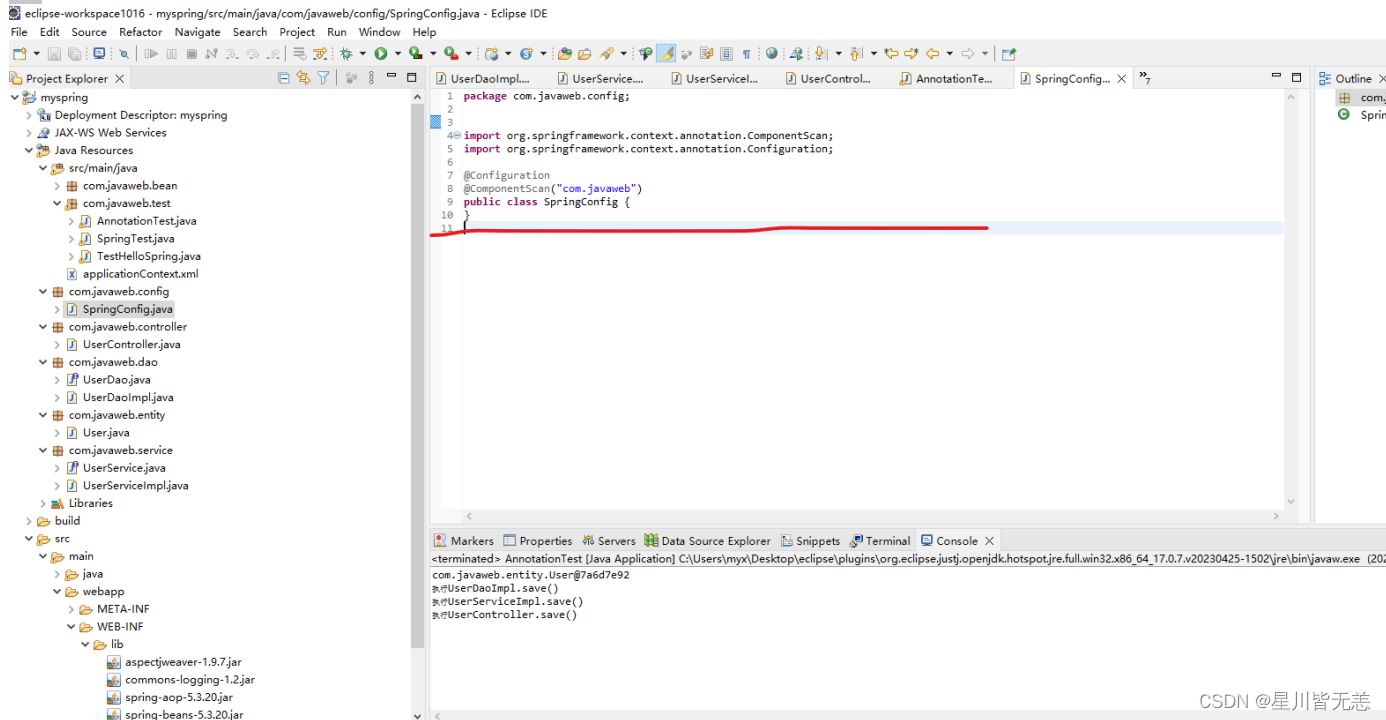
1.创建注解配置类,取代XML配置文件
package com.javaweb.config;import org.springframework.context.annotation.ComponentScan;import org.springframework.context.annotation.Configuration;

@Configuration
@ComponentScan("com.javaweb")
public class SpringConfig {}
2.通过注解@Autowired实现按类型自动注入
Spring的元素中包含一个autowire属性,可以通过设置autowire属性的值实现Bean的自动装配。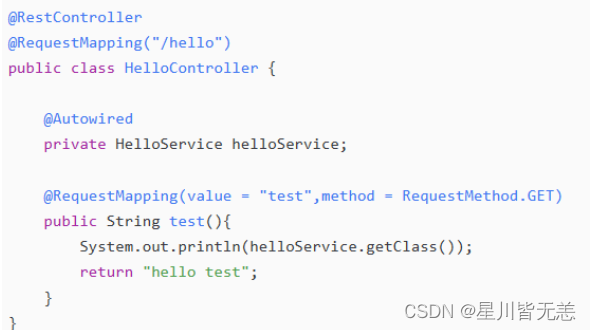
3.定义测试注解配置类
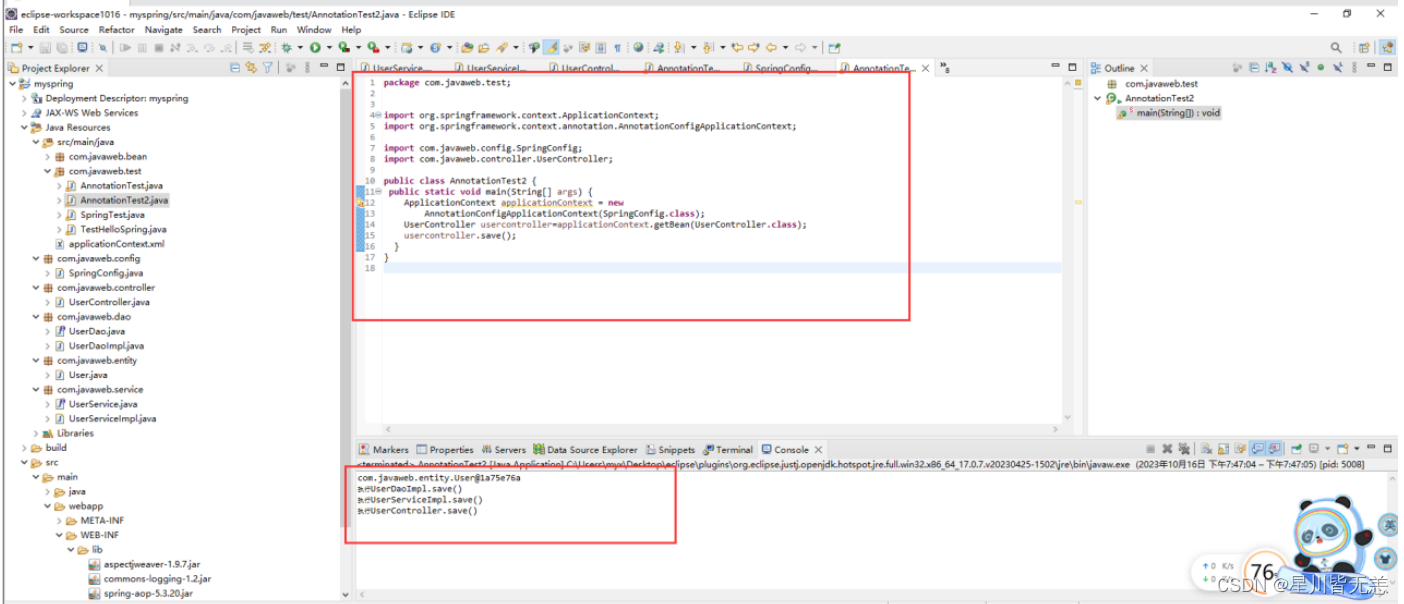
创建测试类AnnotationTest,在该类中编写测试代码,通过Spring容器加载配置文件并获取UserController实例,然后调用实例中的save()方法。
package com.javaweb.test;import org.springframework.context.ApplicationContext;import org.springframework.context.annotation.AnnotationConfigApplicationContext;import com.javaweb.config.SpringConfig;import com.javaweb.controller.UserController;

public class AnnotationTest2 {
public static void main(String[] args){
ApplicationContext applicationContext = new
AnnotationConfigApplicationContext(SpringConfig.class);
UserController usercontroller=applicationContext.getBean(UserController.class);
usercontroller.save();}
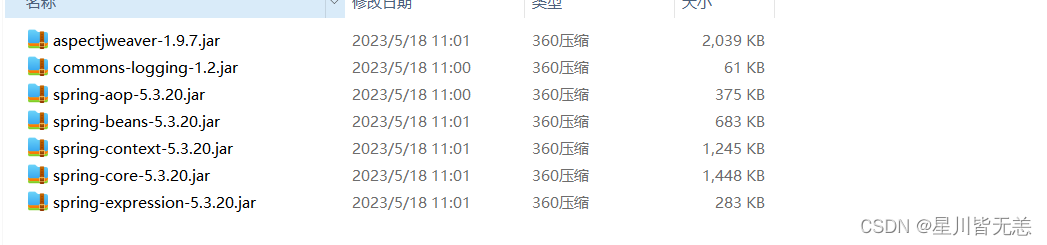
五、项目jar包
本项目所需要的Spring包已上传到主页——资源处,需要可自行下载。
版权归原作者 星川皆无恙 所有, 如有侵权,请联系我们删除。