

引言
在以往的写代码过程中,我们肯定会遇到客户有文件上传的需求,写过的同志都知道代码量是有的而且比较繁琐,今天这篇博客就来介绍一个Java库commons-fileupload,该库是Apache的一个开源Java库,它提供了一种简单的方式来上传和处理文件。它是Java Servlet API的一部分,可以方便地在Web应用程序中实现文件上传功能。
一、JRebel的使用
在讲解文件上传之前,先向大家推荐一下JRebel的使用,JRebel的主要功能是实现热部署,节省了大量重启时间,提高了个人开发效率。
1.1.安装JReble
我这里以IDEA为例,在Settings里点击Plugins在Marketplace处搜索jrebel,选择第一个安装即可。
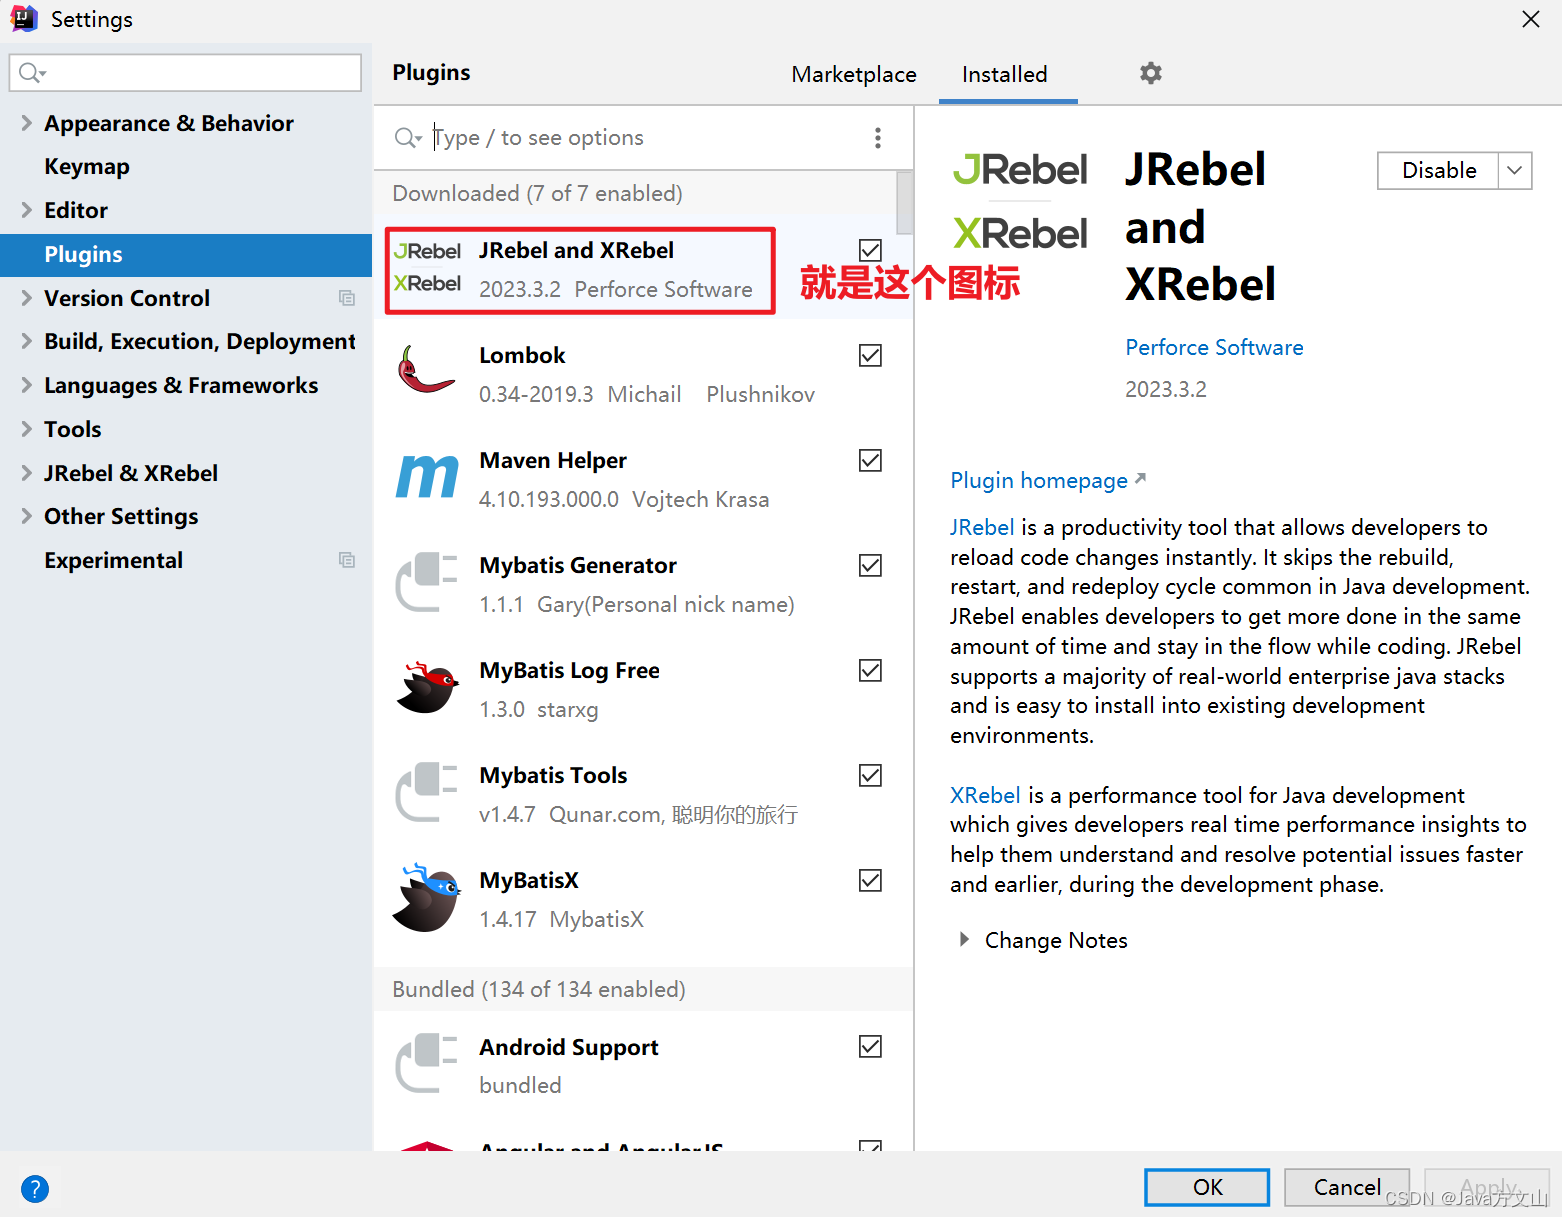
安装后重启IDEA即可。
1.2.反向代理工具
这里会使用一个反向代理工具ReverseProxy_windows_amd64,而JRebel是一个Java虚拟机插件,它们之间没有直接的关系。但是,如果您在使用JRebel时遇到了问题,可以尝试先启动ReverseProxy_windows_amd64,然后再使用JRebel。
下载地址
Release v1.4 · ilanyu/ReverseProxy · GitHub
下载完成后打开代理ReverseProxy_windows_amd64.exe再jrebel启动项目
(注意:激活成功前不要关闭反向代理程序)

选择TeamURL激活
第一行输入http://127.0.0.1:8888/GUID
第二行输入电子邮箱即可。
https://www.guidgen.com/(生成GUID链接)
1.3.离线使用
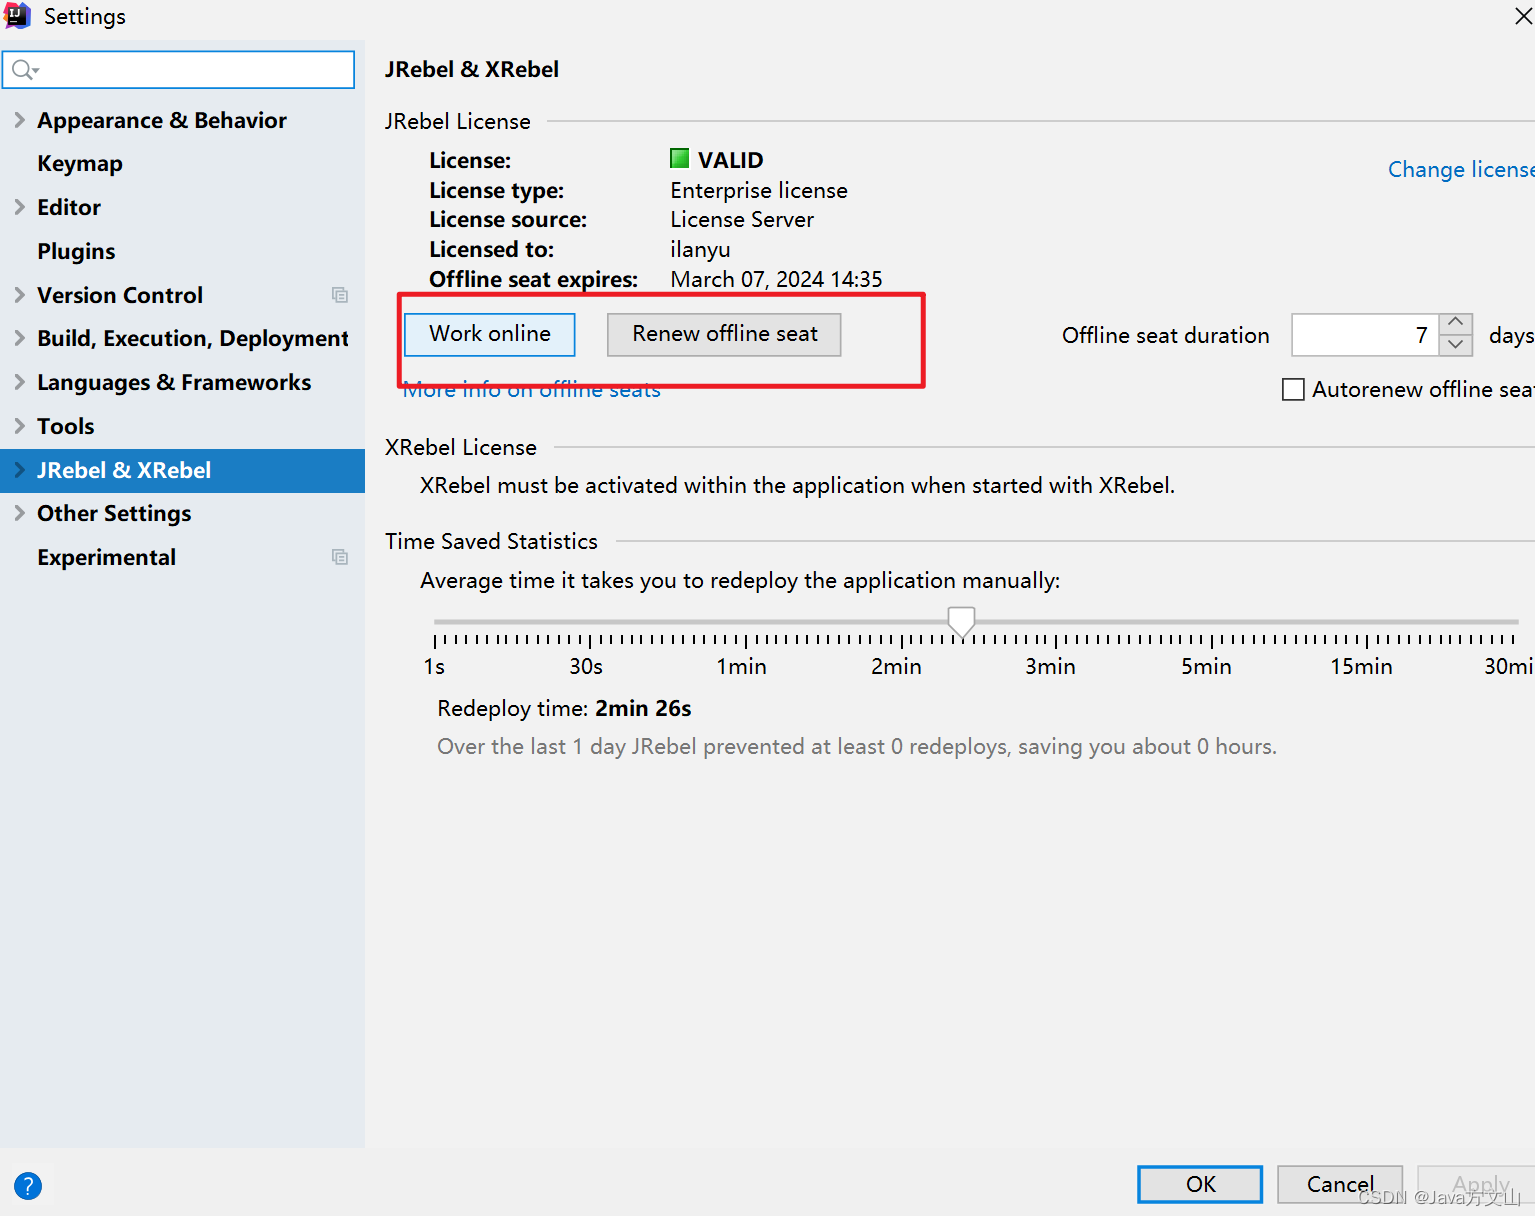
激活后一定要手动切换到离线模式进行使用,过程如图 如下步骤进行操作:
File ➡Settings➡JRebel ➡Work offline ➡OK
(注意点击Work offline就会变为Work online)
下面就可以进行我们的SpringMVC文件上传讲解了。
二、文件上传
2.1.公共文件跳转
该类是方便我们少写重复跳转页面的代码需要跳什么页面jsp的请求上加上/page即可。
@Controller
@RequestMapping("/page")
public class InputController {

    @RequestMapping("{page}")
    public String to(@PathVariable("page") String page){
        return page;
    }

    @RequestMapping("/{dir}/{page}")
    public String todir(@PathVariable("dir") String dir,
                        @PathVariable("page") String page){
        return dir+"/"+page;
    }

}
2.2.添加依赖
处理文件上传的Java库。
<dependency>
    <groupId>commons-fileupload</groupId>
    <artifactId>commons-fileupload</artifactId>
    <version>1.3.3</version>
</dependency>
2.3.配置文件上传解析器
将配置文件放入Spring-mvc.xml中
 <bean id="multipartResolver" class="org.springframework.web.multipart.commons.CommonsMultipartResolver">
        <!-- 必须和用户JSP 的pageEncoding属性一致,以便正确解析表单的内容 -->
        <property name="defaultEncoding" value="UTF-8"></property>
        <!-- 文件最大大小(字节) 1024*1024*50=50M-->
        <property name="maxUploadSize" value="52428800"></property>
        <!--resolveLazily属性启用是为了推迟文件解析,以便捕获文件大小异常-->
        <property name="resolveLazily" value="true"/>
    </bean>
MultipartResolver是用于处理文件上传,当收到请求时DispatcherServlet的checkMultipart()方法会调用MultipartResolver的isMultipart()方法判断请求中是否包含文件,如果请求数据中包含文件,则调用MultipartResolver的resolverMultipart()方法对请求的数据进行解析,然后将文件数据解析MultipartFile并封装在MultipartHTTPServletRequest(继承了HTTPServletRequest)对象中,最后传递给Controller。
2.4.图片路径配置Tomcat
为了我们的后期维护,所以将本地图片路径与Tomcat访问路径进行配置文件的保存。
PropertiesUtil.java
public class PropertiesUtil {
    public static String getValue(String key) throws IOException {
        Properties p = new Properties();
        InputStream in = PropertiesUtil.class.getResourceAsStream("/resource.properties");
        p.load(in);
        return p.getProperty(key);
    }

}
resource.properties
dir=E:/oa/idea/upload/
server=/upload/
点击菜单栏上的Tomcat选择Edit Configurations
2.5.前端代码
list.jsp
<%@ page contentType="text/html;charset=UTF-8" language="java" %>
<%@ taglib uri="http://jsp.veryedu.cn" prefix="z"%>
<%@ taglib uri="http://java.sun.com/jsp/jstl/core" prefix="c"%>
<html>
<head>
    <meta http-equiv="Content-Type" content="text/html; charset=UTF-8">
    <link
            href="https://cdn.bootcdn.net/ajax/libs/twitter-bootstrap/4.5.0/css/bootstrap.css"
            rel="stylesheet">
    <script
            src="https://cdn.bootcdn.net/ajax/libs/twitter-bootstrap/4.5.0/js/bootstrap.js"></script>
    <title>学生管理首页</title>
    <style type="text/css">
        .page-item input {
            padding: 0;
            width: 40px;
            height: 100%;
            text-align: center;
            margin: 0 6px;
        }

        .page-item input, .page-item b {
            line-height: 38px;
            float: left;
            font-weight: 400;
        }

        .page-item.go-input {
            margin: 0 10px;
        }
    </style>
</head>
<body>
<form class="form-inline"
      action="${pageContext.request.contextPath }/student/list" method="post">
    <div class="form-group mb-2">
        <input type="text" class="form-control-plaintext" name="sname"
               placeholder="请输入学生名称">
        <!--             <input name="rows" value="20" type="hidden"> -->
        <!-- 不想分页 -->
                <%--<input name="pagination" value="false" type="hidden">--%>
    </div>
    <button type="submit" class="btn btn-primary mb-2">查询</button>
    <a class="btn btn-primary mb-2" href="${pageContext.request.contextPath }/student/PreSave">新增</a>
</form>

<table class="table table-striped ">
    <thead>
    <tr>
        <th scope="col">学生ID</th>
        <th scope="col">学生名称</th>
        <th scope="col">学生照片</th>
        <th scope="col">学生性别</th>
        <th scope="col">操作</th>
    </tr>
    </thead>
    <tbody>
    <c:forEach  var="s" items="${slist }">
        <tr>
            <td>${s.sid }</td>
            <td>${s.sname }</td>
            <td>
                <img src="${s.sage }" style="width: 50px;height: 50px;">
            </td>
            <td>${s.ssex }</td>
            <td>
                <a href="${pageContext.request.contextPath }/student/PreSave?sid=${s.sid}">修改</a>
                <a href="${pageContext.request.contextPath }/student/del?sid=${s.sid}">删除</a>
                <a href="${pageContext.request.contextPath }/page/student/upload?sid=${s.sid}">上传照片</a>
            </td>
        </tr>
    </c:forEach>
    </tbody>
</table>
<!-- 这一行代码就相当于前面分页需求前端的几十行了 -->
<z:page pageBean="${pageBean }"></z:page>
<%--${pageBean }
${slist}--%>
</body>
</html>
upload.jsp
<%@ page contentType="text/html;charset=UTF-8" language="java" %>
<html>
<head>
    <title>学生照片上传</title>
</head>
<body>
<form action="${pageContext.request.contextPath }/student/upload" method="post" enctype="multipart/form-data">
    <label>学生编号:</label><input type="text" name="sid" readonly="readonly" value="${param.sid}"/><br/>
    <label>学生图片:</label><input type="file" name="simg"/><br/>
    <input type="submit" value="上传图片"/>
</form>
</body>
</html>
2.6.文件上传实现
StudentController.java
@Controller
@RequestMapping("/student")
public class StudentController {

    @Autowired
    private StudentBiz stubiz;

//    增
    @RequestMapping("/add")
    public String add(Student student){
        stubiz.insertSelective(student);
        return "redirect:list";
    }

    //    删
    @RequestMapping("/del")
    public String del(Student student){
        stubiz.deleteByPrimaryKey(student.getSid());
        return "redirect:list";
    }

//    查
    @RequestMapping("/list")
    public String list(Student student, HttpServletRequest request){
        PageBean pageBean=new PageBean();
        pageBean.setRequest(request);
        List<Student> students = stubiz.selectBySnamePager(student, pageBean);
        request.setAttribute("slist",students);
        request.setAttribute("pageBean",pageBean);
        return "student/list";
    }
//    改
    @RequestMapping("/edit")
    public String edit(Student student){
        stubiz.updateByPrimaryKeySelective(student);
        return "redirect:list";
    }
//    模糊分页查询
    @RequestMapping("/PreSave")
    public String PreSave(Student student, HttpServletRequest request){
        if(student!=null && student.getSid()!=null){
            Student s = stubiz.selectByPrimaryKey(student.getSid());
            request.setAttribute("s",s);
        }
        return "student/edit";
    }

    //文件上传
    @RequestMapping("/upload")
    public String upload(MultipartFile simg,Student student) throws IOException {
        //将上传图片保存到服务器中的指定位置
        String dir= PropertiesUtil.getValue("dir");
        String server=PropertiesUtil.getValue("server");
        String filename = simg.getOriginalFilename();

        FileUtils.copyInputStreamToFile(simg.getInputStream(),new File(dir+filename));

        //将上传的图片保存到数据库
        student.setSage(server+ filename);
        stubiz.updateByPrimaryKeySelective(student);
    return "redirect:list";
     }

}
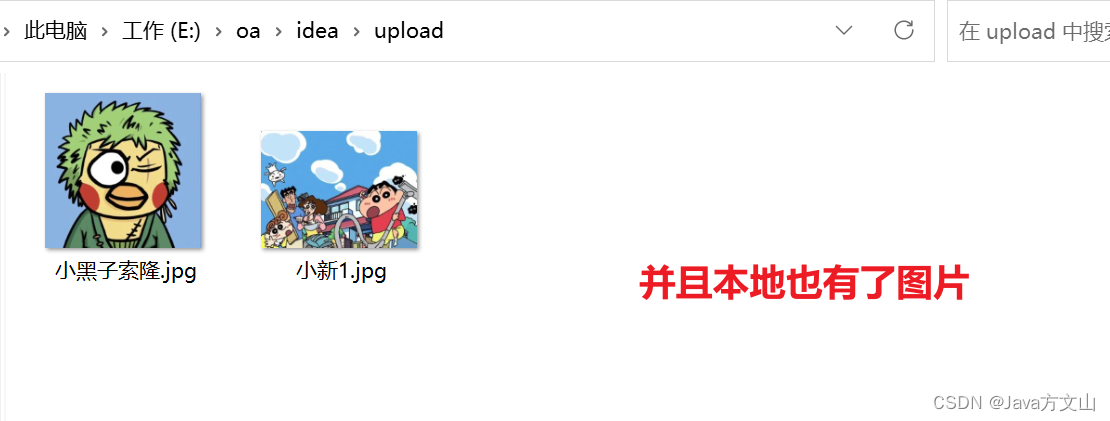
效果展示:

这时候查看我们所配置的本地路径中也有图片了。
三、文件下载
3.1.Controller层
StudentController.java
@Controller
@RequestMapping("/student")
public class StudentController {

    @Autowired
    private StudentBiz stubiz;

//    增
    @RequestMapping("/add")
    public String add(Student student){
        stubiz.insertSelective(student);
        return "redirect:list";
    }

    //    删
    @RequestMapping("/del")
    public String del(Student student){
        stubiz.deleteByPrimaryKey(student.getSid());
        return "redirect:list";
    }

//    查
    @RequestMapping("/list")
    public String list(Student student, HttpServletRequest request){
        PageBean pageBean=new PageBean();
        pageBean.setRequest(request);
        List<Student> students = stubiz.selectBySnamePager(student, pageBean);
        request.setAttribute("slist",students);
        request.setAttribute("pageBean",pageBean);
        return "student/list";
    }
//    改
    @RequestMapping("/edit")
    public String edit(Student student){
        stubiz.updateByPrimaryKeySelective(student);
        return "redirect:list";
    }
//    模糊分页查询
    @RequestMapping("/PreSave")
    public String PreSave(Student student, HttpServletRequest request){
        if(student!=null && student.getSid()!=null){
            Student s = stubiz.selectByPrimaryKey(student.getSid());
            request.setAttribute("s",s);
        }
        return "student/edit";
    }

    //文件上传
    @RequestMapping("/upload")
    public String upload(MultipartFile simg,Student student) throws IOException {
        //将上传图片保存到服务器中的指定位置
        String dir= PropertiesUtil.getValue("dir");
        String server=PropertiesUtil.getValue("server");
        String filename = simg.getOriginalFilename();

        FileUtils.copyInputStreamToFile(simg.getInputStream(),new File(dir+filename));

        //将上传的图片保存到数据库
        student.setSage(server+ filename);
        stubiz.updateByPrimaryKeySelective(student);
    return "redirect:list";
     }

     //文件下载
     @RequestMapping(value="/download")
     public ResponseEntity<byte[]> download(Student student, HttpServletRequest req){

         try {
             //先根据文件id查询对应图片信息
             Student students = this.stubiz.selectByPrimaryKey(student.getSid());
             String diskPath = PropertiesUtil.getValue("dir");
             String reqPath = PropertiesUtil.getValue("server");
             String realPath = students.getSage().replace(reqPath,diskPath);
             String fileName = realPath.substring(realPath.lastIndexOf("/")+1);
             //下载关键代码
             File file=new File(realPath);
             HttpHeaders headers = new HttpHeaders();//http头信息
             String downloadFileName = new String(fileName.getBytes("UTF-8"),"iso-8859-1");//设置编码
             headers.setContentDispositionFormData("attachment", downloadFileName);
             headers.setContentType(MediaType.APPLICATION_OCTET_STREAM);
             //MediaType:互联网媒介类型  contentType:具体请求中的媒体类型信息
             return new ResponseEntity<byte[]>(FileUtils.readFileToByteArray(file),headers, HttpStatus.OK);
         }catch (Exception e){
             e.printStackTrace();
         }
         return null;
     }

}
3.2.前端代码
list.jsp
<%@ page contentType="text/html;charset=UTF-8" language="java" %>
<%@ taglib uri="http://jsp.veryedu.cn" prefix="z"%>
<%@ taglib uri="http://java.sun.com/jsp/jstl/core" prefix="c"%>
<html>
<head>
    <meta http-equiv="Content-Type" content="text/html; charset=UTF-8">
    <link
            href="https://cdn.bootcdn.net/ajax/libs/twitter-bootstrap/4.5.0/css/bootstrap.css"
            rel="stylesheet">
    <script
            src="https://cdn.bootcdn.net/ajax/libs/twitter-bootstrap/4.5.0/js/bootstrap.js"></script>
    <title>学生管理首页</title>
    <style type="text/css">
        .page-item input {
            padding: 0;
            width: 40px;
            height: 100%;
            text-align: center;
            margin: 0 6px;
        }

        .page-item input, .page-item b {
            line-height: 38px;
            float: left;
            font-weight: 400;
        }

        .page-item.go-input {
            margin: 0 10px;
        }
    </style>
</head>
<body>
<form class="form-inline"
      action="${pageContext.request.contextPath }/student/list" method="post">
    <div class="form-group mb-2">
        <input type="text" class="form-control-plaintext" name="sname"
               placeholder="请输入学生名称">
        <!--             <input name="rows" value="20" type="hidden"> -->
        <!-- 不想分页 -->
                <%--<input name="pagination" value="false" type="hidden">--%>
    </div>
    <button type="submit" class="btn btn-primary mb-2">查询</button>
    <a class="btn btn-primary mb-2" href="${pageContext.request.contextPath }/student/PreSave">新增</a>
</form>

<table class="table table-striped ">
    <thead>
    <tr>
        <th scope="col">学生ID</th>
        <th scope="col">学生名称</th>
        <th scope="col">学生照片</th>
        <th scope="col">学生性别</th>
        <th scope="col">操作</th>
    </tr>
    </thead>
    <tbody>
    <c:forEach  var="s" items="${slist }">
        <tr>
            <td>${s.sid }</td>
            <td>${s.sname }</td>
            <td>
                <img src="${s.sage }" style="width: 50px;height: 50px;">
            </td>
            <td>${s.ssex }</td>
            <td>
                <a href="${pageContext.request.contextPath }/student/PreSave?sid=${s.sid}">修改</a>
                <a href="${pageContext.request.contextPath }/student/del?sid=${s.sid}">删除</a>
                <a href="${pageContext.request.contextPath }/page/student/upload?sid=${s.sid}">上传照片</a>
                <a href="${pageContext.request.contextPath }/student/download?sid=${s.sid}">下载照片</a>
            </td>
        </tr>
    </c:forEach>
    </tbody>
</table>
<!-- 这一行代码就相当于前面分页需求前端的几十行了 -->
<z:page pageBean="${pageBean }"></z:page>
<%--${pageBean }
${slist}--%>
</body>
</html>
**效果演示: **
四、多文件上传
由于我的数据库表中没有存储多个图片的字段,就不过数据库演示了。
4.1.Controller层
  //多文件上传
     @RequestMapping("/uploads")
     public String uploads(HttpServletRequest req, Student student, MultipartFile[] files){
         try {
             StringBuffer sb = new StringBuffer();
             for (MultipartFile cfile : files) {
                 //思路:
                 //1) 将上传图片保存到服务器中的指定位置
                 String dir = PropertiesUtil.getValue("dir");
                 String server = PropertiesUtil.getValue("server");
                 String filename = cfile.getOriginalFilename();
                 FileUtils.copyInputStreamToFile(cfile.getInputStream(),new File(dir+filename));
                 sb.append(filename).append(",");
             }
             System.out.println(sb.toString());

         } catch (Exception e) {
             e.printStackTrace();
         }
         return "redirect:list";
     }
4.2.前端代码
 <a href="${pageContext.request.contextPath }/page/student/uploads">多文件上传</a>

<%@ page contentType="text/html;charset=UTF-8" language="java" %>
<html>
<head>
    <title>Title</title>
</head>
<body>
<form action="${pageContext.request.contextPath }/student/uploads" method="post" enctype="multipart/form-data">
    <input type="file" name="files" multiple>
    <button type="submit">上传</button>
</form>
</body>
</html>
效果演示:
到这里我的分享就结束了,欢迎到评论区探讨交流!!
💖如果觉得有用的话还请点个赞吧 💖

版权归原作者 Java方文山 所有, 如有侵权,请联系我们删除。