
在线工具网站推荐:全栈工具箱 - 全栈行动派
个人博客网站:全栈行动派-全栈技术博客
1、搭建环境说明
服务器:Red Hat Enterprise Linux Server release 7.9 (Maipo)
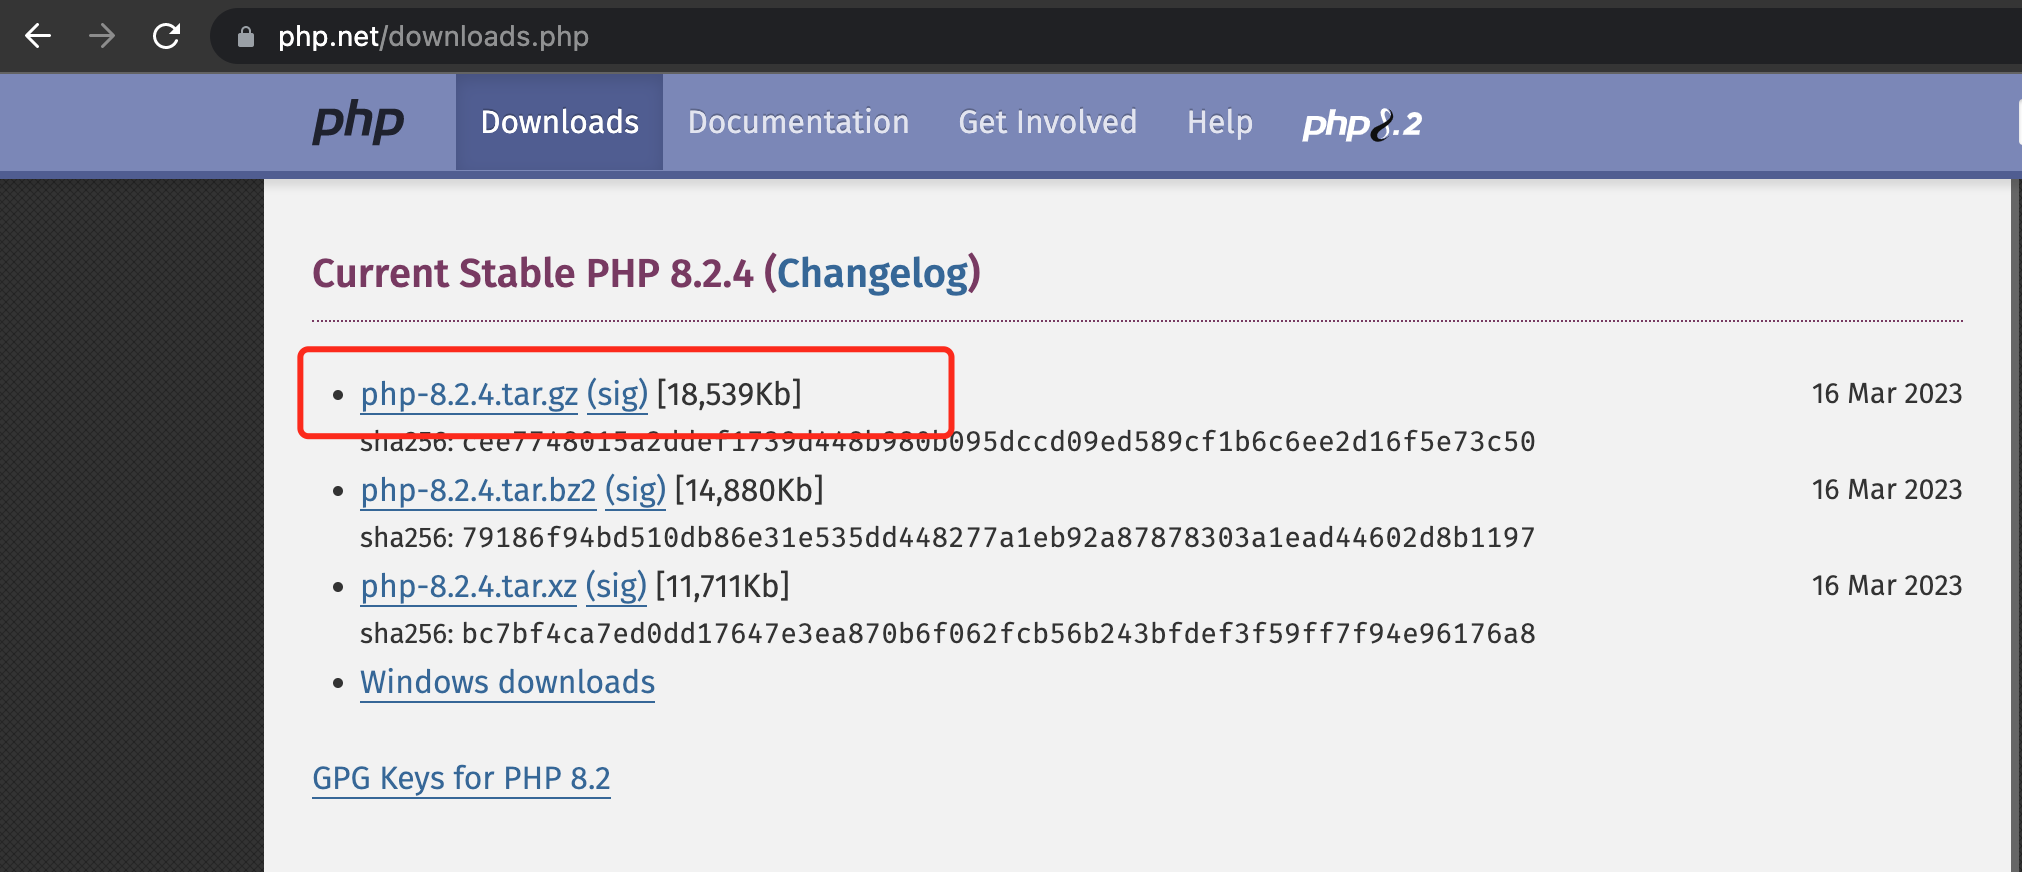
 ** PHP:php-8.2.4**
PHP: Downloads
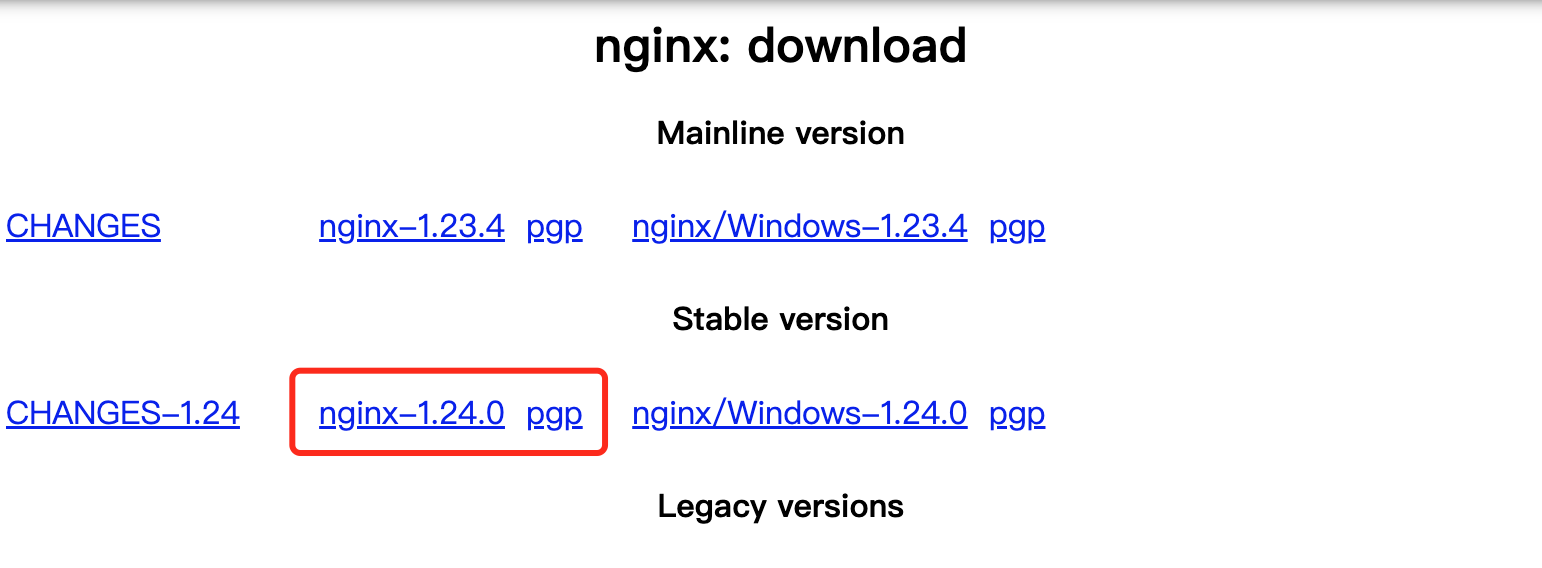
Nginx: 1.24.0
http://nginx.org/en/download.html
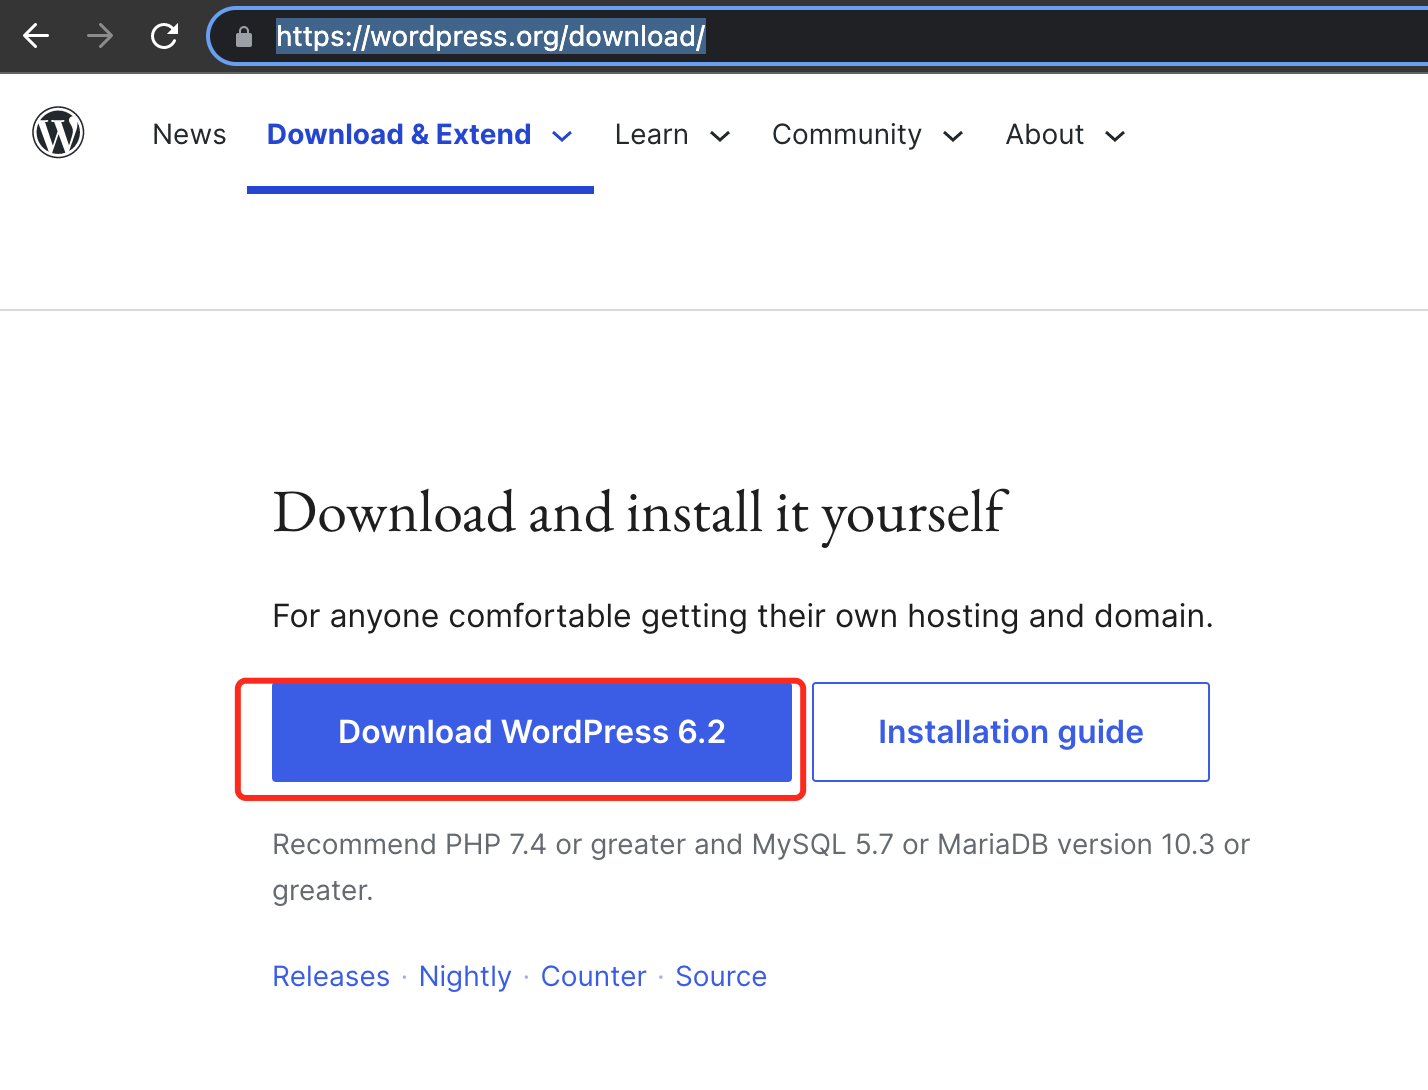
** WordPress:6.2**
Download – WordPress.org
Mysql:5.7.22 MySQL Community Server (GPL)
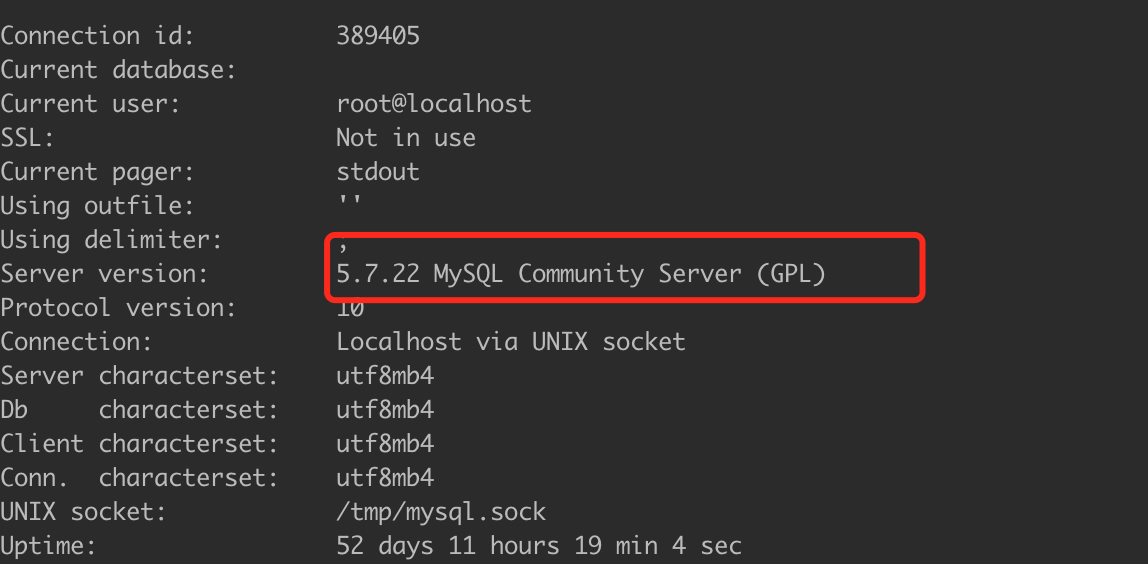
本地WordPress搭建,除了Mysql使用已有数据外,其他的都是用的最新版本的,接下来我们一个一个的搭建,中间遇到的问题我们也会写上。
2、PHP安装
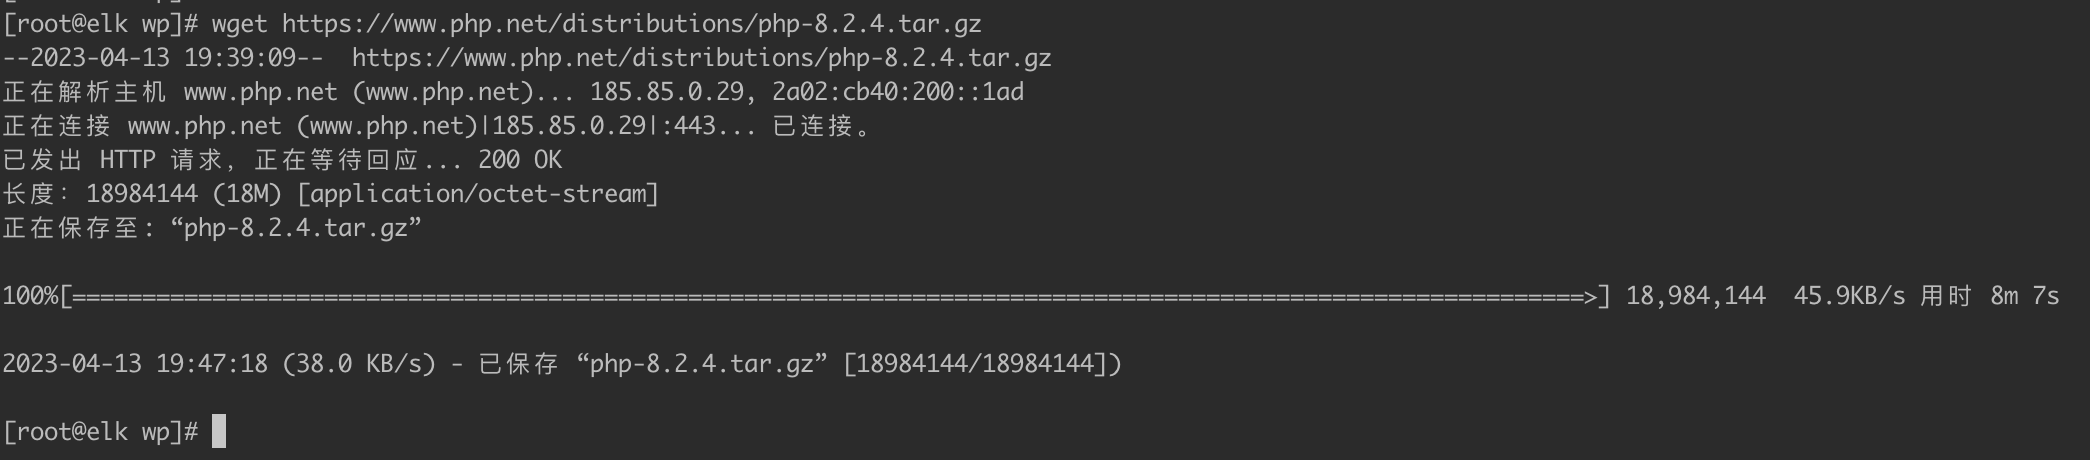
通过 ”wget https://www.php.net/distributions/php-8.2.4.tar.gz“ 我们下载php安装包,文件很大,需要耐心等待。
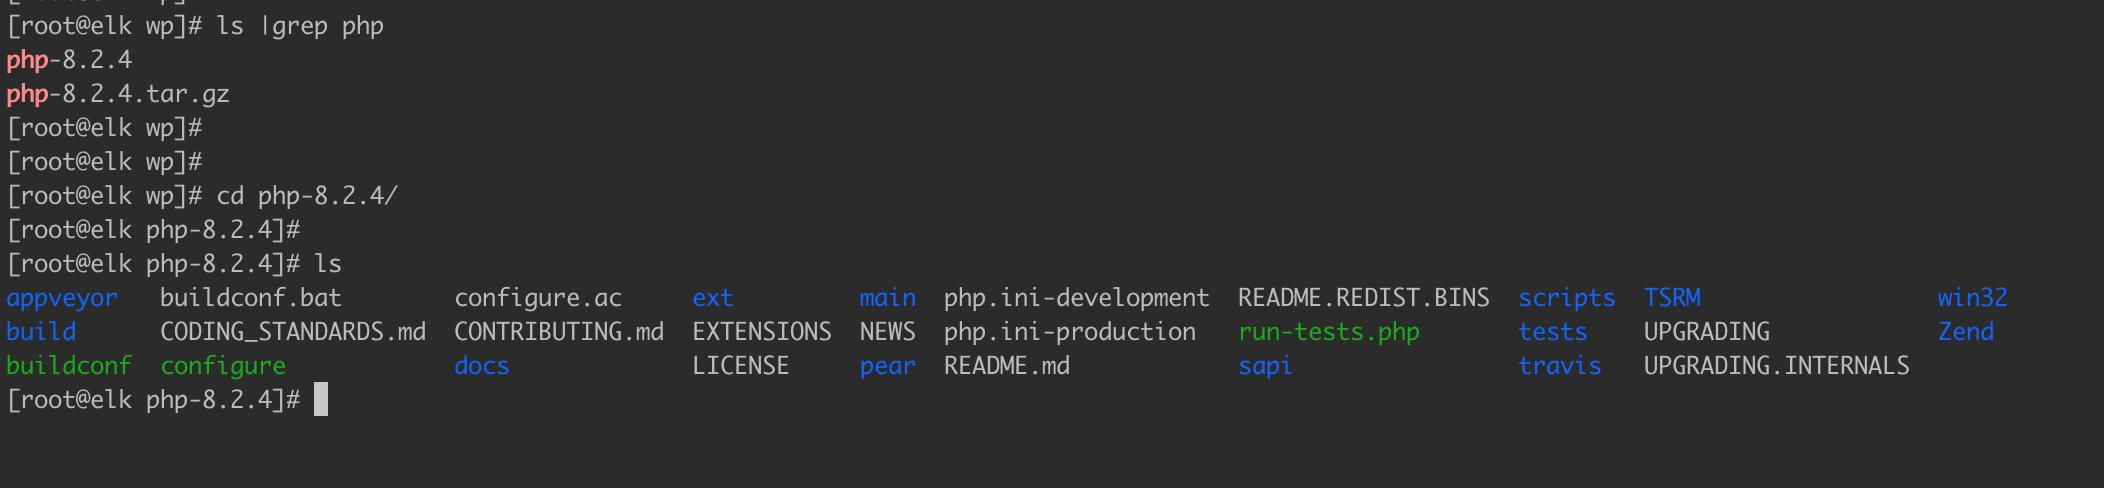
下载完以后,通过”tar -zxvf php-8.2.4.tar.gz“命令解压,并进入解压目录安装
执行配置命令命令:
./configure --prefix=/u01/tool/wp/php8 --with-config-file-path=/u01/tool/wp/php8/etc --enable-fpm --enable-mysqlnd --enable-opcache --enable-pcntl --enable-mbstring --enable-soap --enable-calendar --enable-bcmath --enable-exif --enable-ftp --enable-intl --with-mysqli --with-pdo-mysql --with-openssl --with-curl --with-gettext --with-mhash --with-openssl --with-tidy --with-zlib
在配置过程会发现缺少很多的包,在后面整理错误解决方式,最终执行成功会出现一下界面
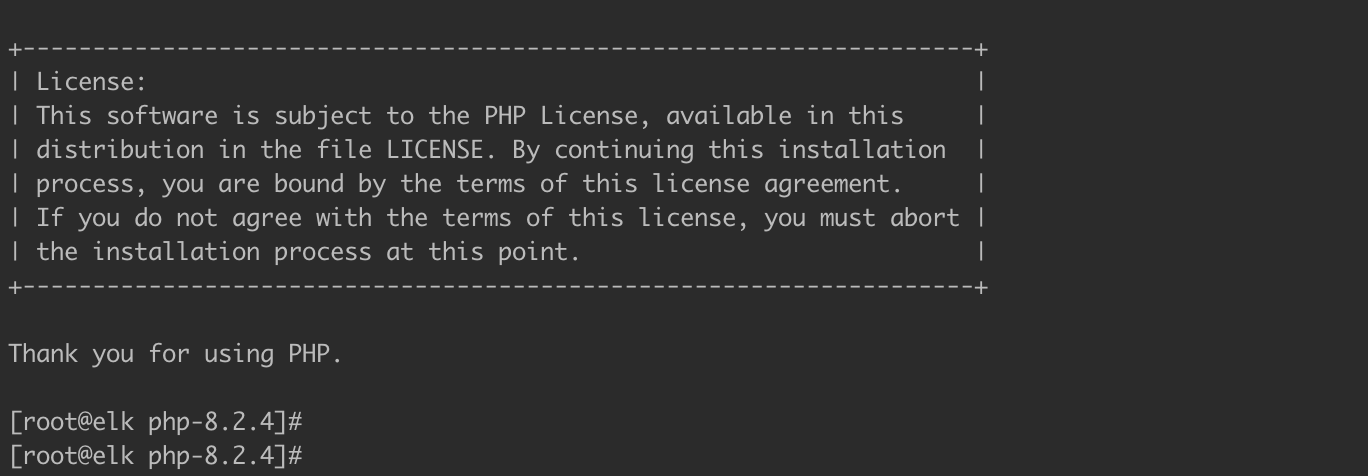
执行编译+安装“make && make install”,这个时间也是非常漫长,耐心等待。出现以下界面说明安装成功。

通过 “ /u01/tool/wp/php8/bin/php --version” 测试是安装成功,出现一下界面说明成功。

2.1、配置并启动php-fpm
- 生成php.ini配置文件
在php解压目录中执行命令“cp -r php.ini-production /u01/tool/wp/php8/etc/php.ini”
[root@elk php-8.2.4]# ls
appveyor             config.log     CONTRIBUTING.md  libs      Makefile.fragments  php.ini-development  sapi     UPGRADING
build                config.nice    docs             libtool   Makefile.objects    php.ini-production   scripts  UPGRADING.INTERNALS
buildconf            config.status  ext              LICENSE   modules             README.md            tests    win32
buildconf.bat        configure      EXTENSIONS       main      NEWS                README.REDIST.BINS   travis   Zend
CODING_STANDARDS.md  configure.ac   include          Makefile  pear                run-tests.php        TSRM
[root@elk php-8.2.4]# cp -r php.ini-production /u01/tool/wp/php8/etc/php.ini
[root@elk php-8.2.4]# ll /u01/tool/wp/php8/etc
总用量 84
-rw-r--r-- 1 root root  5391 4月  13 20:14 php-fpm.conf.default
drwxr-xr-x 2 root root    30 4月  13 20:14 php-fpm.d
-rw-r--r-- 1 root root 73924 4月  13 20:18 php.ini
[root@elk wp]# cd /u01/tool/wp/php8/etc/php-fpm.d/
[root@elk php-fpm.d]# ls
www.conf.default
[root@elk php-fpm.d]#
[root@elk php-fpm.d]# cp www.conf.default www.conf
[root@elk php-fpm.d]#
[root@elk php-fpm.d]# ls
www.conf  www.conf.default
[root@elk php-fpm.d]#
- 生成php-fpm的配置文件
[root@elk php-fpm.d]# cd /u01/tool/wp/php8//etc/
[root@elk etc]# ls
php-fpm.conf.default  php-fpm.d  php.ini
[root@elk etc]# cp -r php-fpm.conf.default php-fpm.conf
[root@elk etc]#
[root@elk etc]# ls
php-fpm.conf  php-fpm.conf.default  php-fpm.d  php.ini
[root@elk etc]#
- 生成php-fpm启动文件
[root@elk etc]#
[root@elk etc]# mkdir /u01/tool/wp/php8/daemon
[root@elk etc]#
[root@elk etc]# cp -r /u01/tool/wp/php-8.2.4/sapi/fpm/init.d.php-fpm /u01/tool/wp/php8/daemon/php-fpm
[root@elk etc]#
[root@elk etc]# chmod 740 /u01/tool/wp/php8/daemon/php-fpm
[root@elk etc]#
- 启动php-fpm
[root@elk etc]# /u01/tool/wp/php8/daemon/php-fpm start
Starting php-fpm  done
[root@elk etc]#
- 检查进程中是否已启动
[root@elk etc]# ps -ef|grep php
root      83167      1  0 20:23 ?        00:00:00 php-fpm: master process (/u01/tool/wp/php8/etc/php-fpm.conf)
nobody    83168  83167  0 20:23 ?        00:00:00 php-fpm: pool www
nobody    83169  83167  0 20:23 ?        00:00:00 php-fpm: pool www
root      83222 178010  0 20:23 pts/1    00:00:00 grep --color=auto php
[root@elk etc]#
- 查看php-fpm默认守护的端口
[root@elk etc]# ss -lntp | grep php
LISTEN     0      4096   127.0.0.1:9000                     *:*                   users:(("php-fpm",pid=83169,fd=5),("php-fpm",pid=83168,fd=5),("php-fpm",pid=83167,fd=7))
[root@elk etc]#
2.2、配置报错解决
- 错误一
configure: error: Package requirements (libxml-2.0 >= 2.9.0) were not met:
Package 'libxml-2.0', required by 'virtual:world', not found
解决:通过“dnf install libxml2-devel” 安装
- 错误二
configure: error: Package requirements (sqlite3 > 3.7.4) were not met:
Package 'sqlite3', required by 'virtual:world', not found
解决:通过“dnf install sqlite-devel” 安装
- 错误三
checking for BZip2 in default path... not found
configure: error: Please reinstall the BZip2 distribution
解决:通过“dnf -y install bzip2-devel”安装
- 错误四
configure: error: Package requirements (libcurl >= 7.29.0) were not met:
Package 'libcurl', required by 'virtual:world', not found
解决:通过“dnf -y install libcurl-devel”安装
- 错误五
configure: error: Package requirements (libpng) were not met:
Package 'libpng', required by 'virtual:world', not found
解决:通过“dnf -y install libpng-devel”安装
- 错误六
configure: error: Package requirements (libjpeg) were not met:
Package 'libjpeg', required by 'virtual:world', not found
解决:通过“dnf -y install libjpeg-devel”安装
- 错误七
configure: error: Package requirements (freetype2) were not met:
Package 'freetype2', required by 'virtual:world', not found
解决:通过“dnf -y install freetype-devel”安装
- 错误八
configure: error: Package requirements (icu-uc >= 50.1 icu-io icu-i18n) were not met:
Package 'icu-uc', required by 'virtual:world', not found
Package 'icu-io', required by 'virtual:world', not found
Package 'icu-i18n', required by 'virtual:world', not found
解决:通过:“dnf -y install libicu-devel”安装
- 错误九
configure: error: Package requirements (oniguruma) were not met:
Package 'oniguruma', required by 'virtual:world', not found
解决:尝试通过“dnf install oniguruma-devel” 安装
如果失败,使用终极解决办法 在 https://pkgs.org/
这个网站自己查找需要的包然后通过 wget 下载 然后通过 "yum install xx.rpm" 安装
- 错误十
configure: error: Package requirements (libxslt >= 1.1.0) were not met:
Package 'libxslt', required by 'virtual:world', not found
解决:通过“dnf -y install libxslt-devel”安装
- 错误十一
configure: error: Package requirements (libzip >= 0.11 libzip != 1.3.1 libzip != 1.7.0) were not met:
Package 'libzip', required by 'virtual:world', not found
解决:通过“dnf -y install libzip-devel”安装
3、Nginx安装
通过”wget http://nginx.org/download/nginx-1.24.0.tar.gz“ 我们下载nginx安装包。

通过”tar -zxvf nginx-1.24.0.tar.gz“ 解压,并且进入解压目录
 执行 ”./configure --prefix=/u01/tool/wp/nginx --with-http_ssl_module --with-http_stub_status_module“ 命令配置nginx,出现一下界面说明配置成功且完成
其中”--prefix“ 选项即为nginx安装目录,安装成功后,会自动生成此目录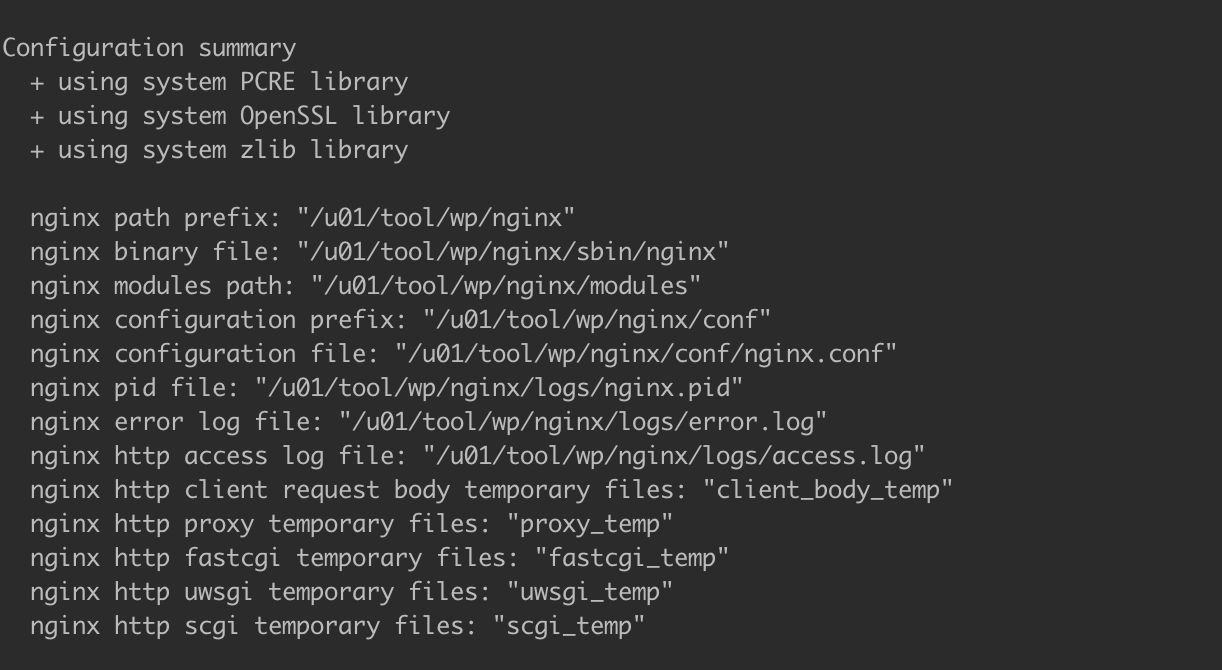
然后执行"make && make install" 命令安装,在漫长的等待后 出现一下界面说明安装成功。
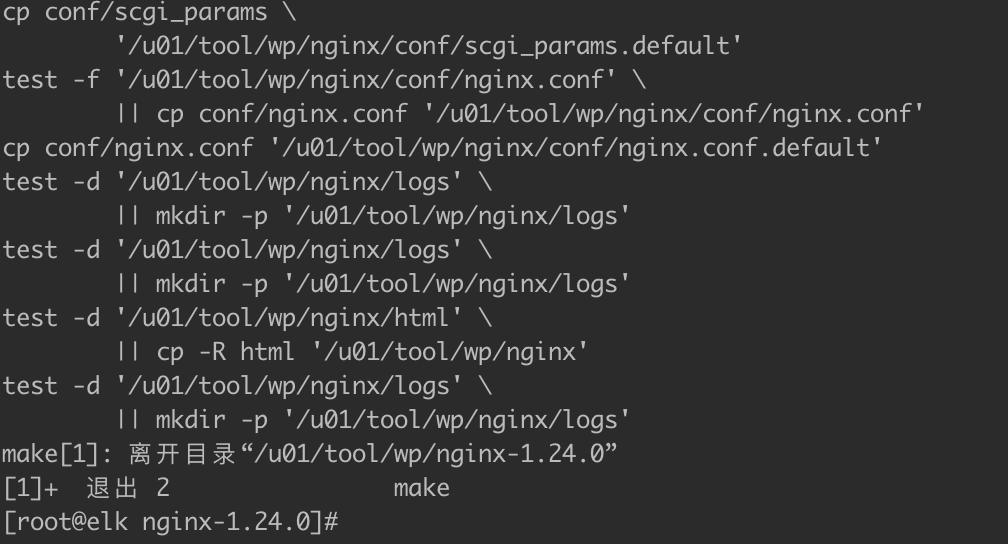
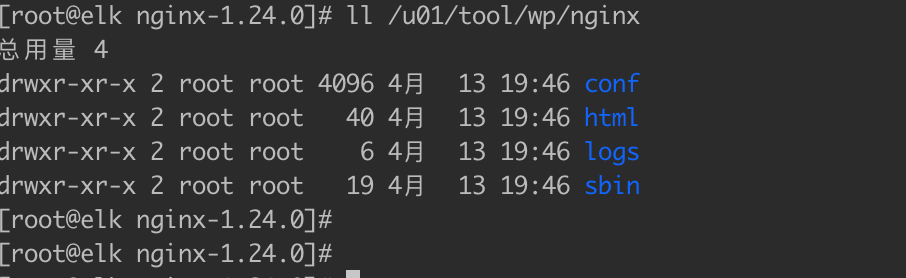
安装目录已创建
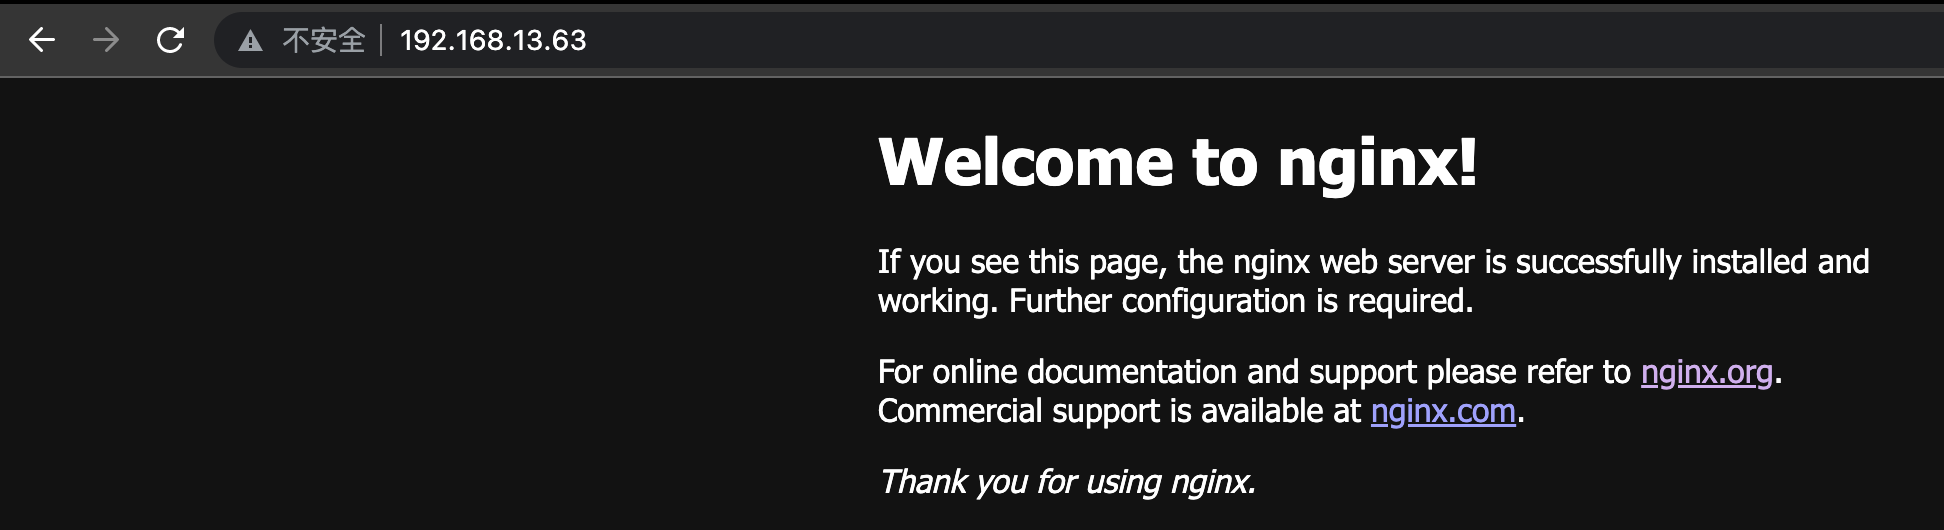
测试启动 执行”/u01/tool/wp/nginx/sbin/nginx &“ 命令,通过浏览器访问IP,如果出现一下界面,说明成功
3.1、通过Nginx代理PHP测试
在“/u01/tool/wp/nginx/html” 目录创建 info.php文件内容如下
<?php
phpinfo();
?>
修改nginx配置文件 “/u01/tool/wp/nginx/conf/nginx.conf” 增加如下内容
        location ~ \.php$ {
            root           html;
            fastcgi_pass   127.0.0.1:9000;
            fastcgi_index  index.php;
            fastcgi_param  SCRIPT_FILENAME  $document_root$fastcgi_script_name;
            include        fastcgi_params;
        }
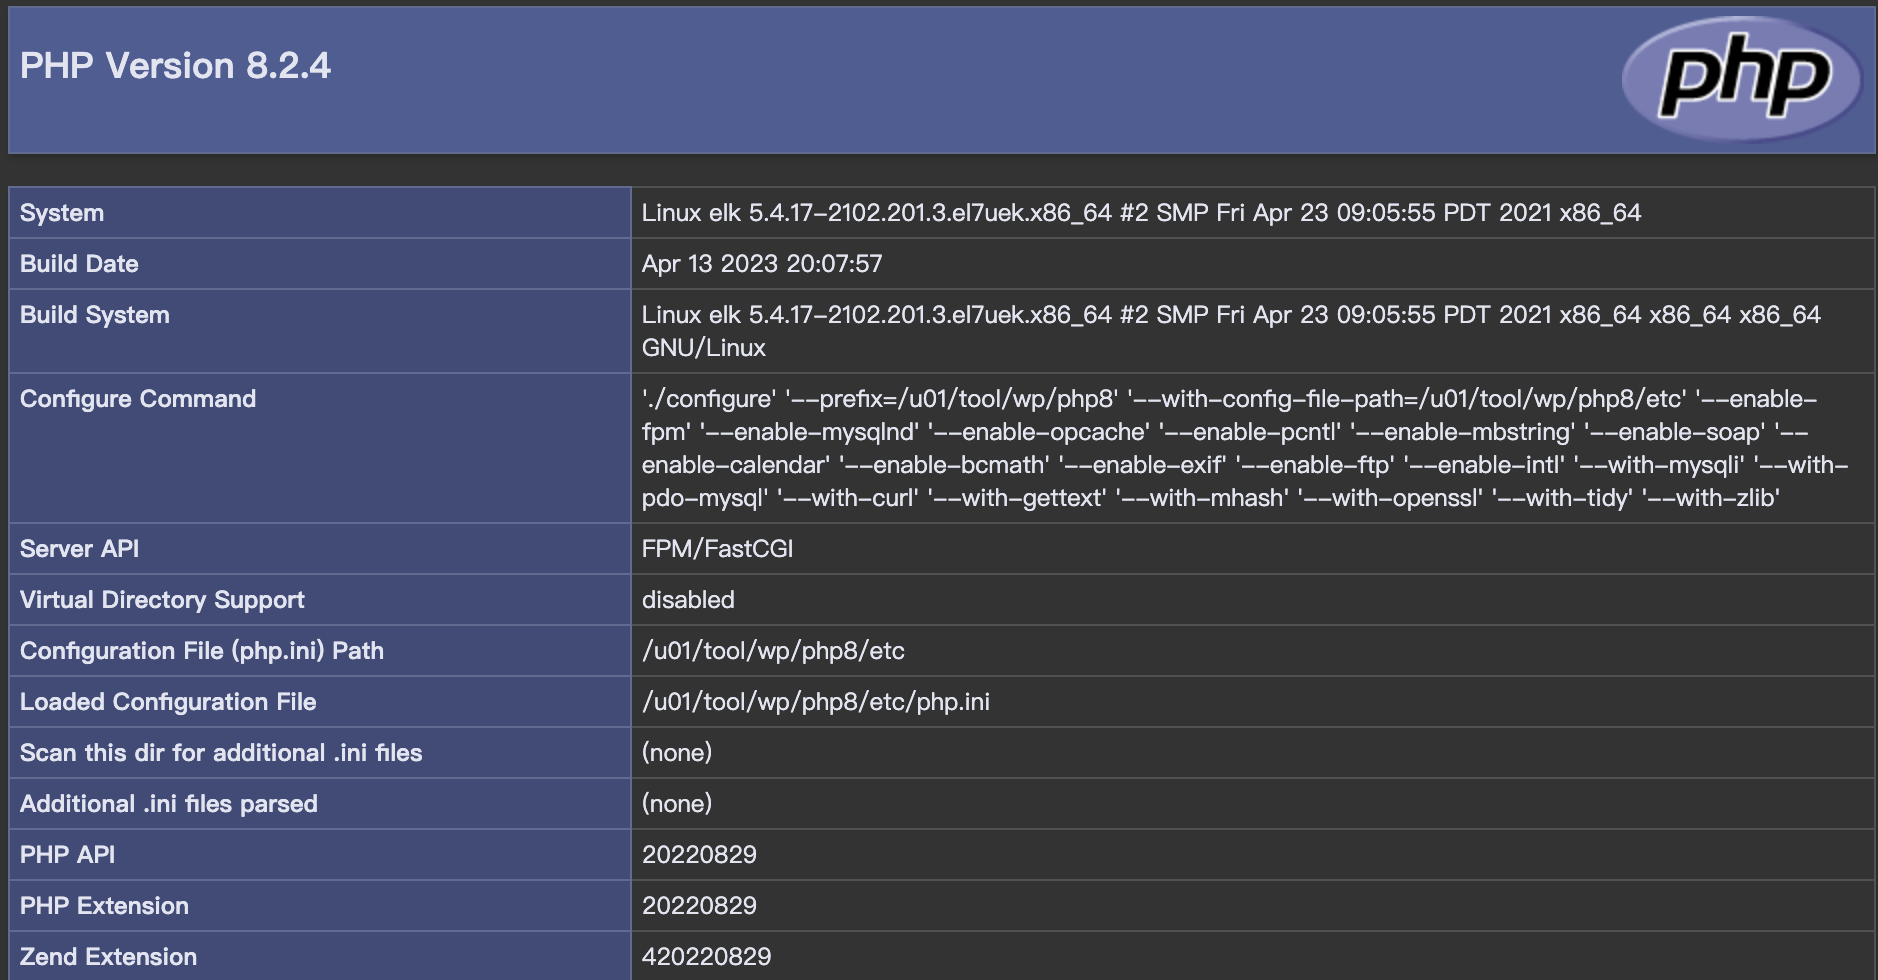
重启Nginx : "/u01/tool/wp/nginx/sbin/nginx -s reload" ,浏览器访问 “http://服务器IP/info.php”,出现一下界面说明成功
4、 WordPress安装
- 第一步下载安装包并解压到网站跟目录
网站跟目录:/u01/tool/wp/nginx/html/wordpress
下载命令:“wget https://cn.wordpress.org/latest-zh_CN.zip”
解压:“unzip latest-zh_CN.zip”
效果:
[root@elk html]# ls
50x.html  index.html  info.php  latest-zh_CN.zip  wordpress
[root@elk html]# pwd
/u01/tool/wp/nginx/html
[root@elk html]#
修改nginx配置文件根目录为“/u01/tool/wp/nginx/html/wordpress”,最终配置文件内容如下
        root /u01/tool/wp/nginx/html/wordpress;
        index index.php  index.html;

        location / {
            try_files $uri $uri/ /index.php?$args;
        }

        location ~* \.(js|css|png|jpg|jpeg|gif|ico)$ {
            expires max;
            log_not_found off;
        }

        location /wordpress {
            try_files $uri $uri/ /wordpress/index.php?$args;
        }

        location ~ \.php$ {
            include fastcgi.conf;
            fastcgi_pass   127.0.0.1:9000;
            fastcgi_index  index.php;
            fastcgi_split_path_info ^(.+\.php)(/.+)$;
            fastcgi_param PATH_INFO $fastcgi_path_info;
            fastcgi_param PATH_TRANSLATED $document_root$fastcgi_path_info;
            fastcgi_param SCRIPT_FILENAME $document_root$fastcgi_script_name;
        }

        rewrite /wp-admin$ $scheme://$host$uri/ permanent;
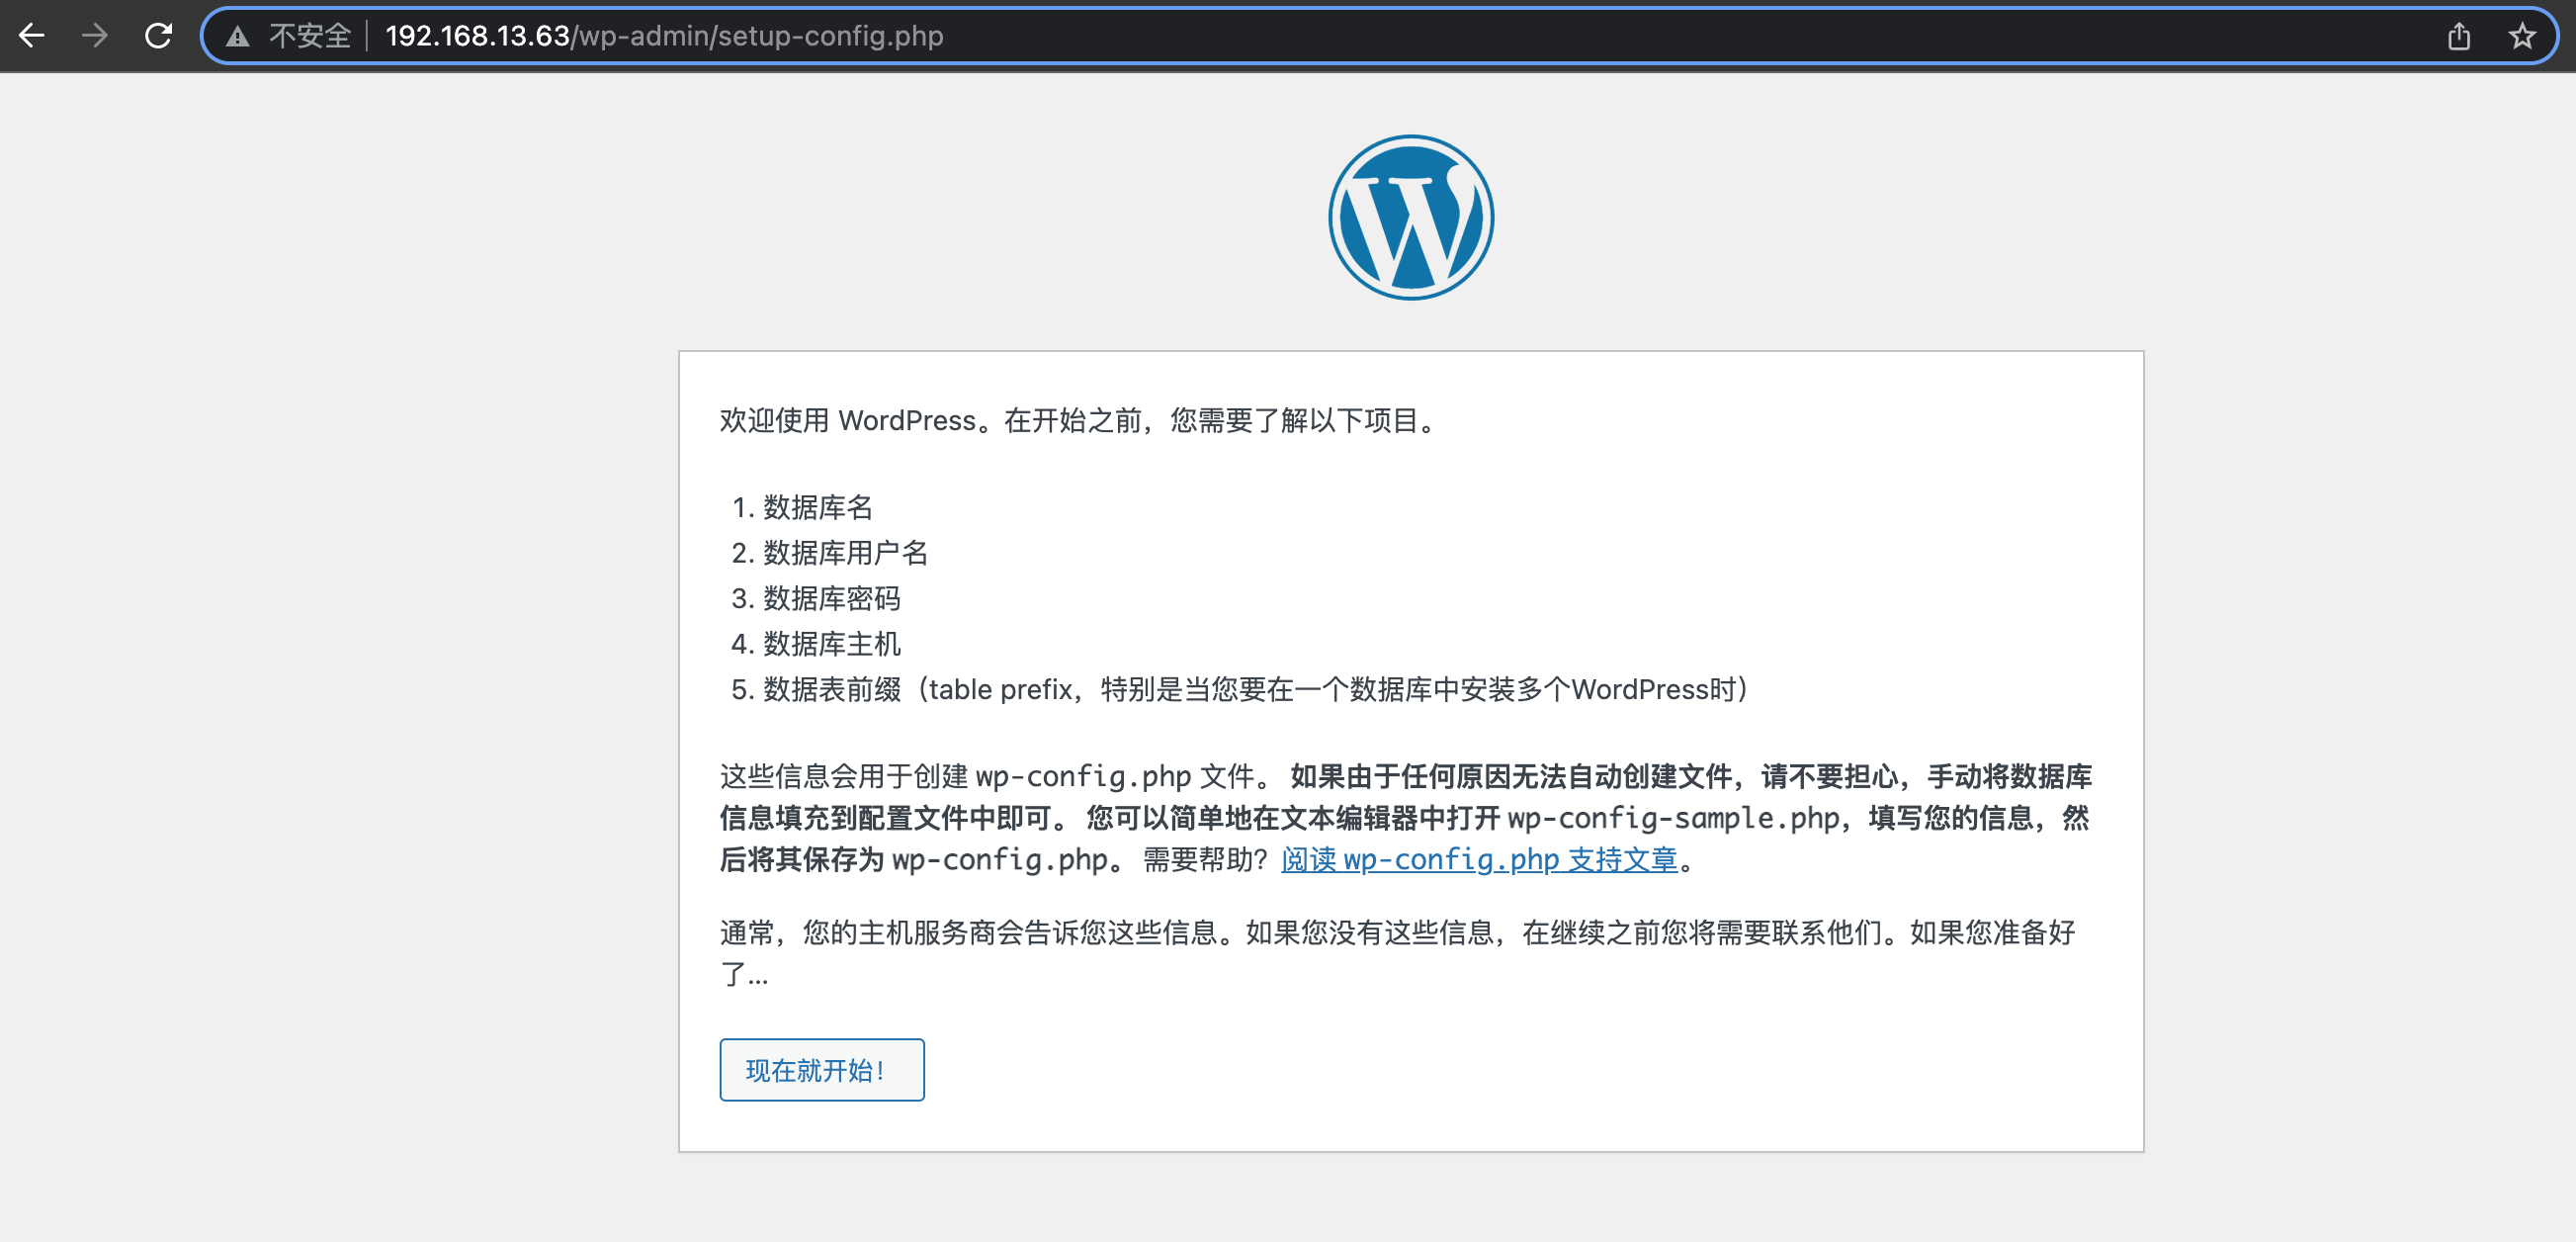
配置完重启nginx,浏览器直接访问 http:IP 出现以下界面说明成功。
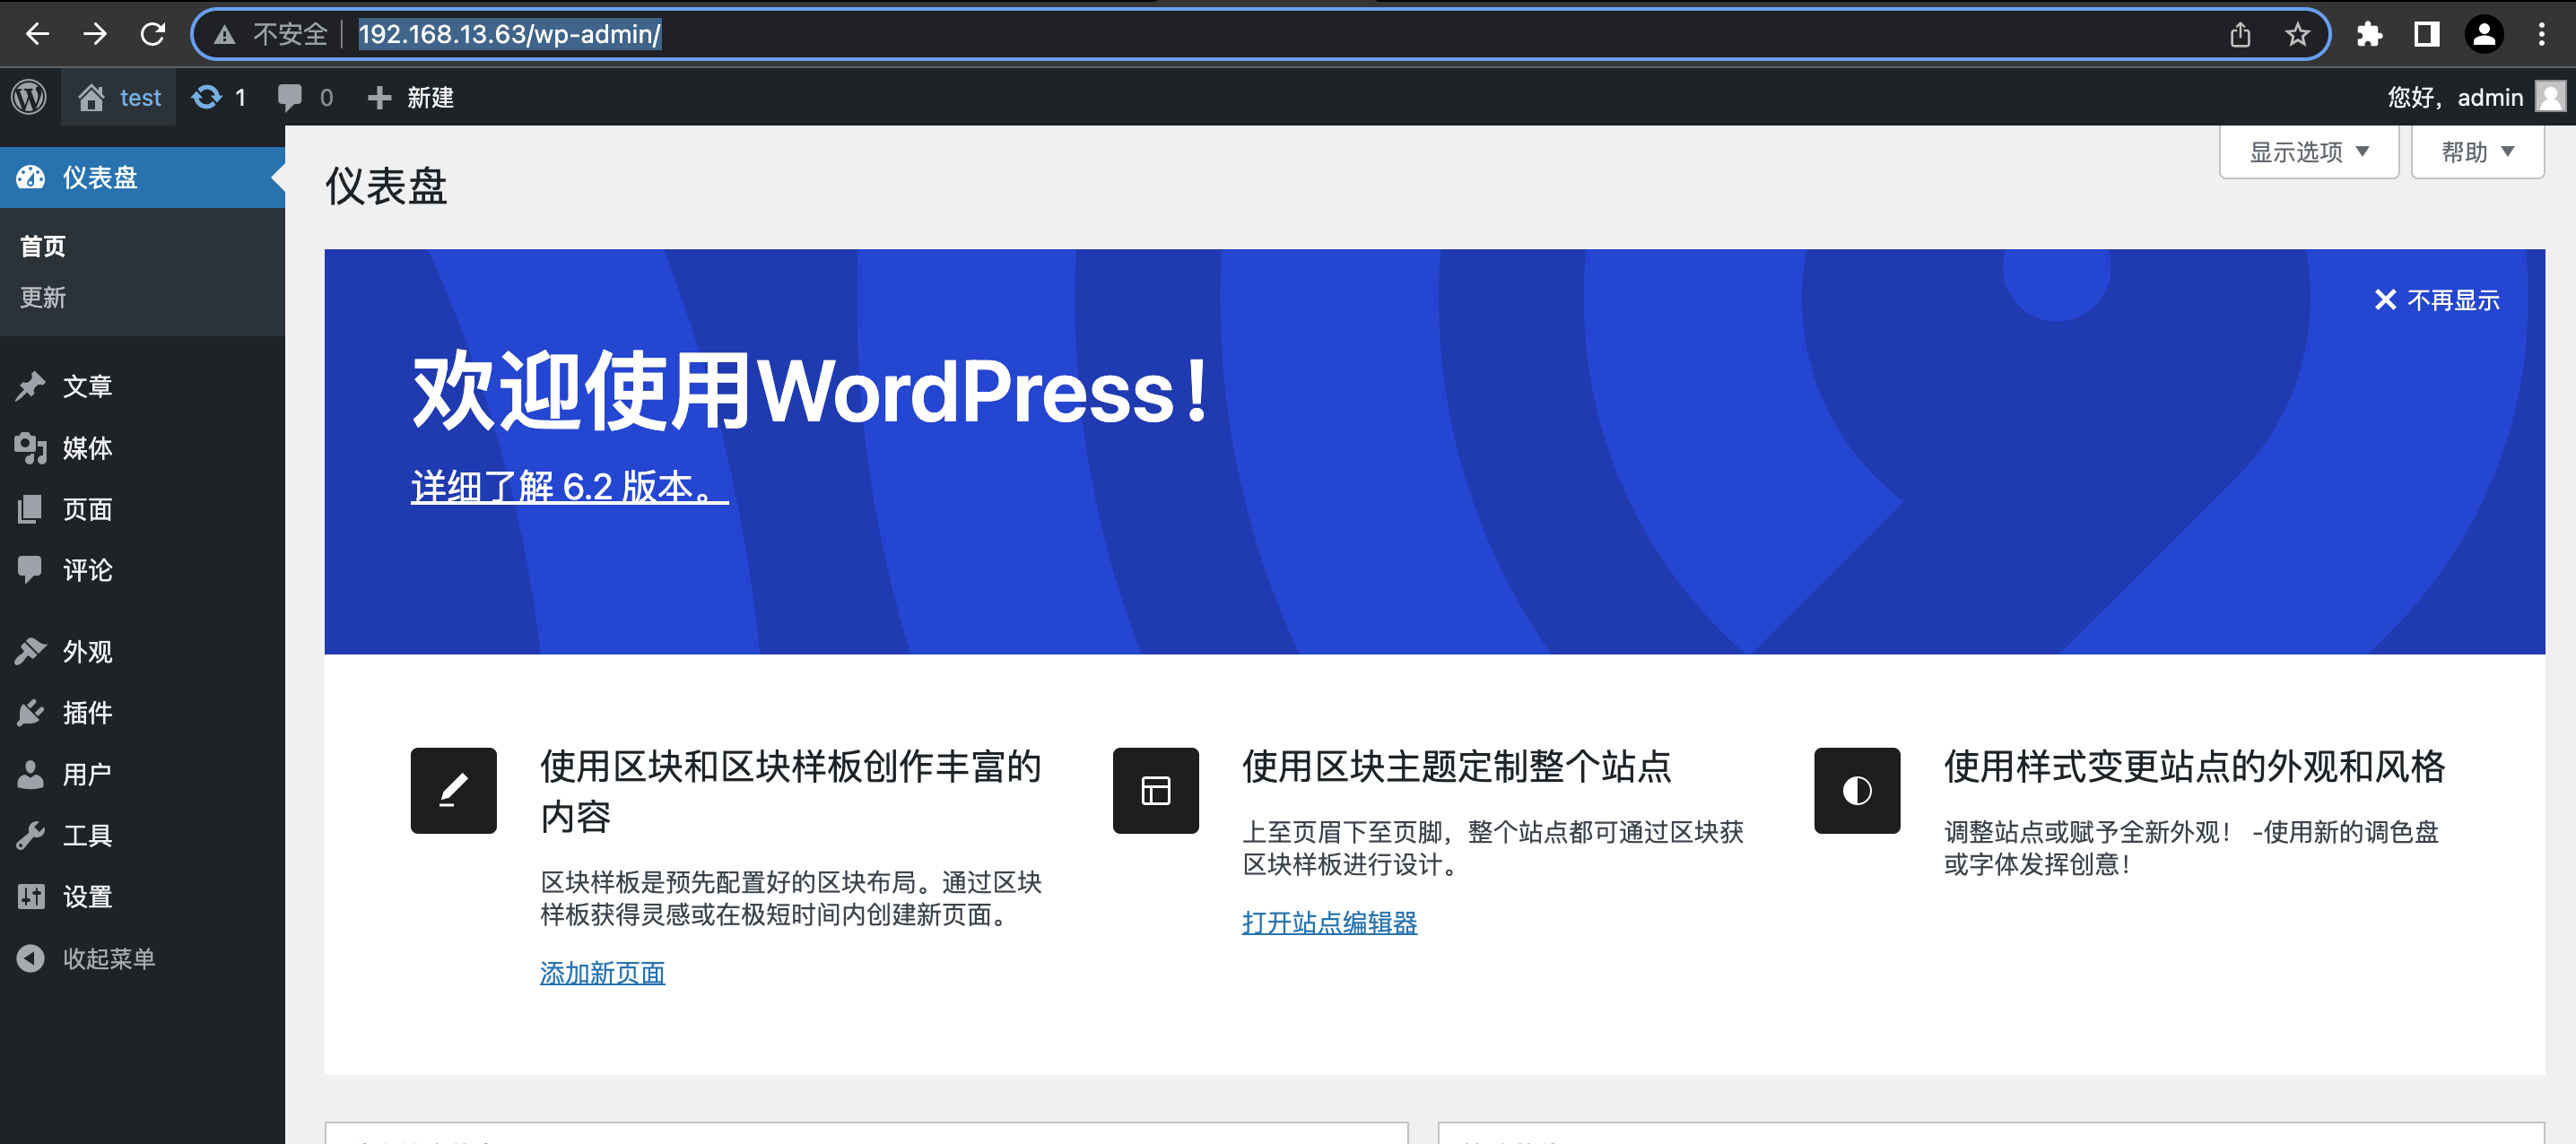
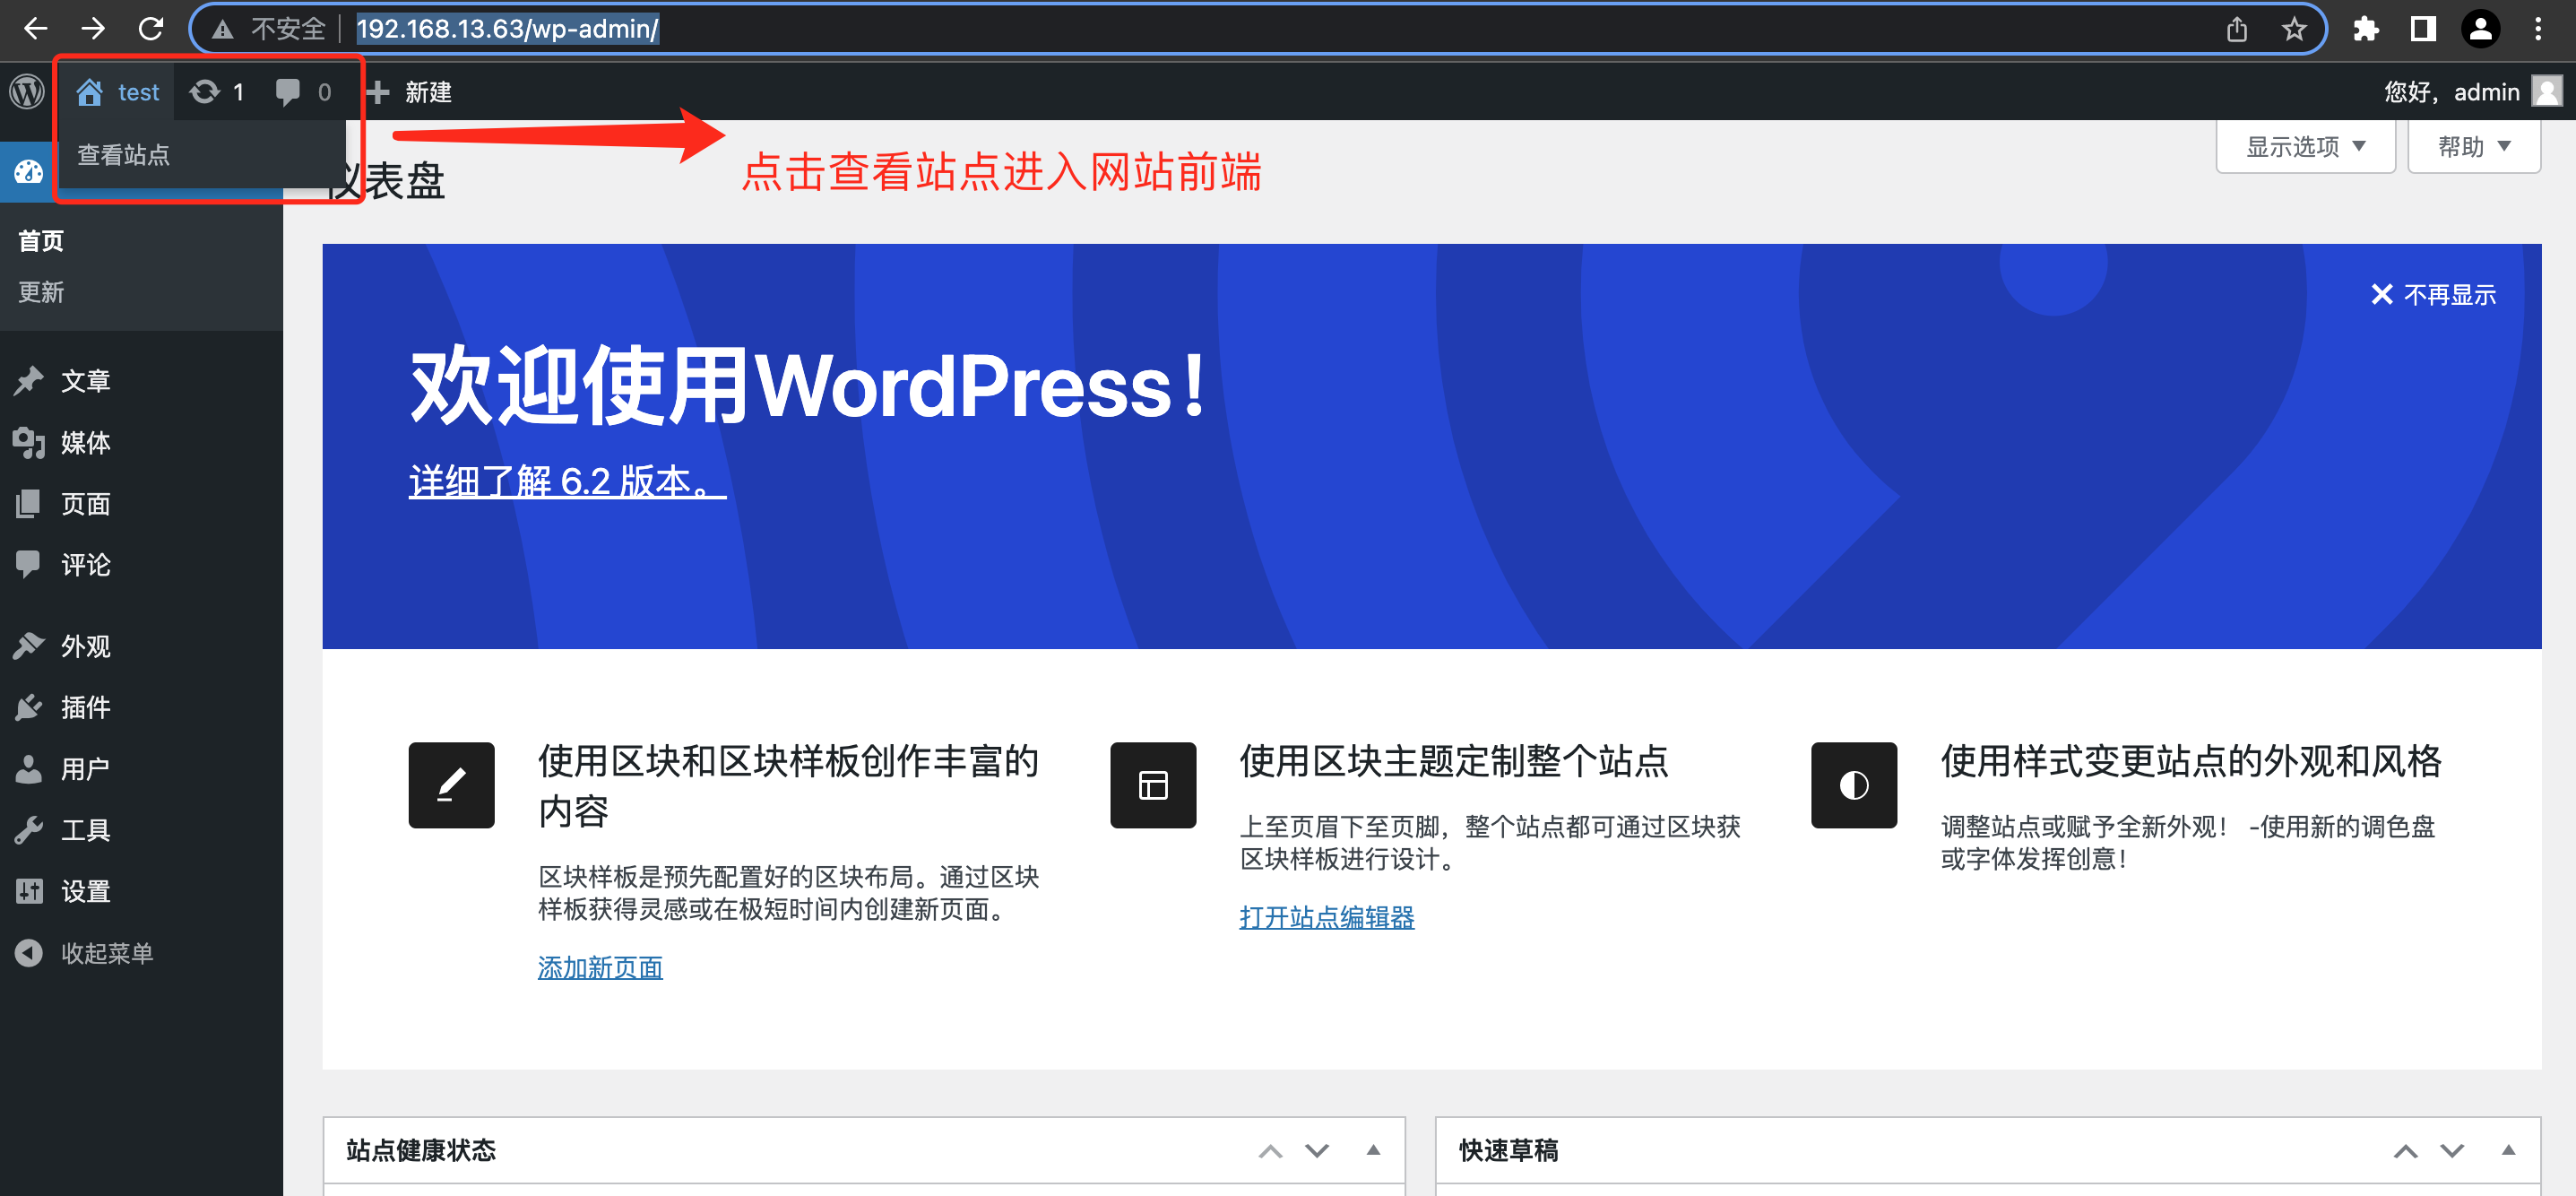
配置完数据库连接和账号密码配置登录后效果
 网站前端
网站前端
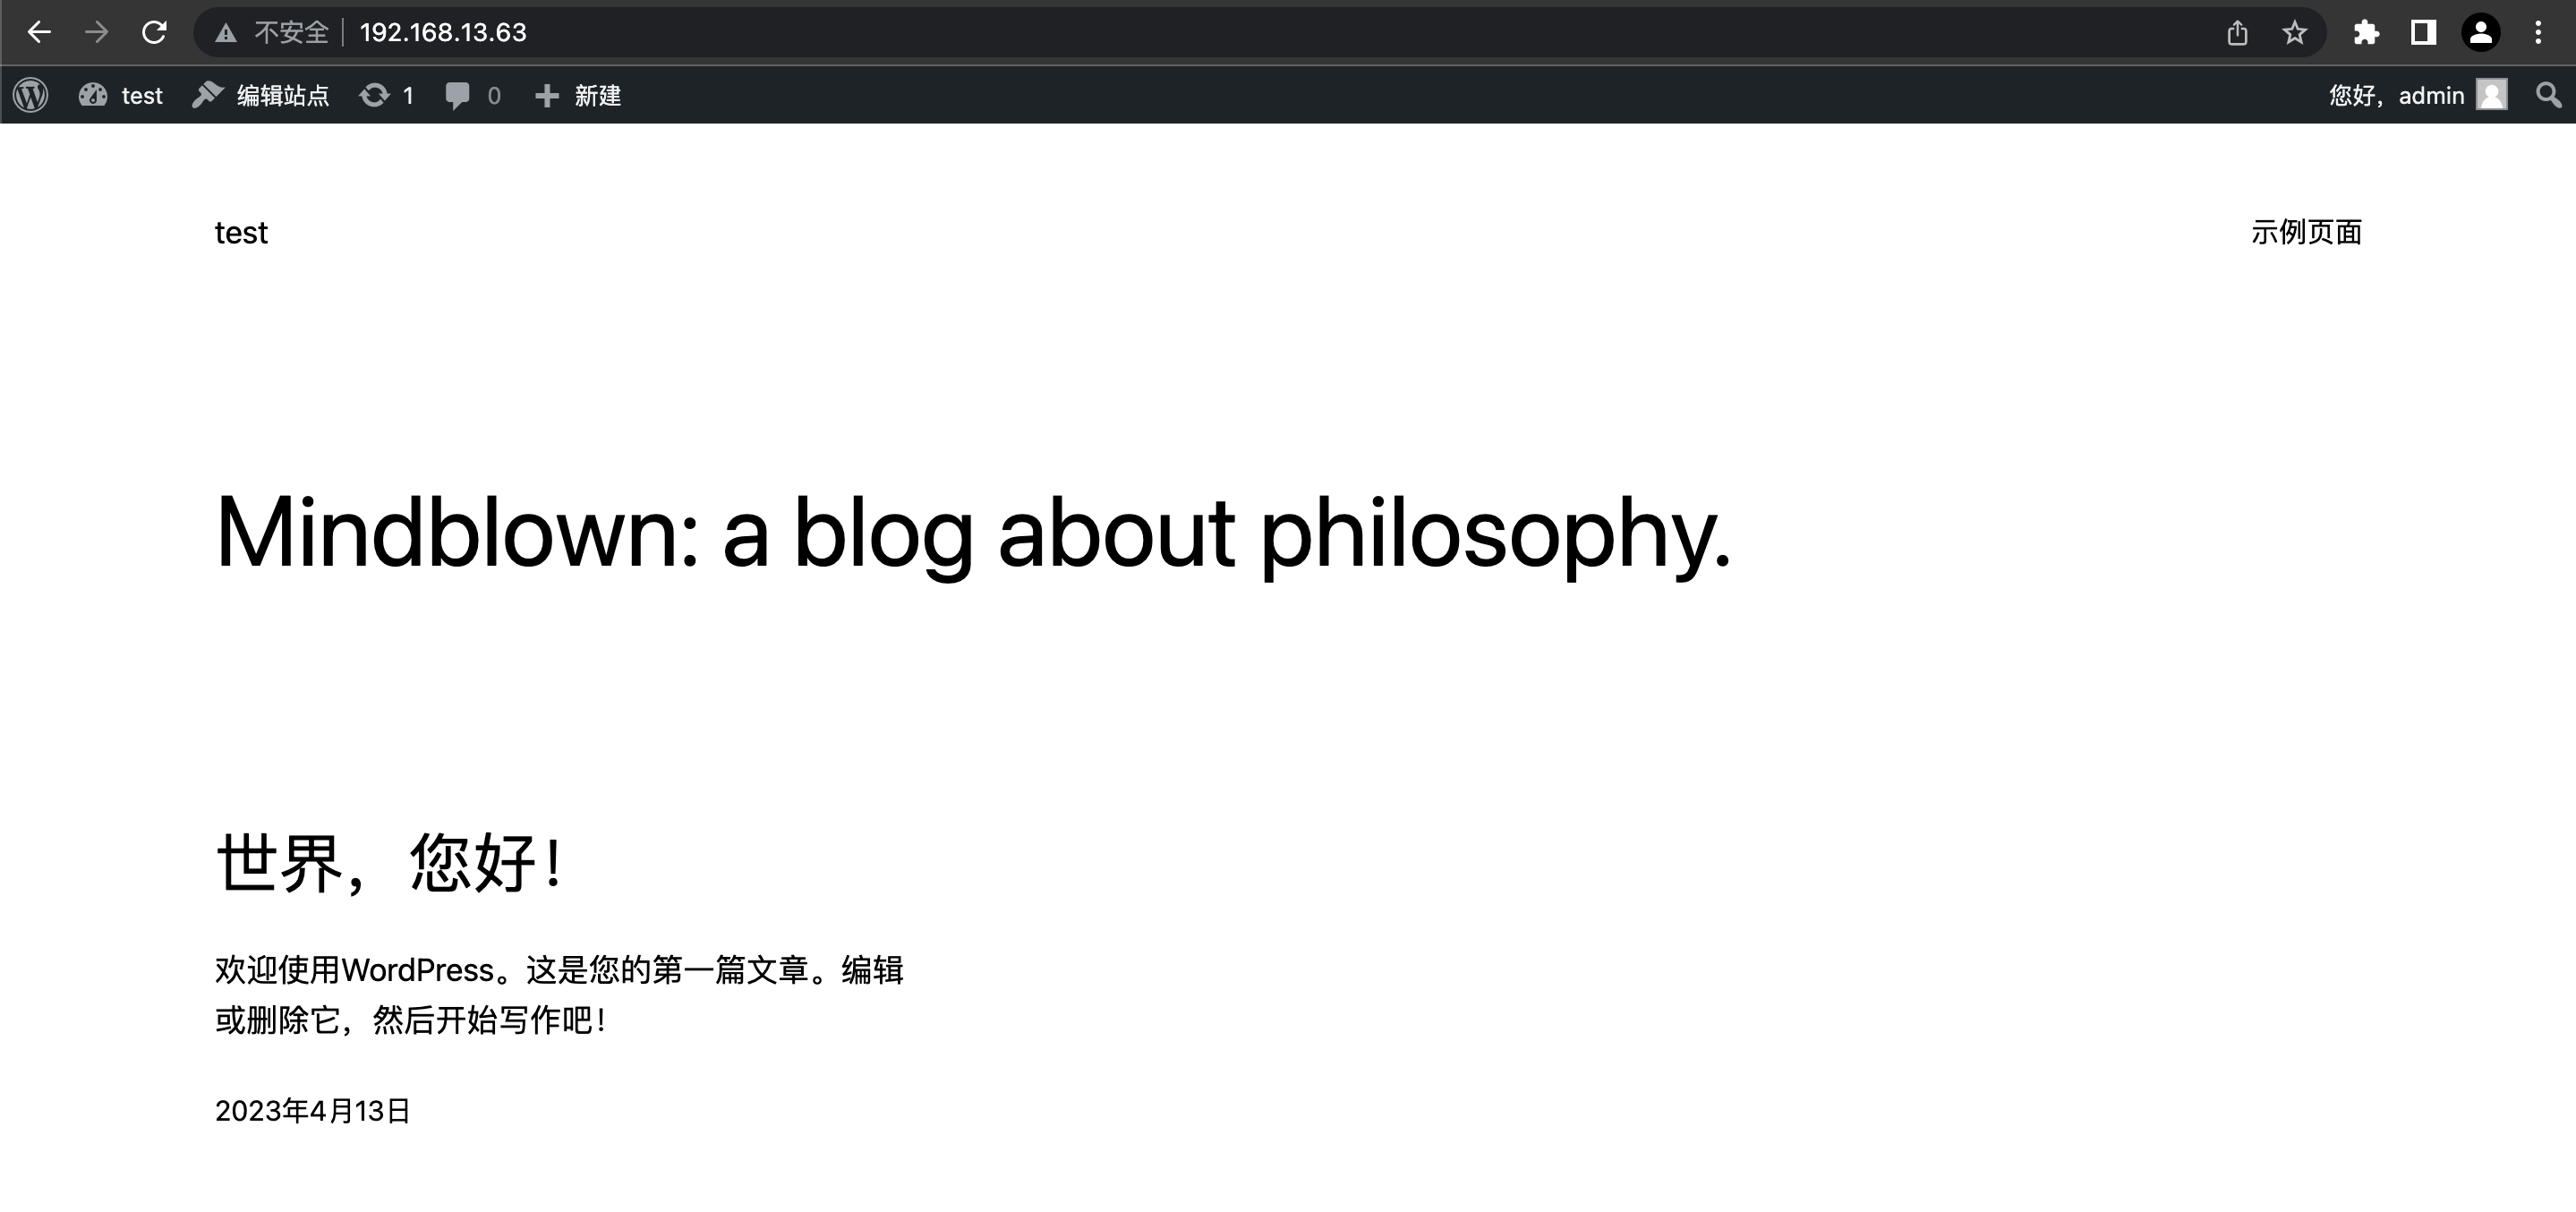
至此通过Nginx+WordPress搭建个人网站系统已然成功,网站搭建不难,难的是后续的运营,希望每个有梦想的朋友在个人网站系统的运营上越走越远。
5、WordPress使用异常处理
- 上传文件失败
修改php.ini ,我的php.ini文件在"/u01/tool/wp/php8/etc" 中,修改以下值
upload_max_filesize = 128M
post_max_size = 128M
max_execution_time = 300
修改nginx限制
client_max_body_size 128M
版权归原作者 全栈行动派 所有, 如有侵权,请联系我们删除。