
本指南将帮助您在 Raspberry Pi 5 上安装 Raspberry Pi AI Kit。这将使您能够使用 Hailo AI 神经网络加速器运行 rpicam-apps 摄像头演示。
如果您在开始安装人工智能套件之前需要帮助,本指南提供了安装过程的分步图片。
安装人工智能套件:https://www.raspberrypi.com/documentation/accessories/ai-kit.html#install
前提条件
本指南需要以下设备:
一台 Raspberry Pi 5
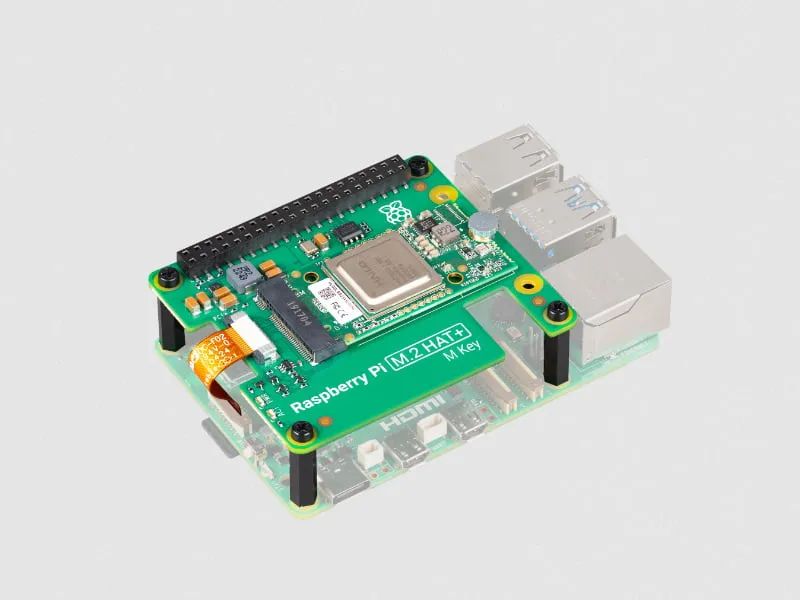
一个 Raspberry Pi AI 套件,其中包括
  一个 M.2 HAT+

  一个预装的 Hailo-8L AI 模块
一个 64 位 Raspberry Pi OS Bookworm 安装包
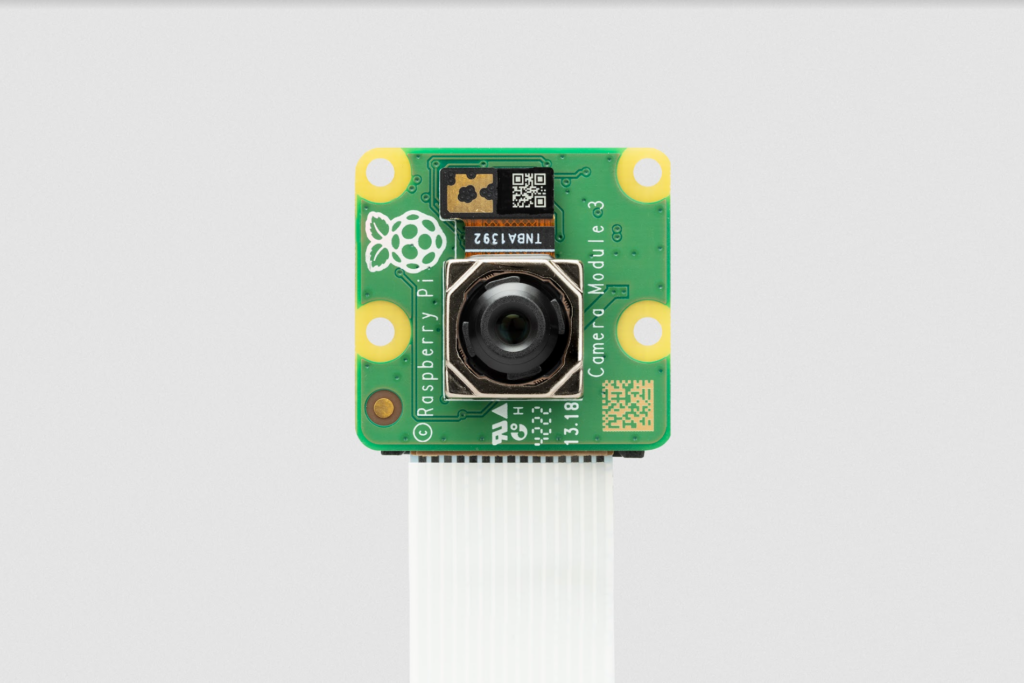
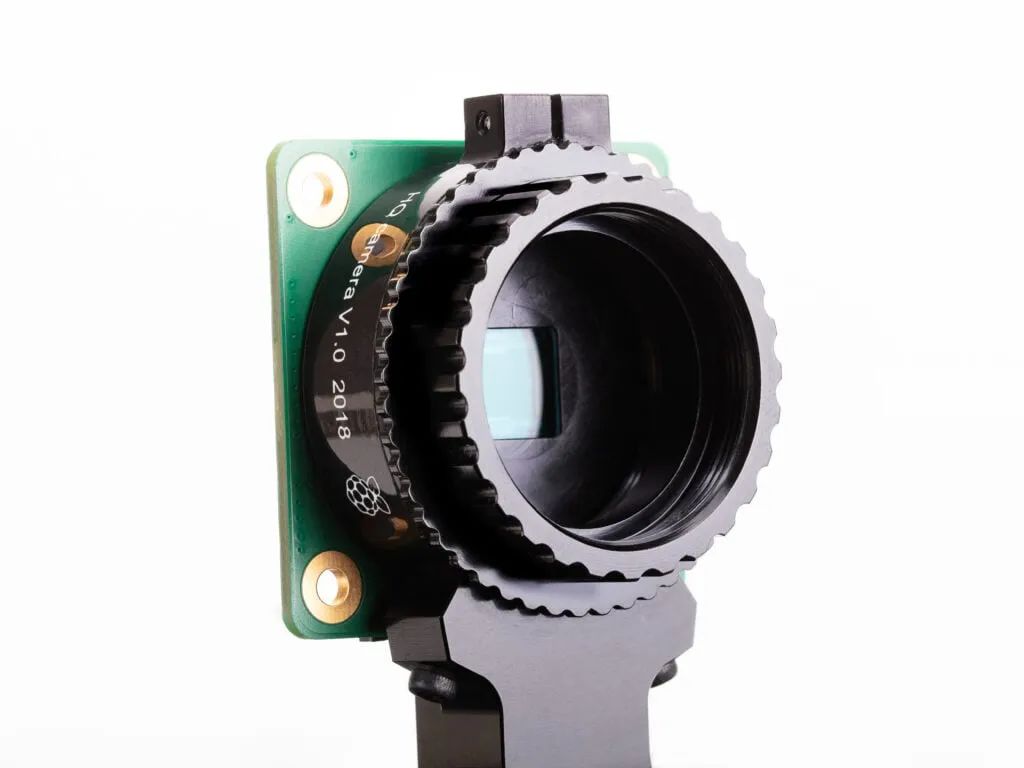
任何 Raspberry Pi 官方摄像头(如摄像头模块 3 或高质量摄像头)
硬件设置
- 按照安装 Raspberry Pi 摄像头的说明,将摄像头安装到 Raspberry Pi 5 板上。您可以跳过将 Raspberry Pi 重新连接到电源的步骤,因为您需要断开 Raspberry Pi 的电源才能进行下一步。
安装 Raspberry Pi 摄像头:https://www.raspberrypi.com/documentation/accessories/camera.html#install-a-raspberry-pi-camera
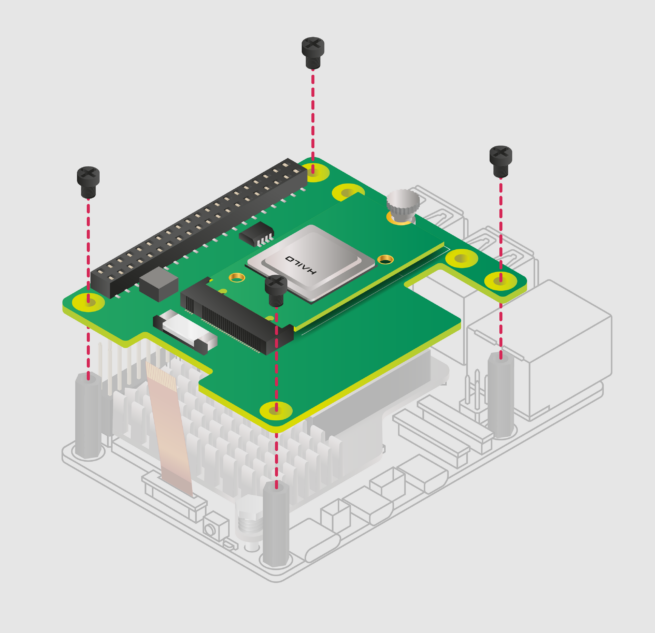
- 按照安装说明将 AI 套件硬件连接到 Raspberry Pi 5。
安装说明:https://www.raspberrypi.com/documentation/accessories/ai-kit.html#ai-kit-installation
- 按照说明启用 PCIe Gen 3.0。这一步是可选的,但强烈建议您这样做,以使您的 AI Kit 获得最佳性能。
PCIe Gen 3.0 启用说明:https://www.raspberrypi.com/documentation/computers/raspberry-pi.html#pcie-gen-3-0
- 安装使用 AI 套件所需的依赖项。在终端窗口运行以下命令
$ sudo apt install hailo-all
这将安装以下依赖项:
- Hailo 内核设备驱动程序和固件
- HailoRT 中间件软件
- Hailo Tappas 核心后处理库
- rpicam-apps Hailo 后处理软件演示阶段
最后,使用 sudo reboot 重启树莓派,使这些设置生效。
为确保一切运行正常,请运行以下命令:
$ hailortcli fw-control identify
如果您看到类似下面的输出,说明您已经成功安装了 AI 工具包及其软件依赖项:
Executing on device: 0000:01:00.0
Identifying board
Control Protocol Version: 2
Firmware Version: 4.17.0 (release,app,extended context switch buffer)
Logger Version: 0
Board Name: Hailo-8
Device Architecture: HAILO8L
Serial Number: HLDDLBB234500054
Part Number: HM21LB1C2LAE
Product Name: HAILO-8L AI ACC M.2 B+M KEY MODULE EXT TMP
此外,还可以运行 dmesg | grep -i hailo 检查内核日志,其输出结果应与下面类似:
[    3.049657] hailo: Init module. driver version 4.17.0
[    3.051983] hailo 0000:01:00.0: Probing on: 1e60:2864...
[    3.051989] hailo 0000:01:00.0: Probing: Allocate memory for device extension, 11600
[    3.052006] hailo 0000:01:00.0: enabling device (0000 -> 0002)
[    3.052011] hailo 0000:01:00.0: Probing: Device enabled
[    3.052028] hailo 0000:01:00.0: Probing: mapped bar 0 - 000000000d8baaf1 16384
[    3.052034] hailo 0000:01:00.0: Probing: mapped bar 2 - 000000009eeaa33c 4096
[    3.052039] hailo 0000:01:00.0: Probing: mapped bar 4 - 00000000b9b3d17d 16384
[    3.052044] hailo 0000:01:00.0: Probing: Force setting max_desc_page_size to 4096 (recommended value is 16384)
[    3.052052] hailo 0000:01:00.0: Probing: Enabled 64 bit dma
[    3.052055] hailo 0000:01:00.0: Probing: Using userspace allocated vdma buffers
[    3.052059] hailo 0000:01:00.0: Disabling ASPM L0s
[    3.052070] hailo 0000:01:00.0: Successfully disabled ASPM L0s
[    3.221043] hailo 0000:01:00.0: Firmware was loaded successfully
[    3.231845] hailo 0000:01:00.0: Probing: Added board 1e60-2864, /dev/hailo0
- 为确保摄像机正常运行,请运行以下命令:
$ rpicam-hello -t 10s
这将启动摄像机并显示十秒钟的预览窗口。确认一切安装正确后,就可以运行一些演示了。
演示 Demo:https://www.raspberrypi.com/documentation/accessories/ai-kit.html#demos
版权归原作者 上海晶珩EDATEC 所有, 如有侵权,请联系我们删除。