
一.简介
1.wangEditor:是一款轻量级 web 富文本编辑器,配置方便,使用简单,开源免费,几行代码即可生成。集成了所有常见功能,无需二次开发。
2.富文本:不止包含文字,还包含图片、表情、字体、表格、超链接、音频等内容的文本编辑器
二.整合步骤
1.配置环境
2.Vue前端整合编辑器
3.后端解决跨域问题
4.配置好图片上传地址
注:富文本就是把资源全部转成html的格式,其中图片等大文件保存,WangEditor提供了两种方式—— 1.一种是直接转码成Base64的格式保存,优点是减少服务器访问次数,解码简单操作简单,但是缺点是会导致文本内容较多,存在数据库中会增加数据库压力,体验不是很好。2.另一种方法是将图片上传是云服务器,好处是分担服务器的负载,数据库只需保存图片等url地址,减小数据库等压力。我采用的是第二种方式,使用springboot模拟云服务器。
5.将编辑器的数据上传给后端并保存在数据库
6.回显
三.实际操作
1.环境配置
npm 安装
npm i wangeditor --save
import E from 'wangeditor'
const editor = new E('#div1')
// 或者 const editor = new E( document.getElementById('div1') )
editor.create()
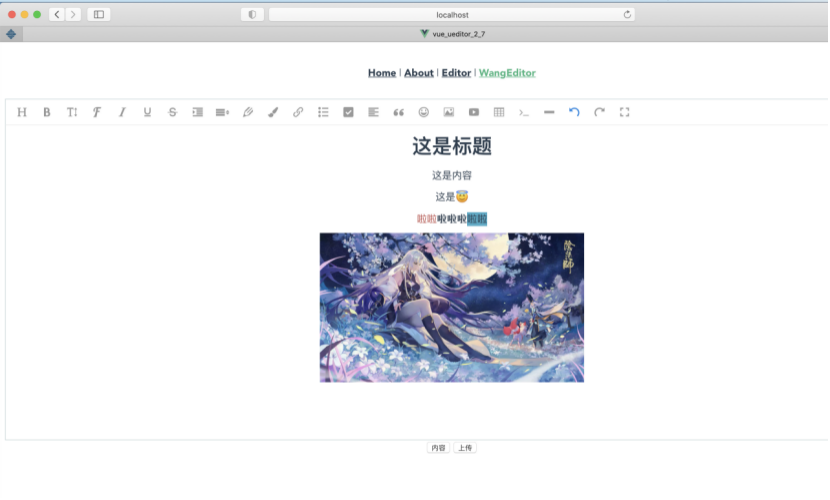
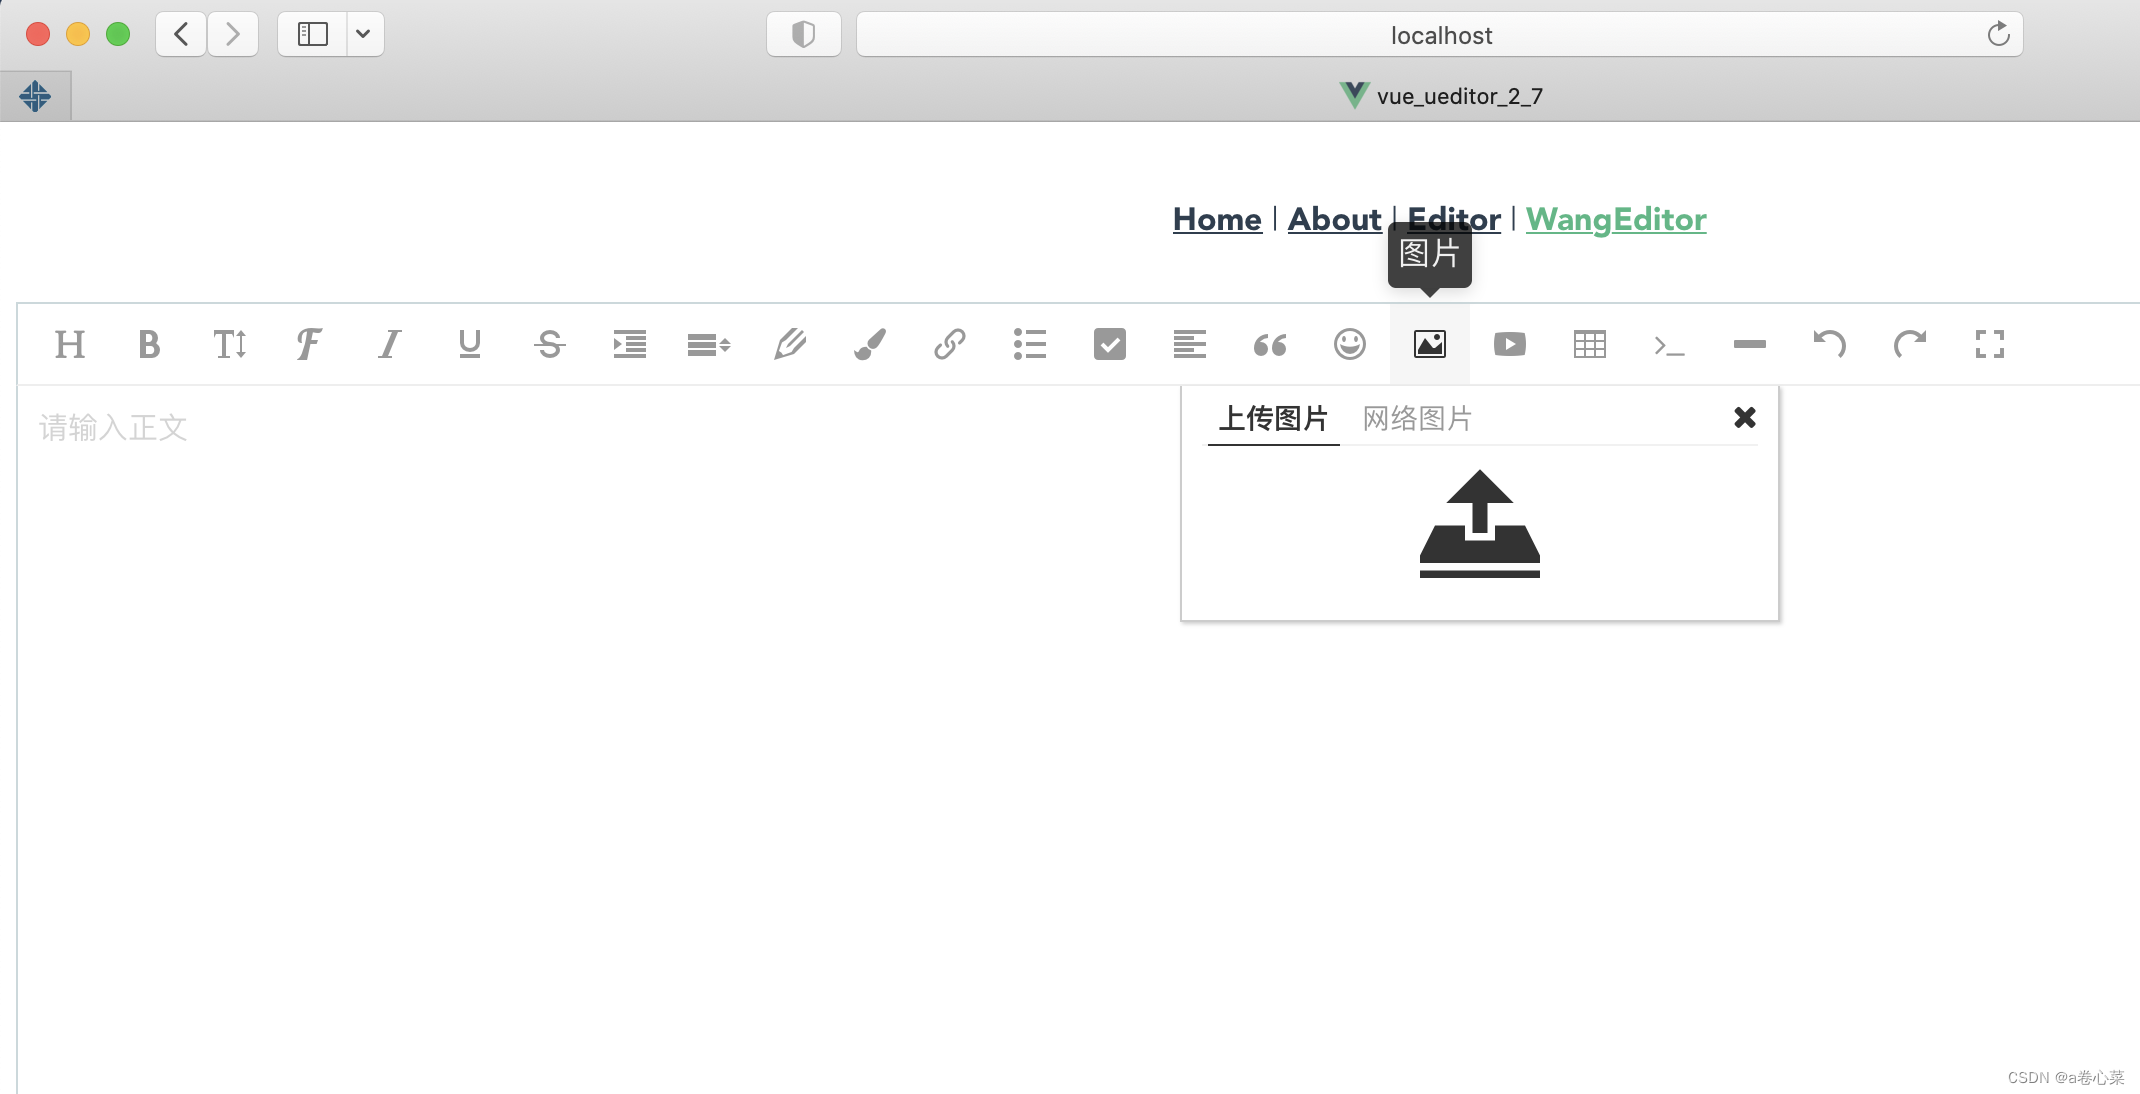
2.Vue前端整合编辑器
tempalet里面是样式(就这么短,一个div就没了)
script里面是向后端提交数据的操作
<template>
  <div>
    <div  id="editor" style="width: 100%;" ></div>
    <button type="button" @click="ShowContent" >内容</button>
    <button type="button" @click="UploaderByAxios">上传</button>
  </div>
</template>
<script>
import E from "wangeditor"

export default {
  data() {
    return {
      editor: '',
      msg : {
        msg:""
      }
    }
  },
  methods: {
    setWangEditor() {
      // 创建编辑器
      this.editor = new E('#editor')
      this.editor.config.height= 500
      // 配置 onchange 回调函数
      this.editor.config.onchange = function (newHtml) {
        console.log("change 之后最新的 html", newHtml);
      };
      // 配置触发 onchange 的时间频率,默认为 200ms
      this.editor.config.onchangeTimeout = 500; // 修改为 500ms
      // 插入网络图片的回调
      this.editor.config.linkImgCallback = function (src) {
        console.log('图片 src ', src)
        //console.log('图片文字说明',alt)
        //console.log('跳转链接',href)
      }
      // 自定义检查插入视频的回调
      this.editor.config.onlineVideoCallback = function (video) {
        // 自定义回调内容,内容成功插入后会执行该函数
        console.log('插入视频内容', video)
      }
      //关闭样式过滤
      this.editor.config.pasteFilterStyle = false
      // 配置 server 接口地址
      this.editor.config.uploadImgServer = 'http://localhost:8181/uploadImg'
      this.editor.config.withCredentials = true
      this.editor.config.uploadFileName = 'myFileName'
      this.editor.config.uploadImgMaxSize = 5 * 1024 * 1024 //最大上传5M的图片
      this.editor.config.uploadImgMaxLength = 1 // 一次最多上传 1 个图片
      this.editor.config.uploadImgHooks = {
        customInsert: function (insertImg, result, editor) {
          //console.log(result.data)
          var url = result.data.url;//获取后台返回的url
          insertImg(url);
        }
      };
      //this.editor.config.uploadImgShowBase64 = true
      // 配置alt选项
      this.editor.config.showLinkImgAlt = false
      // 配置图片超链接
      this.editor.config.showLinkImgHref = false
      this.editor.create()
    },
    ShowContent(){
      alert(this.editor.txt.html() )
      //alert(this.editor.txt.text())
    },
    UploaderByAxios(){
      const _this = this;
      this.msg.msg = this.editor.txt.html()
      alert(_this.msg.msg)
      axios.post('http://localhost:8181/uploadHtml',_this.msg ).then(function (resp){
        //console.log(resp.data)
        alert(resp.data);
      })
      // axios.get('http://localhost:8181/uploadImg?html'+ _this.msg.Html ).then(function (resp){
      //   console.log(resp.data)
      //   // _this.tableData = resp.data.tableData
      //   // _this.total = resp.data.total
      // })
    }
  },
  // <!--created 在模板渲染成html前调用,即通常初始化某些属性值,然后再渲染成视图-->
  // <!--mounted在模板渲染成html后调用,通常是初始化页面完成后,再对html的dom节点进行一些需要的操作。-->
  mounted() {
    this.setWangEditor()
  }
}
</script>

<style scoped>

</style>
3.后端解决跨域问题
解决跨域问题
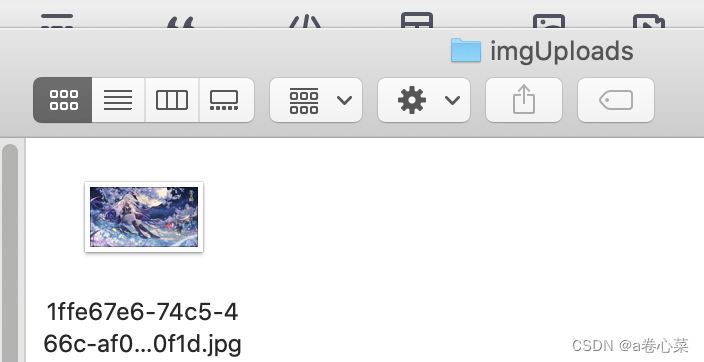
4.配置好图片上传地址
接收vue传来的图片保存在本地,并返回图片的url(下面两段代表里面的路径要改,改成图片存放的路径)
//WangEditor上传图片
    @RequestMapping(value = "/uploadImg", method = RequestMethod.POST)
    @ResponseBody
    public Map<String, Object> uploadImg(@RequestParam(value="myFileName") MultipartFile file, HttpServletRequest request) {
        String separator = System.getProperty("file.separator");
        separator=separator.replaceAll("\\\\","/");
        String basePath = request.getScheme() + "://" + request.getServerName() + ":" + request.getServerPort() +    request.getContextPath()+ separator; //获取项目路径+端口号 比如:http://localhost:8181/
        try {
            String filePath="";
            //获取源文件
            filePath="/Users/huangjw/Documents/imgUploads/" ;//存储地址,此处也可以在application.yml中配置对象用@Value("${*.**}")注解注入内容
            String filename = file.getOriginalFilename();//获取图片名
            String[] names=filename.split("\\.");//获取后缀格式
            String uploadFileName=UUID.randomUUID().toString()+"."+names[names.length-1];//生成新图片
            File targetFile = new File(filePath,uploadFileName);//目标文件
            if (!targetFile.getParentFile().exists()){
                targetFile.getParentFile().mkdirs();
            }
            //传图片一步到位
            file.transferTo(targetFile);
            Map<String, Object> map = new HashMap<String, Object>();
            Map<String, String> data = new HashMap<>();
            data.put("url",basePath+"imgUploads/"+uploadFileName);//这里应该是项目路径,返回前台url
            data.put("alt",null);
            data.put("href",null);
            map.put("errno",0);
            map.put("data",data);
            //System.out.println(map.get("data"));
            return map;
        } catch (Exception e) {
            // TODO Auto-generated catch block
            e.printStackTrace();
            return  null;
        }
    }
配置文件,通过url访问本地的图片
import org.springframework.context.annotation.Configuration;
import org.springframework.web.servlet.config.annotation.ResourceHandlerRegistry;
import org.springframework.web.servlet.config.annotation.WebMvcConfigurerAdapter;

@Configuration
public class MyWebMvcConfigurerAdapter extends WebMvcConfigurerAdapter {
    @Override
    public void addResourceHandlers(ResourceHandlerRegistry registry){
        //指向外部目录
        registry.addResourceHandler("imgUploads/**").addResourceLocations("file:/Users/huangjw/Documents/imgUploads/");
        super.addResourceHandlers(registry);
    }
}
5.将编辑器的数据上传给后端并保存在数据库
这个很简单,数据就是html,存在数据库就行
//上传WangEditor数据
    @RequestMapping(value = "/uploadHtml", method = RequestMethod.POST)
    @ResponseBody
    public String  uploadHtml(@RequestBody Msg msg){
        EditorTest e = new EditorTest();
        e.setContent( msg.getMsg().toString());
        e.setId(1);
        editorTestService.insertSelective(e);
        return "success";
    }
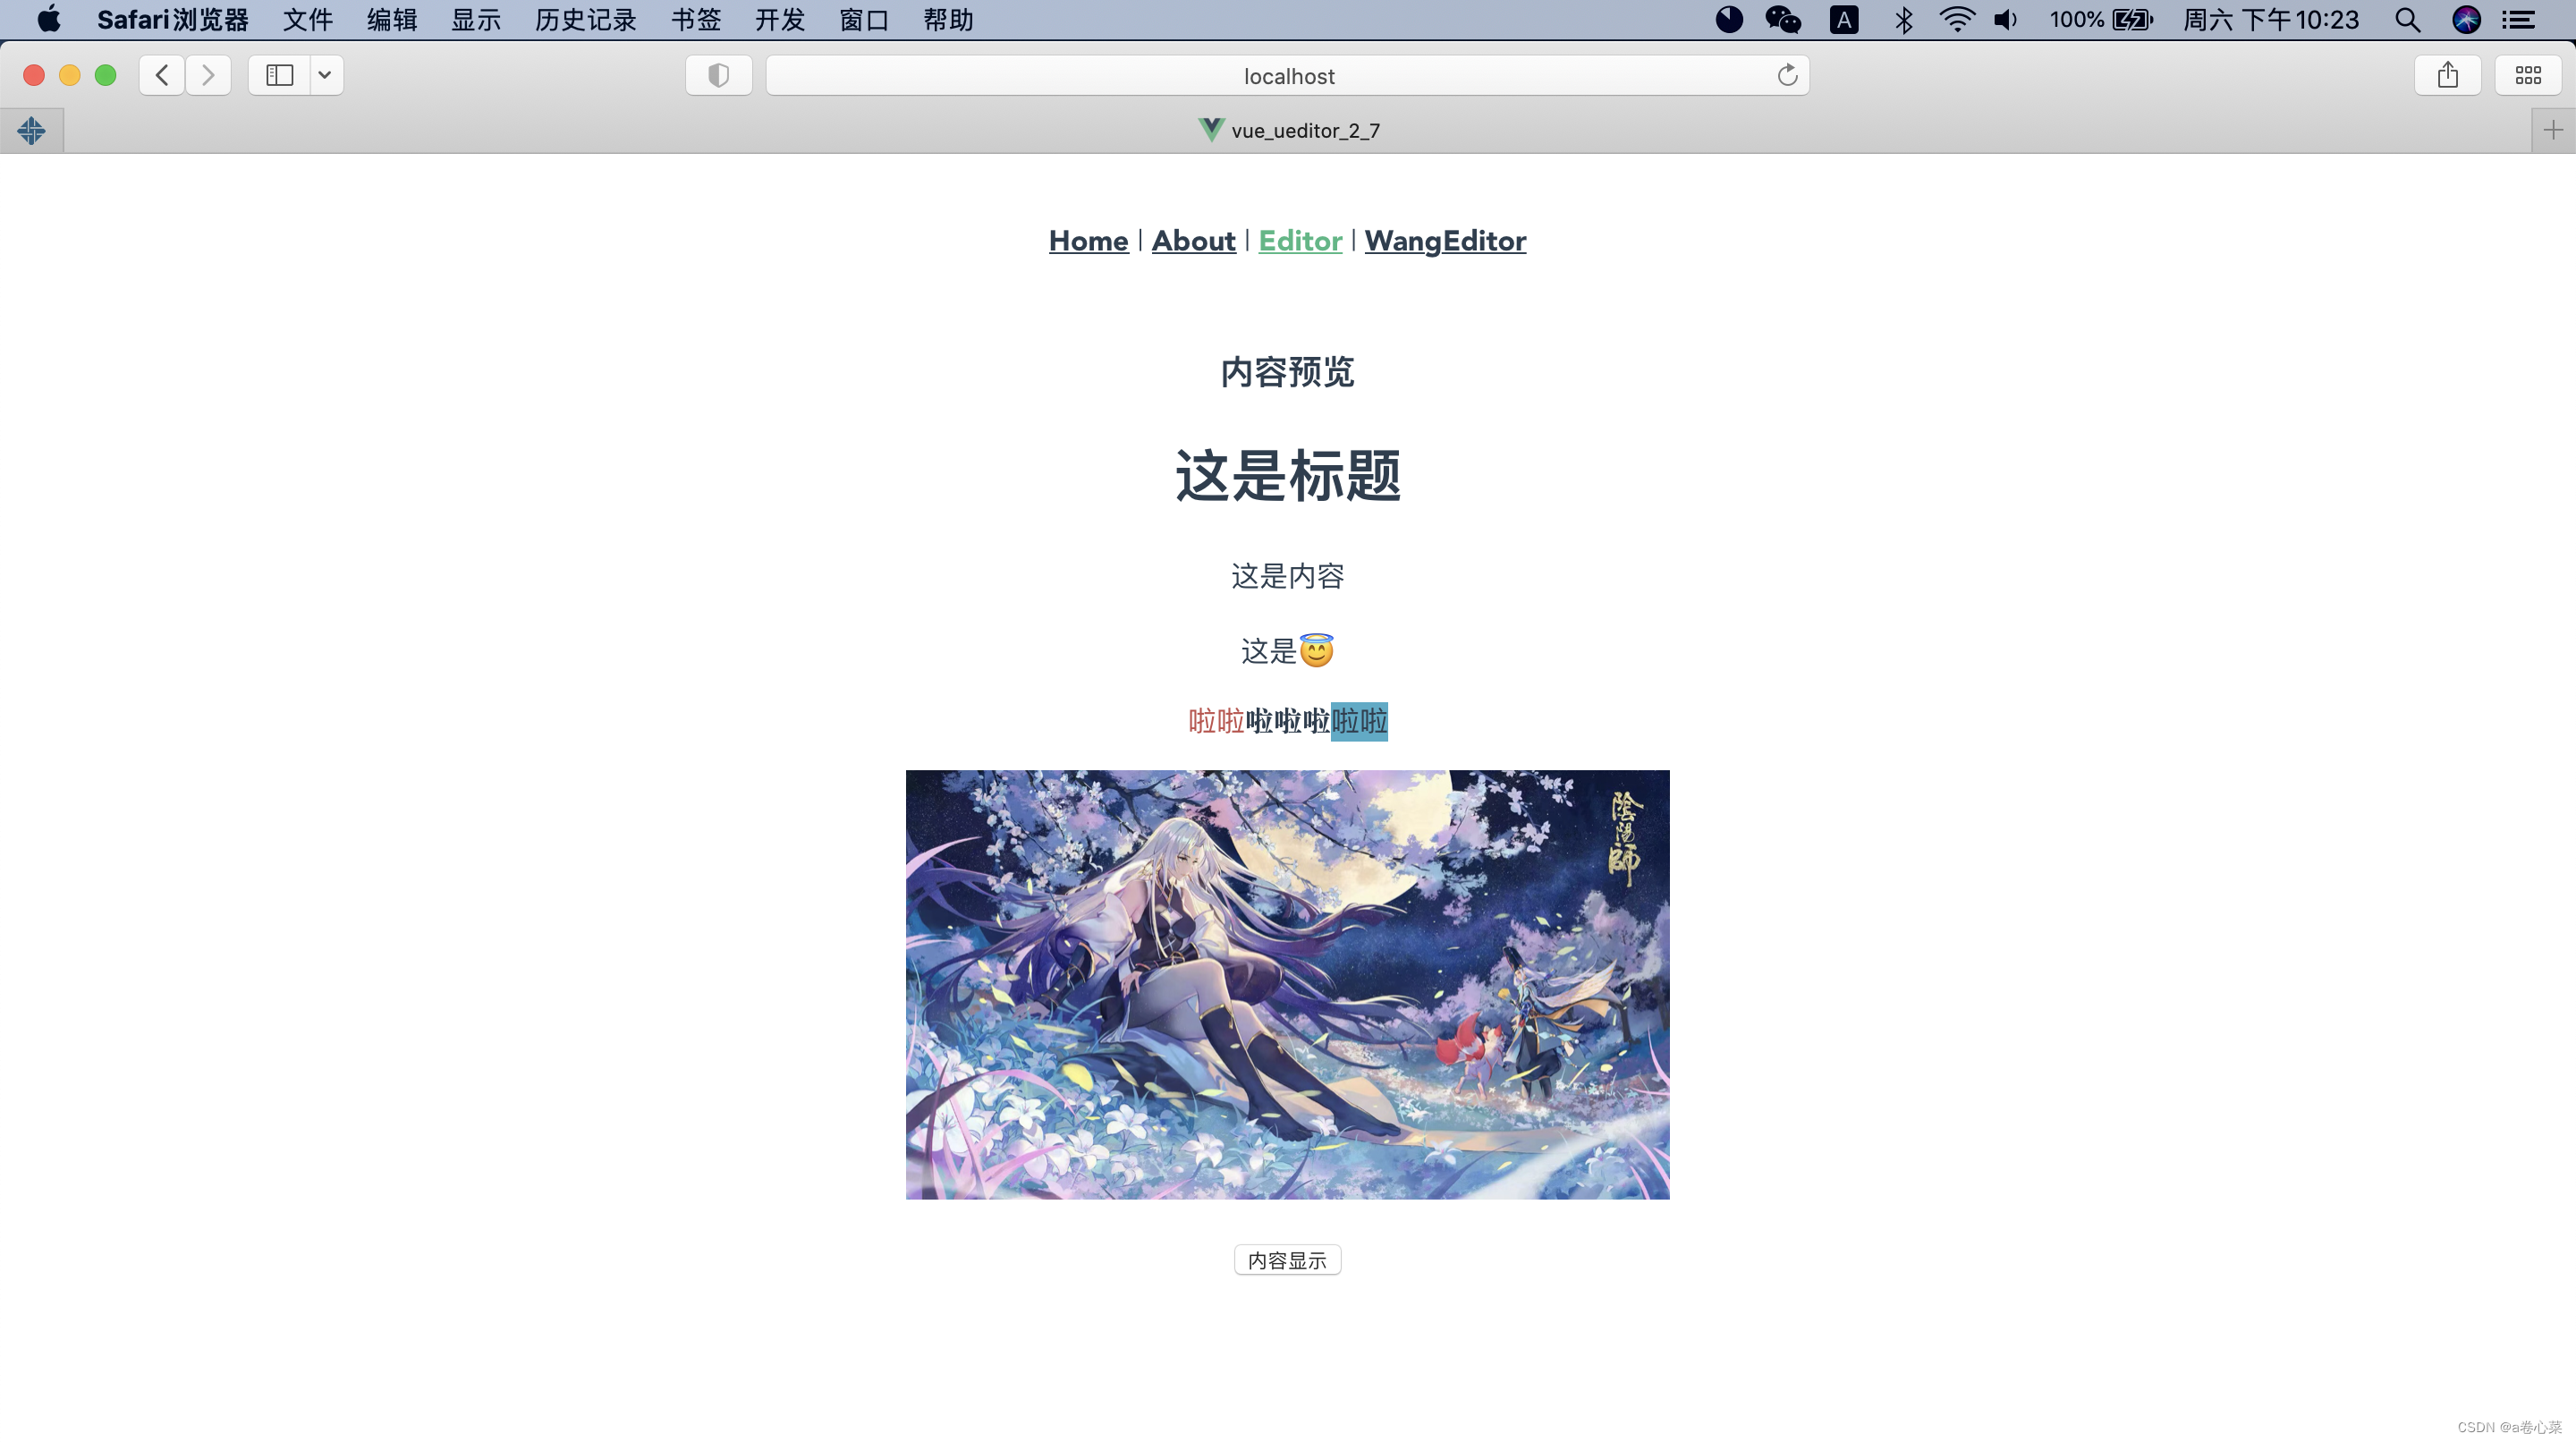
6.回显
这个也比较简单,vue请求,然后v-html绑定数据就行
<template>
  <div>
    <h3>内容预览</h3>
<!--    <textarea  id=""   v-html="editorData"></textarea>-->
    <div v-html="editorData"></div>
<!--    cols="170" rows="20"-->
    <button type="button" @click="ShowEditor">内容显示</button>
  </div>
</template>

<script>
//引用
import E from "wangeditor";
export default {
  data() {
    return {
      editorData: ""
    }
  },
  methods:{
    ShowEditor(){
      const _this = this;
      axios.get('http://localhost:8181/getHtml').then(function (resp){
        console.log(resp.data)
        _this.editorData = resp.data;
        // _this.tableData = resp.data.tableData
        // _this.total = resp.data.total
      })
    }
  },
  mounted() {
    //初始化

  }
}
</script>
接收请求,然后返回数据
@RequestMapping(value = "getHtml",method = RequestMethod.GET)
    public Object getHtml(){
        EditorTest e = editorTestService.selectByPrimaryKey(1);
        return e.getContent();
    }
本文转载自: https://blog.csdn.net/I_am_a_caiji/article/details/125120162
版权归原作者 a卷心菜 所有, 如有侵权,请联系我们删除。
版权归原作者 a卷心菜 所有, 如有侵权,请联系我们删除。