docker compose安装skywalking
以下是我使用的es以及skywalking版本
version: '3.8'
services:
  elasticsearch:
    image: docker.elastic.co/elasticsearch/elasticsearch-oss:8.1.0
    container_name: elasticsearch
    ports:
      - "9200:9200"
    healthcheck:
      test: [ "CMD-SHELL", "curl --silent --fail localhost:9200/_cluster/health || exit 1" ]
      interval: 30s
      timeout: 10s
      retries: 3
      start_period: 10s
    environment:
      - discovery.type=single-node
      - bootstrap.memory_lock=true
      - "ES_JAVA_OPTS=-Xms512m -Xmx512m"
    ulimits:
      memlock:
        soft: -1
        hard: -1

  oap:
    image: apache/skywalking-oap-server:9.7.0
    container_name: oap
    depends_on:
      elasticsearch:
        condition: service_healthy
    links:
      - elasticsearch
    ports:
      - "11800:11800"
      - "12800:12800"
    healthcheck:
      test: [ "CMD-SHELL", "/skywalking/bin/swctl ch" ]
      interval: 30s
      timeout: 10s
      retries: 3
      start_period: 10s
    environment:
      SW_STORAGE: elasticsearch
      SW_STORAGE_ES_CLUSTER_NODES: elasticsearch:9200
      SW_HEALTH_CHECKER: default
      SW_TELEMETRY: prometheus
      JAVA_OPTS: "-Xms2048m -Xmx2048m"

  ui:
    image: apache/skywalking-ui:9.7.0
    container_name: ui
    depends_on:
      oap:
        condition: service_healthy
    links:
      - oap
    ports:
      - "8080:8080"
    environment:
      SW_OAP_ADDRESS: http://oap:12800
直接命令 docker compose up -d
等待安装并启动完成, 查看是否正常运行(这里注意: ES的版本和skywalking如果不适配要去官网看适配的版本)
docker compose ps 展示up就行了
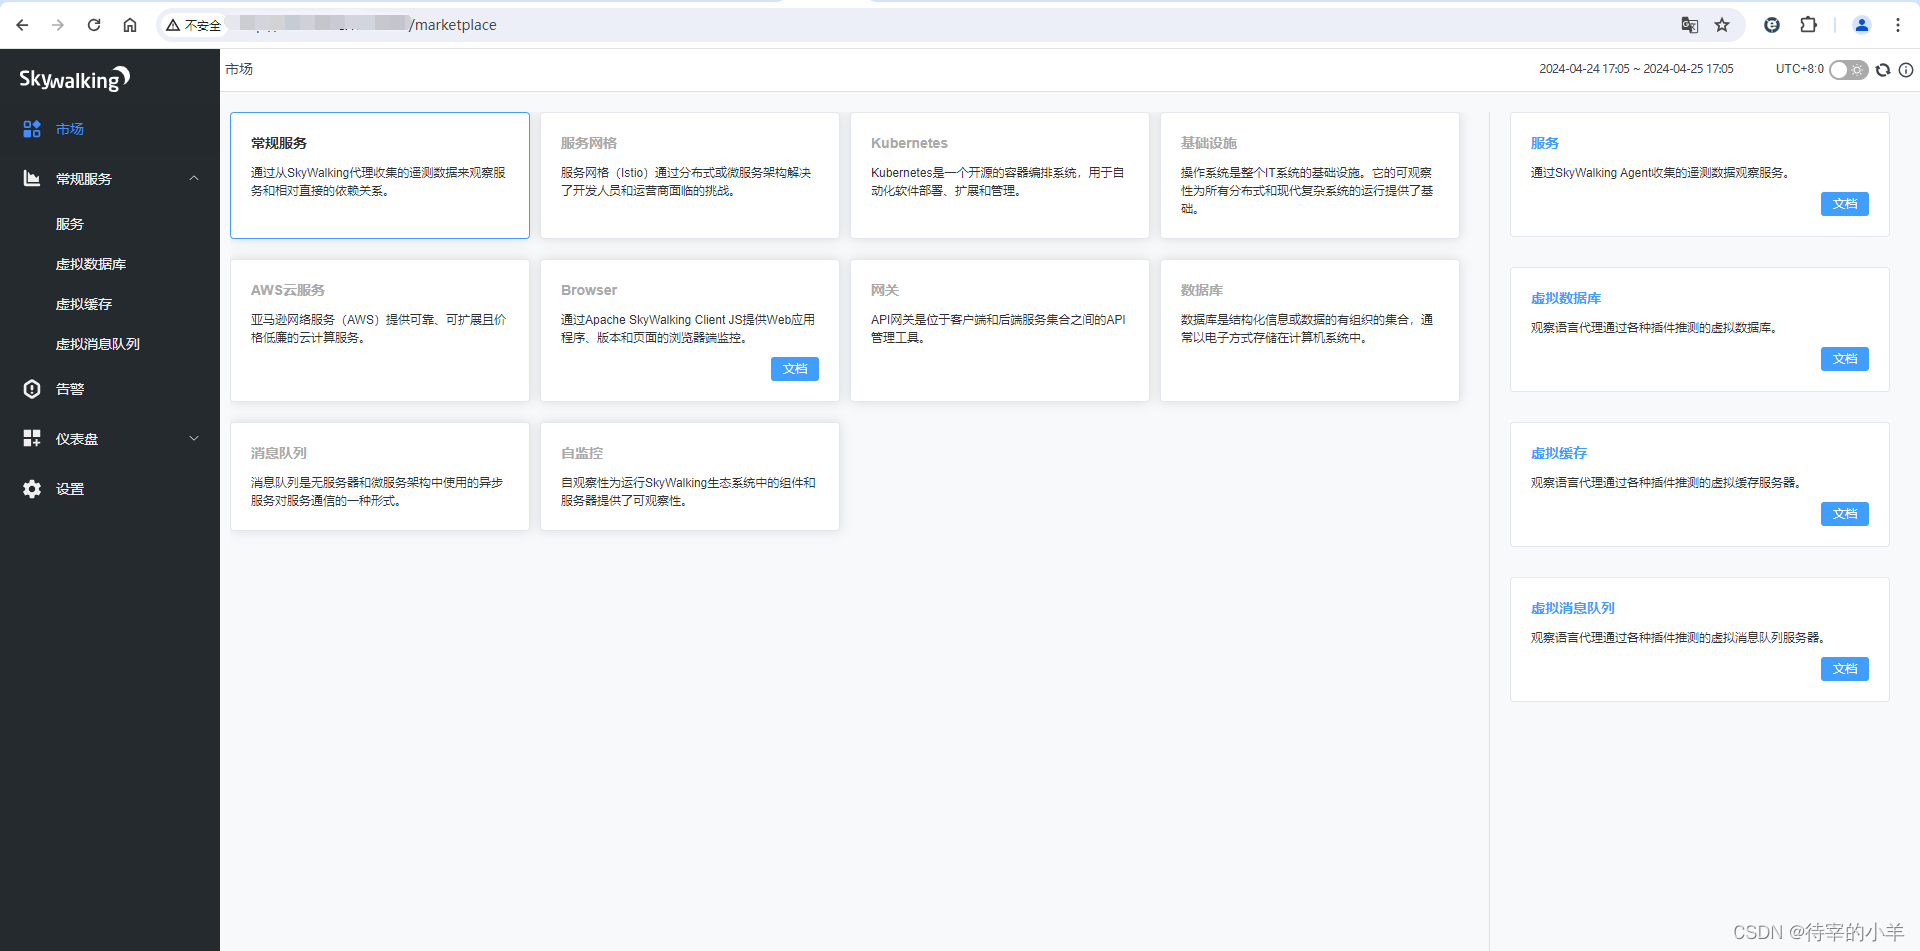
再直接访问ui界面 如下就行, UI启动比较慢, 可能要等几分钟才能访问
到这里skywalking就安装好了.
项目集成skywalking探针
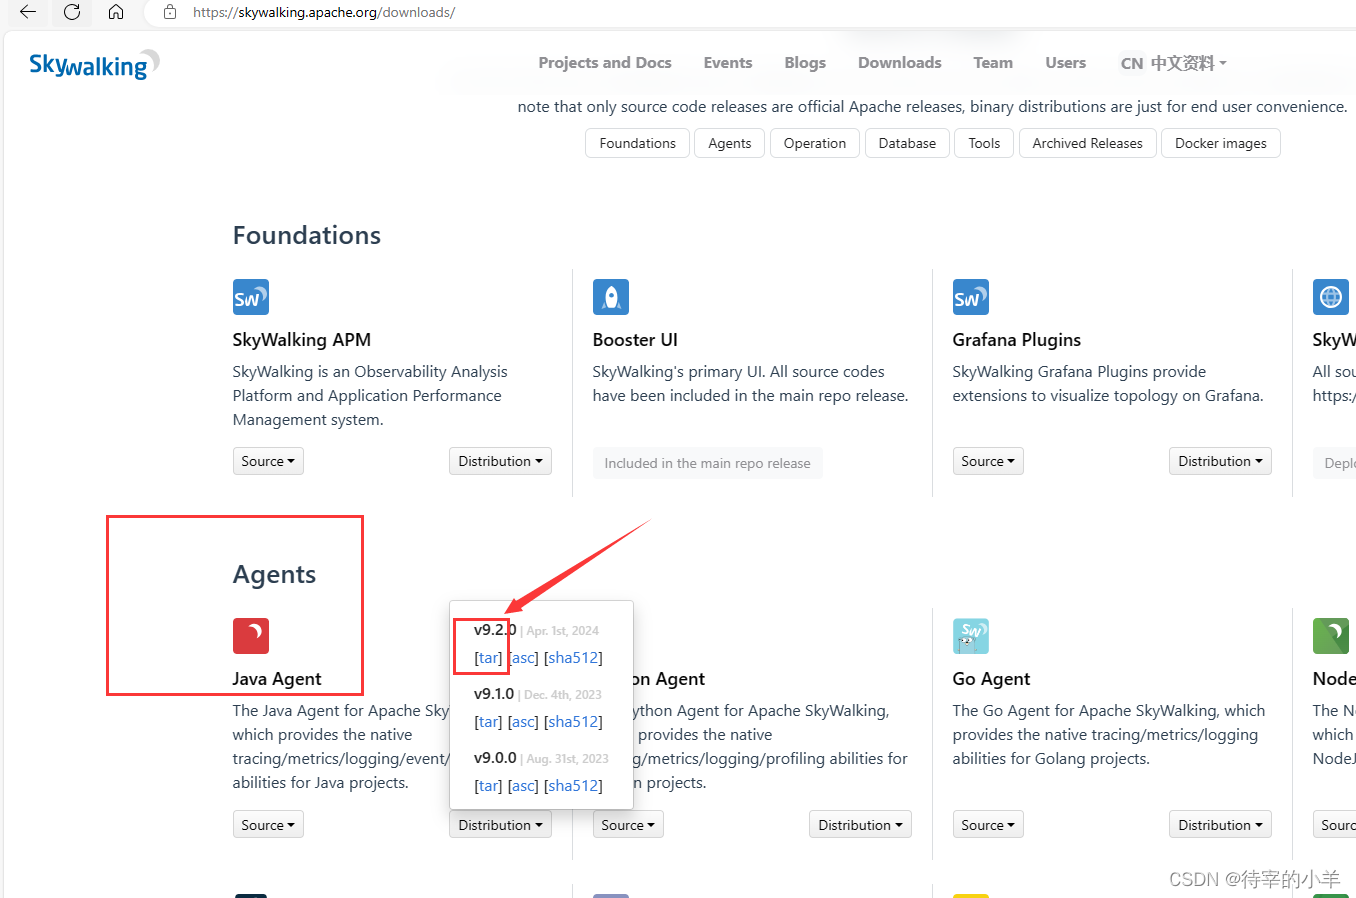
先去官网下载探针: 官网探针

进入到解压目录下面config目录的agent.config文件
将127.0.0.1:11800改为你自己skywalking服务的ip地址
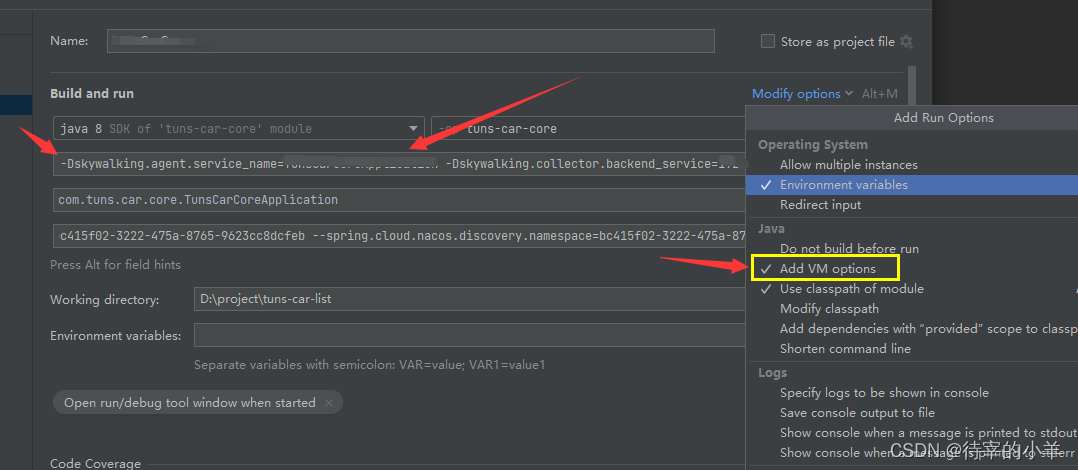
项目启动在vm加入
-javaagent:D:\agent\skywalking-agent\skywalking-agent.jar(探针解压目录)
-Dskywalking.agent.service_name=项目名称
-Dskywalking.collector.backend_service=skywalking部署地址:11800
项目pom.xml文件依赖加入
<!--            项目日志的记录-->
        <dependency>
            <groupId>org.apac
版权归原作者 待宰的小羊 所有, 如有侵权,请联系我们删除。