综合实验:网站访问日志采集、处理及分析
实验步骤
注:截图必须使用实验机的带水印截图功能,题目中要求截图但未提供的视为未做
一、使用Flume导入日志数据
数据文件下载地址:
wget"http://10.90.3.2/files/web_log/xaa.log"wget"http://10.90.3.2/files/web_log/xab.log"wget"http://10.90.3.2/files/web_log/xac.log"
新建一个待监控的文件夹,放入三个日志文件我这里是lhx
1、(代码)创建flume配置,文件内容及部分属性注释(注意路径):
# Name the components on this agent
a1.sources = r1
a1.sinks = k1
a1.channels = c1

# 定义源: spooldir
a1.sources.r1.type = spooldir
# 指定监控目录(本地路径)
a1.sources.r1.spoolDir = /home/ubuntu/lhx
a1.sources.r1.decodeErrorPolicy = IGNORE

# Describe the sink(hdfs路径)
a1.sinks.k1.type = hdfs
a1.sinks.k1.hdfs.path =  /flume/2015070214/
a1.sinks.k1.hdfs.fileType = DataStream
a1.sinks.k1.hdfs.useLocalTimeStamp = true
a1.sinks.k1.hdfs.rollSize = 0
a1.sinks.k1.hdfs.rollCount = 0

# Use a channel which buffers events in memory
a1.channels.c1.type = memory

# Bind the source and sink to the channel
a1.sources.r1.channels = c1
a1.sinks.k1.channel = c1
2、(截图)运行flume配置的命令(运行前需启动hadoop):
cd /opt/hadoop/sbin
hadoop namenode -format
./start-all.sh
3、(截图)日志导入到hdfs后,查看hdfs目录内容:
flume-ng agent -f /home/ubuntu/flume.conf -n a1
4、(截图)选取一个文件查看前几条内容:
hdfs -dfs -cat /flume/2015070214/ |head -10
二、使用MapReduce对日志数据进行预处理
1、(代码)map和reduce文件:
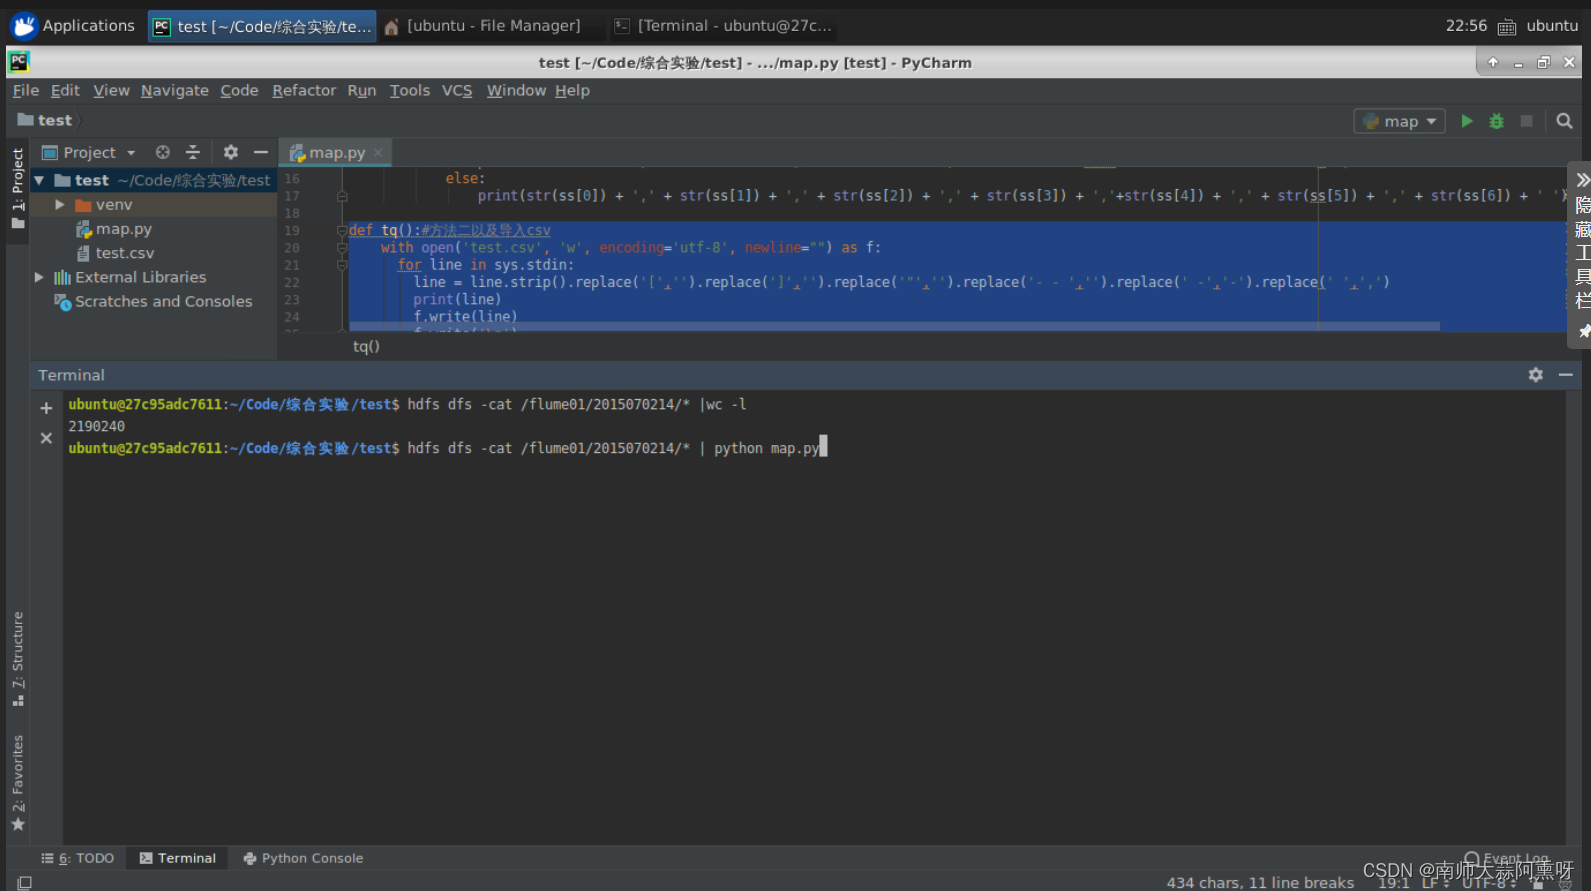
deftq():#方法一以及导入csv 建议pycharm使用withopen('test.csv','w', encoding='utf-8', newline="")as f:for line in sys.stdin:
        line = line.strip().replace('[','').replace(']','').replace('"','').replace('- - ','').replace(' -','-').replace(' ',',')print(line)
        f.write(line)
        f.write('\n')
tq()#查看- 测试#hdfs dfs -cat /flume/2015070214/* |wc -l #直接执行#hdfs dfs -cat /flume/2015070214/* | python map.py
deftq():#方法二,hdfs上传完成后,hdfs dfs -cat 路径 | > csvfor line in sys.stdin:
        line = line.strip().replace('[','').replace(']','').replace('"','').replace('- - ','').replace(' -','-').replace(' ',',')print(line)
tq()
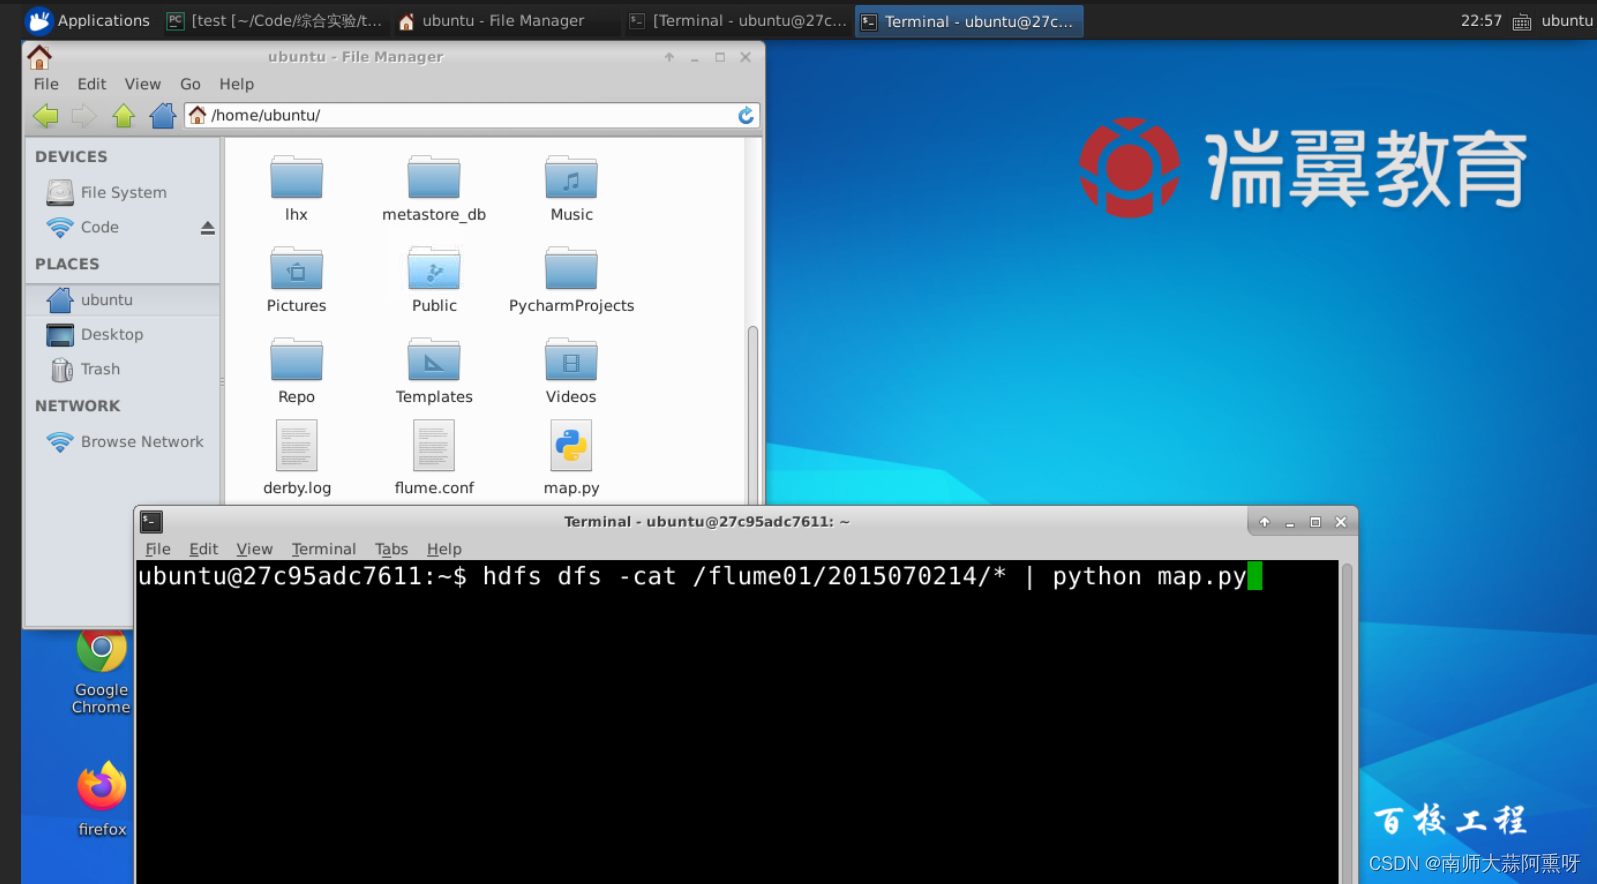
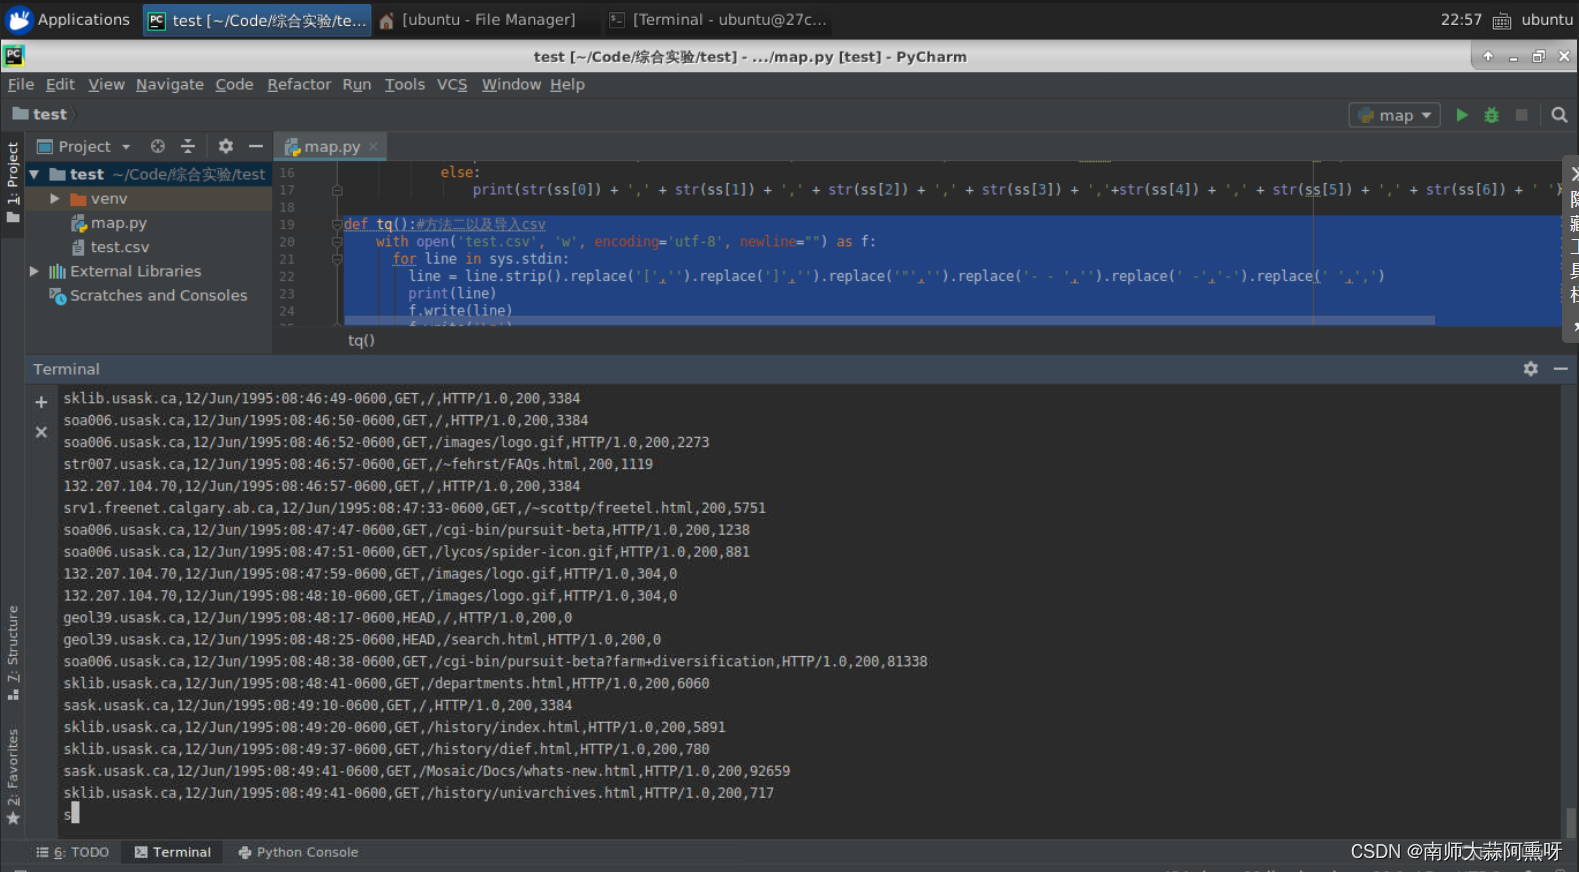
2、(截图)用hadoop-streaming运行MapReduce的命令、及运行时的部分截图:
hdfs dfs -cat/flume/2015070214/*| python map.py

导入csv(方法二必看)
hdfs dfs -cat/flume/2015070214/*| python map.py | >test.csv

3、(截图)查看几条产出的数据记录截图:

版权归原作者 南师大蒜阿熏呀 所有, 如有侵权,请联系我们删除。