1.查看系统环境
[root@localhost ~]# lsb_release -d

[root@localhost ~]# uname -r

2.查看ssh 版本号
[root@localhost ~]# ssh -V

注意事项:
1、在升级过程中务必确保当前使用远程工具所连接的ssh会话不断开,如不能保证会话不断开请务必安装telnet服务,使用telnet来替代ssh会话连接服务器后操作升级,由于本例有本地kvm权限故未配置telnet服务升级,telnet安装故略过。
2、启动编译后的sshd服务请勿使用restart重启,直接启动即可
3.yum安装gcc依赖
[root@localhost ~]# rpm -qa |grep gcc #/.查看当前安装的gcc版本

[root@localhost ~]# yum -y install gcc #/.安装gcc依赖
[root@localhost ~]# rpm -qa |grep gcc #/.查看是否安装成功

4.yum安装zlib依赖
[root@localhost ~]# rpm -qa zlib #/.查看当前安装的zlib版本

[root@localhost ~]# yum -y install zlib-devel #/.安装zlib-devel依赖
[root@localhost ~]# rpm -qa zlib* #/.查看是否安装成功

5.编译安装Openssl
[root@localhost ~]# tar -zxvf openssl-3.3.0.tar.gz #/.将tar包解压缩
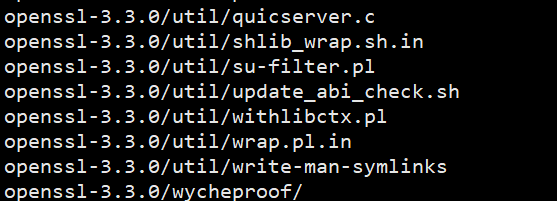
[root@localhost ~]# cd openssl-3.3.0 #/.切换到解压完成的路径、
[root@localhost openssl-3.3.0]# ./config --prefix=/usr/local/openssl #/.指定路径,发现会报错

[root@localhost openssl-3.3.0]# yum install perl-IPC-Cmd #/.下载插件解决报错

[root@localhost openssl-3.3.0]# ./config --prefix=/usr/local/openssl #/.再次执行
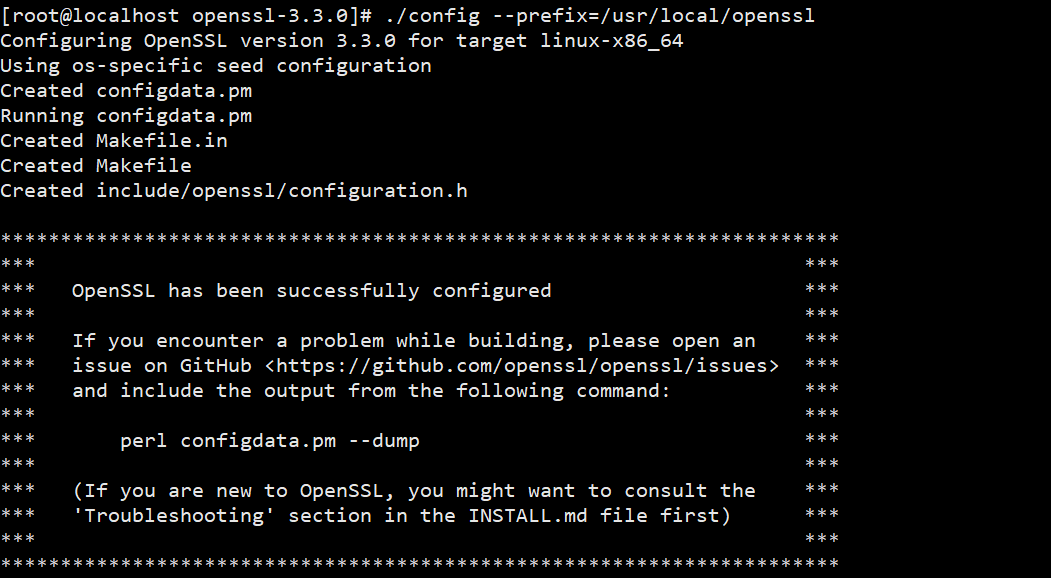
[root@localhost openssl-3.3.0]# make && make install #/.进行编译

[root@localhost openssl-3.3.0]# echo '/usr/local/openssl/lib' >> /etc/ld.so.conf #/.输出路径
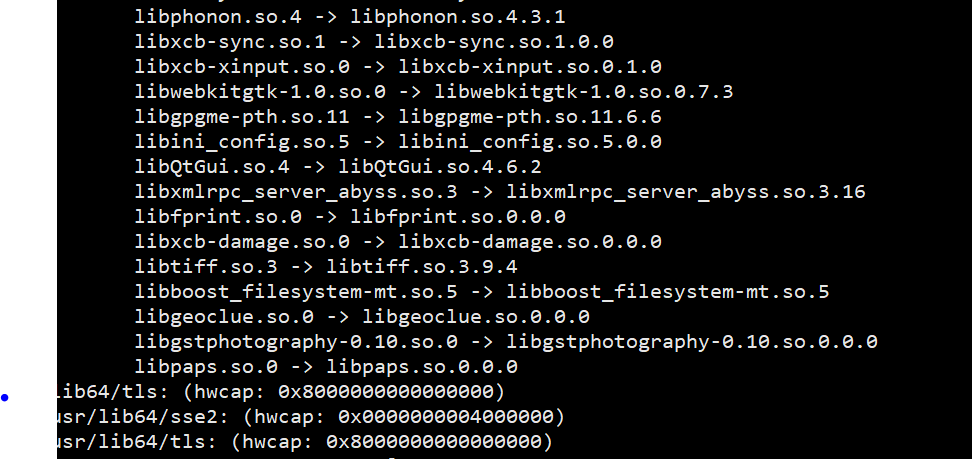
[root@localhost openssl-3.3.0]# ldconfig -v #/.设置连接
[root@localhost openssl-3.3.0]# cd /usr/local/openssl/bin #/.切换路径
[root@localhost bin]# ln -s /usr/local/openssl/lib/libssl.so.3 /usr/lib/libssl.so.3
[root@localhost bin]# ln -s /usr/local/openssl/lib64/libssl.so.3 /usr/lib64/libssl.so.3
[root@localhost bin]# ln -s /usr/local/openssl/lib/libcrypto.so.3 /usr/lib/libcrypto.so.3
[root@localhost bin]# ln -s /usr/local/openssl/lib64/libcrypto.so.3 /usr/lib64/libcrypto.so.3 #/.执行软连接
[root@localhost bin]# ./openssl version #/.查看编译版本

[root@localhost bin]# openssl version #/.查看系统自带的版本

6.编译安装Openssh
[root@localhost bin]# ssh -V #/.查看现有版本

[root@localhost bin]# rpm -qa | grep openssh #/.查看已安装openssh

[root@localhost bin]# rpm -e openssh-askpass-5.3p1-124.el6_10.x86_64
[root@localhost bin]# rpm -e openssh-5.3p1-124.el6_10.x86_64 --nodeps
[root@localhost bin]# rpm -e openssh-clients-5.3p1-124.el6_10.x86_64 --nodeps
[root@localhost bin]# rpm -e openssh-server-5.3p1-124.el6_10.x86_64 #/.全部卸载
[root@localhost bin]# cp -rf /etc/ssh /etc/ssh_bak #/.将原本的配置文件备份
[root@localhost bin]# rpm -qa | grep openssh #/.再次查看

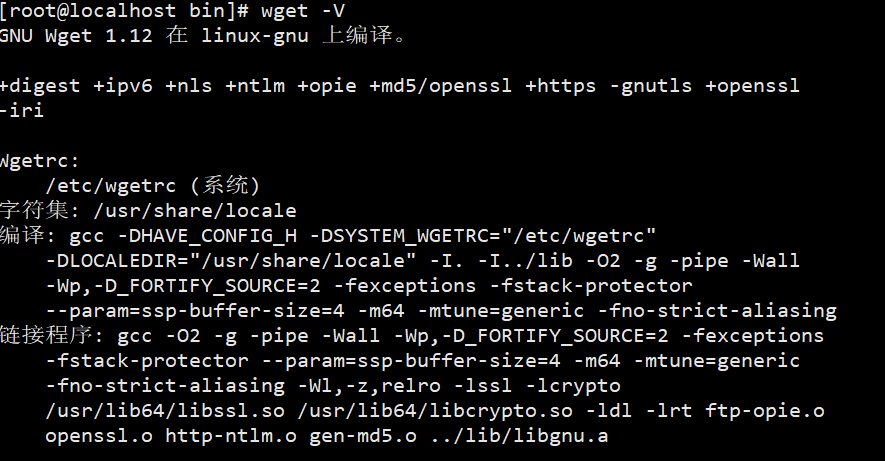
验证基础工具正常使用,执行命令无报错即可
[root@localhost bin]# curl -V

[root@localhost bin]# wget -V
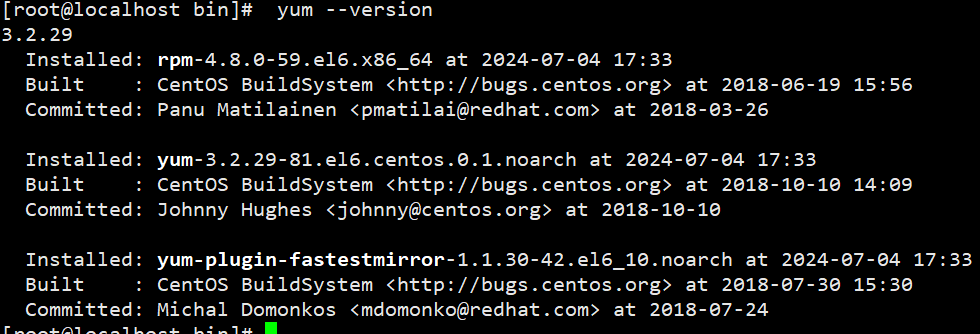
[root@localhost bin]# yum --version
[root@localhost ~]# tar -zxvf openssh-9.8p1.tar.gz
[root@localhost ~]# cd openssh-9.8p1 #/.切换到解压的路径
[root@localhost openssh-9.8p1]# ./configure --prefix=/usr/local/openssh --sysconfdir=/etc/ssh --with-ssl-dir=/usr/local/openssl #/.指定路径
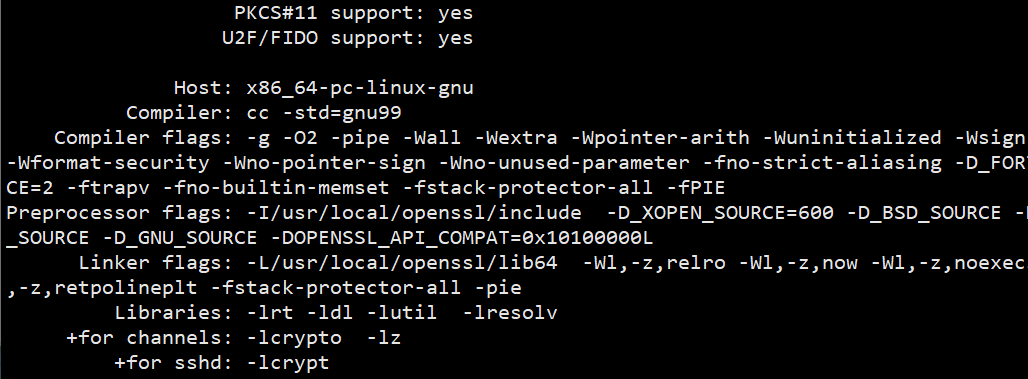
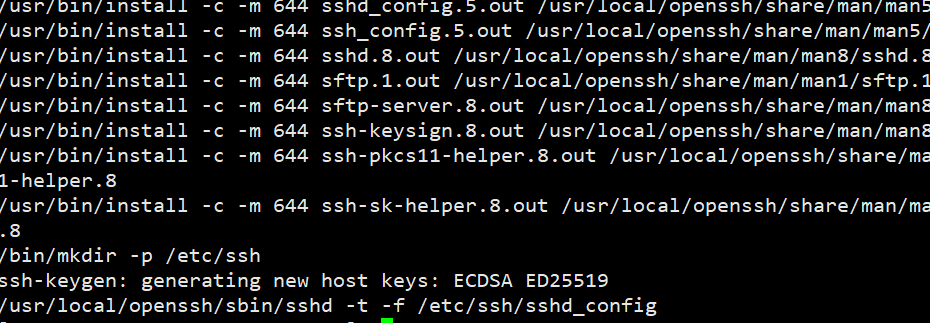
[root@localhost openssh-9.8p1]# make && make install #/.编译安装
[root@localhost openssh-9.8p1]# cp /usr/local/openssh/sbin/sshd /usr/sbin/sshd
[root@localhost openssh-9.8p1]# cp /usr/local/openssh/bin/ssh /usr/bin/ssh
[root@localhost openssh-9.8p1]# cp /usr/local/openssh/bin/ssh-keygen /usr/bin/ssh-keygen
[root@localhost openssh-9.8p1]# cp contrib/redhat/sshd.init /etc/init.d/sshd
#/.将文件拷贝
[root@localhost openssh-9.8p1]# vim /etc/ssh/sshd_config #/.修改配置文件
Port 17909 <--修改ssh使用的端口
PermitRootLogin yes <--允许root登录
启动编译后的ssh 9.8的服务,使用start参数启动,一定不要使用restart启动。
/etc/init.d/sshd start
Starting sshd: [确定]
服务启动后检查配置的端口正常
netstat -tpln | grep ssh
tcp 0 0 0.0.0.0:17909 0.0.0.0:* LISTEN 14821/sshd
chkconfig --list | grep sshd <--查询当前系统无sshd的开机启动
chkconfig sshd on <--加入开机启动
chkconfig --list | grep sshd <--确认开机启动加入正常
sshd 0:关闭 1:关闭 2:启用 3:启用 4:启用 5:启用 6:关闭
[root@localhost openssh-9.8p1]# ssh -V #/.再次查看版本

版权归原作者 梦里遇见小熊 所有, 如有侵权,请联系我们删除。