目录
🧨🧨🧨
大家好,我是搞前端的半夏 🧑,一个热爱写文的前端工程师 💻.
如果喜欢我的文章,可以关注 ➕ 点赞 👍 一起学习交流前端,成为更优秀的工程师~ 更多故事—点我探索新世界!🧨🧨🧨
前言
最近在制作公司官网的时候,遇到了上传文件按钮。这玩意真的恶心啊。因为没有用框架,在谷歌浏览器中,这家伙长这样,属实是难看啊

因为以前用的都是框架内的自带的上传组件,第一次自己手写,真的是没经验!
我天真的直接在input上进行了修改。最后却是下面的结果,不说了,基础真的差!!!
input[type="file"]{
color: red;
padding: 20px;
}

方案1 opacity: 0;
这种方案的核心其实是利于其他元素覆盖input。宽度一致,通过z-index来设置上下位置。
实现
- 创建一个容器,容器设置固定的宽度,这样子元素继承容器的宽度,想修改宽度只需要修改容器宽度。
.upload-container {
position: relative;
width: 150px;
text-align: center;
}
    <div class="upload-container">
    </div>
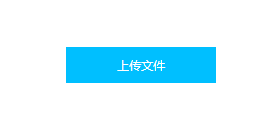
- 定义一个其他元素,这里我使用的是p,注意这里z-index是0.;
    <div class="upload-container">
      <p> 上传文件 </p>
    </div>
      .upload-container p {
        z-index: 0;
        width: 100%;
        background: #00bfff;
        color: #fff;
        padding: 10px 0;
        font-size: 12px;
      }

- 定义input,这里input相对于容器定位,注意这里的z-index值是 1,这样的话input就在p标签上面,又因为了透明度为0,虽然看不见,但是可以点击,弹出对话框!!!
  .upload-container p {
        z-index: 0;
        width: 100%;
        background: #00bfff;
        color: #fff;
        padding: 10px 0;
        font-size: 12px;
      }
        <div class="upload-container">
      <p> 上传文件 </p>
      <input
        type="file"
        class="upload"
      />
    </div>
可以考虑一下,z-inde对调,该怎么实现!!!
方案2 display:none
这种方案跟第一种方案相比,实现起来更简单!很多牛的组件库用的也是这种方案,例如Element UI也是这样做的。
实现的思路其实和第一种一样,样式其实还是放在其他元素上面,由于display:none,不需要考虑input。
这种方案,目前也是存在两种方法,主要的差别是这里的其他元素的选择!
样式元素选择 :label
 <label class="input-file-button" for="upload"> 上传文件 </label>
<input type="file" id="upload"" />
 .upload-button {
 padding: 6px 25px;
 background: #00bfff;
 border-radius: 4px;
 color: white;
 cursor: pointer;
 }

input {
display: none;
}

选择lable作为样式的承载,必需在label使用for属性,将他跟input关联起来,剩下的只需要修改样式即可。很简单!
样式元素选择:其他元素
例如在选择button
<button id="upload-button">
点击上传
<input type="file" title="上传小于5M的文件" id="upload-input"/>
</button>
这里同样只需要定义button的样式即可,不过当你点击按钮的时候是没有反应的。
此时就需要js的支持:
    let uploadbutton = document.getElementById("upload-button");
    let uploadInput = document.getElementById("upload-input");
    uploadbutton.onclick = function () {
      uploadInput.click();

    };
::file-selector-button
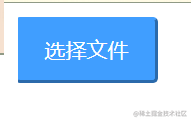
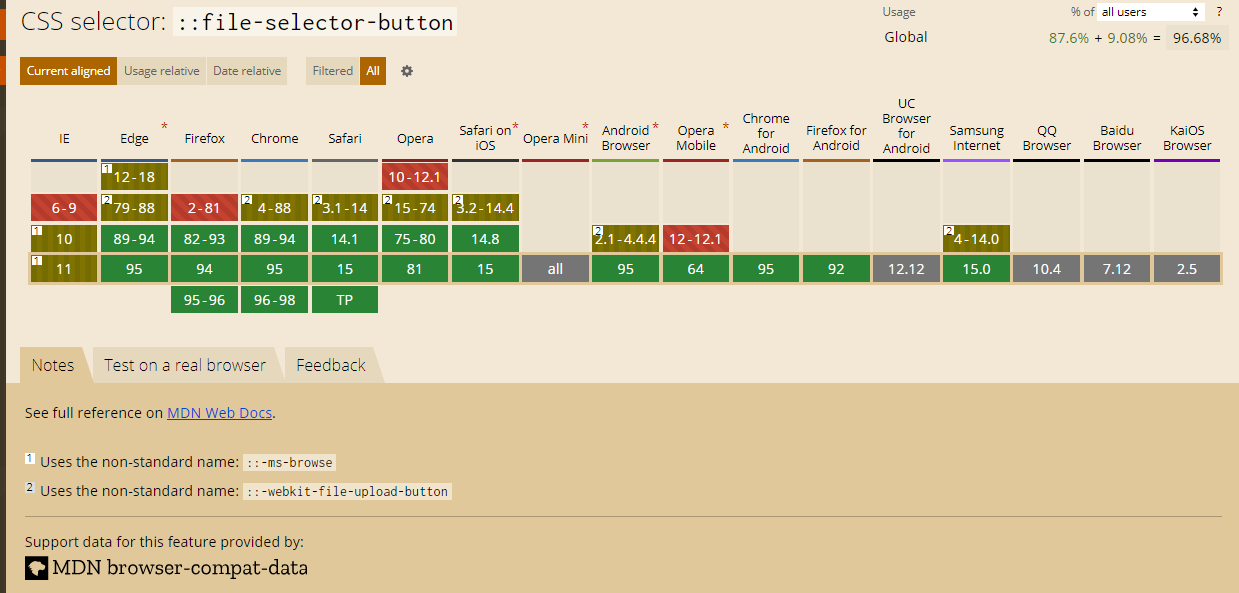
::file-selector-buttons主要是用来修改inut上传的样式。兼容也还不错。因为input[type=file]在浏览器中会加上”未选择任何文件“(各个浏览器不同),目前input没有办法去掉这个东西,所以即使使用这个属性,也还是会有这个小尾巴.
当然这里还是有办法去掉这个小尾巴!!!这里的思路是将文本颜色设置为透明,然后设定宽度,保证宽度和按钮的宽度一致即可。
 input[type="file"] {
        color: transparent;
        width:80px;
      }

兼容性

用法
  input[type="file"]::file-selector-button {
        font-weight: 500;
        color: #fff;
        background-color: #409eff;
        border-color: #409eff;
        各种属性
      }

版权归原作者 搞前端的半夏 所有, 如有侵权,请联系我们删除。