
10.1 简介
    GitLab是由GitLab Inc.开发,使用MIT许可证的基于网络的Git仓库管理工具,且具有wiki和issue跟踪功能。使用Git作为代码管理工具,并在此基础上搭建起来的web服务。

    GitLab由乌克兰程序员DmitriyZaporozhets和ValerySizov开发,它使用**Ruby****语言****写成**。后来,一些部分用**Go****语言****重写**。截止2018年5月,该公司约有**290****名****团队成员**,以及**2000****多名****开源贡献者**。GitLab被IBM,Sony,JülichResearchCenter,NASA,Alibaba,Invincea,O’ReillyMedia,Leibniz-Rechenzentrum(LRZ),CERN,SpaceX等组织使用。
10.2 安装
官网地址:The DevSecOps Platform | GitLab
安装说明:https://about.gitlab.com/installation/
Gitlab-ee:企业旗舰版
Gitlab-ce:社区免费版
10.2.1 准备服务器
此部分需要具备虚拟机搭建的相关知识,可参考《Linux学习笔记》(见主页)。
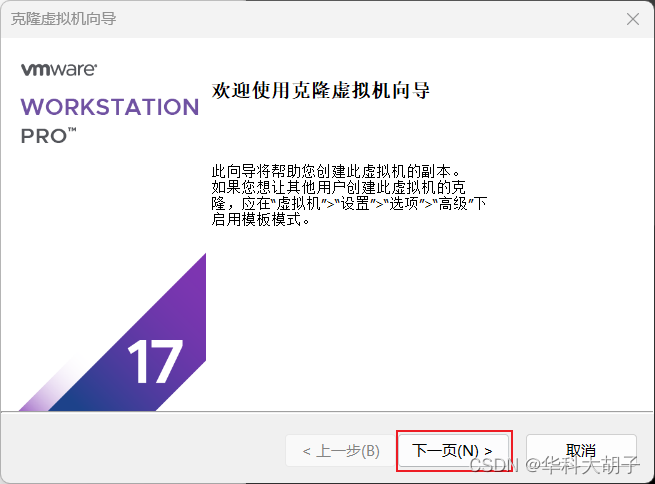
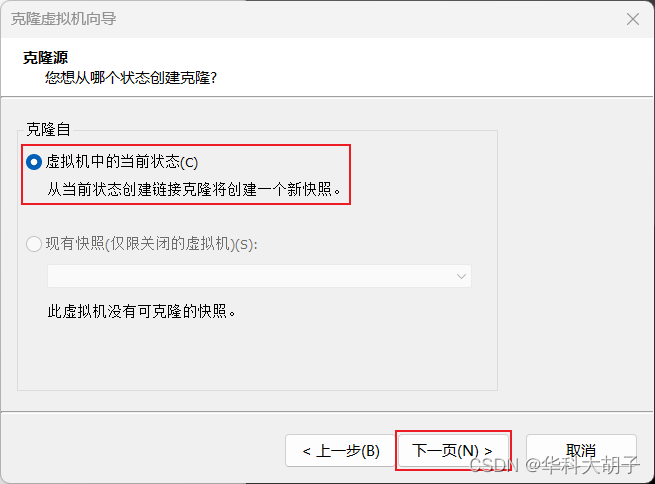
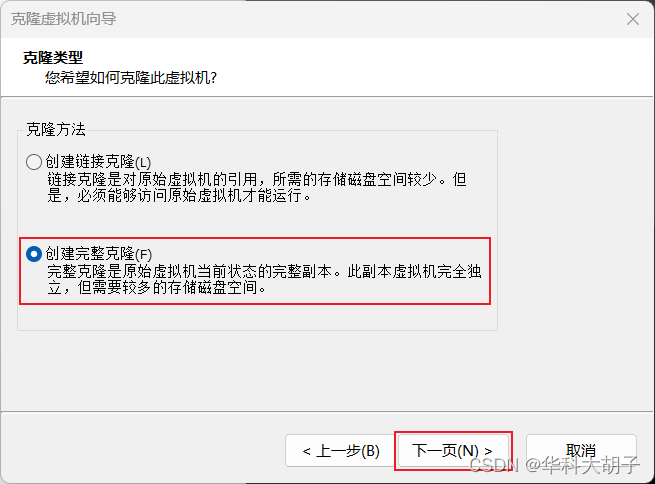
- Step1: 准备一个系统为CentOS7以上版本的服务器(此处克隆虚拟机)
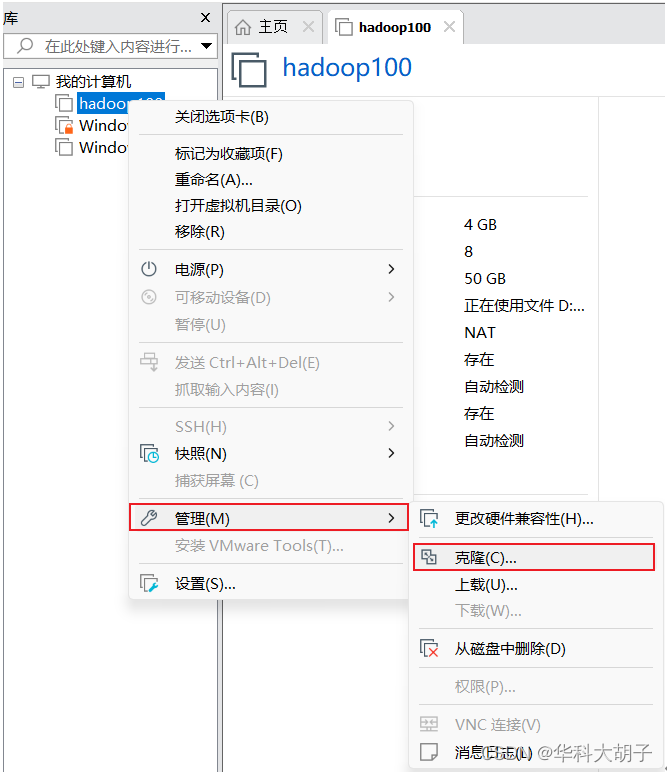

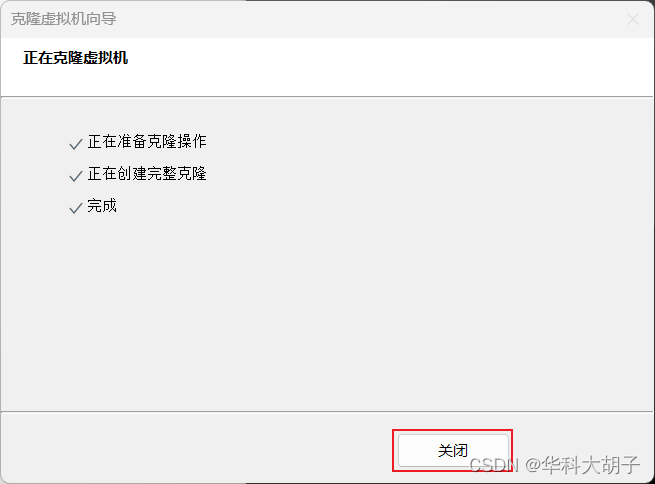
- Step2:开启并登录虚拟机gitlab-server - 注1:克隆虚拟机gitlab-server与模板虚拟机hadoop100的配置完全相同(包括账号和密码)- 注2:此处 登录root账号
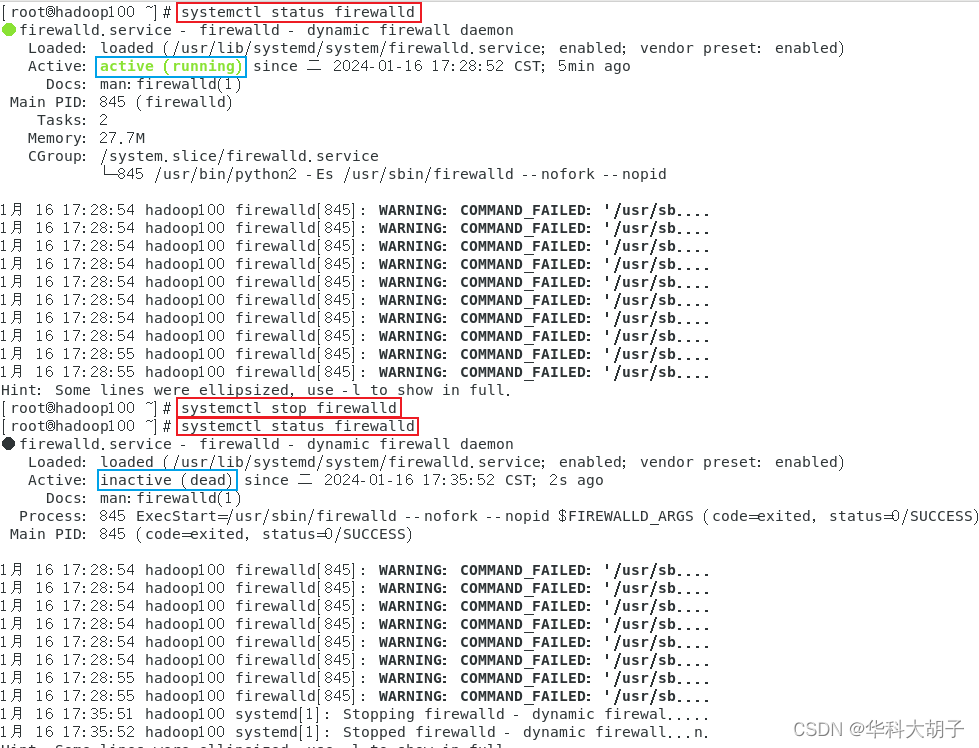
- Step3:关闭防火墙 - 临时关闭防火墙:systemctl stop firewalld- 开机启动时关闭防火墙:systemctl disable firewalld.service- 参考《Lin ux学习笔记》4.7 案例实操:防火墙
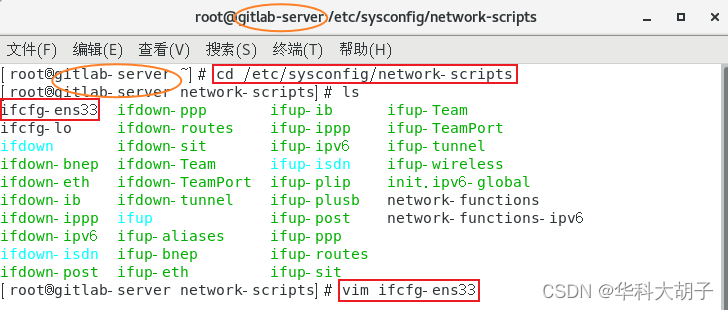
- Step4:修改克隆机的主机名和IP地址 - 主机名:gitlab-server- hostnamectl set-hostname gitlab-server- IP****地址:192.168.171.200- cd /etc/sysconfig/network-scripts- vim ifcfg-ens33- 参考《Linux学习笔记》三、网络配置

- Step5:重启服务器 reboot
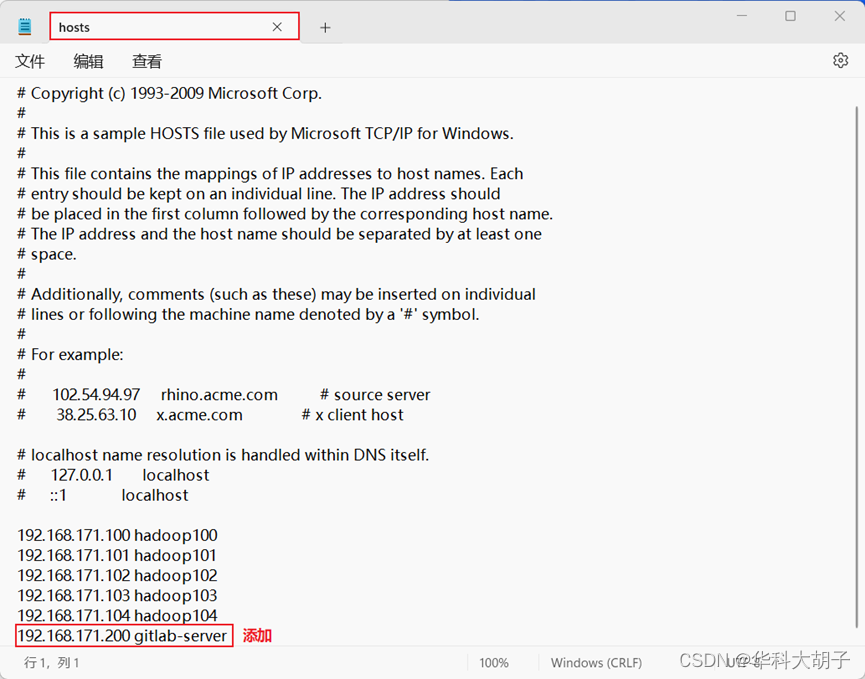
- Step6:配置windows的hosts映射文件 - Step6.1:进入C:\Windows\System32\drivers\etc 路径
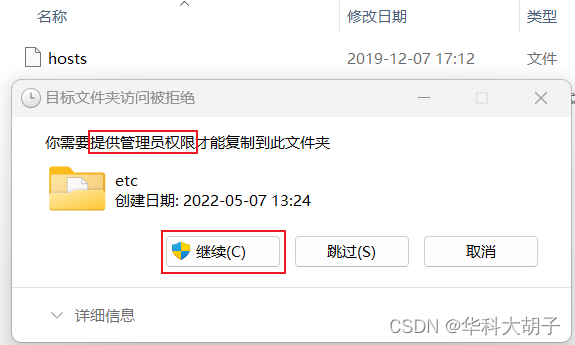
- Step6.2:拷贝hosts文件到桌面
- Step6.3:打开桌面hosts文件,并添加相应内容
- Step6.4:将桌面hosts 文件覆盖C:\Windows\System32\drivers\etc 路径hosts 文件 - 参考《Linux学习笔记》3.4 配置hosts映射文件


10.2.2 准备安装包
使用**yum**进行**在线安装**gitlab-ce时,需要下载几百M的安装文件,非常耗时,对网络的要求较高。因此,最好提前把所需RPM包下载到本地,再使用**rpm**进行**离线安装**。
- Step2:上传安装包到服务器**/opt/module**目录下即可。


10.2.3 编写安装脚本
Gitlab的安装步骤比较繁琐,因此我们可以参考官网编写gitlab的安装脚本。
- Step1:编写安装脚本
[root@gitlab-server module]# vim gitlab-install.sh

sudo rpm -ivh /opt/module/gitlab-ce-13.10.2-ce.0.el7.x86_64.rpm

sudo yum install -y curl policycoreutils-python openssh-server cronie

sudo lokkit -s http -s ssh

sudo yum install -y postfix

sudo service postfix start

sudo chkconfig postfix on

curl https://packages.gitlab.com/install/repositories/gitlab/gitlabce/script.rpm.sh | sudo bash

sudo EXTERNAL_URL="http://gitlab.example.com" yum -y install gitlabce
- Step2:给脚本增加执行权限
[root@gitlab-server module]# chmod +x gitlab-install.sh

[root@gitlab-server module]# ll

总用量 403104

-rw-r--r--. 1 root root 412774002 4 月 7 15:47 gitlab-ce-13.10.2-ce.0.el7.x86_64.rpm

-rwxr-xr-x. 1 root root 416 4 月 7 15:49 gitlab-install.sh

- Step3:执行脚本,开始安装gitlab-ce - 注:一定要保证服务器可以上网(脚本涉及到yum命令在线安装)
[root@gitlab-server module]# ./gitlab-install.sh

警告:/opt/module/gitlab-ce-13.10.2-ce.0.el7.x86_64.rpm: 头 V4

RSA/SHA1 Signature, 密钥 ID f27eab47: NOKEY

准备中... #################################

[100%]

正在升级/安装...

 1:gitlab-ce-13.10.2-ce.0.el7

################################# [100%]

。 。 。 。 。 。
10.2.4 初始化GitLab服务
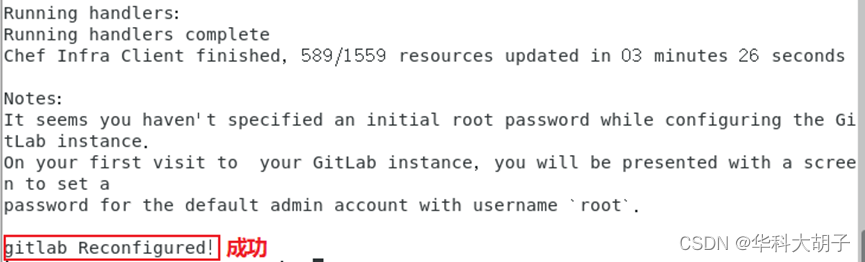
[root@gitlab-server module]# gitlab-ctl reconfigure

。 。 。 。 。 。

Running handlers:

Running handlers complete

Chef Client finished, 425/608 resources updated in 03 minutes 08

seconds

gitlab Reconfigured!
10.2.5 启动GitLab服务
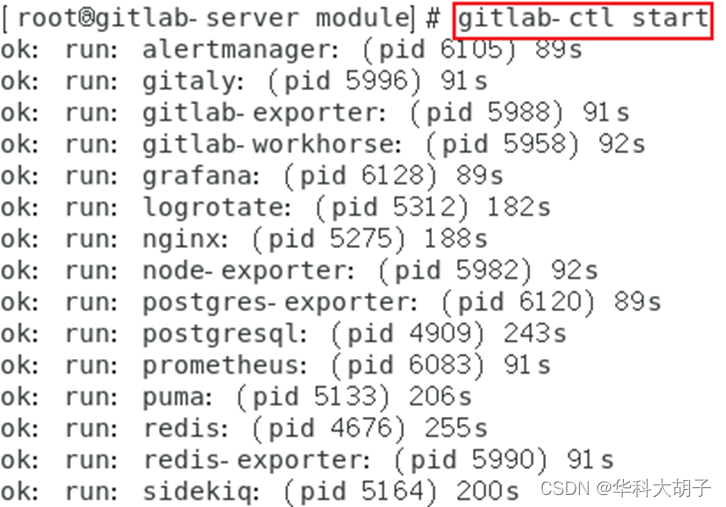
- 启动gitlab****服务:gitlab-ctl start
- 停止gitlab****服务:gitlab-ctl stop
[root@gitlab-server module]# gitlab-ctl start

ok: run: alertmanager: (pid 6105) 89s

ok: run: gitaly: (pid 5996) 91s

ok: run: gitlab-exporter: (pid 5988) 91s

ok: run: gitlab-workhorse: (pid 5958) 92s

ok: run: grafana: (pid 6128) 89s

ok: run: logrotate: (pid 5312) 182s

ok: run: nginx: (pid 5275) 188s

ok: run: node-exporter: (pid 5982) 92s

ok: run: postgres-exporter: (pid 6120) 89s

ok: run: postgresql: (pid 4909) 243s

ok: run: prometheus: (pid 6083) 91s

ok: run: puma: (pid 5133) 206s

ok: run: redis: (pid 4676) 255s

ok: run: redis-exporter: (pid 5990) 91s

ok: run: sidekiq: (pid 5164) 200s
10.2.6 使用浏览器访问GitLab
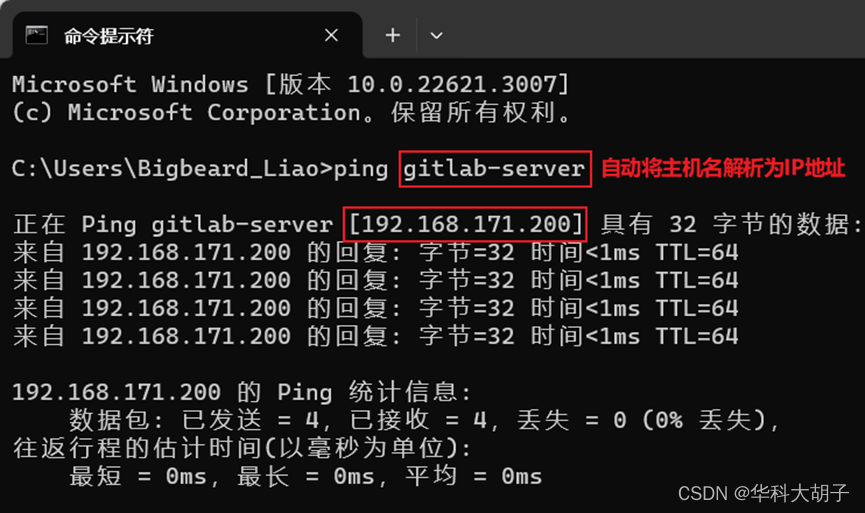
- Step1:访问GitLab服务器 - 方式1:IP地址访问(默认端口为80,可不写) 192.168.171.200
- 方式2:主机名访问 http://gitlab-server(必须配置windows的hosts映射文件) - 注:此处只能使用http,不能使用https


- Step2:设置root账户的密码 - 首次登陆之前,需要修改下GitLab提供的root账户的密码- 密码要求:8位以上,包含大小写子母和特殊符号
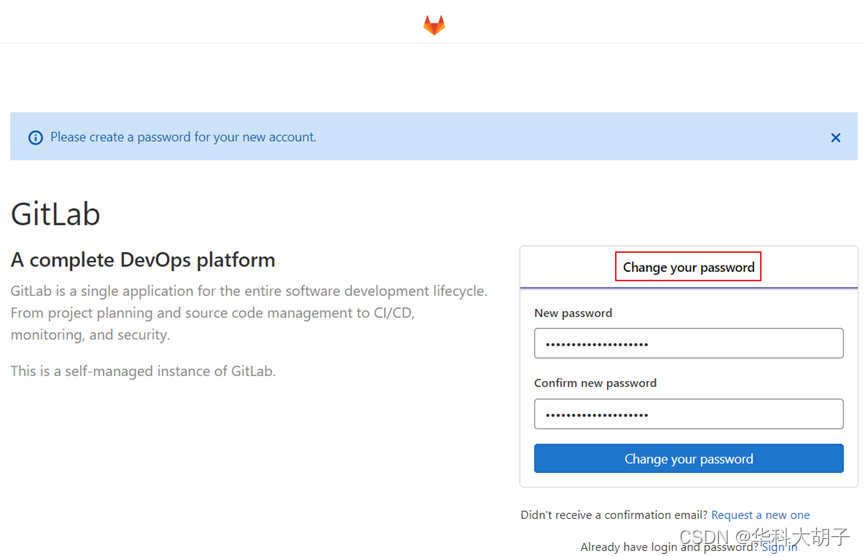
- Step3:使用修改后的密码登录GitLab


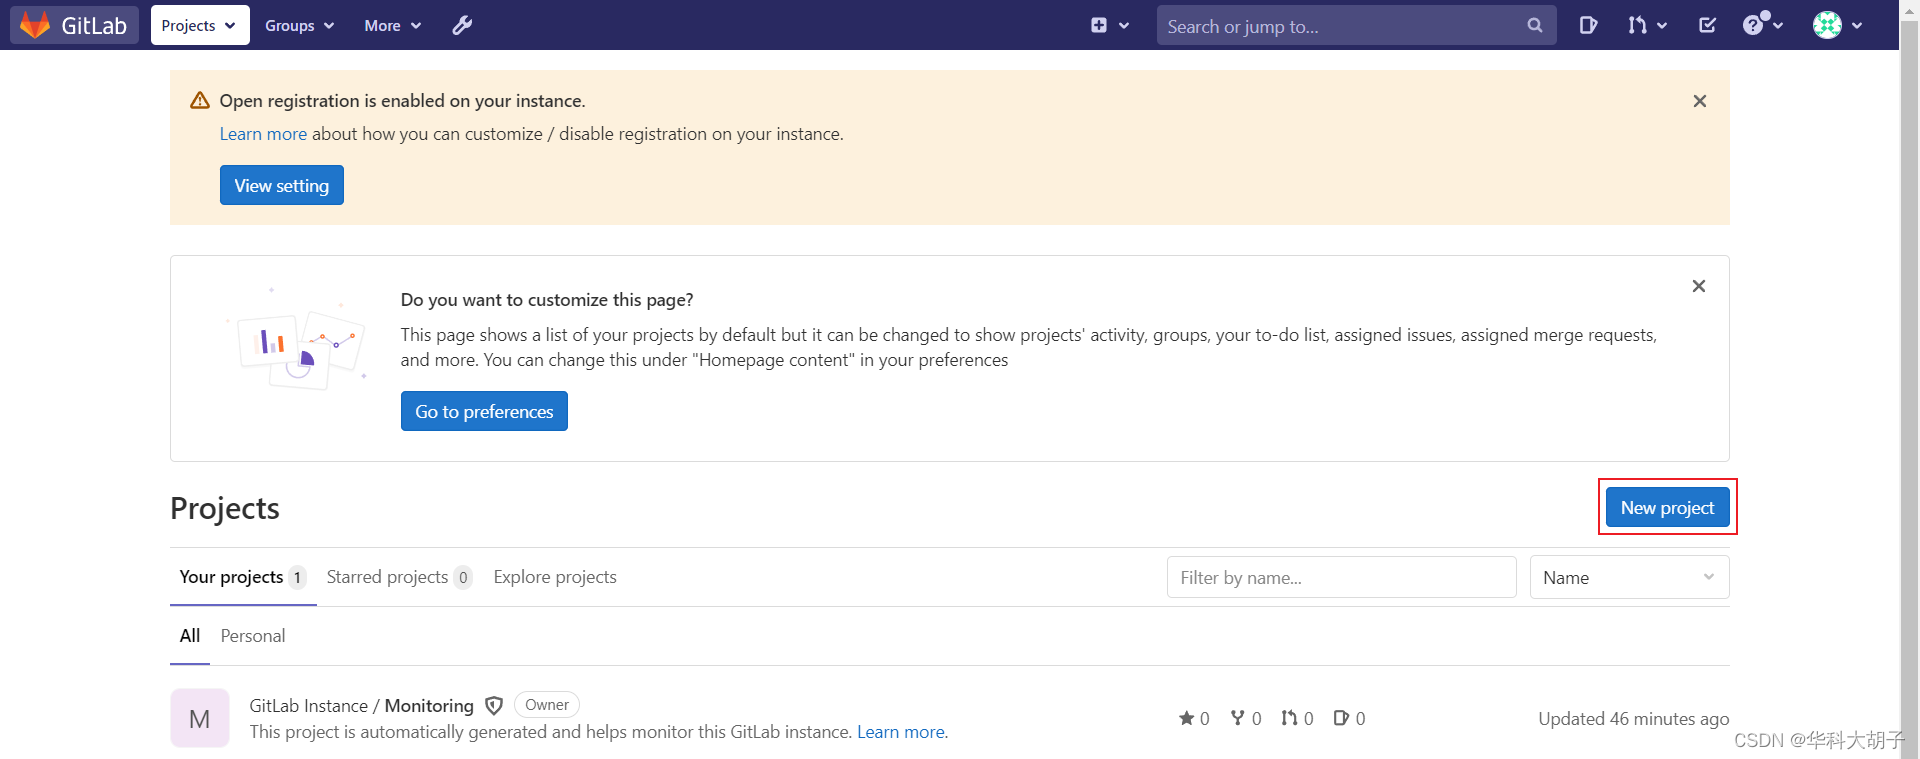
10.3 创建远程库
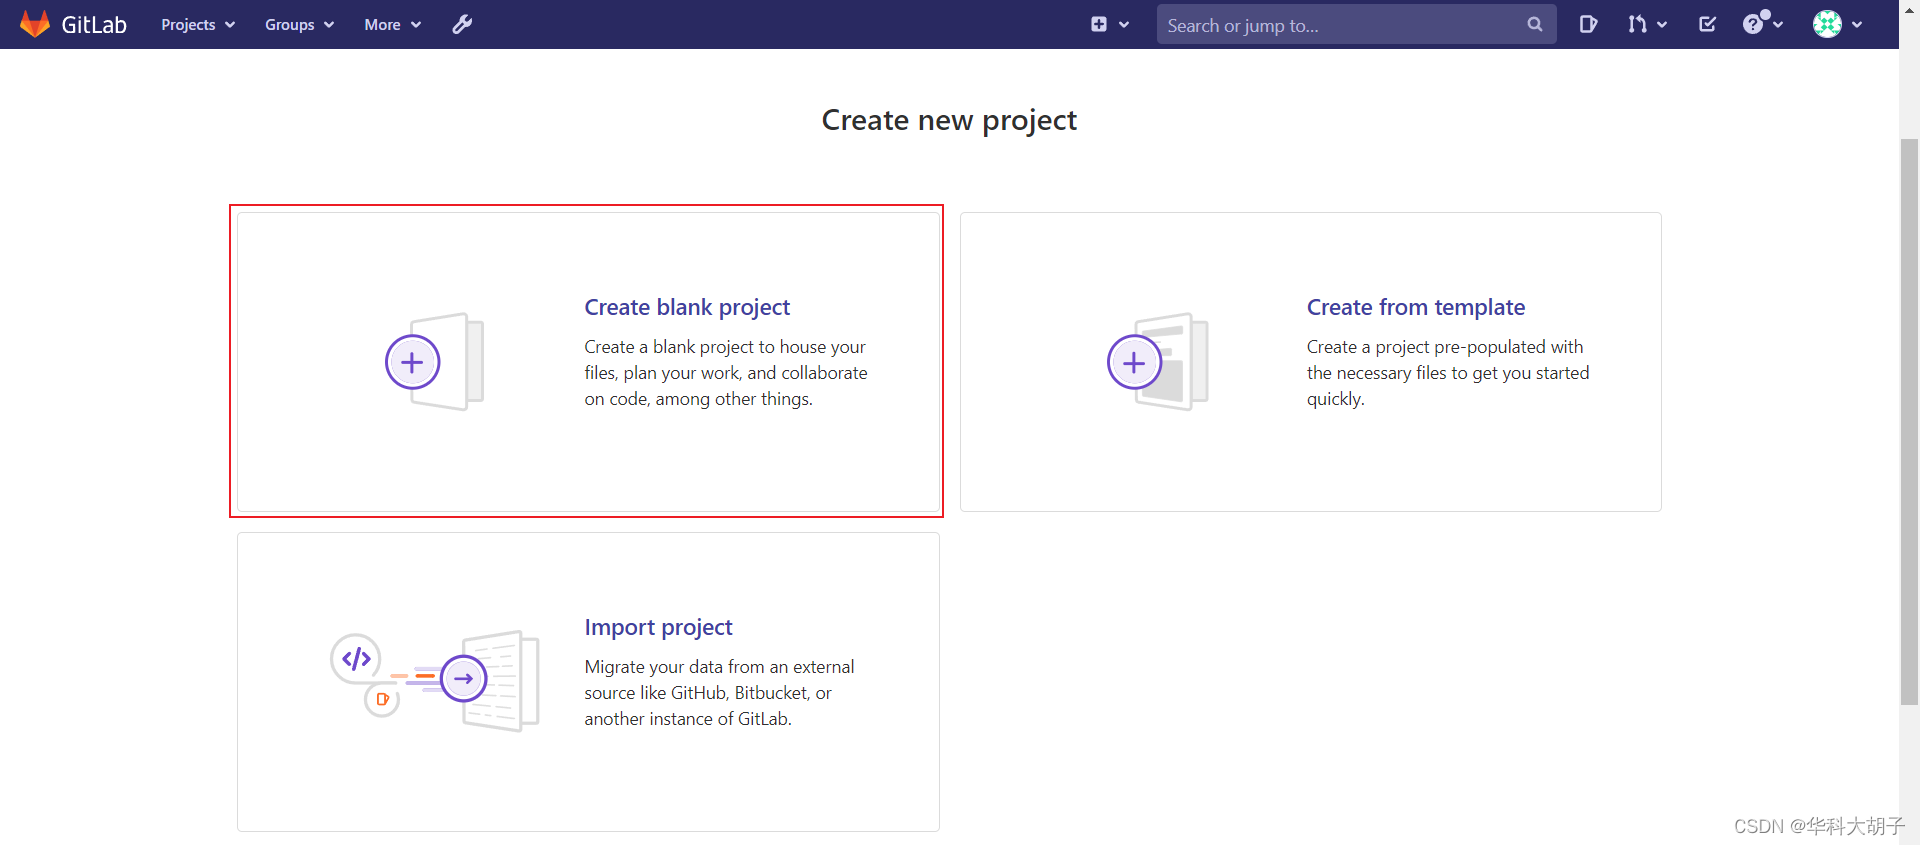
- Step1:New Project → Create blank project
- Step2:输入远程库名称
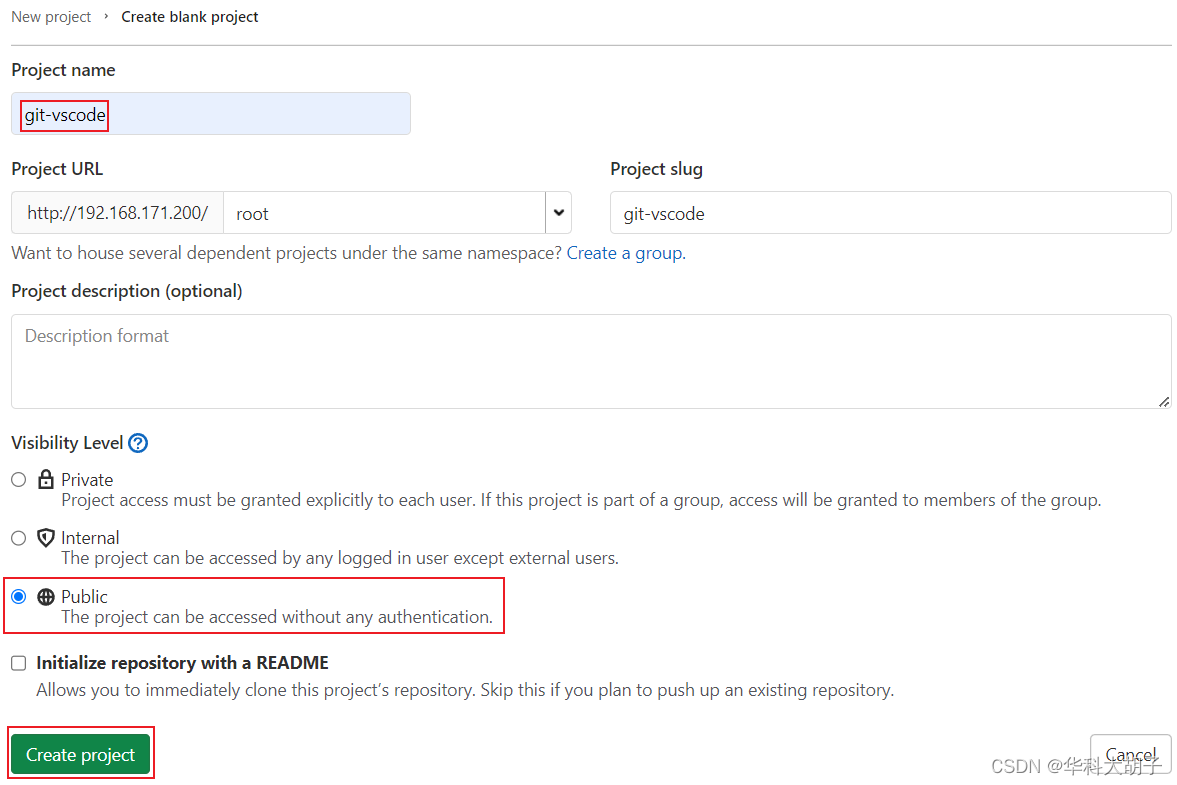
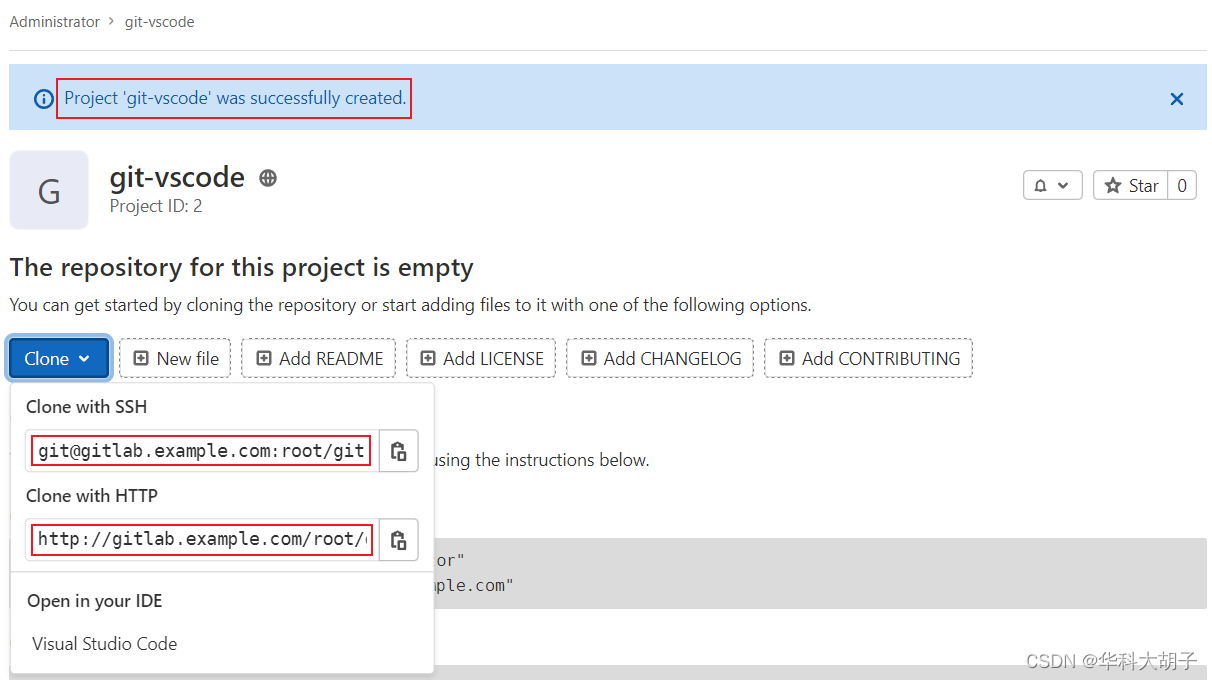
- Step3:查看效果
10.4 本地库推送到远程库
- Step1:添加远程仓库(即本地仓库需要关联哪一个远程仓库) - 注:gitlab 网页上复制过来的连接是http://gitlab.example.com/root/git-vscode.git,需要手动修改为:http://gitlab-server/root/git-vscode.git


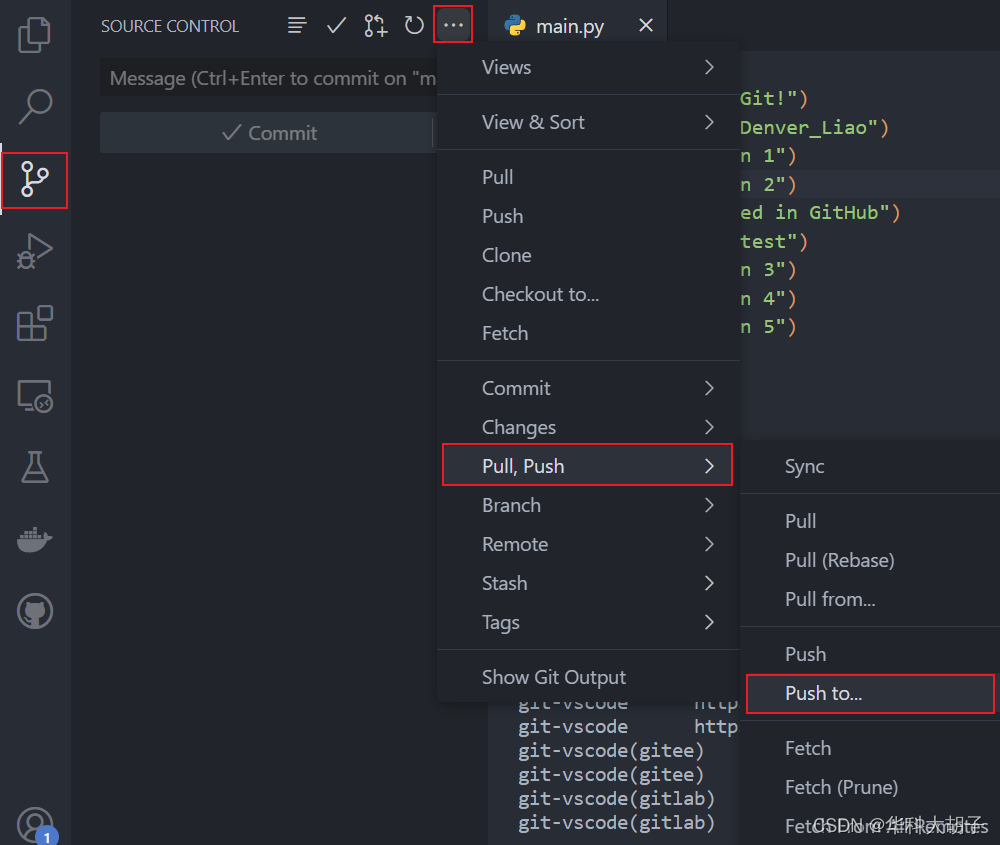
- Step2:本地库推送到远程库


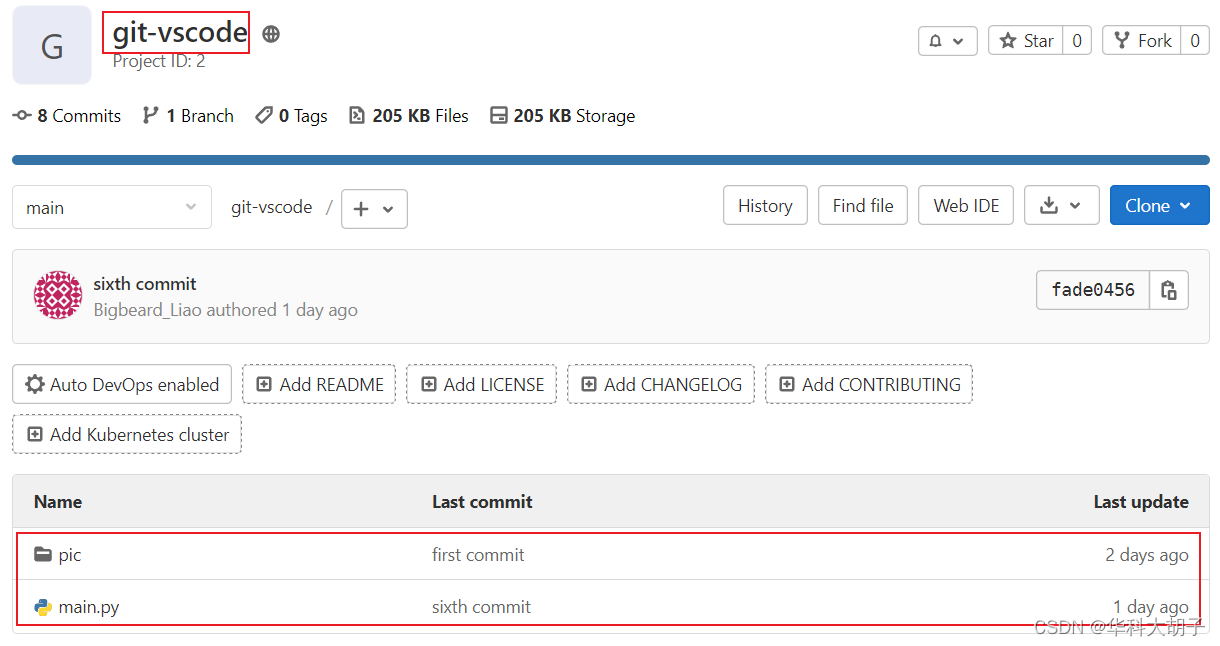
- Step3:查看效果
只要GitLab的远程库连接定义好以后,对GitLab远程库进行pull和clone的操作和Github和码云一致,此处不再赘述。
本文转载自: https://blog.csdn.net/weixin_39549734/article/details/135676607
版权归原作者 华科大胡子 所有, 如有侵权,请联系我们删除。
版权归原作者 华科大胡子 所有, 如有侵权,请联系我们删除。