做这篇文章我已经自己搭建了3次,前2次都会遇到不一样的问题,第三次基本遇到问题就很快解决了。
这篇文章,介绍从0开始搭建Nginx,filebeat。es和kibana本次使用的是现有环境,不做介绍。

环境准备
- VMware虚拟机
- filebeat安装包
步骤1:虚拟机准备
确认虚拟机可以访问和远程
我是克隆的虚拟机,虚拟机搭建不做介绍

克隆虚拟机可能存在ip未能分配:我是通过重启所有机器解决的。
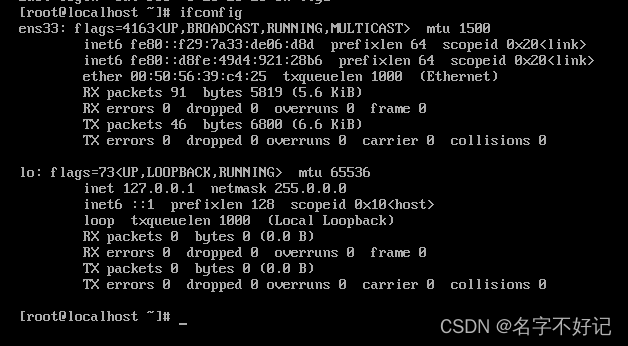
重启后
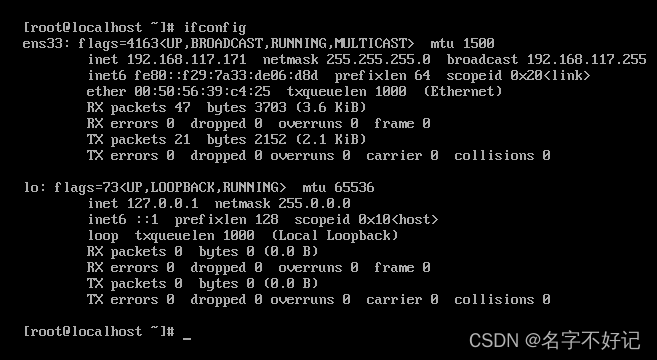
网络测试

步骤2:安装Nginx
目标:局域网机器可访问
1、安装wget、tar及nginx必备库
yum -y install wget
yum install -y tar

yum -y install make zlib zlib-devel gcc gcc-c++ libtool openssl openssl-devel
yum install -y pcre pcre-devel
2、 下载nginx并安装
wget http://nginx.org/download/nginx-1.21.4.tar.gztar -xzvf nginx-1.21.4.tar.gz

# ./configure是检查文件的命令,检查是否正确
./configure

#执行安装操作
make && make install
3、校验启动
#校验文件
/usr/local/nginx/sbin/nginx -t

#启动
/usr/local/nginx/sbin/nginx
4、查看防火墙
#查看开放了哪些端口
firewall-cmd --list-all
#查看开放的端口
firewall-cmd --list-ports
#如果没有显示80,则需要开放80端口
firewall-cmd --add-port=80/tcp --permanent #开放端口
firewall-cmd --remove-port=80/tcp --permanent
firewall-cmd --reload #重新加载
5、测试外网
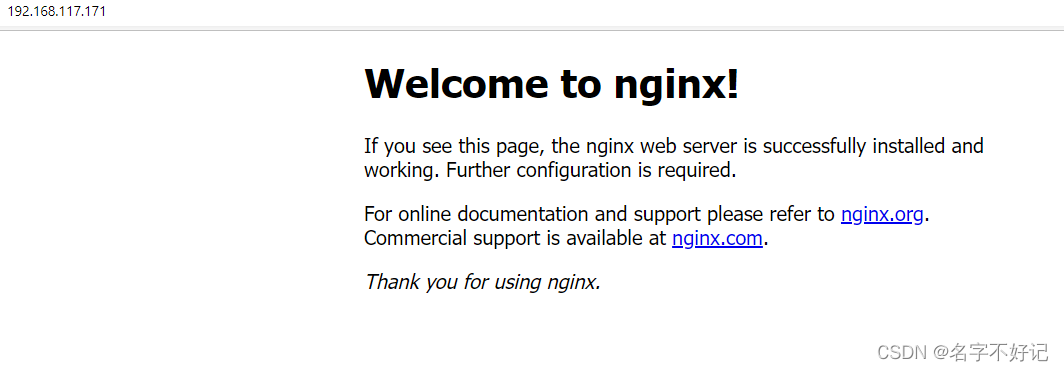
6、查看日志
Nginx日志在logs下面。
/usr/local/nginx/logs

步骤2:安装filebeat
目标:连接es能够读取日志
1、下载
https://www.elastic.co/cn/downloads/past-releases/filebeat-8-0-0
2、上传、解压
比如上传到:/usr/src/filebeat
通过一下命令解压
tar -zxvf 压缩文件名
3、配置Nginx.yml 和 filebeat.yml
Nginx.yml在 cd modules.d/ 文件夹里面
当然里面是是Nginx.yml.disabled
这是我启用后的截图:

【配置】Nginx.yml
这里你可以通过修改,然后在启用命令。
启动命令:
启动命令:./filebeat modules enable nginx
禁用命令:./filebeat modules disable nginx
也可以直接删除文件,自己本地上传。
# Module: nginx
# Docs: https://www.elastic.co/guide/en/beats/filebeat/master/filebeat-module-nginx.html

- module: nginx
  # Access logs
  access:
    enabled: true

    # Set custom paths for the log files. If left empty,
    # Filebeat will choose the paths depending on your OS.
    var.paths: ["/usr/local/nginx/logs/access.log*"]

  # Error logs
  error:
    enabled: true

    # Set custom paths for the log files. If left empty,
    # Filebeat will choose the paths depending on your OS.
    #var.paths:

  # Ingress-nginx controller logs. This is disabled by default. It could be used in Kubernetes environments to parse ingress-nginx logs
  ingress_controller:
    enabled: false

    # Set custom paths for the log files. If left empty,
    # Filebeat will choose the paths depending on your OS.
    var.paths: ["/usr/local/nginx/logs/error.log*"]
配置filebeat.yml
filebeat.inputs:

# Each - is an input. Most options can be set at the input level, so
# you can use different inputs for various configurations.
# Below are the input specific configurations.

# filestream is an input for collecting log messages from files.
- type: log

  # Change to true to enable this input configuration.
  enabled: true

  # Paths that should be crawled and fetched. Glob based paths.
  paths:
    - /usr/local/nginx/logs/*.log
  fields:
    source: demo

# ============================== Filebeat modules ==============================

filebeat.config.modules:
  # Glob pattern for configuration loading
  path: ${path.config}/modules.d/*.yml

  # Set to true to enable config reloading
  reload.enabled: false

  # Period on which files under path should be checked for changes
  #reload.period: 10s

# ======================= Elasticsearch template setting =======================

setup.template.settings:
  index.number_of_shards: 1
  #index.codec: best_compression
  #_source.enabled: false

output.elasticsearch:
  # Array of hosts to connect to.
  hosts: ["192.168.1.666:9200"]

  # Protocol - either `http` (default) or `https`.
  #protocol: "https"

  # Authentication credentials - either API key or username/password.
  #api_key: "id:api_key"
  username: "elastic"
  password: "密码"
  indices:
    - index: "demo-%{+yyyy.MM.dd}"
      when.equals:
        fields.source: "demo"
processors:
  - add_host_metadata:
      when.not.contains.tags: forwarded
  - add_cloud_metadata: ~
  - add_docker_metadata: ~
  - add_kubernetes_metadata: ~
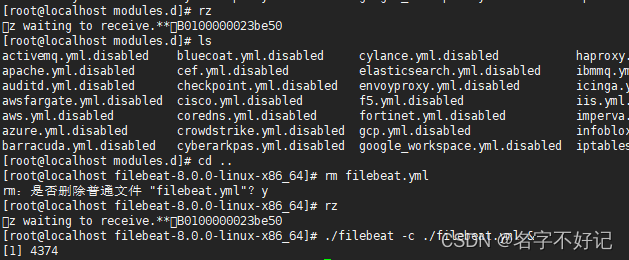
启动后,如下图;会展示进程id
步骤3:ES查询
目标:能够查询到数据
1、打开Kibana-DevTools
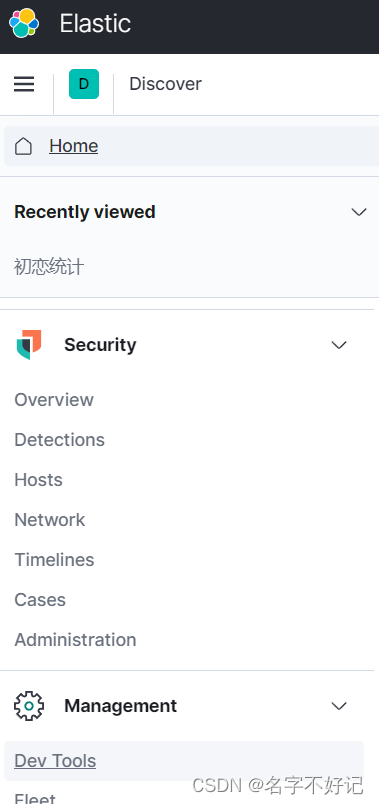
输入如下命令,index自动带出
GET demo-2022.12.04/_search
{
  "query": {
    "match_all": {}
  }
}

查询结果
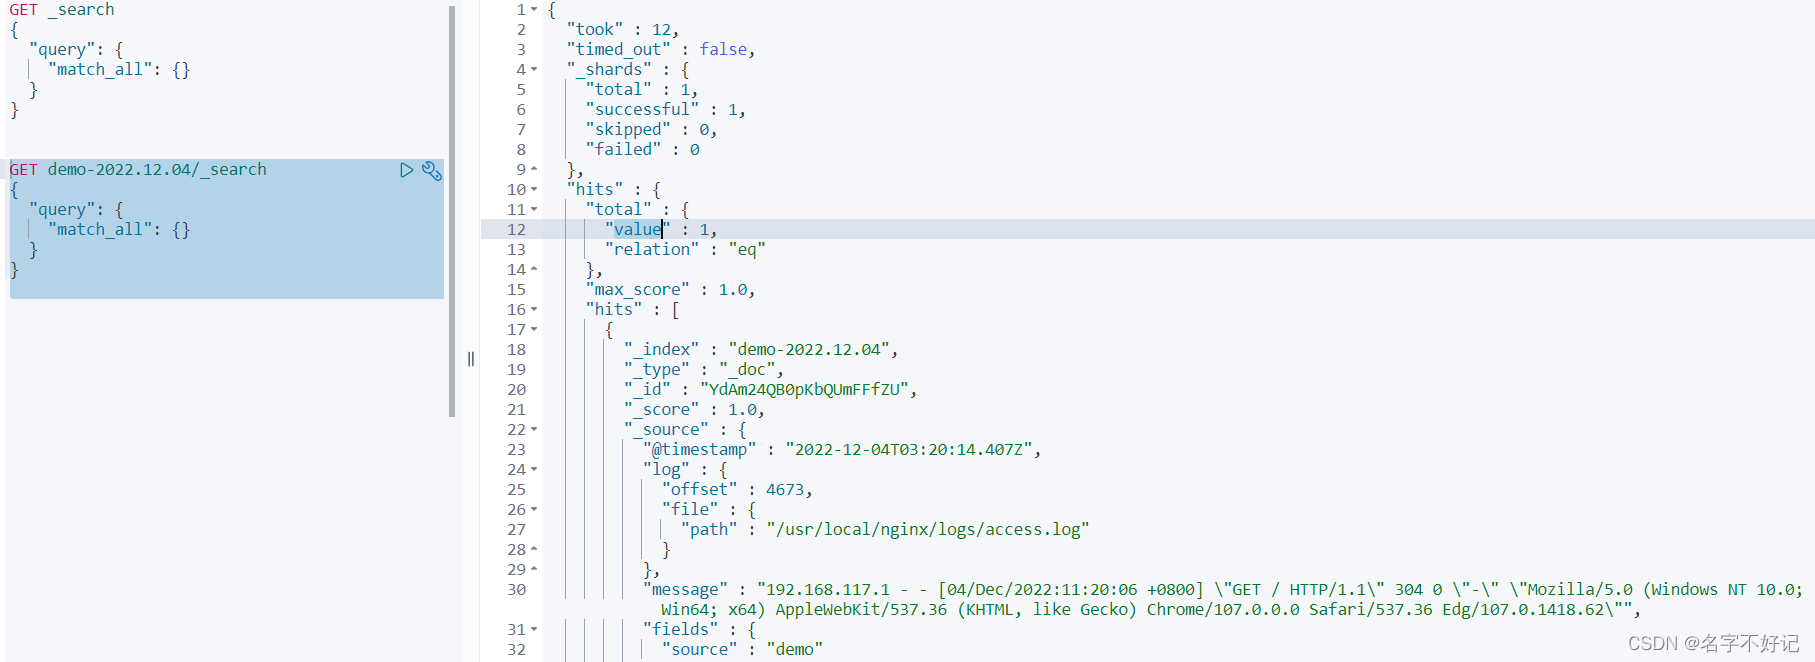
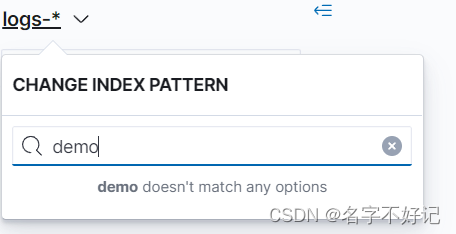
来到界面查询发现你没有,根据关键字【index pattern】在 **Management **找到配置


右上角新建 Creat index pattern

选择时间戳字段
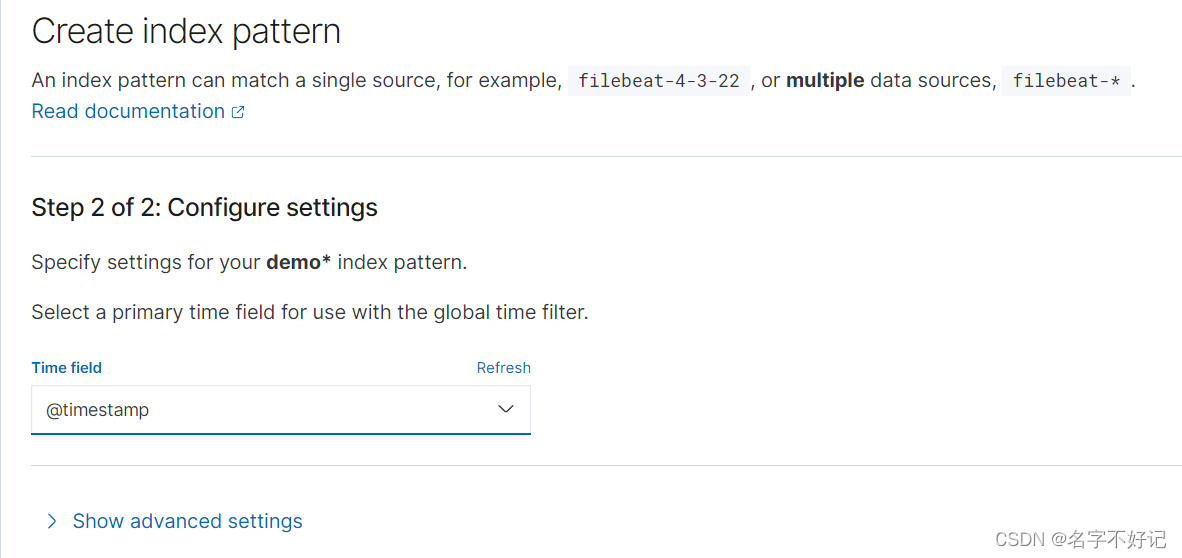
完成创建!右上角有删除按钮,后面不需要可以删除。

这样在界面就可以搜索啦

最终效果1
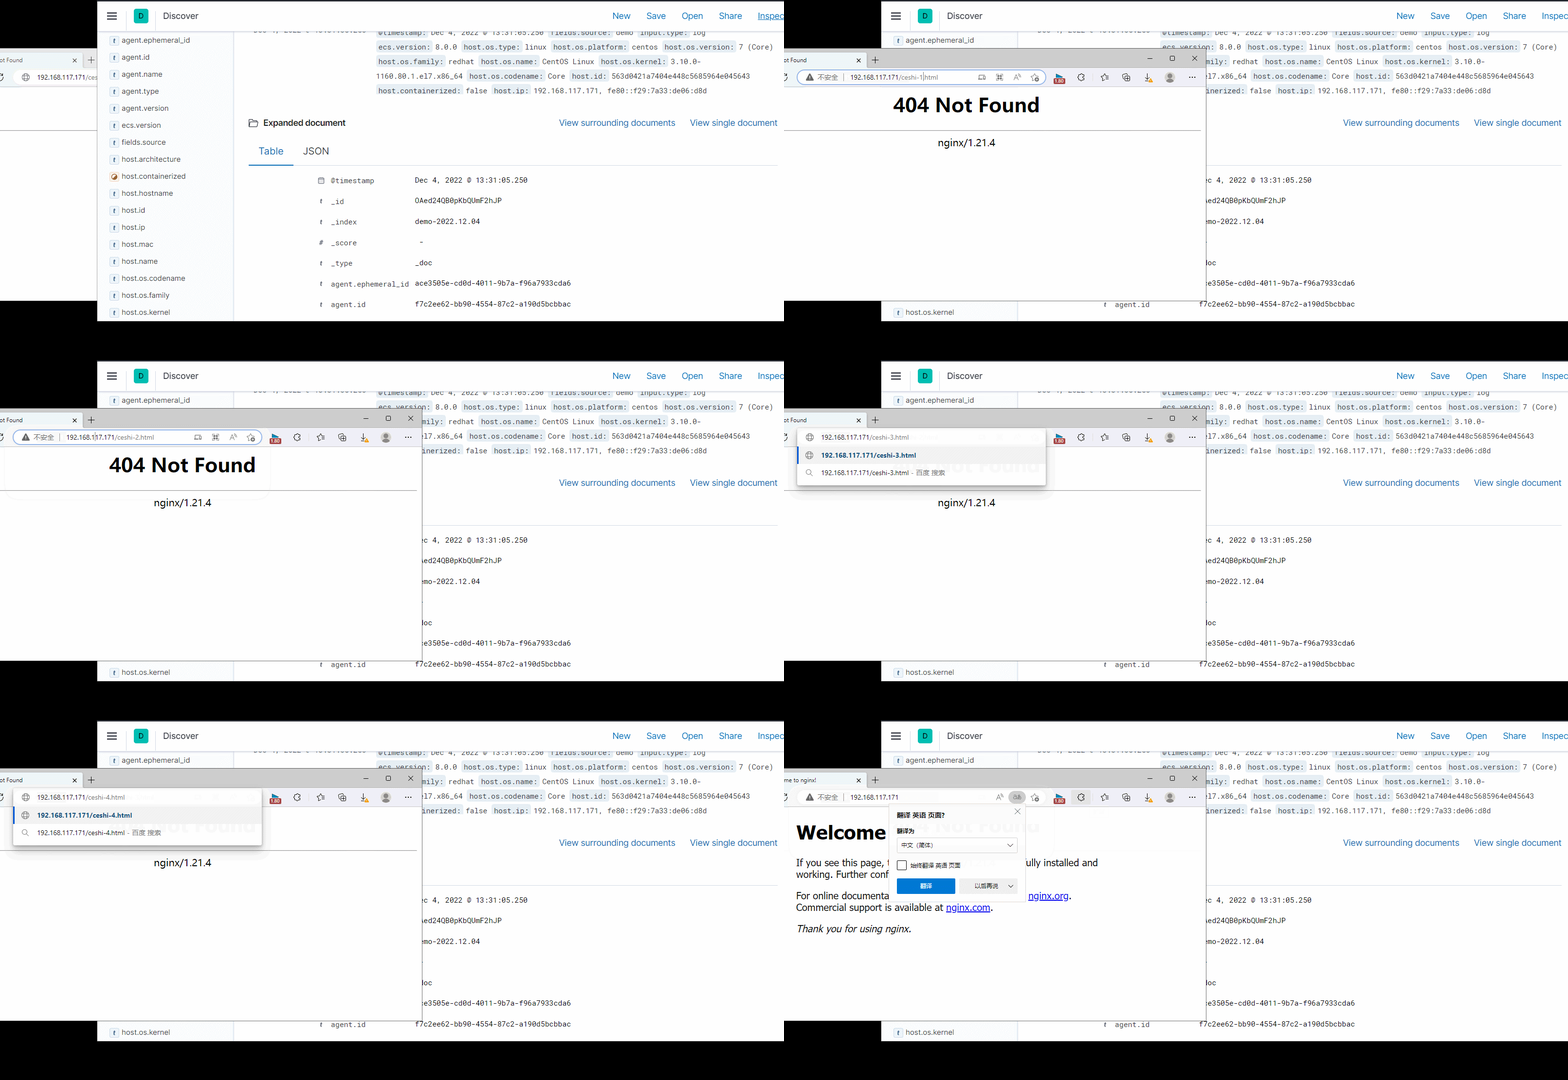
最终效果2

Filebeat后台启动
增加文件到如下目录
/usr/lib/systemd/system/filebeat.service
常用命令:
systemctl restart filebeat

systemctl stop filebeat

systemctl status filebeat

systemctl start filebeat

ps -ef | grep file
filebeat.service
其实重要的命令只有一句:ExecStart ***
还有一个属性:Restart=always;根据字面意思理解,重启属性:总是;也就是你必须通过上述命令 systemctl stop filebeat 去关闭。不能kill。kill掉了还会重启~~~~
[Unit]
Description=Filebeat sends log files to Logstash or directly to Elasticsearch.
Documentation=https://www.elastic.co/products/beats/filebeat
Wants=network-online.target
After=network-online.target

[Service]

Environment="BEAT_LOG_OPTS="
Environment="BEAT_CONFIG_OPTS=-c /usr/src/filebeat/filebeat-8.0.0-linux-x86_64/filebeat.yml"
Environment="BEAT_PATH_OPTS=--path.home /usr/src/filebeat/filebeat-8.0.0-linux-x86_64/filebeat --path.config /usr/src/filebeat/filebeat-8.0.0-linux-x86_64 --path.data /usr/src/filebeat/filebeat-8.0.0-linux-x86_64/data --path.logs /usr/src/filebeat/filebeat-8.0.0-linux-x86_64/logs"
ExecStart=/usr/src/filebeat/filebeat-8.0.0-linux-x86_64/filebeat --environment systemd $BEAT_LOG_OPTS $BEAT_CONFIG_OPTS $BEAT_PATH_OPTS
Restart=always

[Install]
WantedBy=multi-user.target
常见问题:
虚拟机Linux打开是黑屏
答:Vmware安装Linux打开一直黑屏的四个解决方法-爱码网 (likecs.com)
LInux未能获取到内网ip。
答:重启所有的虚拟机。
ping 127.0.0.1 通,但是ping www.baidu.com 不通
问题原因:没有启用联网功能,启用联网功能
vi /etc/sysconfig/network-scripts/ifcfg-ens33
修改配置: ONBOOT=yes
重启网络服务: service network restart
ifconfig command not found
需要安装 net-tools
yum update
yum -y install net-tools
文章参考:
linux安装nginx - 行者无疆 - 博客园 (cnblogs.com)
[有手就行]filebeat零基础安装教程_大师兄啦啦啦的博客-CSDN博客_filebeat安装
Filebeat入门及使用-5 读取nginx日志,写入ES,并用kibana展示_小哇666的博客-CSDN博客_filebeat nginx
版权归原作者 软件东哥 所有, 如有侵权,请联系我们删除。