
一、简介
在Spring项目中,可以使用Spring-Rabbit去操作RabbitMQ
尤其是在spring boot项目中只需要引入对应的amqp启动器依赖即可,方便的使用RabbitTemplate发送消息,使用注解接收消息。
一般在开发过程中:
生产者工程:
- application.yml文件配置相关信息;
- 在生产者工程中编写配置类,用于创建交换机和队列,并进行绑定
- 注入RabbitTemplate对象,通过RabbitTemplate对象发送消息到交换机
消费者工程:
- application.yml文件配置相关信息
- 创建消息处理类,用于接收队列中的消息并进行处理
二、项目结构

三、加入依赖jar
<dependency>
    <groupId>org.springframework.boot</groupId>
    <artifactId>spring-boot-starter-amqp</artifactId>
</dependency>
四、编写配置文件
spring:
  rabbitmq:
    username: user
    password: 123456
    virtual-host: /admin
    port: 5672
mq:
  exchange:
    name: test_exchange_topic
  queue:
    name1: test_topic_exchange_queue1
    name2: test_topic_exchange_queue2
五、编写配置类
import org.springframework.amqp.core.*;
import org.springframework.amqp.core.ExchangeBuilder;
import org.springframework.amqp.core.QueueBuilder;
import org.springframework.beans.factory.annotation.Qualifier;
import org.springframework.beans.factory.annotation.Value;
import org.springframework.context.annotation.Bean;
import org.springframework.context.annotation.Configuration;

@Configuration
public class TopicConfig {
    @Value("${mq.exchange.name}")
    private String EXCHANGENAME;
    @Value("${mq.queue.name1}")
    private String QUEUENAME1;
    @Value("${mq.queue.name2}")
    private String QUEUENAME2;
    @Bean("Exchange")
    public Exchange getExchange(){
        Exchange exchange = ExchangeBuilder.topicExchange(EXCHANGENAME).durable(false).build();
        return exchange;
    }
    @Bean("Queue1")
    public Queue getQueue1(){
        Queue build = QueueBuilder.nonDurable(QUEUENAME1).build();
        return build;
    }
    @Bean("Queue2")
    public Queue getQueue2(){
        Queue build = QueueBuilder.nonDurable(QUEUENAME2).build();
        return build;
    }
    @Bean("Binding1")
    public Binding bindingQueueToExchange1(@Qualifier("Exchange")Exchange exchange,@Qualifier("Queue1") Queue queue){
        Binding noargs = BindingBuilder.bind(queue).to(exchange).with("test.#").noargs();
        return noargs;
    }
    @Bean("Binding2")
    public Binding bindingQueueToExchange2(@Qualifier("Exchange")Exchange exchange,@Qualifier("Queue2") Queue queue){
        Binding noargs = BindingBuilder.bind(queue).to(exchange).with("test.*").noargs();
        return noargs;
    }
}
六、测试类
import org.springframework.amqp.rabbit.core.RabbitTemplate;
import org.springframework.beans.factory.annotation.Value;
import org.springframework.boot.test.context.SpringBootTest;

import javax.annotation.Resource;

@SpringBootTest
public class ProductTest {

    @Value("${mq.exchange.name}")
    private String EXCHANGENAME;
    @Resource
    RabbitTemplate rabbitTemplate;
    @org.junit.jupiter.api.Test
    public void t1(){
        rabbitTemplate.convertAndSend(EXCHANGENAME,"test.t","随便测试");
    }
}
七. 消费者消费消息

@Component
public class Comm {
    @RabbitListener(queues = "test_topic_exchange_queue1")
    public void t1(Message message){
        byte[] body = message.getBody();
        String string = new String(body);
        System.out.println(string+"----------------");
    }

}
八、消息的可靠性传递
1.Confirm
(1) 修改application.yml文件

(2) 写一个测试类
@SpringBootTest
public class ProductTest {

    @Value("${mq.exchange.name}")
    private String EXCHANGENAME;
    @Resource
    RabbitTemplate rabbitTemplate;
    @org.junit.jupiter.api.Test
    public void t2(){
        rabbitTemplate.setConfirmCallback(new RabbitTemplate.ConfirmCallback() {
            @Override
            public void confirm(CorrelationData correlationData, boolean b, String s) {
                if (b) {
                    System.out.println("发送成功");
                }else {
                    System.out.println("发送不成功"+s);
                }
            }
        });
        rabbitTemplate.convertAndSend(EXCHANGENAME,"test.t","随便测试");
    }
}
2. Return
(1) 配置文件中设置回退模式
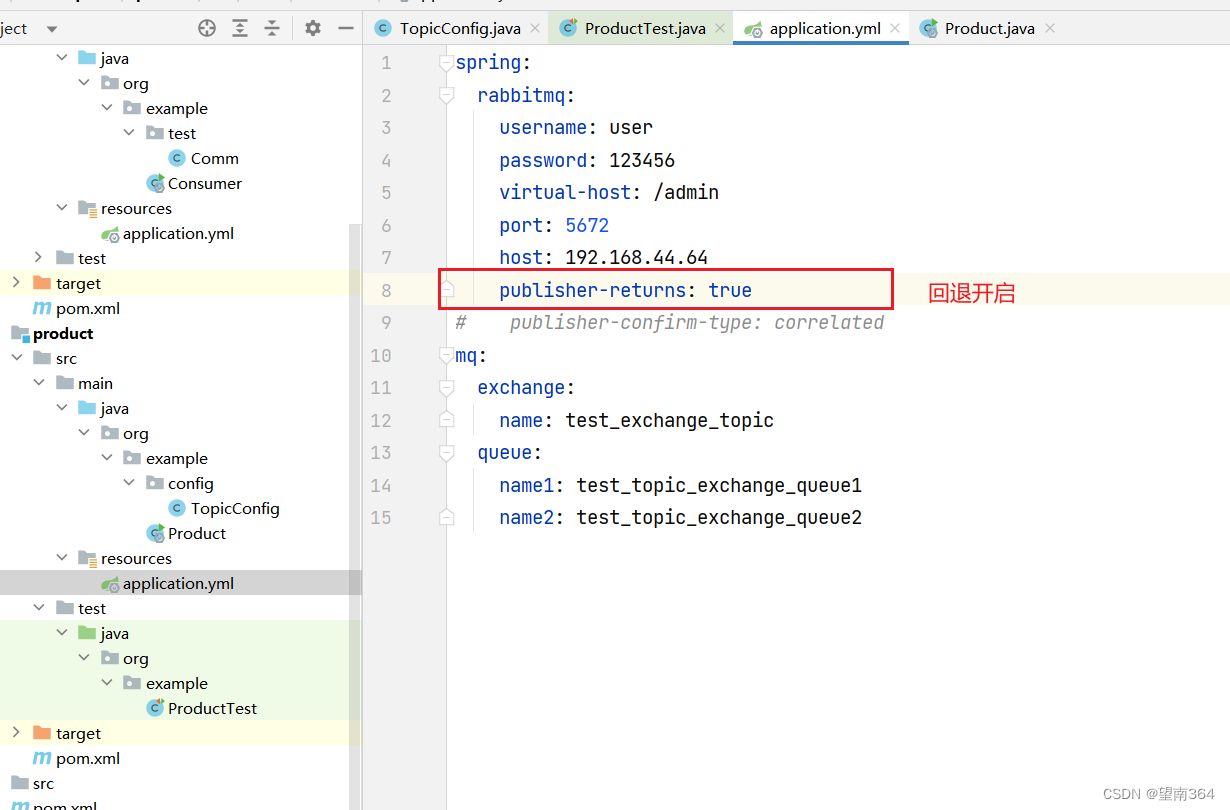
spring:
  rabbitmq:
    username: user
    password: 123456
    virtual-host: /admin
    port: 5672
    host: 192.168.44.64
    publisher-returns: true
#    publisher-confirm-type: correlated
mq:
  exchange:
    name: test_exchange_topic
  queue:
    name1: test_topic_exchange_queue1
    name2: test_topic_exchange_queue2
(2) 测试

import org.springframework.amqp.rabbit.connection.CorrelationData;
import org.springframework.amqp.rabbit.core.RabbitTemplate;
import org.springframework.beans.factory.annotation.Value;
import org.springframework.boot.test.context.SpringBootTest;

import javax.annotation.Resource;

@SpringBootTest
public class ProductTest {

    @Value("${mq.exchange.name}")
    private String EXCHANGENAME;
    @Resource
    RabbitTemplate rabbitTemplate;
    @org.junit.jupiter.api.Test
    public void t1(){
        rabbitTemplate.convertAndSend(EXCHANGENAME,"test.t","随便测试");

    }
    @org.junit.jupiter.api.Test
    public void t2(){
        rabbitTemplate.setConfirmCallback(new RabbitTemplate.ConfirmCallback() {
            @Override
            public void confirm(CorrelationData correlationData, boolean b, String s) {
                if (b) {
                    System.out.println("发送成功");
                }else {
                    System.out.println("发送不成功"+s);
                }
            }
        });
        rabbitTemplate.convertAndSend(EXCHANGENAME,"test.t","随便测试");
    }
    @org.junit.jupiter.api.Test
    public void t3(){
        rabbitTemplate.setMandatory(true);
        rabbitTemplate.setReturnsCallback(returnedMessage ->
                System.out.println("消息回退"+new String(returnedMessage.getMessage().getBody())));
        rabbitTemplate.convertAndSend(EXCHANGENAME,"test.a","测试测试");
    }
}
本文转载自: https://blog.csdn.net/weixin_68193389/article/details/134600681
版权归原作者 望南364 所有, 如有侵权,请联系我们删除。
版权归原作者 望南364 所有, 如有侵权,请联系我们删除。