背景:
** **闲来无事,玩了一下Web程序桌面端打包。感觉挺好玩,随手记录下。
1、安装node环境,node官网 Node.js — Run JavaScript Everywhere (nodejs.org)
Win + R, 调出来cmd命令窗口,输入
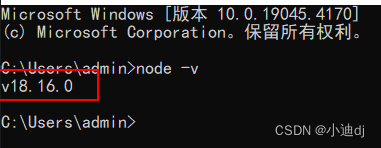
node -v
下图返回版本号,证明安装node成功。

没有成功的友友可以看下面这篇文章。
Node.js下载安装及环境配置教程【超详细】_nodejs下载-CSDN博客
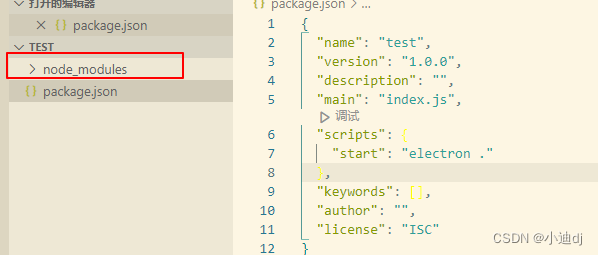
2、新建一个文件夹名为test,打开终端或者cmd命令窗口,使用npm init -y 初始化一个package.json文件。
npm init -y
新生成的文件内容如下。
{
  "name": "test",
  "version": "1.0.0",
  "description": "",
  "main": "index.js",
  "scripts": {
    "test": "echo \"Error: no test specified\" && exit 1"
  },
  "keywords": [],
  "author": "",
  "license": "ISC"
}
对内容做如下修改
{
"name": "test",
"version": "1.0.0",
"description": "",
"main": "index.js",
"scripts": {
// "test": "echo \"Error: no test specified\" && exit 1" //修改前
"start": "electron ." //修改后
},
"keywords": [],
"author": "",
"license": "ISC"
}
3、安装electron
npm install electron --save-dev --verbose
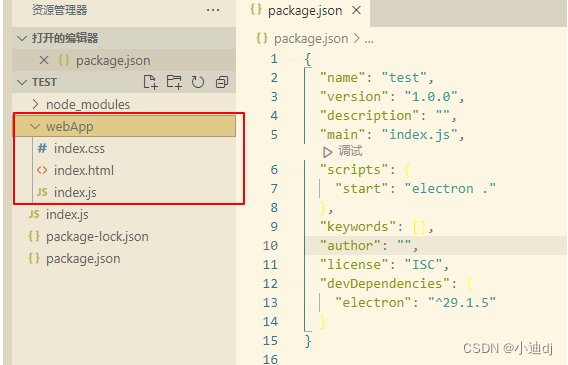
安装完成后,文件内容如下:

4、将自己的web项目(名为webApp)放到test文件夹中。我的web项目是html、css、js三件套写的。如下。

5、新建一个js入口文件,名为index.js。 注意:要与 package.json文件中的 main属性对应的文件名相同!。
根据你的文件路径,进行适当修改(注:下列代码icon属性和pathname属性对应的路径,均替换为你的web项目对应的图标和html路径)
const electron = require('electron');
const app = electron.app;
const path = require('path');
const url = require('url');
const BrowserWindow = electron.BrowserWindow;
//创建主窗口
app.on('ready', function() {
    // 创建窗口
    mainWindow = new BrowserWindow({
        minimizable: true,//最小化
        maximizable: true,//最大化
        closable: true,
        movable: true,
        frame: true,//边框
    fullscreen: false,//全屏
    titleBarStyle: 'hidden',
    autoHideMenuBar: true,
    //图标
    icon: path.join(__dirname, '/webApp/icon.png')
  });
  // 最大化窗口
  mainWindow.maximize();
    // 载入应用的index.html
    mainWindow.loadURL(url.format({
        pathname: path.join(__dirname, '/webApp/index.html'),
        protocol: 'file:',
        slashes: true
  }));
    // 窗口关闭时触发
    mainWindow.on('closed', function() {
        // 想要取消窗口对象的引用, 如果你的应用支持多窗口,你需要将所有的窗口对象存储到一个数组中,然后在这里删除想对应的元素
        mainWindow = null
  });
});
6、安装electron打包工具
npm install electron-packager -g
7、上述安装完成后,打开之前的package.json文件,在scripts中添加如下代码
{
"name": "test",
"version": "1.0.0",
"description": "",
"main": "index.js",
"scripts": {
"start": "electron .",
//下面这行
"packager":"electron-packager ./ ISCS --platform=win32 --arch=x64 --electron-version=1.8.4 --out --overwrite" //新增
},
"keywords": [],
"author": "",
"license": "ISC",
"devDependencies": {
"electron": "^29.1.5"
}
}
每一个属性说明:
./表示当前路径
ISCS :exe应用的名称
platform: 打包平台 darwin, linux, mas, win32或者选择all
arch: 可选 ia32, x64, armv7l, arm64或者选择all
electron-version: electron的版本()
out:生成的exe保存目录
overwrite:添加此属性在每次打包可以直接覆盖原来的exe文件了。
8、运行如下命令进行打包。
npm run-script packager
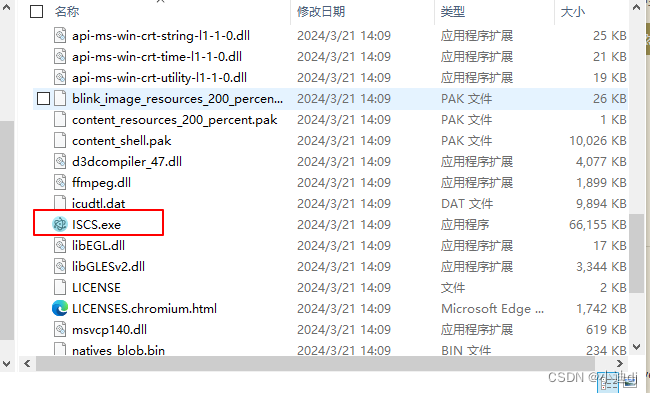
打包后,生成下图文件ISCS-win32-x64。

找到对应的exe文件,运行即可。

启动成功!

版权归原作者 小迪dj 所有, 如有侵权,请联系我们删除。