
Vue基础17
配置代理
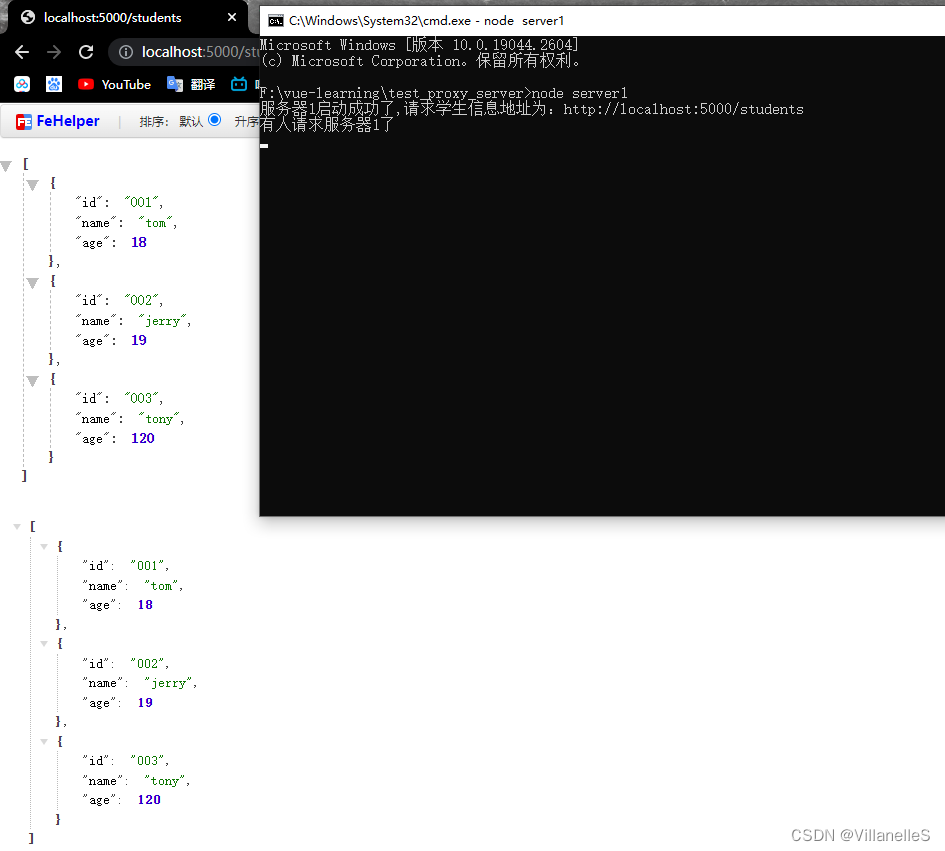
使用node启动两台服务器
server1.js
const express =require('express')const app =express()

app.use((request,response,next)=>{
    console.log('有人请求服务器1了');// console.log('请求来自于',request.get('Host'));// console.log('请求的地址',request.url);next()})

app.get('/students',(request,response)=>{const students =[{id:'001',name:'tom',age:18},{id:'002',name:'jerry',age:19},{id:'003',name:'tony',age:120},]
    response.send(students)})

app.listen(5000,(err)=>{if(!err) console.log('服务器1启动成功了,请求学生信息地址为:http://localhost:5000/students');})
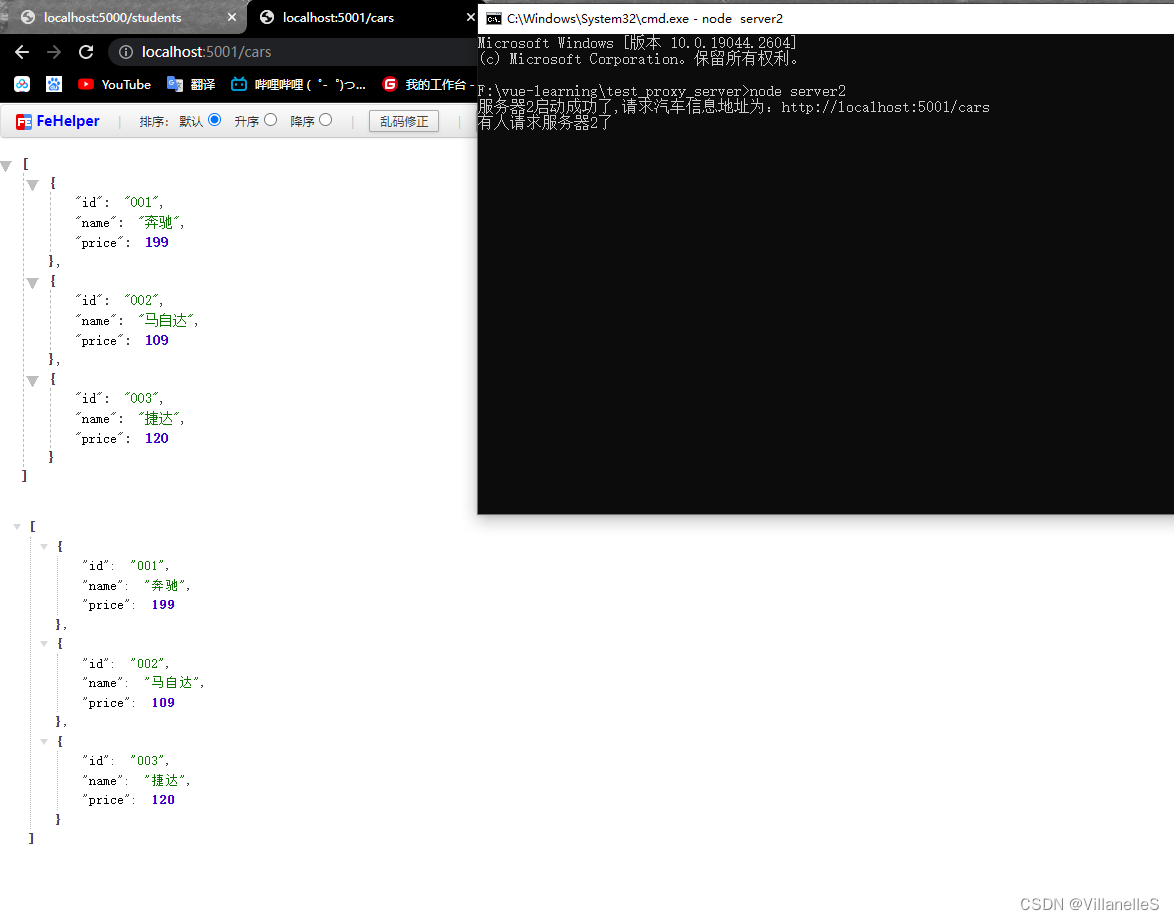
server2.js
const express =require('express')const app =express()

app.use((request,response,next)=>{
    console.log('有人请求服务器2了');next()})

app.get('/cars',(request,response)=>{const cars =[{id:'001',name:'奔驰',price:199},{id:'002',name:'马自达',price:109},{id:'003',name:'捷达',price:120},]
    response.send(cars)})

app.listen(5001,(err)=>{if(!err) console.log('服务器2启动成功了,请求汽车信息地址为:http://localhost:5001/cars');})
发送Ajax请求的三种方式:1.xmr(new XMLHttpRequest()) 2.jQuery 3.axios 4.fetch
使用axios发送ajax请求
安装axios库
npm i axios

引入axios库
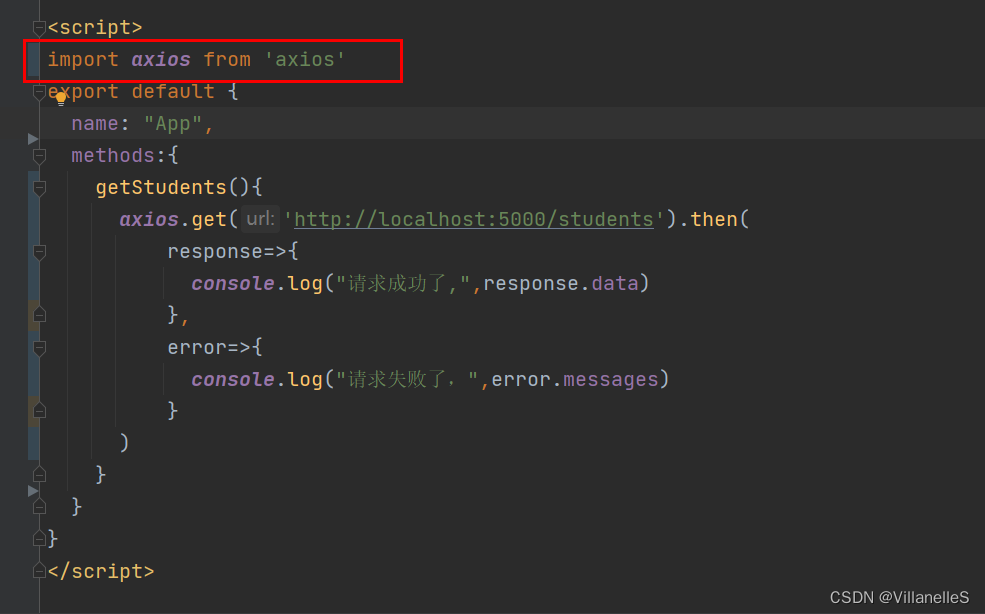
import axios from ‘axios’
发送axios请求
App.vue
<template><divclass="bg"><button@click="getStudents">获取学生信息</button></div></template><script>import axios from'axios'exportdefault{name:"App",methods:{getStudents(){
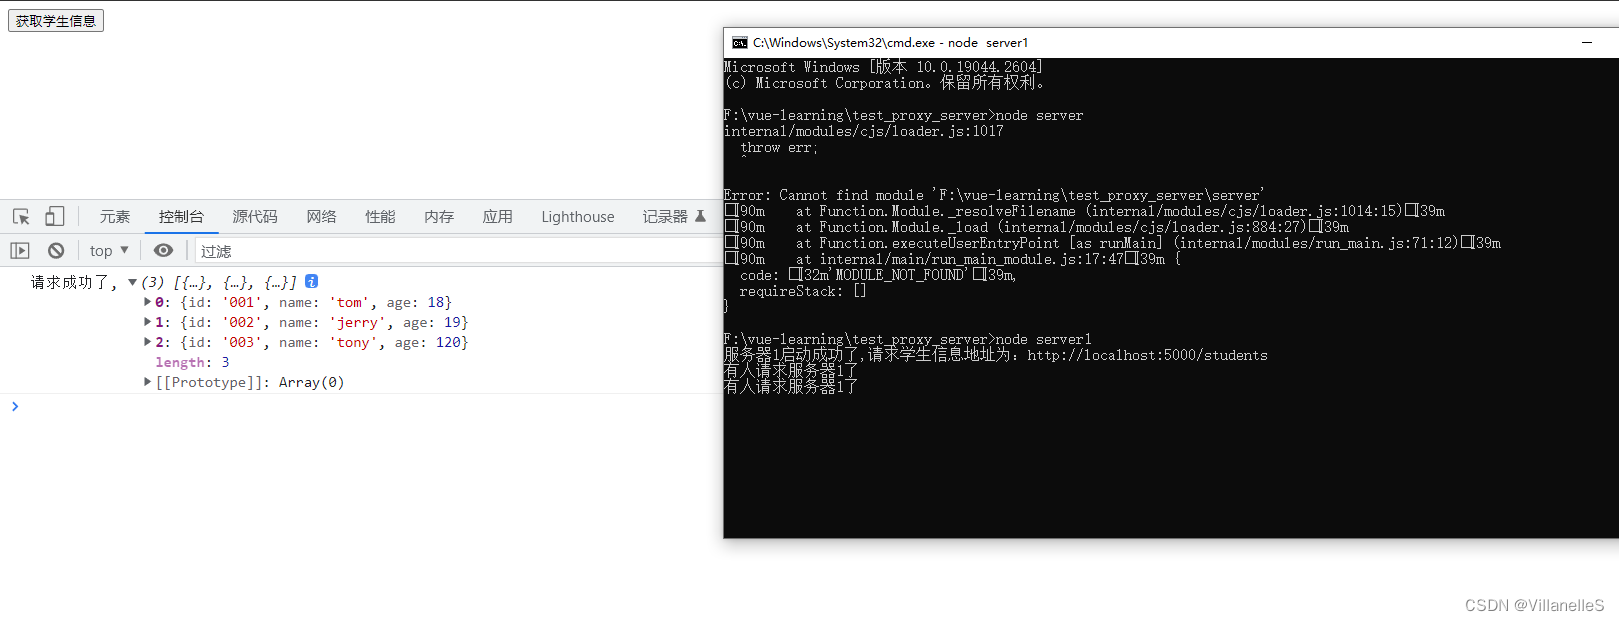
axios.get('http://localhost:5000/students').then(response=>{
console.log("请求成功了,",response.data)},error=>{
console.log("请求失败了,",error.messages)})}}}</script><stylelang="less"></style>

跨域问题解决
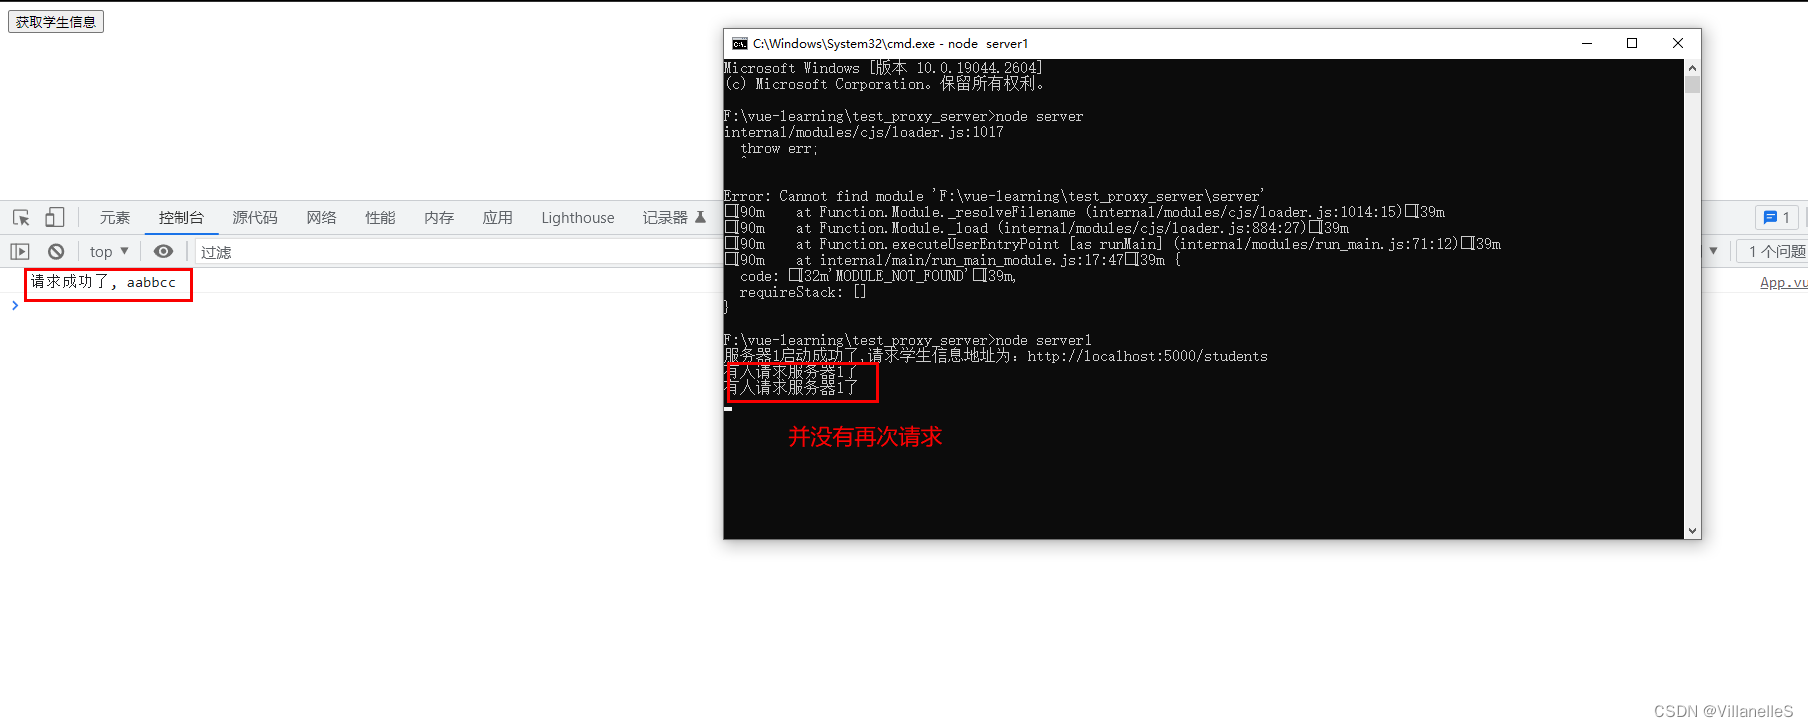
- 跨域:违背了同源策略(协议名、主机名、端口号三者一致) 过程:localhost:8080 向 localhost:5000 请求数据,localhost:5000也及时响应给8080了,localhost:8080拿到数据了,但是发现跨域了,并没有再请求localhost:5000了
- 解决跨域的三种方式 (1)cors: 通过响应时候加上一些特殊的响应头让浏览器识别(后端操作) (2)jsonp:通过script的src属性在引入外部资源时候不受同源策略限制特点实现,但是只能解决get请求,并不常用 (3)代理服务器:

- 开启代理服务器的方式: (1)nginx 反向代理方式(学习成本高,这里不赘述) (2)vue-cli 开启代理服务器
- vue-cli开启代理服务器 devserver-proxy官方文档
代理服务器开启:方式一
vue.config.js:
const{ defineConfig }=require('@vue/cli-service')
module.exports =defineConfig({transpileDependencies:true,pages:{index:{//入口entry:'src/main.js'}},lintOnSave:true,//关闭语法检查//开启代理服务器devServer:{proxy:'http://localhost:5000'}})
App.vue:
<template><divclass="bg"><button@click="getStudents">获取学生信息</button></div></template><script>import axios from'axios'exportdefault{name:"App",methods:{getStudents(){
      axios.get('http://localhost:8080/students').then(response=>{
            console.log("请求成功了,",response.data)},error=>{
            console.log("请求失败了,",error.messages)})}}}</script><stylelang="less"></style>
缺点:1.只能代理一个服务器 2.若8080自身有的文件,不会再去请求服务器了,直接从自身上找
例子:
代理服务器开启:方式二
// 开启代理服务器:方式二devServer:{proxy:{'/view':{target:'http://localhost:5000',pathRewrite:{'^/view':''},//路径重写,将/view路径覆盖成空ws:true,//用于支持websocket,默认为truechangeOrigin:true,//用于控制请求头中的host值(是否跨域),默认为true},//简写'/demo':{target:"http://localhost:5001",pathRewrite:{'^/demo':''},}}}
server1.js
const express =require('express')const app =express()

app.use((request,response,next)=>{
    console.log('有人请求服务器1了');
    console.log('请求来自于',request.get('Host'));
    console.log('请求的地址',request.url);next()})

app.get('/students',(request,response)=>{const students =[{id:'001',name:'tom',age:18},{id:'002',name:'jerry',age:19},{id:'003',name:'tony',age:120},]
    response.send(students)})

app.listen(5000,(err)=>{if(!err) console.log('服务器1启动成功了,请求学生信息地址为:http://localhost:5000/students');})
server2.js
const express =require('express')const app =express()

app.use((request,response,next)=>{
    console.log('有人请求服务器2了');next()})

app.get('/cars',(request,response)=>{const cars =[{id:'001',name:'奔驰',price:199},{id:'002',name:'马自达',price:109},{id:'003',name:'捷达',price:120},]
    response.send(cars)})

app.listen(5001,(err)=>{if(!err) console.log('服务器2启动成功了,请求汽车信息地址为:http://localhost:5001/cars');})
vue.config.js
const{ defineConfig }=require('@vue/cli-service')
module.exports =defineConfig({transpileDependencies:true,pages:{index:{//入口entry:'src/main.js'}},lintOnSave:true,//关闭语法检查// //开启代理服务器:方式一// devServer: {//   proxy: 'http://localhost:5000'// }// 开启代理服务器:方式二devServer:{proxy:{'/view':{target:'http://localhost:5000',pathRewrite:{'^/view':''},//路径重写,将/view路径覆盖成空ws:true,//用于支持websocket,默认为truechangeOrigin:true,//用于控制请求头中的host值(是否跨域),默认为true},//简写'/demo':{target:"http://localhost:5001",pathRewrite:{'^/demo':''},}}}})
App.vue
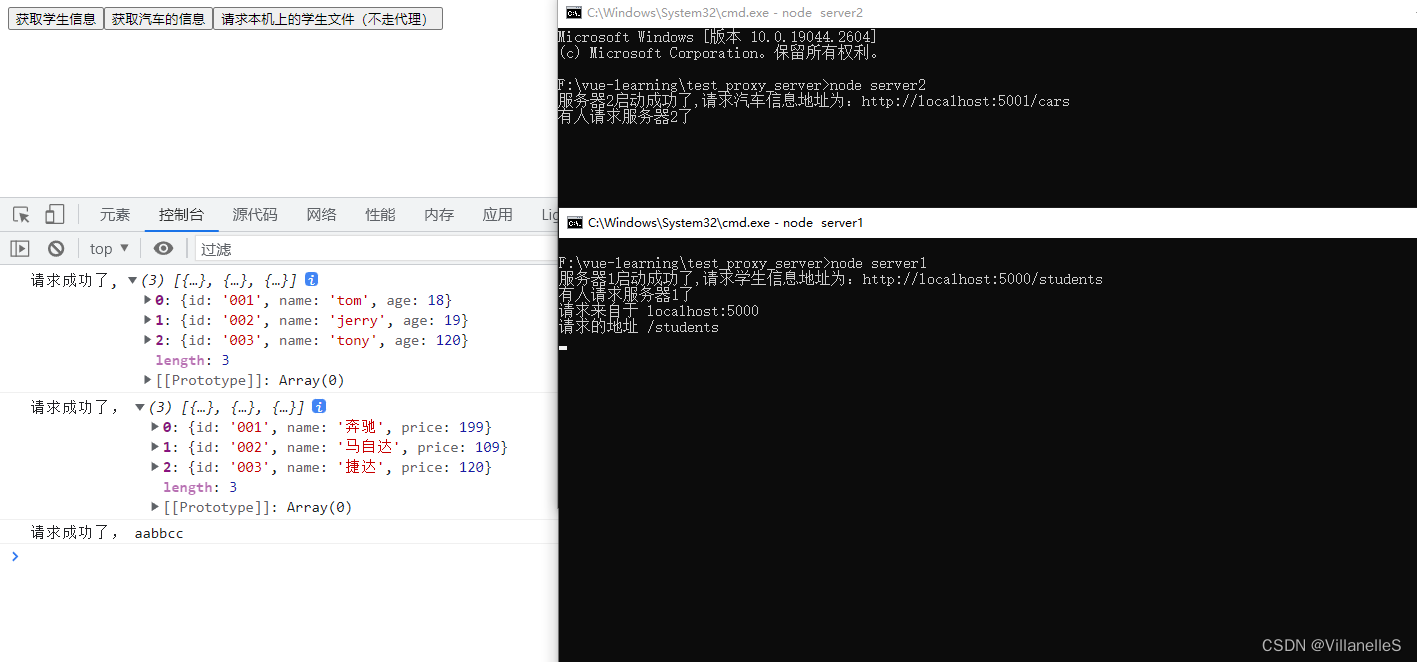
<template><divclass="bg"><button@click="getStudents">获取学生信息</button><button@click="getCars">获取汽车的信息</button><button@click="getLocal">请求本机上的学生文件(不走代理)</button></div></template><script>import axios from'axios'exportdefault{name:"App",methods:{getStudents(){
      axios.get('http://localhost:8080/view/students').then(response=>{
            console.log("请求成功了,",response.data)},error=>{
            console.log("请求失败了,",error.messages)})},getCars(){
      axios.get('http://localhost:8080/demo/cars').then(response=>{
            console.log("请求成功了,",response.data)},error=>{
            console.log("请求失败了,",error.message)})},getLocal(){
      axios.get('http://localhost:8080/students').then(response=>{
            console.log("请求成功了,",response.data)},error=>{
            console.log("请求失败了,",error.message)})}}}</script><stylelang="less"></style>
总结:Vue脚手架配置代理
方法一
在vue.config.js中添加如下配置:
devServer:{proxy:'http://localhost:5000'}
说明:
- 优点:配置简单,请求资源时直接发给前端(8080)即可。
- 缺点:不能配置多个代理,不能灵活的控制请求是否走代理。
- 工作方式:若按照上述配置代理,当请求了前端不存在的资源时,那么该请求会转发给服务器(优先匹配前端资源)
方法二
编写vue.config.js配置具体代理规则:
module.exports={devServer:{proxy:{'/api1':{target:'http://localhost:5000',//代理目标的基础路径changeOrigin:true,pathRewrite:{'^/api1':''}}}}}
github案例
静态组件
本文转载自: https://blog.csdn.net/qq_34306228/article/details/129282818
版权归原作者 VillanelleS 所有, 如有侵权,请联系我们删除。
版权归原作者 VillanelleS 所有, 如有侵权,请联系我们删除。