
python web GUI框架-NiceGUI 教程(一)
streamlit可以在一些简单的场景下仍然推荐使用,但是streamlit实在不灵活,受限于它的核心机制,NiceGUI是一个灵活的web框架,可以做web网站也可以打包成独立的exe。
基本元素
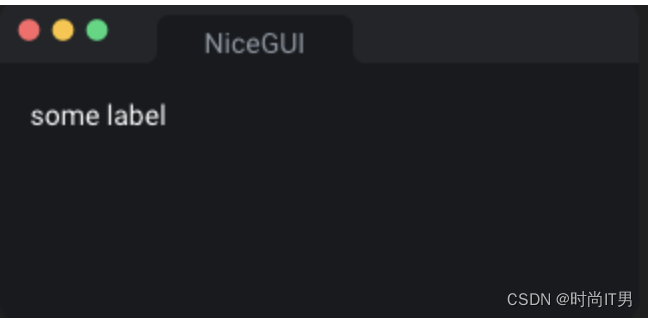
Label
显示一些文本。
from nicegui import ui
ui.label('some label')
ui.run()
Icon
这些元素是基于 Quasar’s QIcon 实现的。
from nicegui import ui
ui.icon('thumb_up', color='primary').classes('text-5xl')
ui.run()

Avatar
avatar 元素是 Quasar’s QAvatar 实现的。
from nicegui import ui
ui.avatar('favorite_border', text_color='grey-11', square=True)
ui.avatar('img:https://nicegui.io/logo_square.png', color='blue-2')
ui.run()

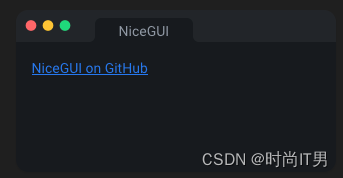
Link
Create a hyperlink.
创建超链接。要跳转到页面中的特定位置,您可以使用ui.link_target(“name”)放置可链接的锚点,并使用ui.link(target=“#name”)链接到该锚点。
from nicegui import ui
ui.link('NiceGUI on GitHub','https://github.com/zauberzeug/nicegui')
ui.run()
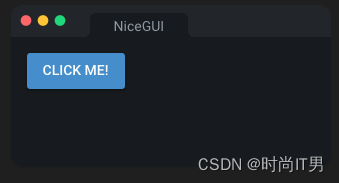
Button
这个元素是基于Quasar’s QBtn 实现的。
颜色参数接受类Quasar颜色、Tailwind颜色或CSS颜色。如果使用Quasar颜色,按钮将根据Quasar主题包括文本的颜色进行样式设置。注意,像"red"这样的颜色既是Quasar的颜色,也是CSS的颜色。在这种情况下,Quasar的颜色将被使用。
from nicegui import ui
ui.button('Click me!', on_click=lambda: ui.notify(f'You clicked me!'))
ui.run()
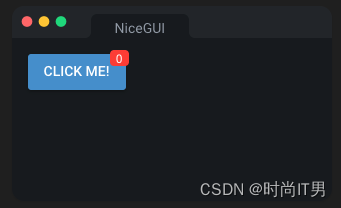
Badge
badge 元素基于 Quasar’s QBadge 完成。
from nicegui import ui
with ui.button('Click me!', on_click=lambda: badge.set_text(int(badge.text)+1)):
    badge = ui.badge('0', color='red').props('floating')
ui.run()
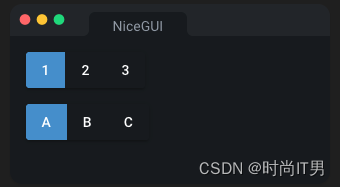
Toggle
这些选项可以指定为值列表,也可以指定为将值映射到标签的字典。在操作选项之后,调用update()来更新UI中的选项。
from nicegui import ui
toggle1 = ui.toggle([1,2,3], value=1)
toggle2 = ui.toggle({1:'A',2:'B',3:'C'}).bind_value(toggle1,'value')
ui.run()
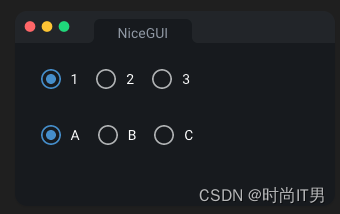
Radio Selection
这些选项可以指定为值列表,也可以指定为将值映射到标签的字典。在操作选项之后,调用update()来更新UI中的选项。
from nicegui import ui
radio1 = ui.radio([1,2,3], value=1).props('inline')
radio2 = ui.radio({1:'A',2:'B',3:'C'}).props('inline').bind_value(radio1,'value')
ui.run()
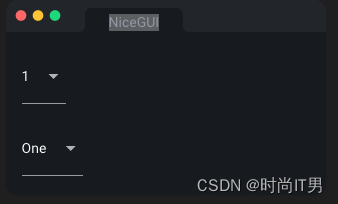
Dropdown Selection
这些选项可以指定为值列表,也可以指定为将值映射到标签的字典。在操作选项之后,调用update()来更新UI中的选项。
from nicegui import ui
select1 = ui.select([1,2,3], value=1)
select2 = ui.select({1:'One',2:'Two',3:'Three'}).bind_value(select1,'value')
ui.run()
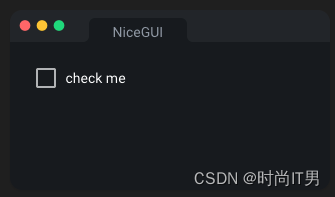
Checkbox
from nicegui import ui
checkbox = ui.checkbox('check me')
ui.label('Check!').bind_visibility_from(checkbox,'value')
ui.run()
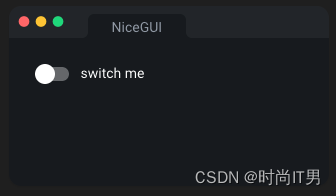
Switch
from nicegui import ui
switch = ui.switch('switch me')
ui.label('Switch!').bind_visibility_from(switch,'value')
ui.run()
本文转载自: https://blog.csdn.net/sinat_35773915/article/details/132542529
版权归原作者 时尚IT男 所有, 如有侵权,请联系我们删除。
版权归原作者 时尚IT男 所有, 如有侵权,请联系我们删除。