自动配置
springboot自动配置原理:
1.springboot启动会加载大量的自动配置类;
2.需要看一下我们需要的功能有没有在springboot默认写好的自动配置类中;
3.再看一下在自动配置类中到底配置了哪些组件(只要需要的组件存在其中,就不需要手动配置);、
4.给容器中自动配置类添加组件的时候,可以从properties类中获取某些属性。只需要在配置文件中添加指定属性的值就可以了;
依旧接一篇文章:springboot的基本配置_程程呀是小白的博客-CSDN博客
- 就是上一篇的续写,也就是接着继续学习
在springboot,如何处理静态资源
在springboot,我们可以使用两种方式处理静态资源:
1.webjars localhost:8080/webjars/
2.public,static,resources,/** localhost:8080/
优先级:
resources>static(默认)>public
thymeleaf模板引擎
(首先了解一下模板引擎的作用(百度找的)
模板引擎的作用就是我们来写一个页面模板,比如有些值是动态的,我们写一些表达式。而这些值从哪里来?我们来组装一些数据,把这些数据找到,然后把这个模板和这个数据交给我们模板引擎,模板引擎按照我们这个数据帮你把这表达式解析、填充到我们指定的位置,然后把这个数据最终生成一个我们想要的内容给我们写出去,这就是模板引擎,不管是jsp还是其他模板引擎,都是这个思想。只不过,就是说不同模板引擎之间,他们可能这个语法不一样。SpringBoot给我们推荐的Thymeleaf是一个高级语言的模板引擎,它的语法简单,功能强大。
怎么使用Thymeleaf
Thymeleaf模板引擎的官方地址、
1、Thymeleaf官网:Thymeleaf
2、Spring官方文档:Thymeleaf
)
知道在springboot中,默认使用的是HTML页面,jsp在springboot中默认已经取消掉了。虽然在经过配置还是可以使用,但是在springboot中推荐我们使用的是HTML页面,但是HTML有一个弊端,就是数据信息没有办法在页面获取,所以thymeleaf帮助解决了这样的问题
Thymeleaf是一个模板引擎,可以用来代替jsp页面。之所以使用jsp页面就是为了使用jstl或者ognl表达式获取页面数据
特点
1.使用方便,学习简单,快速得实现表单得数据绑定。
2.Thymeleaf支持HTML原型,在服务不运行得情况下,可以直接运行,可以让美工在浏览器上直接查看页面的静态效果,也可以支持开发人员在服务器运行时查询动态页面效果。
3.在html标签中增加了额外得属性来达到模版+数据得展示方式,在浏览器解析html页面时,会自动忽略html标签中未定义得属性,达到可以显示静态页面效果;当有数据返回时,thymeleaf标签会动态得替换掉静态内容,显示动态页面。
4.提供了标准和spring标准两种语言,实现jstl,ognl表达式得效果。
创建一个thymeleaf项目


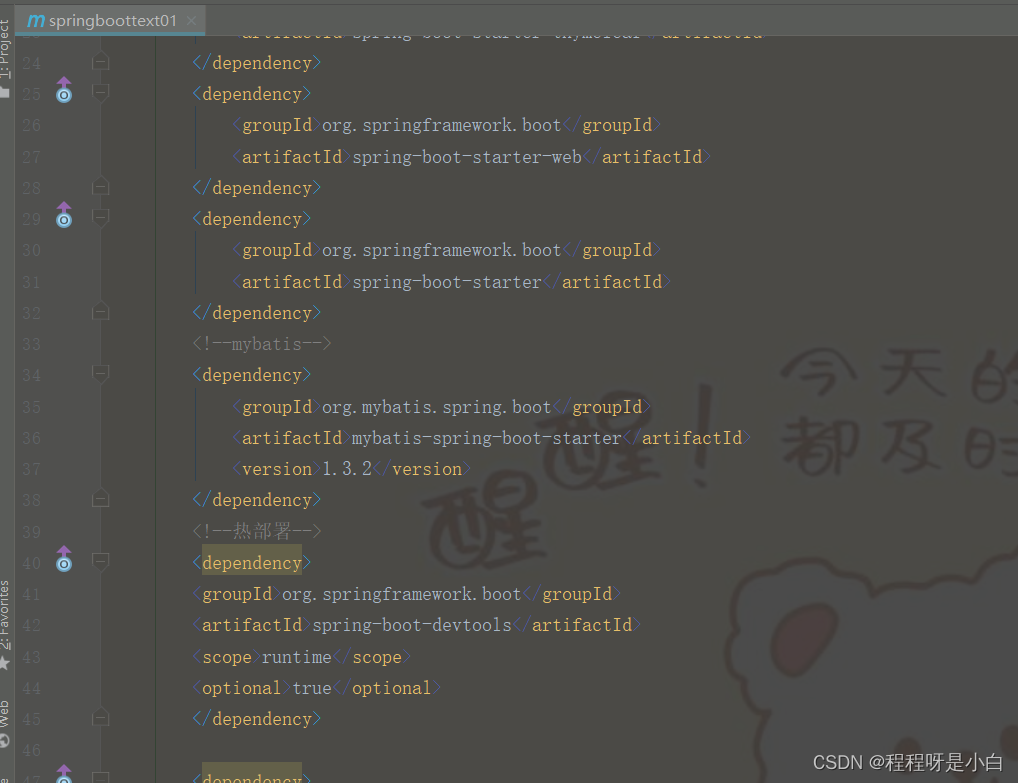
在pom.xml中添加依赖
加入热部署,MySQL,web和thymeleaf模板
mybatis配置
<dependency>

<groupId>org.mybatis.spring.boot</groupId>

<artifactId>mybatis-spring-boot-starter</artifactId>

<version>1.3.2</version>

</dependency>
热部署代码块如下:
<!--热部署-->

<dependency>

<groupId>org.springframework.boot</groupId>

<artifactId>spring-boot-devtools</artifactId>

<scope>runtime</scope>

<optional>true</optional>

</dependency>
MySQL代码块如下:
<!--mysql-->

<dependency>

<groupId>mysql</groupId>

<artifactId>mysql-connector-java</artifactId>

</dependency>

这是所有的pom.xml文件内容(除了开头)
<parent><groupId>org.springframework.boot</groupId>
<artifactId>spring-boot-starter-parent</artifactId>
<version>2.6.4</version>
<relativePath/>
</parent><groupId>com.ccy</groupId>
<artifactId>springboottext01</artifactId>
<version>0.0.1-SNAPSHOT</version>
<packaging>war</packaging>
<name>springboottext01</name>
<description>Demo project for Spring Boot</description>
<properties><java.version>1.8</java.version>
</properties> <dependencies> <dependency><groupId>org.springframework.boot</groupId>
<artifactId>spring-boot-starter-thymeleaf</artifactId>
</dependency> <dependency><groupId>org.springframework.boot</groupId>
<artifactId>spring-boot-starter-web</artifactId>
</dependency> <dependency><groupId>org.springframework.boot</groupId>
<artifactId>spring-boot-starter</artifactId>
</dependency> <dependency><groupId>org.mybatis.spring.boot</groupId>
<artifactId>mybatis-spring-boot-starter</artifactId>
<version>1.3.2</version>
</dependency> <dependency><groupId>org.springframework.boot</groupId>
<artifactId>spring-boot-devtools</artifactId>
<scope>runtime</scope>
<optional>true</optional>
</dependency> <dependency><groupId>org.springframework.boot</groupId>
<artifactId>spring-boot-devtools</artifactId>
<scope>runtime</scope>
<optional>true</optional>
</dependency> <dependency><groupId>mysql</groupId>
<artifactId>mysql-connector-java</artifactId>
<scope>runtime</scope>
</dependency> <dependency><groupId>org.springframework.boot</groupId>
<artifactId>spring-boot-starter-tomcat</artifactId>
<scope>provided</scope>
</dependency> <dependency><groupId>org.springframework.boot</groupId>
<artifactId>spring-boot-starter-test</artifactId>
<scope>test</scope>
</dependency> </dependencies> <build> <plugins> <plugin><groupId>org.springframework.boot</groupId>
<artifactId>spring-boot-maven-plugin</artifactId>
</plugin> </plugins> </build> </project>
备注:本人自己学习的笔记,希望可以对其产生帮助
程程呀是小白的博客_CSDN博客-毕业季,vue,redis领域博主
版权归原作者 程程呀是小白 所有, 如有侵权,请联系我们删除。