UniApp 是一个基于 Vue.js 的跨平台应用框架,可以用来开发同时运行在多个平台(如微信小程序、支付宝小程序、App等)的应用程序。在 UniApp 中,组件的使用与 Vue.js 中的组件使用基本类似,但需要考虑跨平台兼容性。
UniApp 组件的基本使用方法:
1. 创建组件文件
在 UniApp 项目中创建一个新的组件,通常将组件文件保存在
components
文件夹下。

- 在 components 文件夹下创建组件文件夹: 如果 components 文件夹不存在,需要先创建它。然后在 components 文件夹下创建一个新的文件夹,用于保存新组件的相关文件。
- 创建组件的 Vue 文件: 在新创建的组件文件夹中,创建一个以
.vue结尾的 Vue 单文件组件,其中包含了组件的模板、脚本和样式。
<!-- my-component.vue -->
<template>
  <view>
    <text>{{ message }}</text>
  </view>
</template>

<script>
export default {
  data() {
    return {
      message: 'Hello UniApp!'
    };
  }
}
</script>

<style scoped>
/* 样式只在当前组件有效 */
</style>
2. 在页面中使用组件
在需要使用该组件的页面中,通过相对路径引入该组件,并在页面的
components
部分进行注册。
例如,在
pages/index/index.vue
中引入和注册
MyComponent
组件:
<!-- pages/index/index.vue -->
<template>
  <view>
    <my-component />
  </view>
</template>

<script>
import MyComponent from '@/components/my-component.vue';

export default {
  components: {
    MyComponent
  }
}
</script>

<style scoped>
/* 样式只在当前页面有效 */
</style>
3. 组件间通信
在 UniApp 中,组件间通信可以通过 props 和事件来实现。
通过 props 传递数据
<!-- parent-component.vue -->
<template>
  <child-component :message="parentMessage" />
</template>

<script>
import ChildComponent from '@/components/child-component.vue';

export default {
  components: {
    ChildComponent
  },
  data() {
    return {
      parentMessage: 'Hello from Parent'
    };
  }
}
</script>
<!-- child-component.vue -->
<template>
  <view>
    <text>{{ message }}</text>
  </view>
</template>

<script>
export default {
  props: ['message']
}
</script>
通过事件传递数据
<!-- child-component.vue -->
<template>
  <button @click="sendMessage">Send Message</button>
</template>

<script>
export default {
  methods: {
    sendMessage() {
      this.$emit('custom-event', 'Message from Child');
    }
  }
}
</script>
<!-- parent-component.vue -->
<template>
  <child-component @custom-event="handleCustomEvent" />
</template>

<script>
import ChildComponent from '@/components/child-component.vue';

export default {
  components: {
    ChildComponent
  },
  methods: {
    handleCustomEvent(message) {
      console.log(message); // Output: "Message from Child"
    }
  }
}
</script>
easycom组件
传统vue组件,需要安装、引用、注册,三个步骤后才能使用组件。
easycom
将其精简为一步。
easycom组件的使用
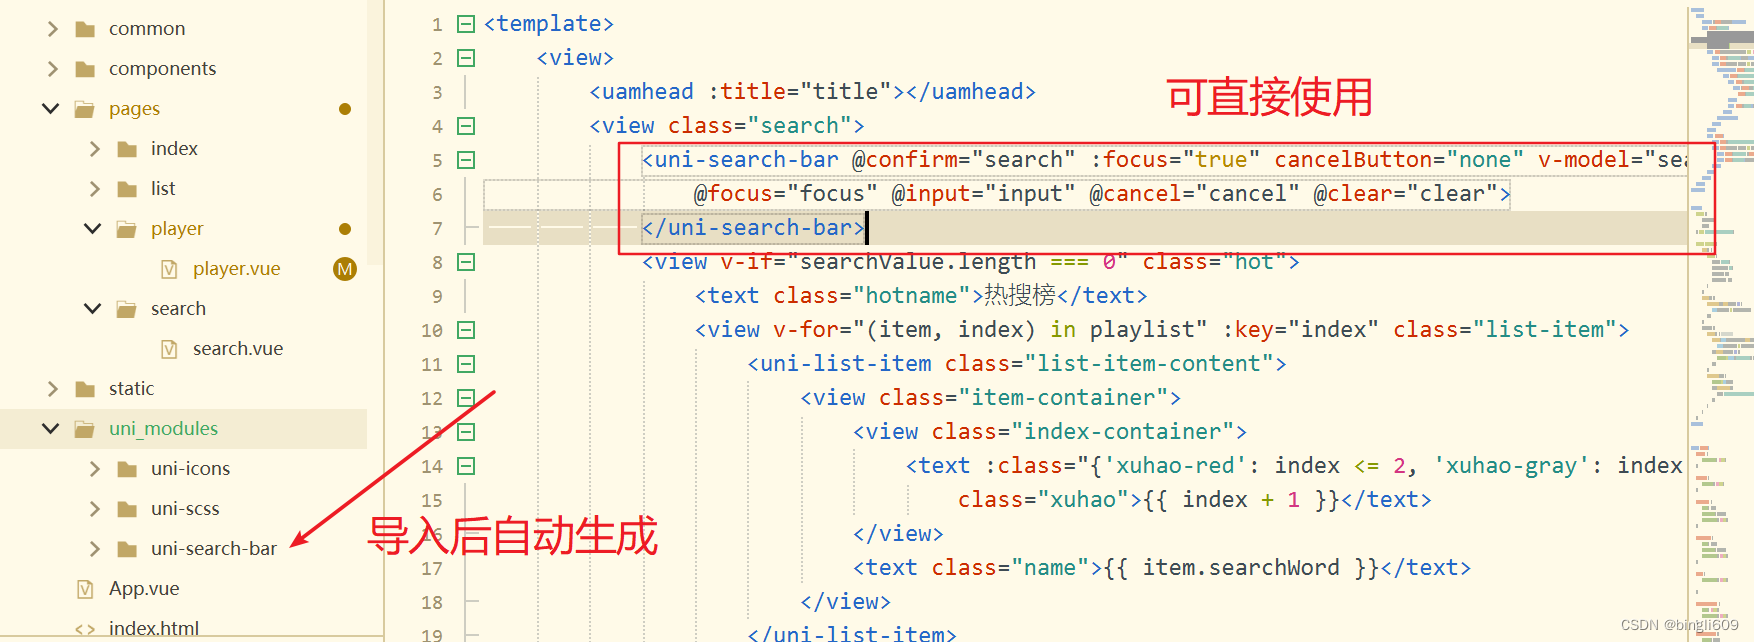
只要组件安装在项目的components目录下或
uni_modules
目录下,并符合
components/组件名称/组件名称.(vue|uvue)
目录结构


例如:
引用:组件使用的入门教程 | uni-app官网 (dcloud.net.cn)
uni-app项目后,存放在了目录/components/uni-rate/uni-rate.vue
同时它的组件名称也叫uni-rate,所以这样的组件,不用在script里注册和引用。 如下:
<template>
        <view>
            <uni-rate></uni-rate><!-- 这里会显示一个五角星,并且点击后会自动亮星 -->
        </view>
    </template>
<script>
    // 这里不用import引入,也不需要在components内注册uni-list组件。template里就可以直接用
    export default {
        data() {
            return {

            }
        }
    }
</script>
uni-ui
uni-ui 是DCloud提供的一个跨端ui库,它是基于vue组件的、flex布局的、无dom的跨全端ui框架。
uni-ui
不包括内置组件,它是内置组件的补充
uni-ui使用
uni-ui 介绍 | uni-app官网 (dcloud.net.cn)
DCloud 插件市场
1. 导入 Uni-UI
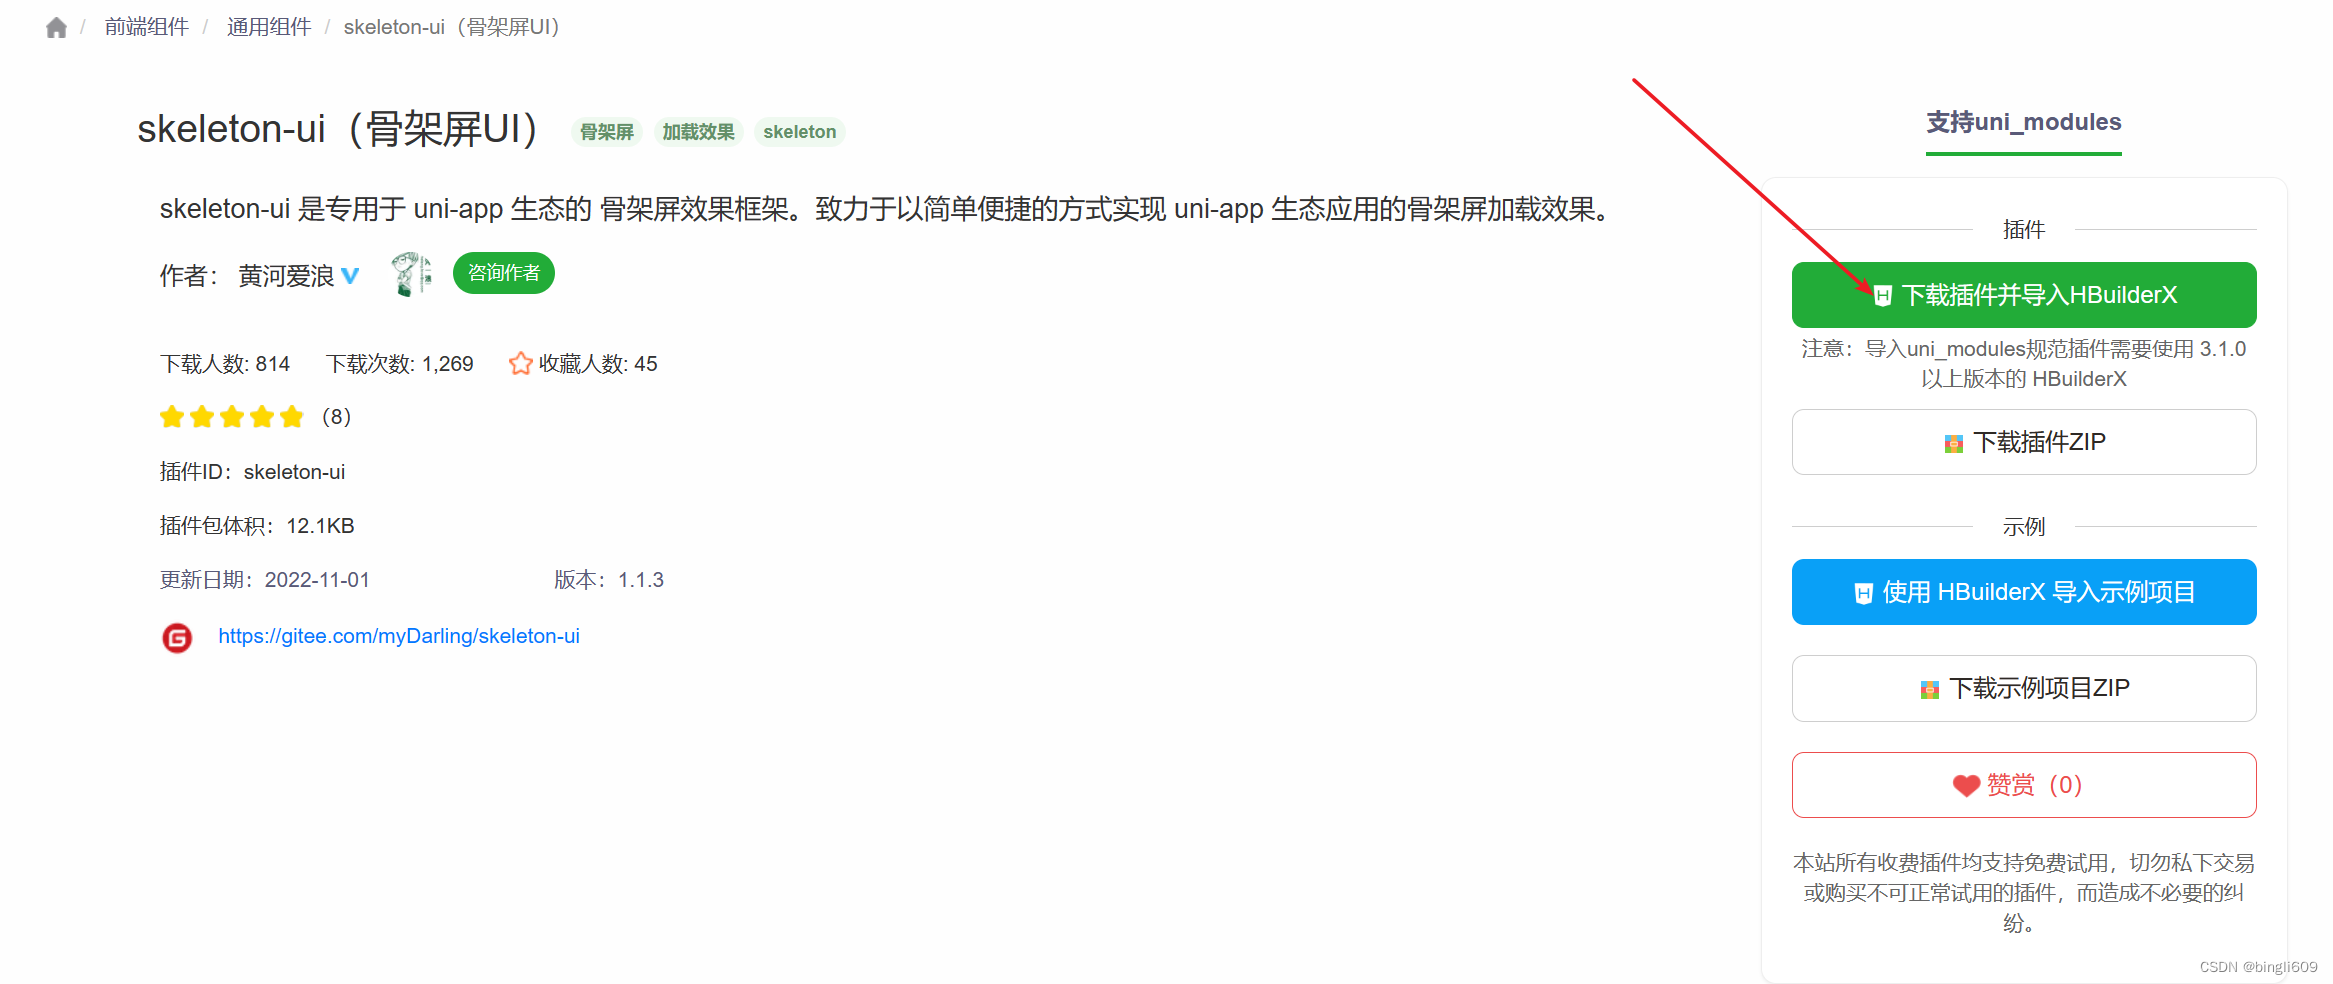
首先,需要在 UniApp 项目中导入 Uni-UI。你可以从 DCloud 的插件市场中找到 Uni-UI,并将其导入到你的项目中。在 HBuilderX 或其他支持 UniApp 的编辑器中,选择插件市场,搜索并导入 Uni-UI。
找到插件后直接导入并使用

<template>
  <view>
    <!-- 使用 Uni-UI 的按钮组件 -->
    <uni-button type="primary">Primary Button</uni-button>
  </view>
</template>

<script>
// 注意:Uni-UI 的组件一般会自动注册,不需要额外导入
export default {
  // 页面相关配置
}
</script>

<style>
/* 在 style 标签中编写样式 */
</style>
3. 样式定制
Uni-UI 提供了一套默认的样式,但你也可以根据项目需求对样式进行定制。可以在全局样式中覆盖 Uni-UI 的默认样式,或者在各个组件的样式中进行局部调整。
4. 学习文档和示例
Uni-UI 提供了详细的文档和示例,可以帮助你了解每个组件的用法和参数。在使用 Uni-UI 时,建议查阅文档以获得更多帮助和指导。
5. 开发和调试
使用 Uni-UI 开发项目时,可以像使用其他 Vue 组件库一样进行开发和调试。注意组件的引入方式以及参数的传递,确保与 Uni-UI 的规范和要求相符。

版权归原作者 bingli609 所有, 如有侵权,请联系我们删除。