目录
前言
编译器:vscode、idea、mysql5.7
技术:springboot+mybatis+mysql+lombok+vue
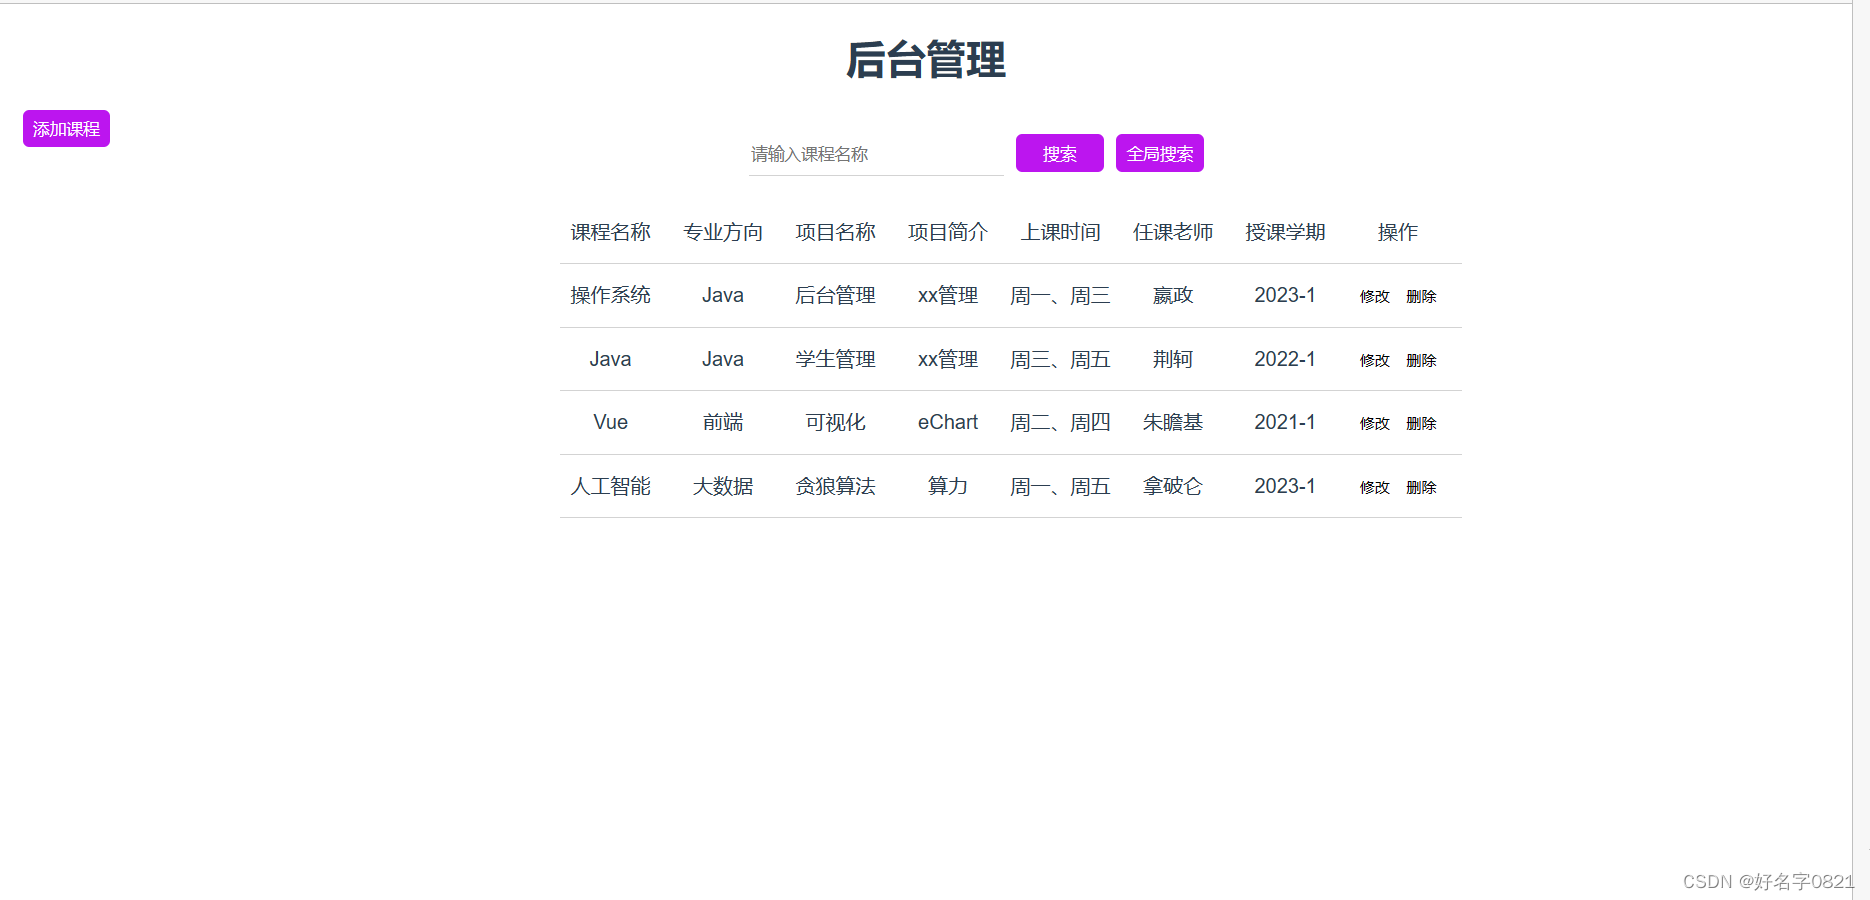
实现内容:实现前后端数据交互。
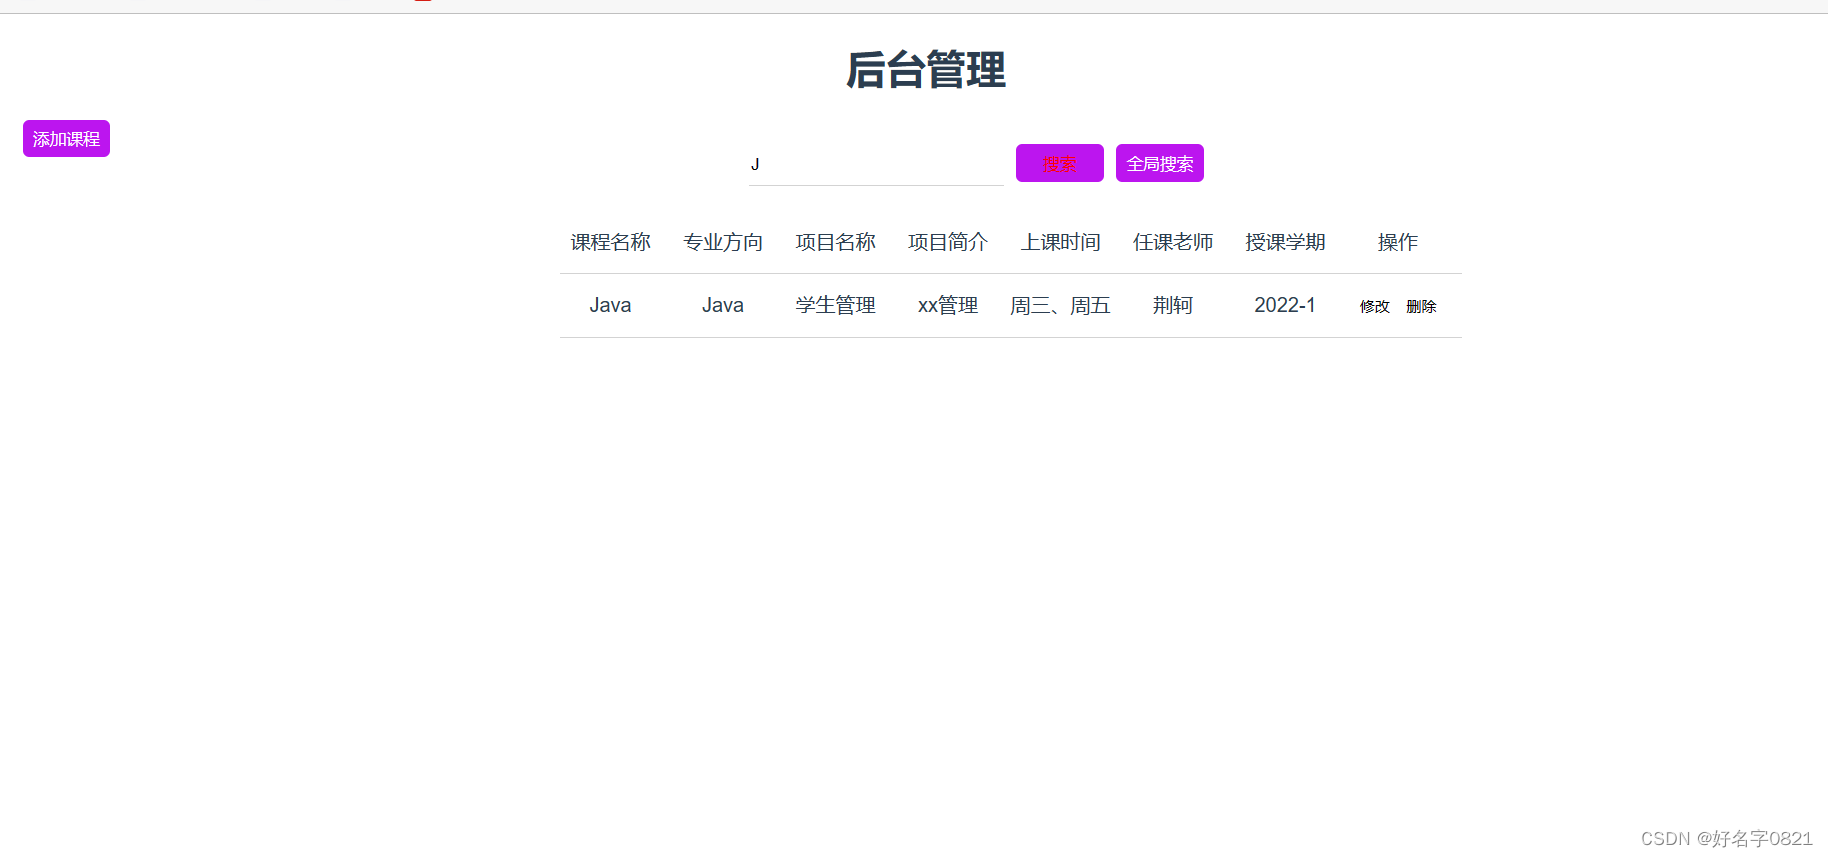
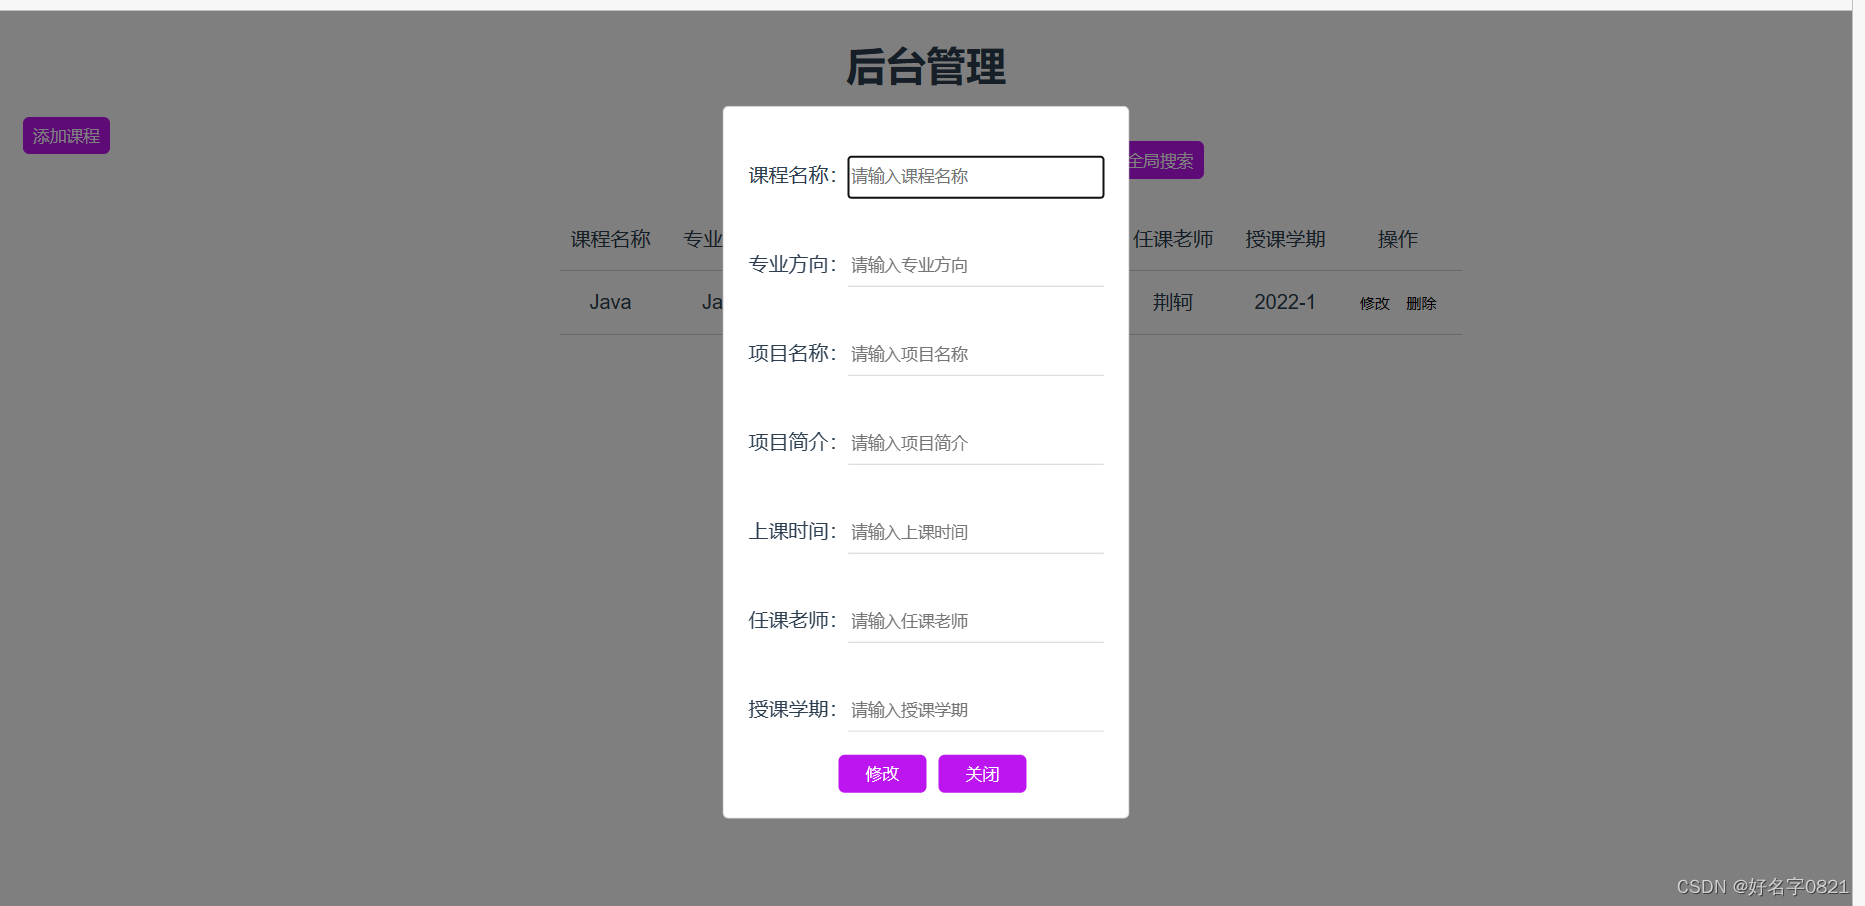
实现效果:


一、准备工作
因为vue和springboot是前后端分离的,所以在开始交互前首先需要解决跨域问题,可以在前端做也可以在后端加配置类,这里我是在后端加的CORS策略配置类。
@Configurationpublicclass cors {@BeanpublicWebMvcConfigurercorsConfigurer(){returnnewWebMvcConfigurer(){@OverridepublicvoidaddCorsMappings(CorsRegistry registry){
                registry.addMapping("/**").allowedOriginPatterns("*").allowedMethods("GET","POST","PUT","DELETE").allowedHeaders("*").allowCredentials(true).maxAge(3600);}};}}
还需要在前端下载并配置好axios库,vscode的终端里面输入命令行即可下载
npm install axios
下载成功后点击main.js并配置
importVue from 'vue'importApp from './App.vue'
importaxios from 'axios'Vue.config.productionTip =false// 全局挂载axiosVue.prototype.$axios=axios
newVue({
  axios,
  render: h =>h(App),}).$mount('#app')//若本地项目调试使用
axios.defaults.baseURL = 'http://localhost:8080';
首先导入axios库
importaxios from `axios`
导入成功后在new Vue中挂载在app中
最后设置我们的基础url
axios.defaults.baseURL='基础路径'
二、实现过程
1.后端
这里的后端唯一的难点可能就是mapper的sql语句了,因为我这里是单表连接,所以就非常简洁高效,这里我只展示mapper.xml的代码
<?xml version="1.0" encoding="UTF-8"?><!DOCTYPE mapper PUBLIC "-//mybatis.org//DTD Mapper 3.0//EN""http://mybatis.org/dtd/mybatis-3-mapper.dtd"><mapper namespace="com.wjm.hxx.mapper.mapper"><insert id="addtest">
        insert into test(cname,direction,project,introduce,classtime,tid,semester)values(#{cname},#{direction},#{project},#{introduce},#{classtime},#{tid},#{semester})</insert><update id="updtest">
        update test set cname=#{cname},direction=#{direction},project=#{project},introduce=#{introduce},classtime=#{classtime},tid=#{tid},semester=#{semester} where id=#{id}</update><delete id="deltest">
        delete from test where id=#{id}</delete><select id="querytest" resultType="com.wjm.hxx.pojo.test">
        select * from test
    </select><select id="queryByIdtest" resultType="com.wjm.hxx.pojo.test">
        select * from test where cname like concat('%',#{cname},'%')</select></mapper>
2.前端
用axiosHTTP库调用get、post方法的语法格式如下,
this.$axios.post/get(`/url?id=${id}`).then(res=>{
        console.log(res)})
在上述代码块中,我们调用axios库的post或get方法,并且用then方法进行回调函数的调用,同时如果我们如果想要传递参数需要用到**参数名=${this.传递参数}**,这样就可以进行前后端交互,而样式和template模板这里就不再赘述。
前端代码如下:
<template><div class="hello"><h1>{{ msg }}</h1><div><input type="text" placeholder="请输入课程名称" v-model="cname"><button class="btn" v-on:click="queryById(cname)">搜索</button><button class="btn" style="float:left;left:20px;" v-on:click="addshow">添加课程</button><button v-on:click="query"class="btn">全局搜索</button></div><div class="overlay" id="overlay"></div><div class="auform" id="auform"><label>课程名称:</label><input type="text" placeholder="请输入课程名称" v-model="cname"><br><br><label>专业方向:</label><input type="text" placeholder="请输入专业方向" v-model="direction"><br><br><label>项目名称:</label><input type="text" placeholder="请输入项目名称" v-model="project"><br><br><label>项目简介:</label><input type="text" placeholder="请输入项目简介" v-model="introduce"><br><br><label>上课时间:</label><input type="text" placeholder="请输入上课时间" v-model="classtime"><br><br><label>任课老师:</label><input type="text" placeholder="请输入任课老师" v-model="tid"><br><br><label>授课学期:</label><input type="text" placeholder="请输入授课学期" v-model="semester"><br><br><button v-if="addflag"class="btn"@click="add">添加</button><button v-else-if="updflag"class="btn"@click="upd">修改</button><button class="btn" v-on:click="close">关闭</button></div><div class="table"><div class="tr"><span class="th">课程名称</span><span class="th">专业方向</span><span class="th">项目名称</span><span class="th">项目简介</span><span class="th">上课时间</span><span class="th">任课老师</span><span class="th">授课学期</span><span class="th">操作</span></div><div class="tr" v-for="(item,index) in arrayList":key="index"><span class="td">{{ item.cname }}</span><span class="td">{{ item. direction}}</span><span class="td">{{ item.project }}</span><span class="td">{{ item.introduce }}</span><span class="td">{{ item.classtime }}</span><span class="td">{{ item.tid }}</span><span class="td">{{ item.semester }}</span><span class="td"><button class="sbtn" v-on:click="updshow(item.id)">修改</button><button class="sbtn" v-on:click="del(item.id)">删除</button></span></div></div></div></template><script>
export default{
  name: 'HelloWorld',data(){return{
      arrayList:[],
      cname:"",
      direction:"",
      project:"",
      introduce:"",
      classtime:"",
      tid:"",
      semester:"",
      id:1,
      addflag:false,
      updflag:false}},
  props:{
    msg:String},mounted(){this.query()},
  methods:{
    query:function(){this.$axios.get(`http://localhost:8080/querytest`).then((res)=>{if(res.data){this.arrayList=res.data
    console.log(res.data)}else{
     console.log("fail")}})},
    add:function(){this.$axios.post(`/addtest?cname=${this.cname}&&direction=${this.direction}&&project=${this.project}&&introduce=${this.introduce}&&classtime=${this.classtime}&&tid=${this.tid}&&semester=${this.semester}`).then((res=>{
        console.log(res)this.close()this.query();}))},
    del:function(item){this.$axios.get(`/deltest?id=${item}`).then((res=>{
          console.log(res)this.query()}))},
    queryById:function(cname){this.$axios.get(`/queryByIdtest?cname=${cname}`).then(res=>{
          console.log(res.data)this.arrayList=res.data
        })},
    upd:function(){this.$axios.post(`/updtest?id=${this.id}&cname=${this.cname}&direction=${this.direction}&project=${this.project}&introduce=${this.introduce}&classtime=${this.classtime}&tid=${this.tid}&semester=${this.semester}`).then((res=>{
        console.log(res.data)this.close()this.query()}))},addshow(){this.addflag=true;
      document.getElementById('overlay').style.display='block';
      document.getElementById('auform').style.display='block'},updshow(id){this.id=id
      this.updflag=true;
      document.getElementById('overlay').style.display='block';
      document.getElementById('auform').style.display='block'},close(){this.addflag=false,this.updflag=false,
      document.getElementById('overlay').style.display='none';
      document.getElementById('auform').style.display='none'}}}</script><!--Add"scoped" attribute tolimit CSS tothis component only --><style scoped>.btn{
  color:white;
  margin-left:10px;
  height:30px;
  width:70px;
  border:none;
  background-color:rgb(188,21,239);
  border-radius:5px;}
input{
  margin-top:20px;
  border:none;
  border-bottom:1px solid lightgray;
  width:200px;
  height:30px;}.table{
  margin-left:30%;
  margin-top:20px;
  width:auto;
  height:auto;}.tr{
  width:100vh;
  border-bottom:1px solid lightgray;
  height:50px;}.th,.td{
  line-height:50px;
  display:inline-block;
  width:80px;
  margin-right:10px;}.sbtn{
  line-height:15px;
  border:none;
  font-size:1px;
  width:37.5px;
  display:inline;}
button{
  background-color: white;}
button:hover{
  color:red;}.auform{
  position: fixed;
            top:50%;
            left:50%;
            transform:translate(-50%,-50%);
            padding:20px;
            background-color: #fff;
            border:1px solid #ccc;
            border-radius:5px;
            display: none;/* 默认隐藏 */}/* 遮罩层样式 */.overlay {
            position: fixed;
            top:0;
            left:0;
            width:100%;
            height:100%;
            background-color:rgba(0,0,0,0.5);
            display: none;/* 默认隐藏 */}</style>
版权归原作者 好名字0821 所有, 如有侵权,请联系我们删除。