
一、安装Scrapy
1,window安装
pip install Scrapy
2,安装selenium
pip install selenium
3,下载Chrome驱动
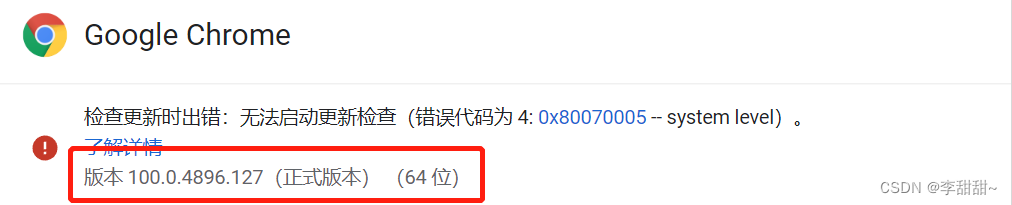
     a,查看Google Chrome浏览器版本

            Chrome驱动下载地址http://chromedriver.storage.googleapis.com/index.html
b,找到和你版本最接近的哪个安装包

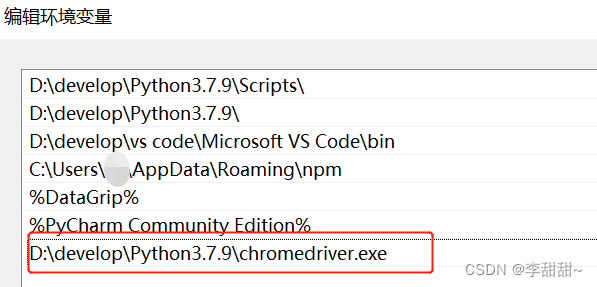
c,下载好之后将我们的chromedriver放到和我们python安装路径相同的目录下

d,配置环境变量
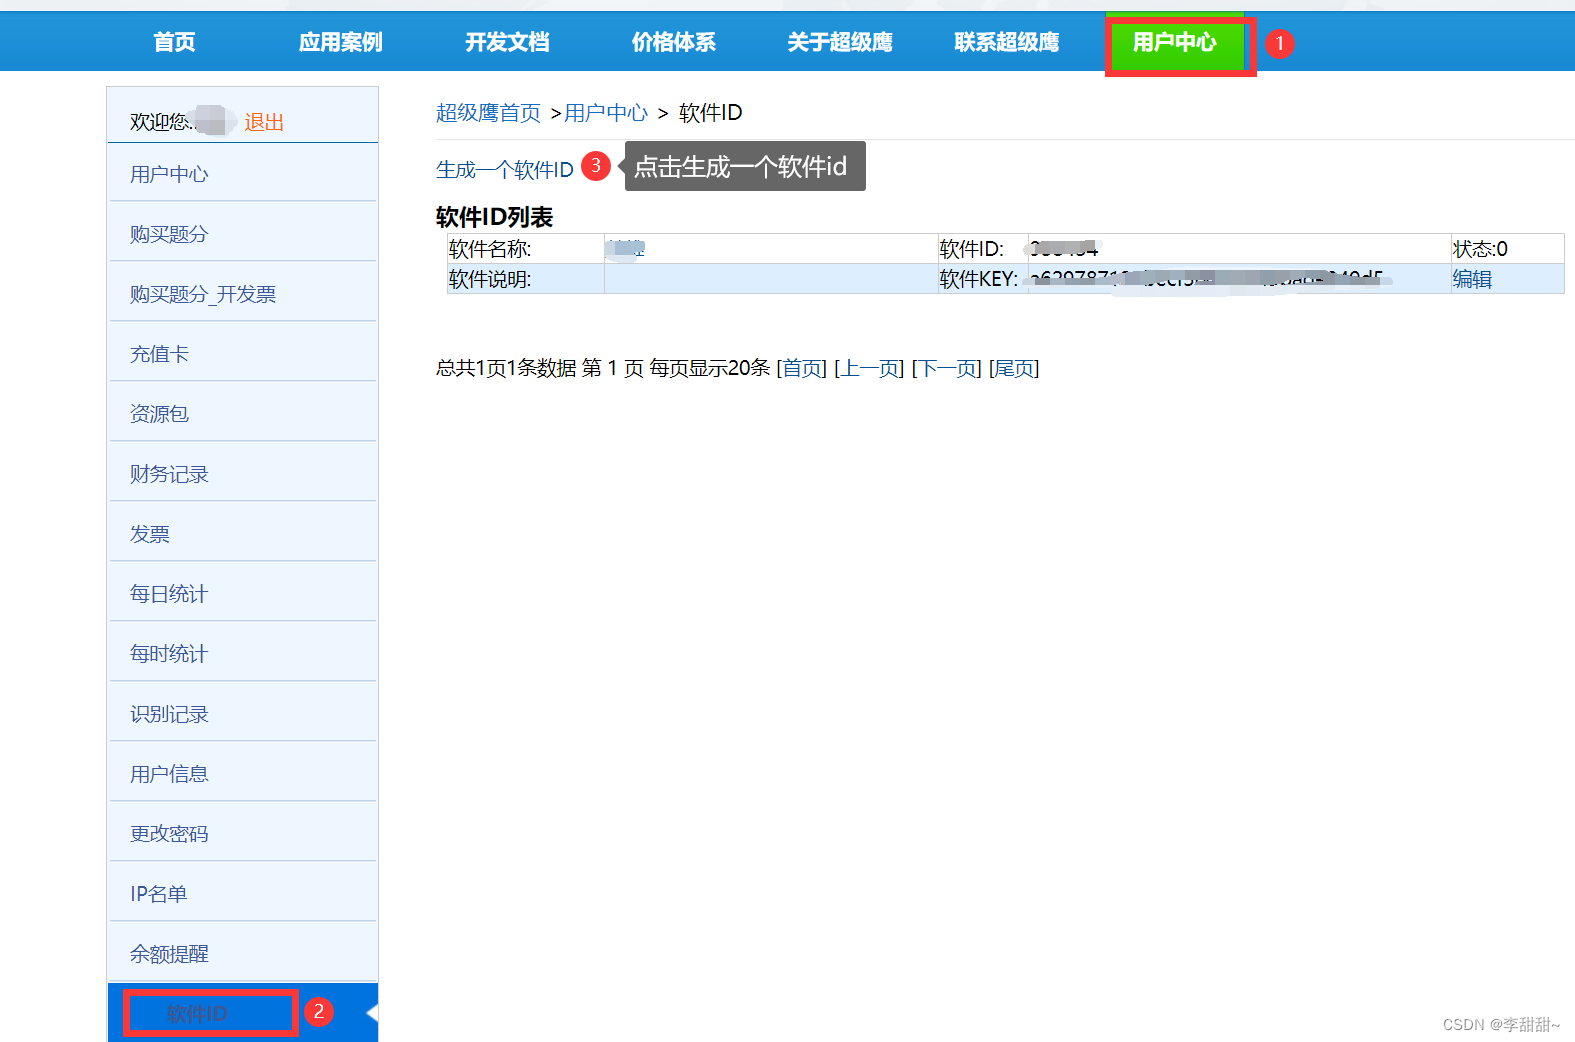
4,超级鹰验证码识别
a,超级鹰官网 https://www.chaojiying.com/
b,注册,登入
c,生成软件id
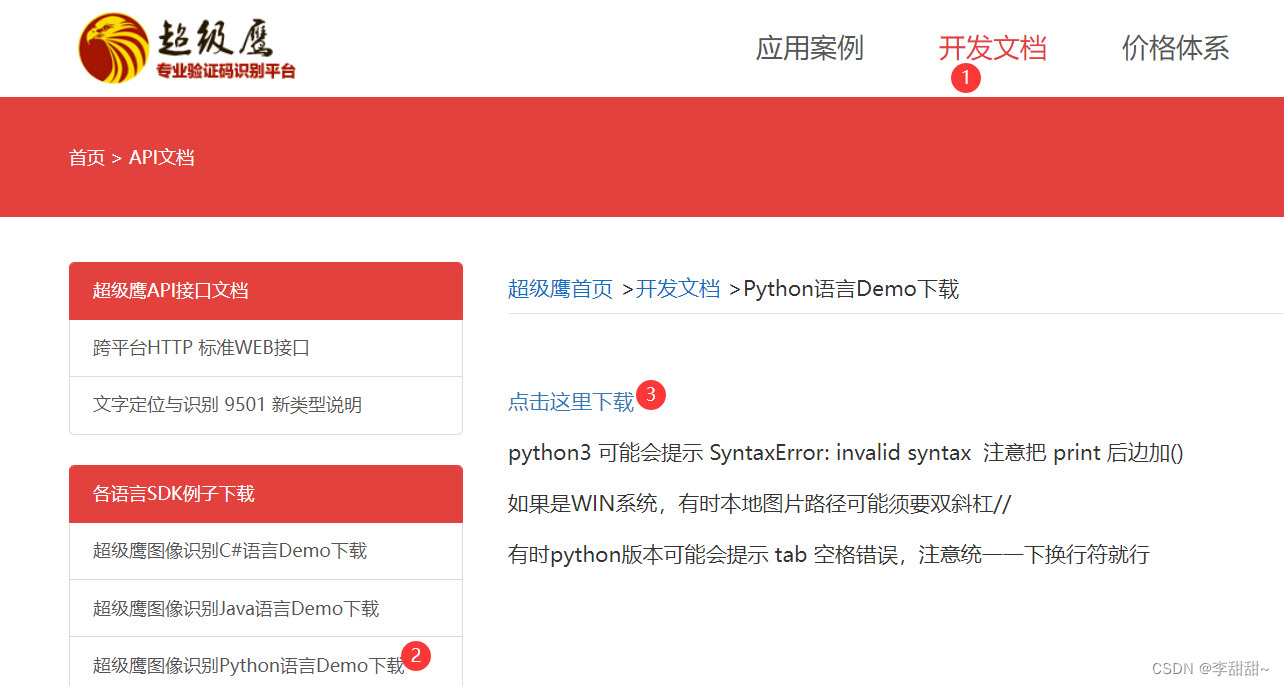
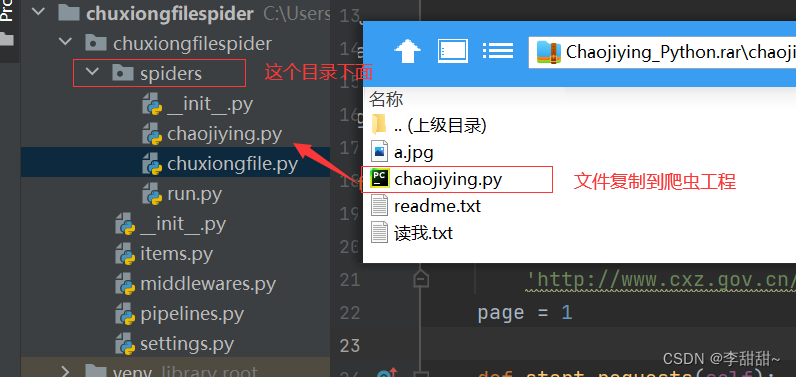
d,下载,放置到爬虫工程目录下
二、Scrapy项目生成
1,win + R
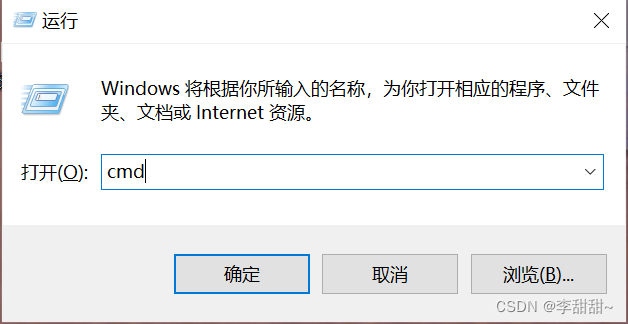
2,输入命令
# 切换到自己想要的路径 cd C:\Users\(用户名)\Desktop\spider
# 创建工程 scrapy startproject (项目名)
# 切换到新创建的文件夹 cd hellospider
# 创建爬虫项目 scrapy genspider (爬虫名) (爬取网址的域名)


3,使用pycharm打开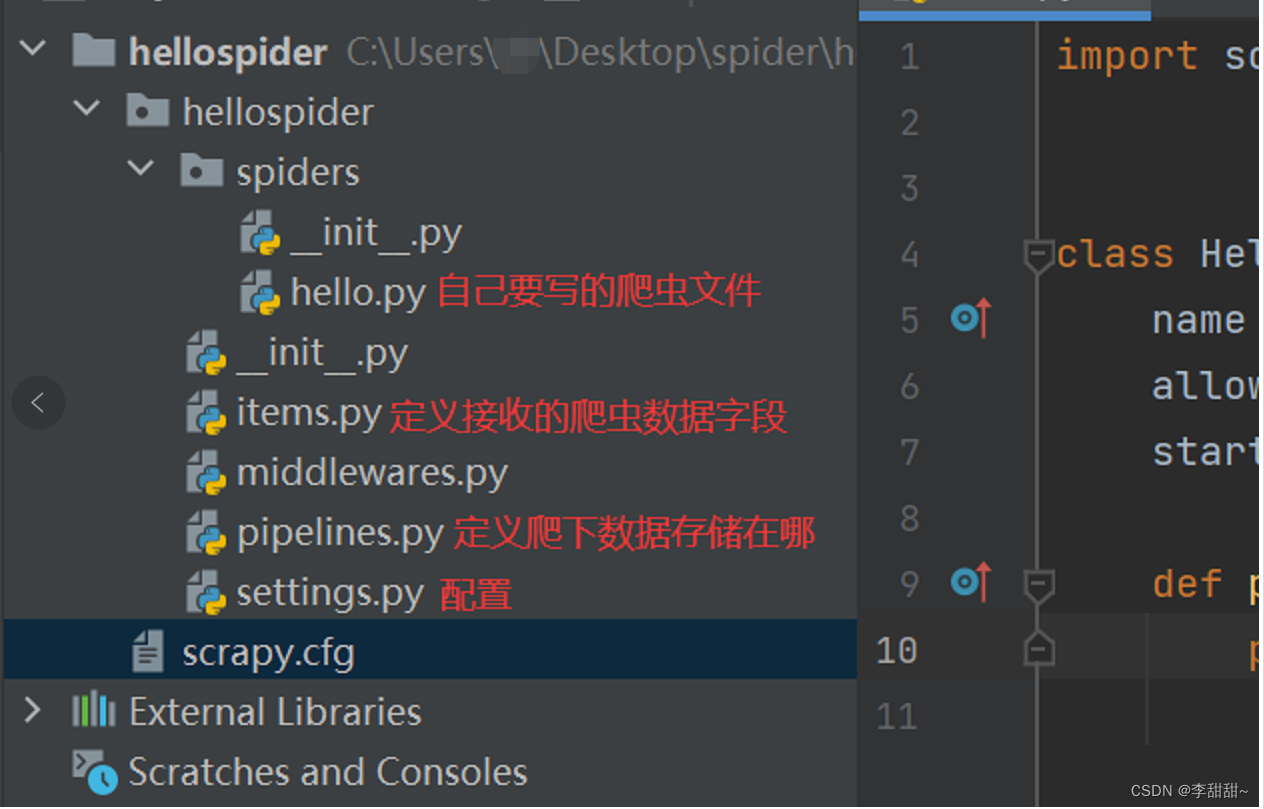
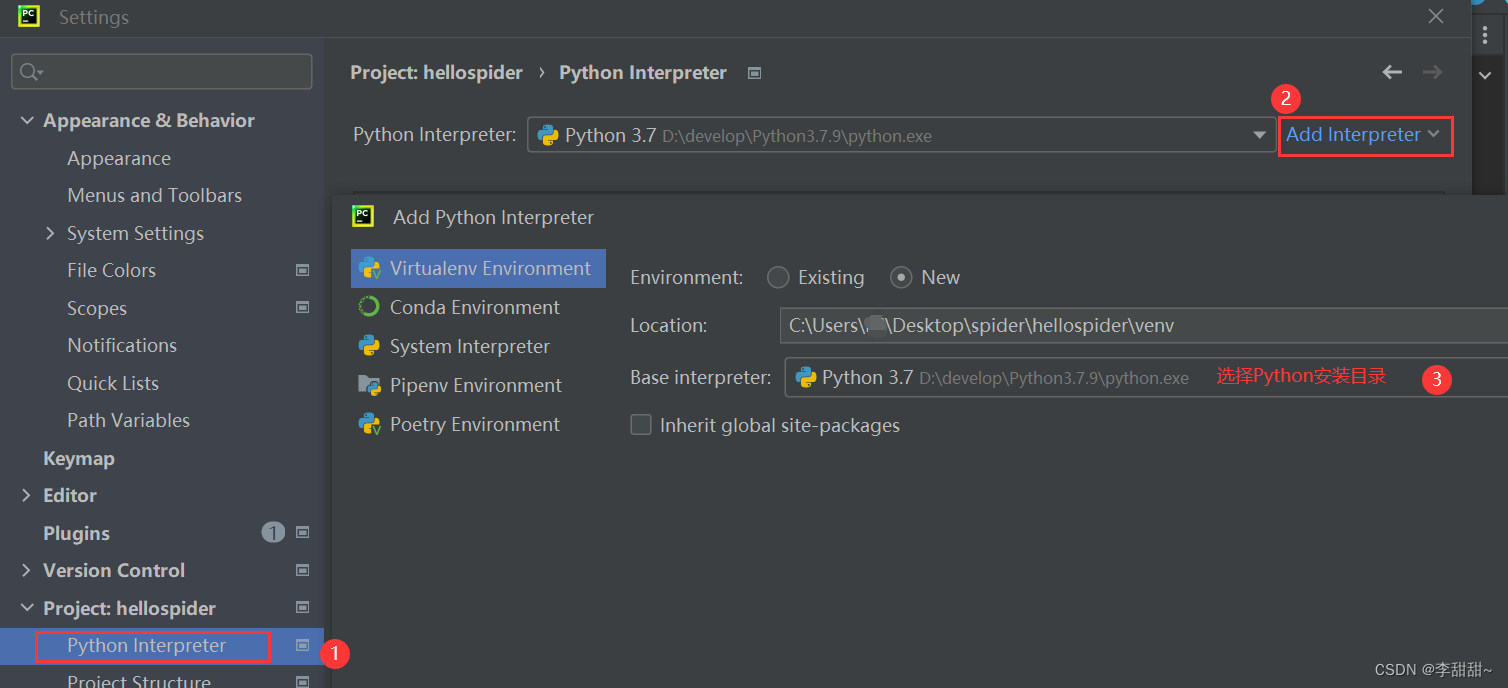
4, 修改为虚拟环境()
file->setting
pycharm里面的命令行,再次安装scrapy,selenium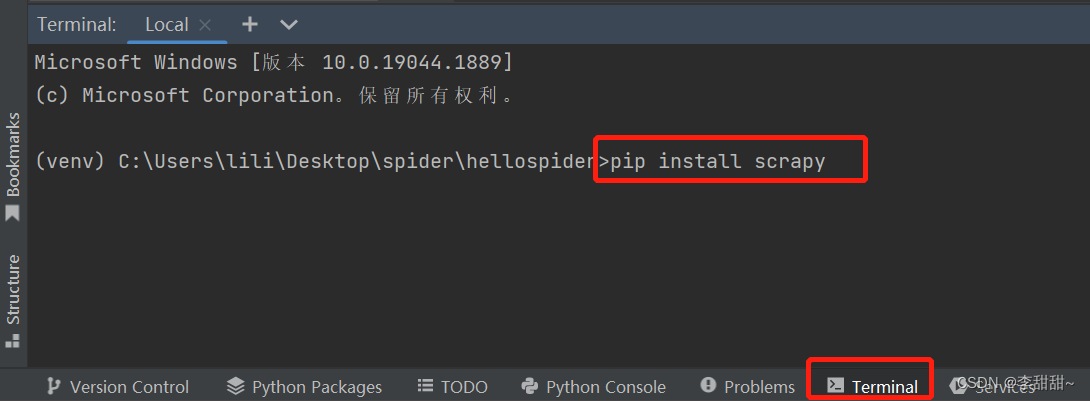
三、爬取某个网站(以下我用之前的创建的项目,不是刚刚新创的)
1,修改setting
# 修改机器人协议
ROBOTSTXT_OBEY = False
# 下载时间间隙
DOWNLOAD_DELAY = 1
# 启用后,当从相同的网站获取数据时,Scrapy将会等待一个随机的值,延迟时间为0.5到1.5之间的一个随机值乘以DOWNLOAD_DELAY
RANDOMIZE_DOWNLOAD_DELAY=True
# 若是请求时间超过60秒,就会报异常,异常机制是会再次发起请求的
DOWNLOAD_TIMEOUT = 60
# 设置请求头
DEFAULT_REQUEST_HEADERS = {
  'Accept': 'text/html,application/xhtml+xml,application/xml;q=0.9,*/*;q=0.8',
  'Accept-Language': 'en',
  'User-Agent':'Mozilla/5.0 (Windows NT 6.2; WOW64) AppleWebKit/537.36 (KHTML, like Gecko) Chrome/27.0.1453.94 Safari/537.36'
}
# 打开一个管道
ITEM_PIPELINES = {
   # '项目名称.pipelines.管道名': 300,
     'chuxiongfilespider.pipelines.ChuxiongfilespiderPipeline': 300,
}
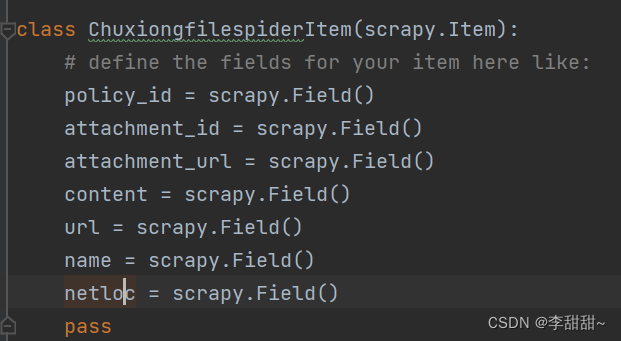
2,items.py文件
定义需要的字段
3,写爬虫文件 chuxiongfile.py
import copy
from datetime import time

import scrapy
from pymysql.converters import escape_string
from scrapy.http import HtmlResponse
from selenium.common import NoSuchElementException
from selenium.webdriver import Chrome
from selenium.webdriver.common.by import By

from chuxiongfilespider.items import ChuxiongfilespiderItem
from chuxiongfilespider.spiders.chaojiying import Chaojiying_Client

import uuid

class ChuxiongfileSpider(scrapy.Spider):
    name = 'chuxiongfile'
    allowed_domains = ['网址']
    start_urls = [
        '爬取的网址']
    page = 1

    def start_requests(self):
        web = Chrome()
        web.get(self.start_urls[0])
        try:
            # selenium版本更新,原find_element_by_xpath需要改写,并导By包
            web.find_element(By.XPATH, '/html/body/form/div/img')
            # screenshot_as_png当前窗口的屏幕快照保存为二进制数据
            img = web.find_element(By.XPATH, '/html/body/form/div/img').screenshot_as_png

            # 超级鹰处理验证码
            chaojiying = Chaojiying_Client('超级鹰登入账号', '超级鹰登入密码', '软件id')
            # 1902处理验证码类型
            dic = chaojiying.PostPic(img, 1902)
            verify_code = dic['pic_str']
            # 填写验证码
            web.find_element(By.XPATH, '//*[@id="visitcode"]').send_keys(verify_code)
            # 点击确定
            time.sleep(2)
            web.find_element(By.XPATH, '/html/body/form/div/input[4]').click()
            # 获取验证码输入后的cookie
            cookies_dict = {cookie['name']: cookie['value'] for cookie in web.get_cookies()}
            web.close()
            yield scrapy.Request(url=self.start_urls[0], cookies=cookies_dict, callback=self.parse)
        except NoSuchElementException:
            yield scrapy.Request(url=self.start_urls[0], callback=self.parse)

    def parse(self, response: HtmlResponse, **kwargs):
        items = ChuxiongfilespiderItem()
        for item in response.css('.tml'):
            items['name'] = item.css('.tcc a::text').extract()[0]
            items['policy_id'] = ''.join(str(uuid.uuid5(uuid.NAMESPACE_DNS, items['name'])).split('-'))
            items['attachment_id'] = '123'
            items['url'] = response.urljoin(item.css('.tcc a::attr(href)').extract_first())
            if item.css('.d a::attr(href)').extract_first() == '':
                items['attachment_url'] = '无下载选项'
            else:
                items['attachment_url'] = response.urljoin(item.css('.d a::attr(href)').extract_first())
            items['netloc'] = '网址'
            yield scrapy.Request(url=items['url'], callback=self.get_details, meta={"items": copy.deepcopy(items)})

    def get_details(self, response):
        items = response.meta['items']
        items['content'] =escape_string(" ".join(response.css('.xzgfwrap').getall()))
        yield items
        if self.page < 2:
            self.page += 1
            url = f'http://(网址)?totalpage=3&PAGENUM={str(self.page)}&urltype' \
                  f'=tree.TreeTempUrl&wbtreeid=3494'
            yield scrapy.Request(url=url, callback=self.parse)  # 使用callback进行回调
4,存储到数据库 pipelines.py
# Define your item pipelines here
#
# Don't forget to add your pipeline to the ITEM_PIPELINES setting
# See: https://docs.scrapy.org/en/latest/topics/item-pipeline.html

# useful for handling different item types with a single interface
from itemadapter import ItemAdapter
import pymysql

class ChuxiongfilespiderPipeline(object):
    mysql = None
    cursor = None  # 执行SQL语句返回游标接口

    def open_spider(self, spider):
        self.mysql = pymysql.Connect(host='localhost', user='数据库用户名', password='数据库用户密码', port=3306, charset='utf8',
                                     database='库名')
        self.cursor = self.mysql.cursor()

    def process_item(self, items, spider):
        # 创建表
        table = 'create table if not exists cx_other(' \
                'id int not null primary key auto_increment' \
                ',policy_id varchar(100)' \
                ',url varchar(1000)' \
                ',attachment_id varchar(100)' \
                ',attachment_url varchar(100)' \
                ',name varchar(150)' \
                ',netloc varchar(50)' \
                ');'
        table_1 = 'create table if not exists cx_other_content(' \
                  'id int not null primary key auto_increment' \
                  ',policy_id varchar(100)' \
                  ',content MEDIUMTEXT NOT NULL' \
                  ');'

        insert = 'insert into cx_other(policy_id,url,attachment_id,attachment_url,name,netloc) ' \
                 'values("%s","%s","%s","%s","%s","%s")' \
                 % (items['policy_id'], items['url'], items['attachment_id'], items['attachment_url'], items['name'], items['netloc'])
        insert_1 = 'insert into cx_other_content(policy_id,content) values("%s","%s")' % (
            items['policy_id'], items['content'])

        try:
            # 数据库断开后重连
            self.mysql.ping(reconnect=True)
            # 创建表
            self.cursor.execute(table)
            self.cursor.execute(table_1)
            # 插入数据
            self.cursor.execute(insert)
            self.cursor.execute(insert_1)
            self.mysql.commit()
            print('===============插入数据成功===============')
        except Exception as e:
            print('===============插入数据失败===============', e)
            self.mysql.rollback()
        return items

    def close_spider(self, spider):
        self.cursor.close()
        self.mysql.close()
本文转载自: https://blog.csdn.net/weixin_41586246/article/details/126697920
版权归原作者 李甜甜~ 所有, 如有侵权,请联系我们删除。
版权归原作者 李甜甜~ 所有, 如有侵权,请联系我们删除。