
文章目录
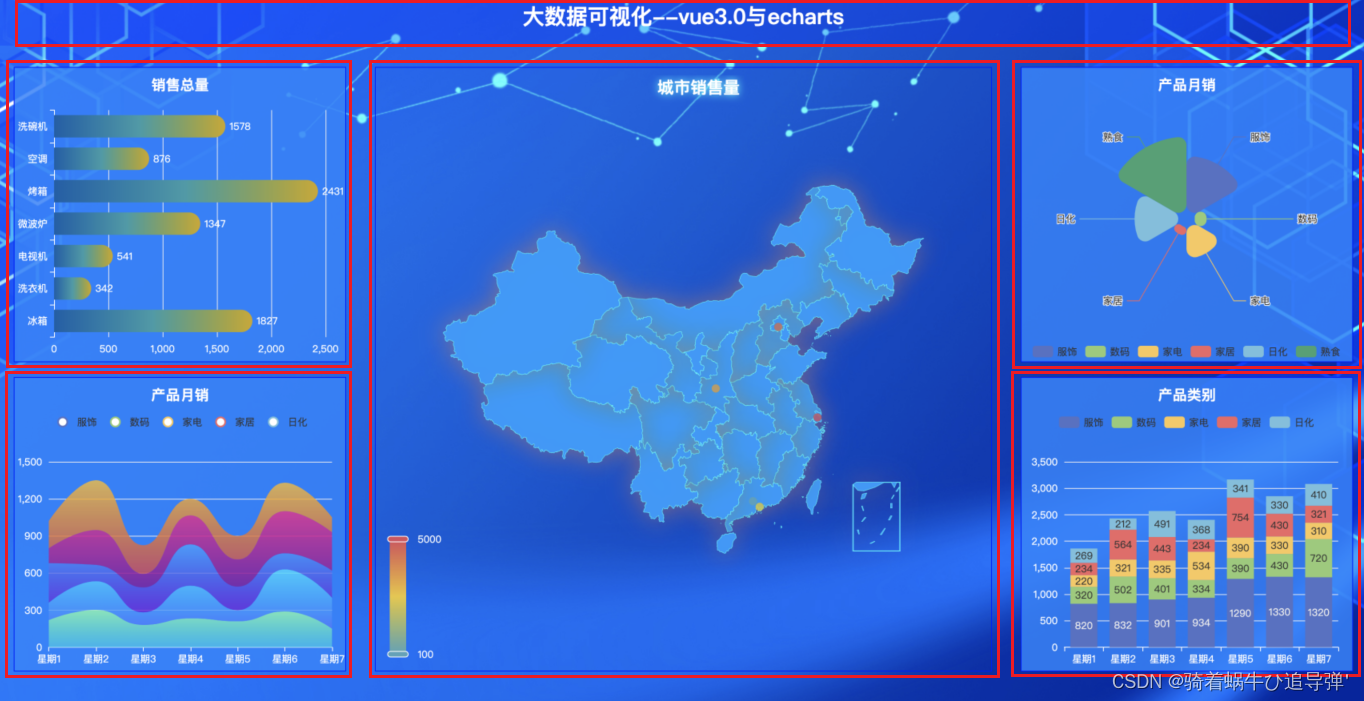
Vue 项目前端响应式布局及框架搭建
环境
- Vue 3.0+Vue-router+axios、flex布局、LESS、rem屏幕适配、echarts 5.0、nodejs+express
一、项目基本结构
二、项目分辨率响应式创建
**项目是需要根据页面的大小改变 做出响应式改变的 所以我们可以使用第三方插件
flexible.js帮助我们修改
html根节点的
font-size大小,从而控制当前页面的
rem(会根据页面的
html根节点
font-size大小改变而改变)样式改变**
1、flexible.js
flexible.js: web自适应方案 ,阿里团队开源的一个库。使用flexible.js轻松搞定各种不同的移动端设备兼容自适应问题。
下载 flexible:
G:\Projects\VsCodeProject\vue\app>npm install --save lib-flexible
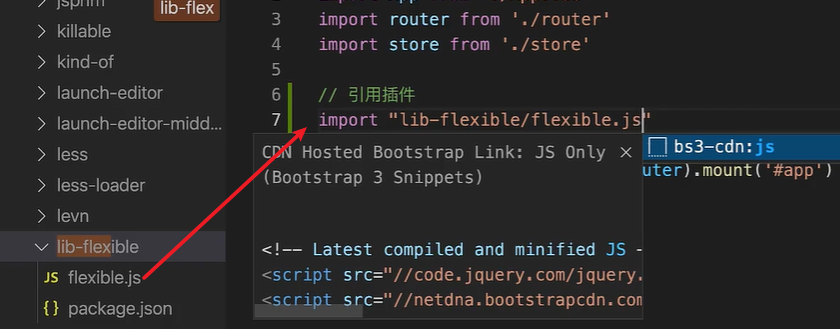
2、引用 flexible 插件
**下载完成后找到
src
下的
main.js
进行配置,import导入:**
3、修改 flexible 默认配置
**默认情况下只会在
540px分辨率
下生效 所以我们需要根据我们的项目分辨率进行调整,在
node_module/lib-flexible/flexible.js
中修改代码如下:**
functionrefreshRem(){var width = docEl.getBoundingClientRect().width;// if (width / dpr > 540) {//     width = 540 * dpr;// }// var rem = width / 10;// 修改 最大值:2560   最小值:400if(width /dpr <400){
        width =400* dpr;}elseif(width /dpr >2560){
        width =2560* dpr;}// 设置成24分 1920px设计稿 1rem=80pxvar rem = width /24;

    docEl.style.fontSize = rem +'px';
    flexible.rem = win.rem = rem;}
**修改好了之后重启项目: ·
G:\Projects\VsCodeProject\vue\app>npm run serve
,这个时候重启项目大家打开浏览器调试器 即可发现在浏览器大小改变的时候 在html根节点上会自动设置一个
font-size
,当我们拖动窗口大小的时候,其值会自动改变。**
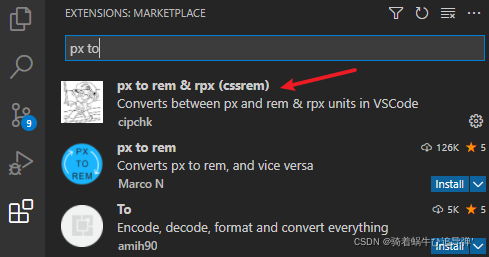
4、cssrem 插件 (px -> rem)
**我们在写代码的时候发现如果我们都根据
80px
为
1rem
在编写代码的时候转换非常的麻烦 所以我们可以在
vscode
中安装一个
cssrem
的插件帮助我们进行转换 ,这样一来开发过程中会更加的方便:**
**我们打开
homePage.vue
页面,添加一个测试的
div
样式,
font-size
设置为
50px
,可以发现提示中自动帮我们转换成了
3.125rem
:**
**如果不能够换成对应的比例,可能
cssrem
还使用的
默认 16px -> 1rem
,找到安装的插件,打开设置,设置
Root Font Size
修改为
80
即可:**
三、项目页面框架搭建
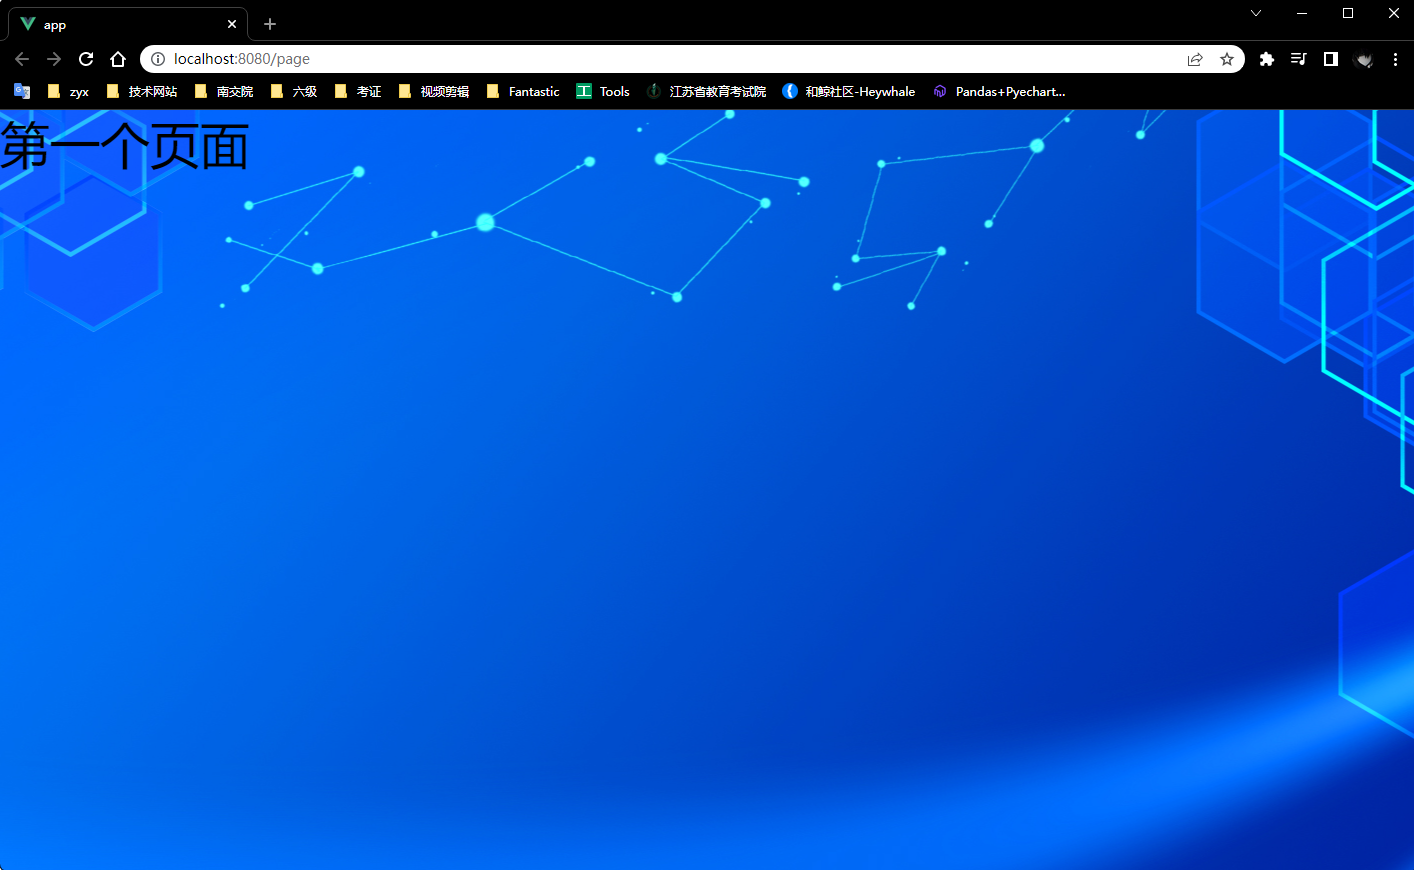
1、设置背景图
**将图片放入
assets
文件夹中 在
app.vue
中设置背景图:**
<template><router-view/></template><stylelang="less">*{margin: 0px;padding: 0px;box-sizing: border-box;//border-box 告诉浏览器去理解你设置的边框和内边距的值是包含在width内的。
 }body{background:url("~@/assets/bg.jpg") top center no-repeat;}</style>
2、设置标题文字
**在
homePage.vue
中设置页面的顶部标题栏并进行相应的
css样式
:**
<template><div><!-- 顶部标题栏 --><header><h1>大数据可视化--vue3.0与echarts</h1></header></div></template><script>exportdefault{}</script><stylelang="less">header{height: 1rem;width: 100%;/* 设置一个半透明淡蓝色背景 */background-color:rgba(0, 0, 255, .2);/* 把标题文字样式设置 */h1{font-size: .375rem;color:#fff;text-align: center;line-height: 1rem;}}</style>

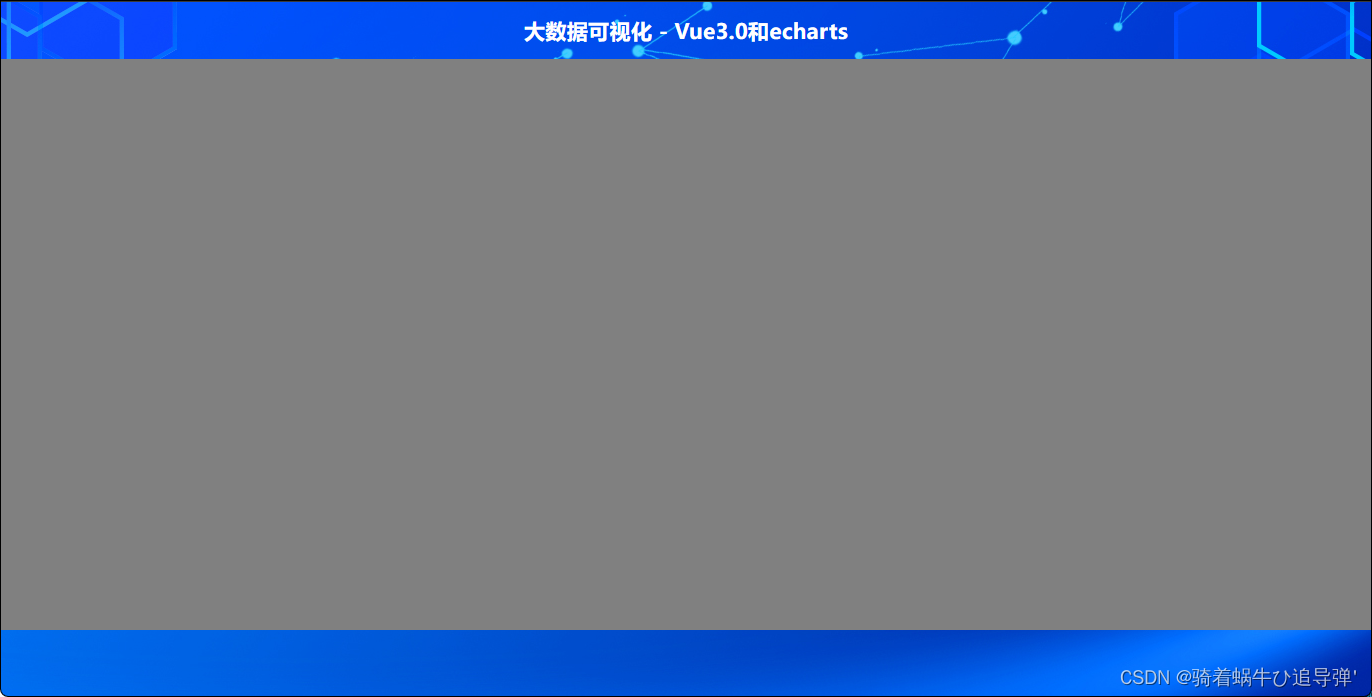
3、页面主体部分
(1)section 主体部分
<template><div><!-- 顶部标题栏 --><header><h1>大数据可视化 - Vue3.0&echarts</h1></header><!-- 中间容器 --><sectionclass="container"></section></div></template><stylelang='less'>/* 中间容器 */.container{
    // 最大最小的宽度
    min-width: 1200px;max-width: 2048px;margin: 0 auto;
    // 盒子上10px 左右10px 下0的外边距
    padding: .125rem .125rem 0;
    // 测试
    height: 10rem;background-color: grey;}</style>
**出去头部标题栏部分,我们需要设置主体的图表展示部分,创建一个类名为
container
的
section
容器,并为其设置
css样式
(测试):**
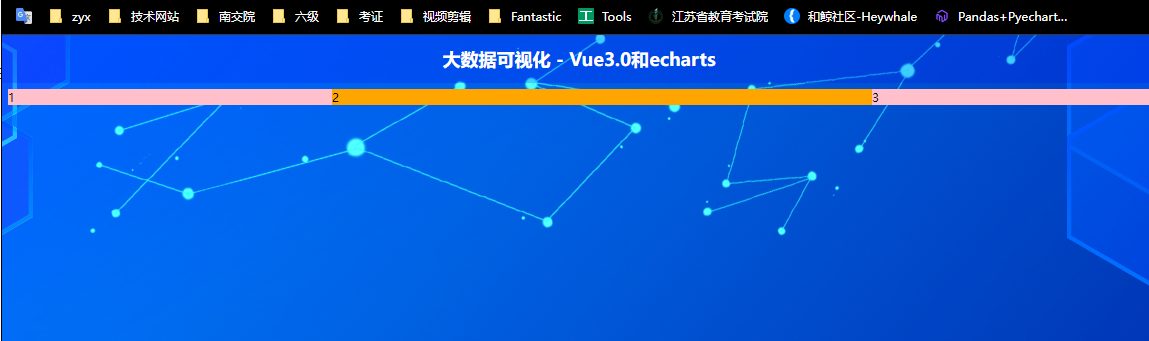
(2)左、中、右布局
**创建左中右这三个部分,分别进行图型的展示。这个时候我们可以使用
flex布局
来分割他们所占的区块大小,那么他们的占比分别是
3
5
3
。首先创建三个
section
容器,分别表示
左
、
中
、
右
部分,然后对其应用
flex布局
,并设置占比。**
<template><div><header><h1>大数据可视化--vue3.0与echarts</h1></header><!-- 大容器 --><sectionclass='container'><!-- 左容器 --><sectionclass='itemLeft'>1</section><!-- 中容器 --><sectionclass='itemCenter'>2</section><!-- 右容器 --><sectionclass='itemRight'>3</section></section></div></template><stylelang='less'>/* 中间容器 */.container{
  // 最大最小的宽度
  min-width: 1200px;max-width: 2048px;margin: 0 auto;
  // 盒子上10px 左右10px 下0的外边距
  padding: 0.125rem 0.125rem 0;display: flex;//父容器设置flex布局才能在子元素使用
  // 设置左中右的占比 但是不要忘了在父容器要设置flex
  .itemLeft,
  .itemRight{flex: 3;background-color: pink;    // 测试后注释掉
  }.itemCenter{flex: 5;background-color: orange;  // 测试后注释掉
  }}</style>
效果如图所示:
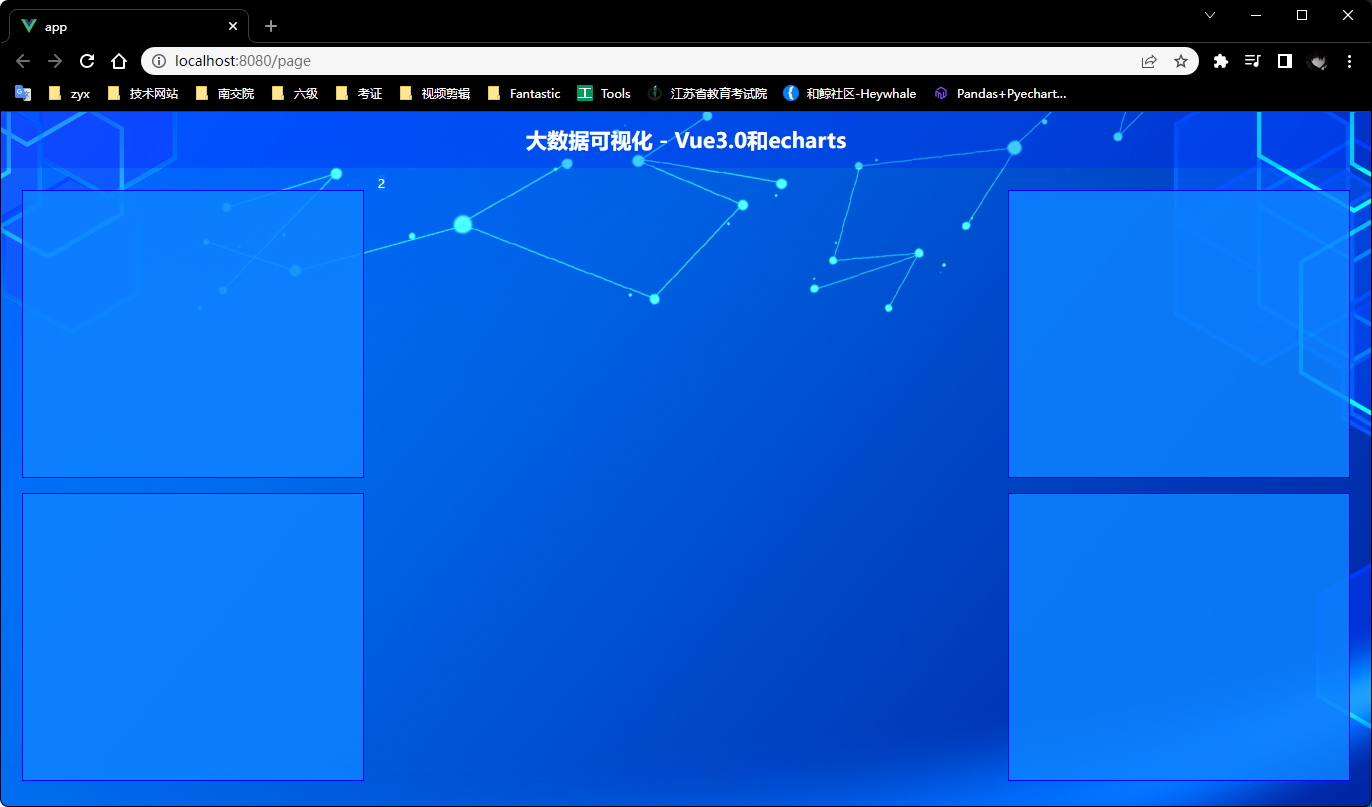
(3)左、右图表容器整体插槽
**大家会发现我们要展示的左、右4个区域的容器效果是一样的。所以我们可以剥离成一个组件 然后重复调用即可。并且在其中放置
slot 槽口
,后期方便向容器内插入图表。**
**在
components
文件夹下创建
itemPage.vue
创建容器组件:**
<template><divclass="item"><!-- 设置插槽 --><slot></slot></div></template><script>exportdefault{};</script><style>.item{/* 高度410px */height: 5.125rem;border: 1px solid blue;/* 外边距20px */margin: 0.25rem;background-color:rgba(13, 130, 255, 0.851);}</style>
在views下的homePage中引用调用使用:
<template><div><!-- 顶部标题栏 --><header><h1>大数据可视化 - Vue3.0&echarts</h1></header><!-- 中间容器 --><sectionclass="container"><!-- 左容器 --><sectionclass="itemLeft"><!-- 调用插槽组件 --><ItemPage/><ItemPage/></section><!-- 中容器 --><sectionclass="itemCenter">2</section><!-- 右容器 --><sectionclass="itemRight"><ItemPage/><ItemPage/></section></section></div></template><script>// 导入插槽组件import ItemPage from"@/components/itemPage.vue";exportdefault{components:{
    ItemPage,},};</script>
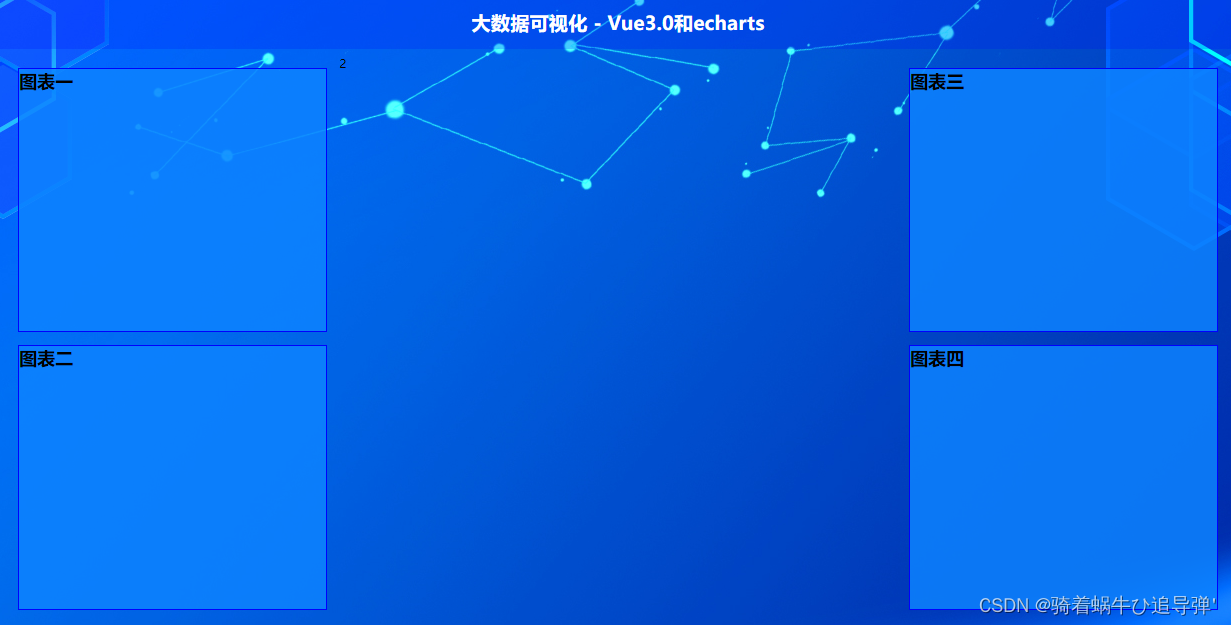
(4)左、右各图表容器插槽
左、右一共4个图标 使用一个公共的组件容器 所以我们编写这4个不同图表的组件并且分别显示。然后在4个文件中分别设置相关内容与样式(每个图表的标题不一样要修改):
<template><div><h2>图表一</h2><divclass="chart"><!-- 图标容器 --></div></div></template><script>exportdefault{}</script><style></style>
**在
homePage.vue
中引用调用使用这4个组件:**
<template><div><!-- 顶部标题栏 --><header><h1>大数据可视化 - Vue3.0和echarts</h1></header><!-- 中间容器 --><sectionclass="container"><!-- 左容器 --><sectionclass="itemLeft"><ItemPage><itemOne/></ItemPage><ItemPage><itemTwo/></ItemPage></section><!-- 中容器 --><sectionclass="itemCenter"><h2>地图展示</h2></section><!-- 右容器 --><sectionclass="itemRight"><ItemPage><itemThree/></ItemPage><ItemPage><itemFour/></ItemPage></section></section></div></template><script>// 导入插槽组件import ItemPage from"@/components/itemPage.vue";// 左右4个小组件的引用import itemOne from"@/components/itemOne.vue";import itemTwo from"@/components/itemTwo.vue";import itemThree from"@/components/itemThree.vue";import itemFour from"@/components/itemFour.vue";exportdefault{components:{
    ItemPage,itemOne,itemTwo,itemThree,itemFour
  },};</script>
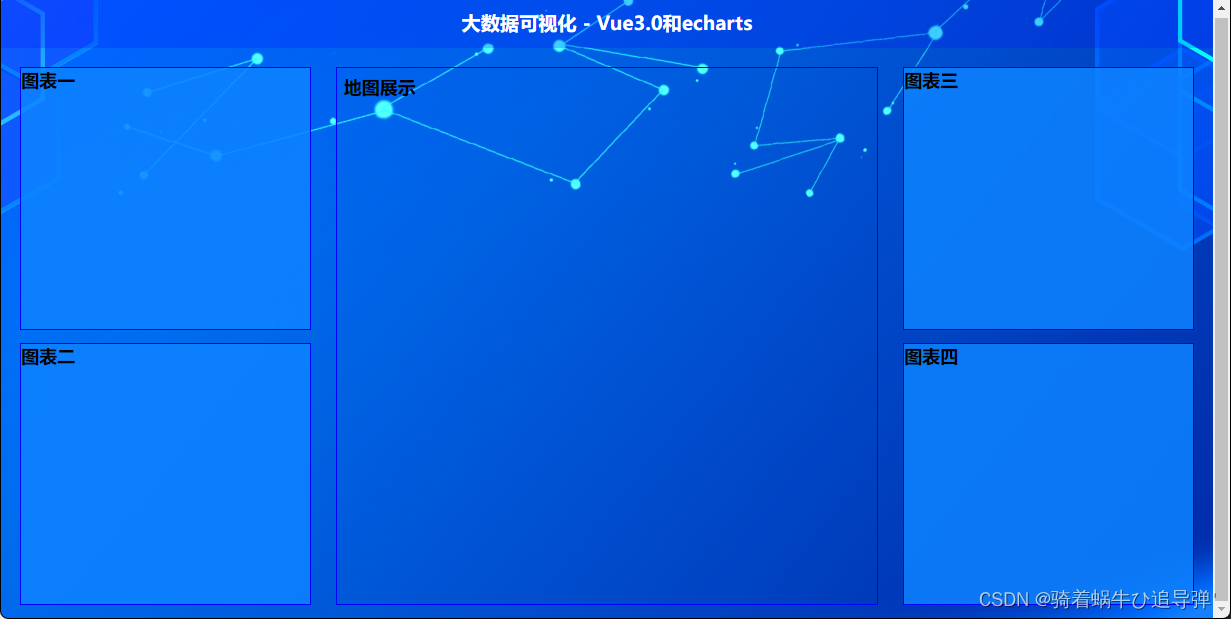
(5)中间图表容器布局
**在
views
文件夹下的
homePage.vue
中设置中间区域容器样式,设置容器高度、内外边距、边框:**
<!-- 中间容器 --><sectionclass="itemCenter"><h2>地图展示</h2></section></style>
/* 中间容器 */
.container {
    .itemCenter {
        flex: 5;
        // 高度840px
        height: 10.5rem;
        border: 1px solid blue;
        // 内边距10px
        padding: 0.125rem;
        // 外边距20px
        margin: 0.25rem;
    }
}
</style>
四、图表环境搭建
1、Echarts 全局引用
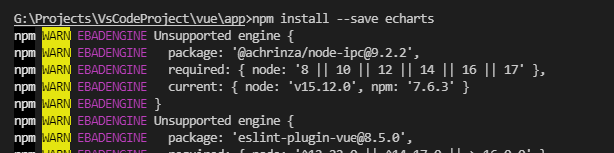
**下载
npm install --save echarts
**
**在
vue2.0
中使用如下写法把
echarts
挂载在
vue实例
上,但是这招在
3.0
行不通了:**
// 引用echartsimport*as echarts from"echarts"Vue.prototype.$echarts=echarts;
**在
vue3.0
中,在
App.vue
中导入全局的
echarts
组件:**
<template><router-view/></template><script>import{ provide }from"vue";// 引用echartsimport*as echarts from"echarts";exportdefault{setup(){//第一个参数是名字 第二个参数是你传递的内容provide("echarts", echarts);// 不是provider,否则会出现下面报错},};</script>
**在
homePage.vue
中进行引用和调用:**
<script>// 导入插槽组件import ItemPage from"@/components/itemPage.vue";// 左右4个小组件的引用import itemOne from"@/components/itemOne.vue";import itemTwo from"@/components/itemTwo.vue";import itemThree from"@/components/itemThree.vue";import itemFour from"@/components/itemFour.vue";import{ inject }from'@vue/runtime-core';exportdefault{components:{
    ItemPage,itemOne,itemTwo,itemThree,itemFour,},// 导入echarts组件 setup(){let $echarts =inject("echarts");// 控制台打印信息
    console.log($echarts);}};</script>
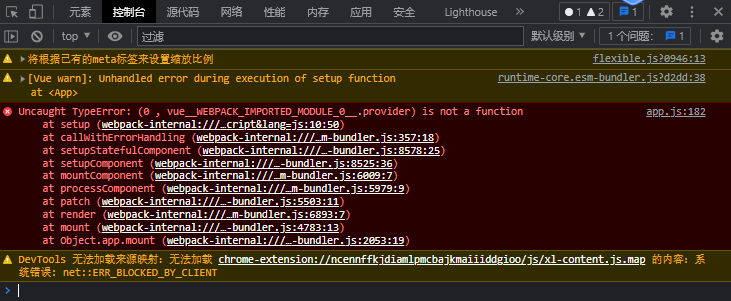
**重新运行项目查看控制台的输出,发现报错,原因是函数名称写错了(见上面
App.vue
的注释):**
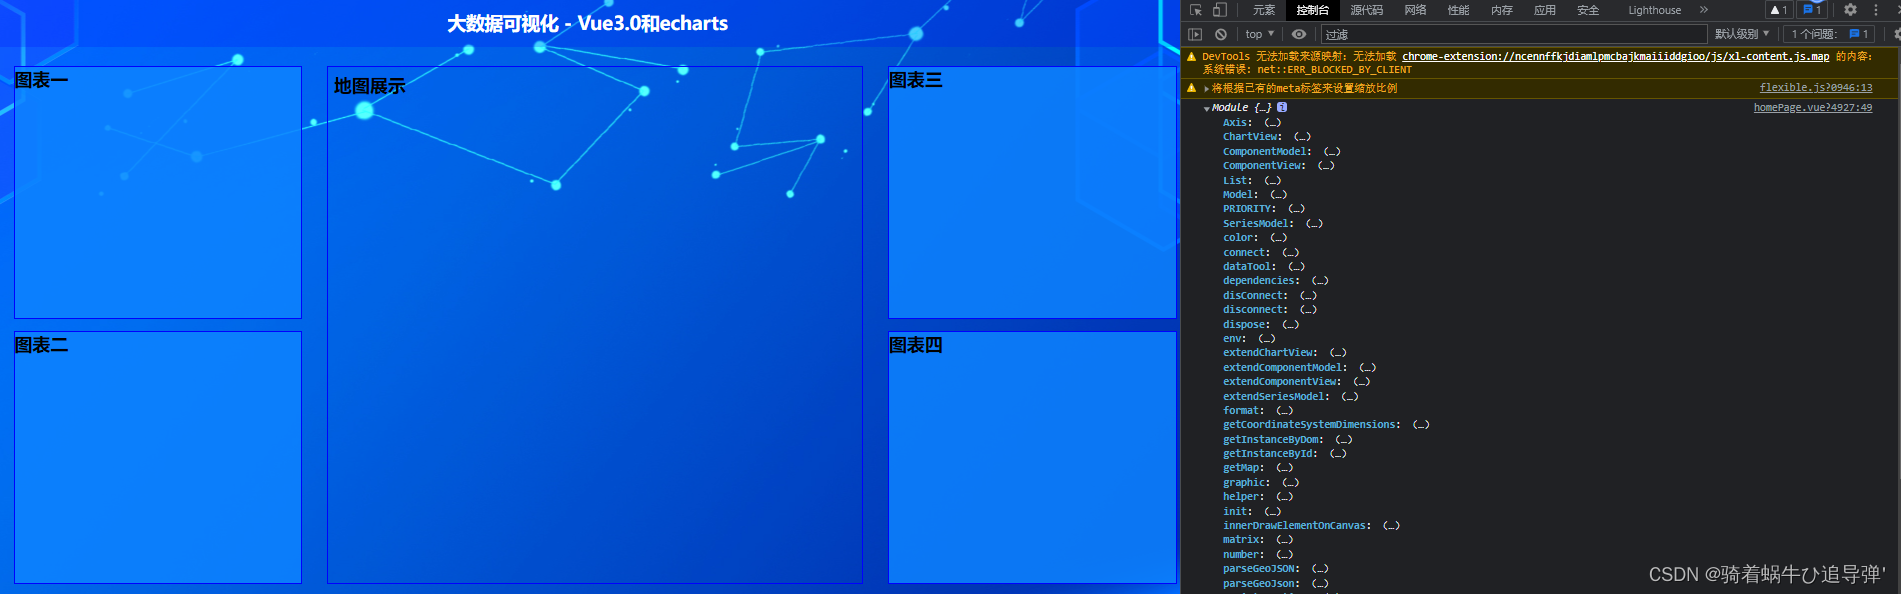
**修改后重新运行,可以看到控制台打印了所有的
echarts
属性信息:**
2、Axios 全局引用
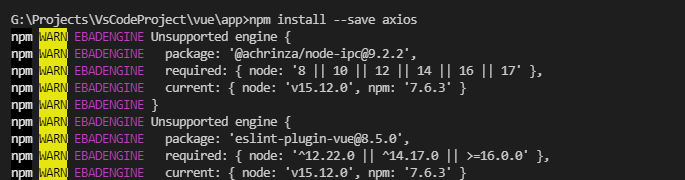
**下载
npm install --save axios
**
**在
vue3.0
中,在
App.vue
中导入全局的
echarts
组件:**
<template><router-view/></template><script>import{ provide }from"vue";// 引用echartsimport*as echarts from"echarts";// 引用axiosimport axios from'axios';exportdefault{setup(){//第一个参数是名字 第二个参数是你传递的内容provide("echarts", echarts);provide("axios", axios);},};</script>
**在
homePage.vue
中进行引用和调用:**
<script>// 导入插槽组件import ItemPage from"@/components/itemPage.vue";// 左右4个小组件的引用import itemOne from"@/components/itemOne.vue";import itemTwo from"@/components/itemTwo.vue";import itemThree from"@/components/itemThree.vue";import itemFour from"@/components/itemFour.vue";import{ inject }from'@vue/runtime-core';exportdefault{components:{
    ItemPage,itemOne,itemTwo,itemThree,itemFour,},// 导入echarts组件 setup(){let $echarts =inject("echarts");let $axios =inject("axios");
    console.log($echarts);// 控制台打印信息
    console.log($axios);}};</script>


版权归原作者 骑着蜗牛ひ追导弹' 所有, 如有侵权,请联系我们删除。