
开发背景
由于快期末考了,需要提交一份C#开发的管理系统,这里选择可视化开发,管理系统无非就是增、删、查、改,可以使用接口完成查询、删除等等…这里直接用自带的封装方法进行增删查改,本文做一个记录,也作为一次开发经历,需要完整项目的可以选择付费支持,文末会放出链接,文章还在更新6.12
成品: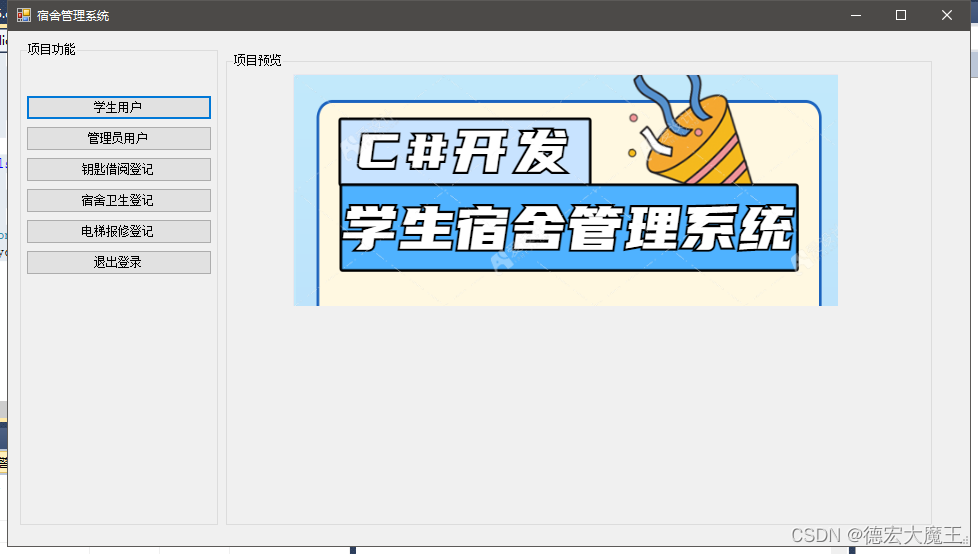
工具准备
工具名称环境phpstudyMysql5.7.26Microsoft Visual Studio 2010icon生成工具http://www.51tool.com/ico/需要引用数据库MySql.data网上下载
数据库部分视图以及需要用到的语句
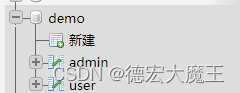
admin表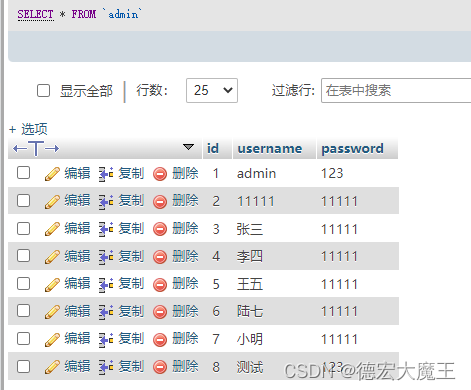
用户表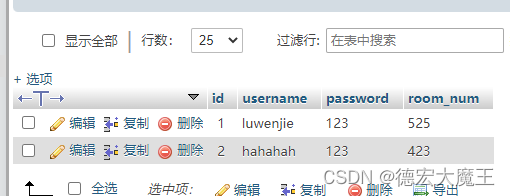
连接数据库(注意修改以下配置)
string constr ="server=127.0.0.1;port=3306;User Id=root;password=123456;Database=demo";//连接数据库MySqlConnection mycon =newMySqlConnection(constr);
  mycon.Open();
查询语句
MySqlCommand mycmd =newMySqlCommand("SELECT * FROM `user`", mycon);MySqlDataReader rec = mycmd.ExecuteReader();
插入语句
MySqlCommand mycmd =newMySqlCommand("INSERT INTO `表名` (`id`, `username`, `password`,`room_num`) VALUES (NULL, '', '', '');", mycon);
删除语句
MySqlCommand mycmd =newMySqlCommand("DELETE FROM `user` WHERE `id` = ''", mycon);
登录设计
登录页面设计
这里我们通过可视化工具进行设计,新建一个窗口为FORM1这是设计出来的样子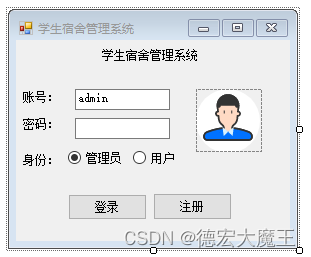
现在更换左上角图标,首先打开我们需要用的icon网站,生成后下载转换文件保存到本地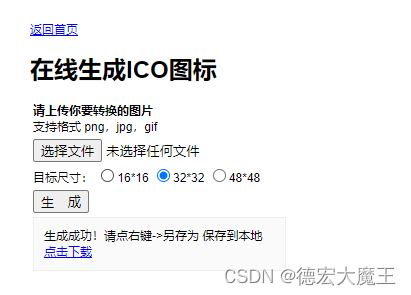
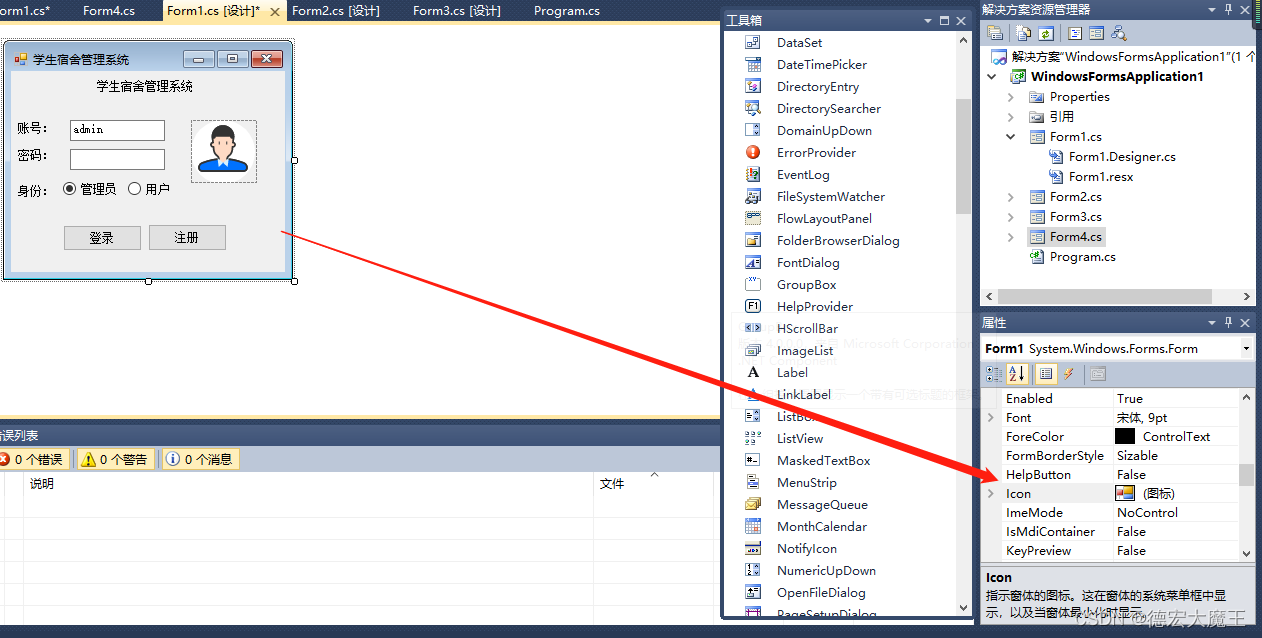
对窗体右键属性更换默认图标
更换好了之后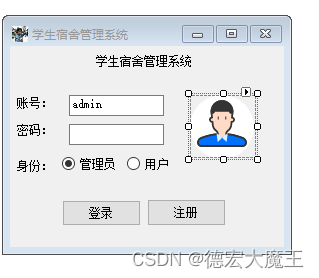
登录功能设计
双击登录按钮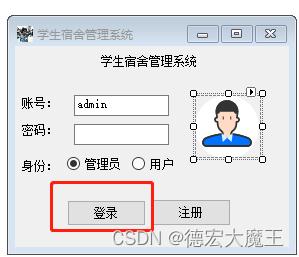
在该点击事件中,加入代码(代码中有注释自己看哈)
//登录var db_name ="admin";//数据插入//MySqlCommand mycmd = new MySqlCommand("INSERT INTO `admin` (`id`, `username`, `password`) VALUES (NULL, 'www', 'wwww');", mycon);//if (mycmd.ExecuteNonQuery() > 0)//{//    MessageBox.Show("修改成功!");// }//检查if(textBox1.Text ==""|| textBox2.Text ==""){
                MessageBox.Show("请检查输入是否完整!");}else{//配置数据库// string constr = "Database=cshap;Data Source=49.234.42.125;port=888;User Id=cshap;Password=123456";string constr ="server=127.0.0.1;port=3306;User Id=root;password=123456;Database=demo";//连接数据库MySqlConnection mycon =newMySqlConnection(constr);
                mycon.Open();//输入数据命令;//数据插入if(radioButton1.Checked ==false){
                    db_name ="user";}MySqlCommand mycmd =newMySqlCommand("SELECT * FROM `"+ db_name +"` WHERE `username`='"+ textBox1.Text +"' and password='"+ textBox2.Text +"'", mycon);if(Convert.ToInt32(mycmd.ExecuteScalar())>0){//MessageBox.Show("登陆成功!");//判断跳转界面if(db_name =="admin"){//管理端Form2 f =newForm2();this.Hide();
                        f.ShowDialog();this.Show();}else{//用户端}}else{
                    MessageBox.Show("账号或密码、登录身份错误!");}
                Console.ReadLine();
                mycon.Close();//
注册设计
新建FORM3窗口设计如下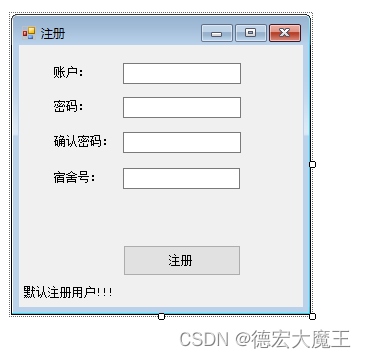
双击注册添加代码:
//注册操作//检查if(textBox1.Text ==""|| textBox2.Text ==""|| textBox3.Text ==""|| textBox4.Text ==""){
                MessageBox.Show("请检查输入是否完整!");}elseif(textBox2.Text != textBox3.Text){
                MessageBox.Show("两次密码不一致");}else{//配置数据库string constr ="server=localhost;User Id=root;password=123456;Database=demo";//连接数据库MySqlConnection mycon =newMySqlConnection(constr);
                mycon.Open();//输入数据命令;//数据插入MySqlCommand mycmd =newMySqlCommand("INSERT INTO `user` (`id`, `username`, `password`, `room_num`) VALUES (NULL, '"+ textBox1.Text +"', '"+ textBox2.Text +"', '"+ textBox4.Text +"');", mycon);if(mycmd.ExecuteNonQuery()>0){
                MessageBox.Show("注册成功!");Form1 f =newForm1();this.Hide();
                f.ShowDialog();this.Show();}else{
                    MessageBox.Show("账号或密码、登录身份错误!");}
                Console.ReadLine();
                mycon.Close();}
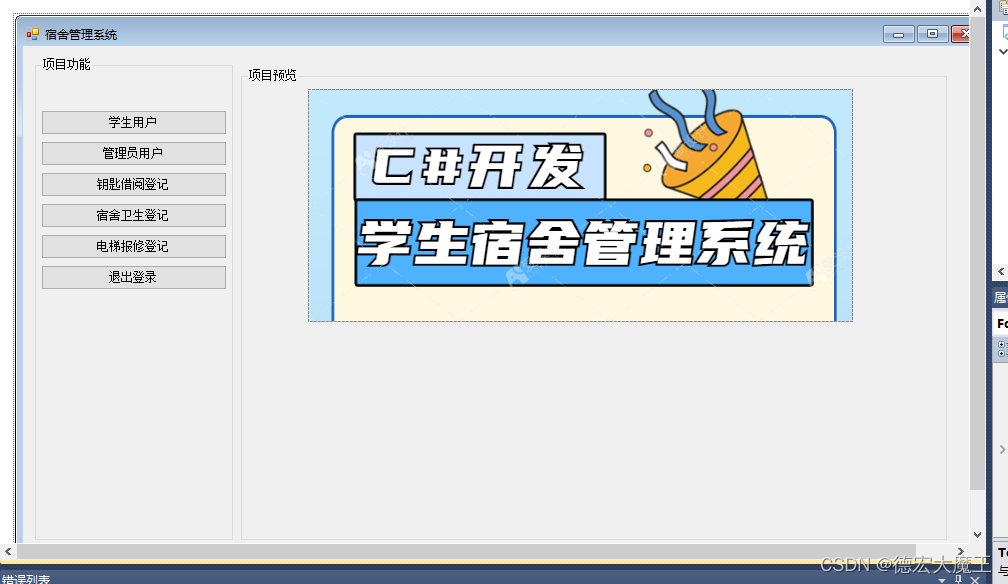
项目功能设计
后台管理界面
用户管理
创建一个dataGridView1视图,添加字段后如下所示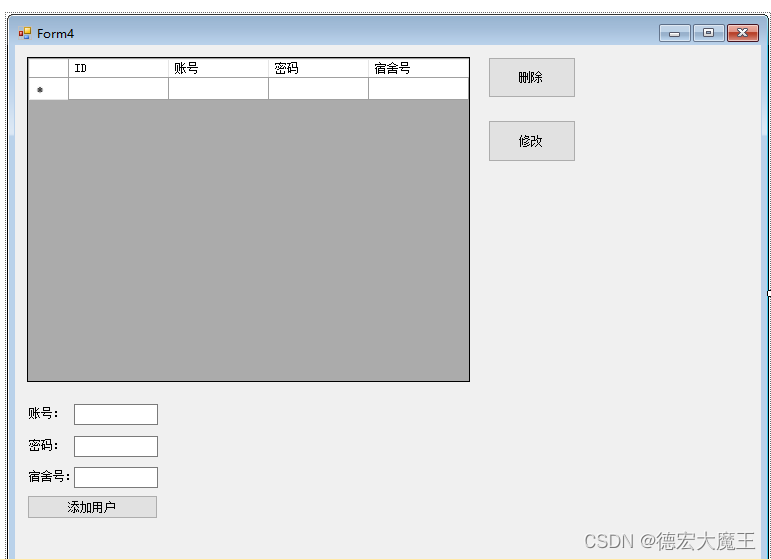
添加用户
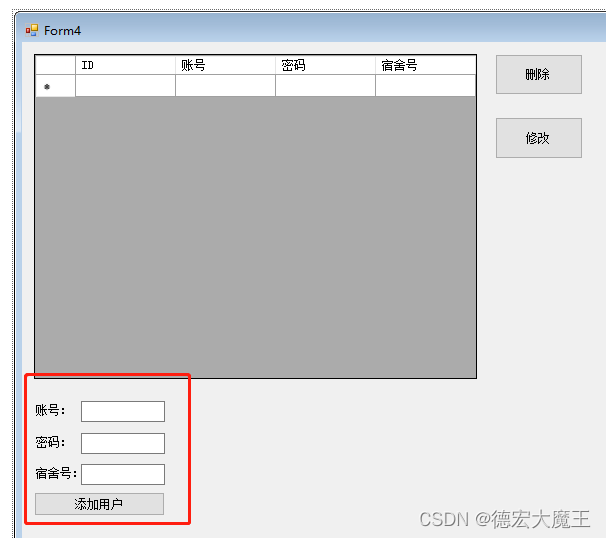
在添加用户方法中添加代码(双击“添加用户添加代码”),即从账号、密码、宿舍号获取值,再通过语句进行插入到数据库,具体操作方法:添加记录到本地后,添加进数据库,
本地假数据的添加代码为:
//添加数据到本地dataGridView1//本地int index =this.dataGridView1.Rows.Add();this.dataGridView1.Rows[index].Cells[0].Value ="NULL";this.dataGridView1.Rows[index].Cells[1].Value ="1111";this.dataGridView1.Rows[index].Cells[2].Value ="222";this.dataGridView1.Rows[index].Cells[3].Value ="333";
可以先通过假数据测试按钮是否加入了数据,加入了的话我们在通过连接数据库来进行一个遍历插入,即下方的代码
完整代码:
//添加用户//修改本地 和数据库//本地int index =this.dataGridView1.Rows.Add();this.dataGridView1.Rows[index].Cells[0].Value ="NULL";this.dataGridView1.Rows[index].Cells[1].Value = textBox1.Text;this.dataGridView1.Rows[index].Cells[2].Value = textBox2.Text;this.dataGridView1.Rows[index].Cells[3].Value = textBox3.Text;//修改方法//dataGridViewInfo.Rows[i].Cells[0].Value = name;//更新名称//dataGridViewInfo.Rows[i].Cells[1].Value = status;//更新状态//   dataGridView.Rows.Remove(dataGridView.SelectedRows[0]);  //删除一行//插入数据库同步//配置数据库string constr ="server=localhost;User Id=root;password=123456;Database=demo";//连接数据库MySqlConnection mycon =newMySqlConnection(constr);
            mycon.Open();//输入数据命令;//数据插入MySqlCommand mycmd =newMySqlCommand("INSERT INTO `user` (`id`, `username`, `password`,`room_num`) VALUES (NULL, '"+ textBox1.Text +"', '"+ textBox2.Text +"', '"+ textBox3.Text +"');", mycon);if(mycmd.ExecuteNonQuery()>0){
                MessageBox.Show("添加成功!");this.dataGridView1.Refresh();//刷新显示}else{
                MessageBox.Show("添加失败!");}
            Console.ReadLine();
            mycon.Close();
删除
与插入不同,这里需要对dataGridView1做一个获取,需要获取id值,来进行删除,首先新建一个“删除”按钮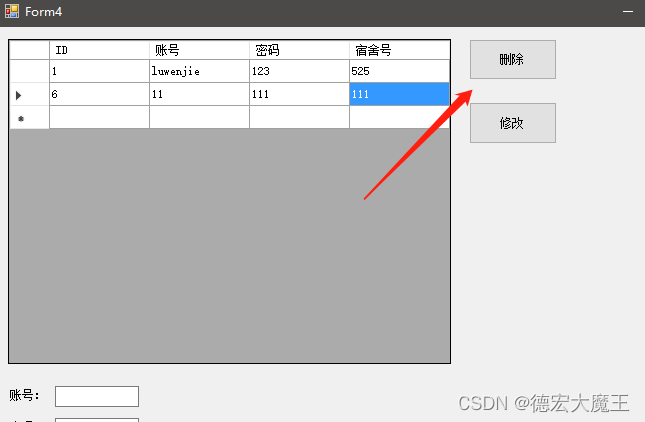
双击在该方法中加入代码(这部分代码很关键,建议看懂,在开发中我找到另外一个方法不过他存在bug,这个无论有没有值不会报错)
//删除int index = dataGridView1.SelectedCells[0].RowIndex;//获取所在行var aa = dataGridView1.Rows[index].Cells[0].Value;//获取所在行第一列的元素
dataGridView1.Rows.RemoveAt(index);
MessageBox.Show(aa.ToString());
这一步的作用是获取到鼠标选中所在行的第一列元素的值,也就是id值,并删除当前行
我们测试下: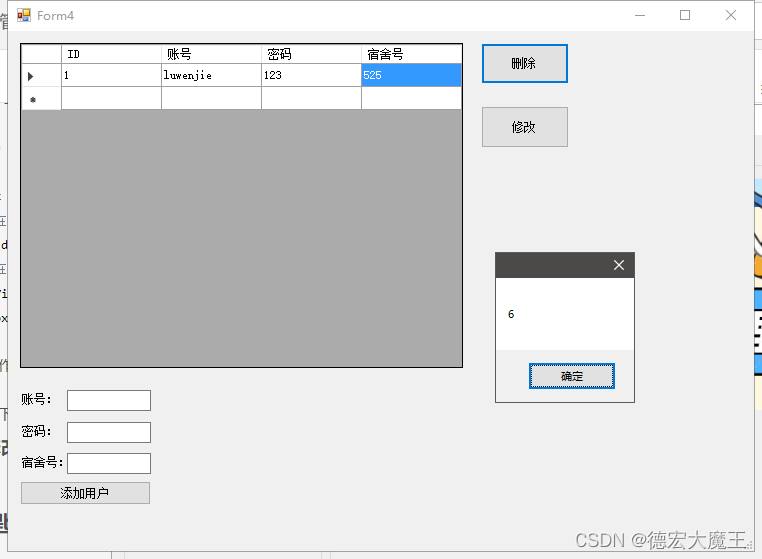
接下来,只需要把获取到的id => 6 进行sql语句操作即可
完整代码:
//删除int index = dataGridView1.SelectedCells[0].RowIndex;//获取所在行var aa = dataGridView1.Rows[index].Cells[0].Value;//获取所在行第一列的元素
dataGridView1.Rows.RemoveAt(index);//MessageBox.Show(aa.ToString());//本地删除//联网删除//配置数据库string constr ="server=localhost;User Id=root;password=123456;Database=demo";//连接数据库MySqlConnection mycon =newMySqlConnection(constr);
            mycon.Open();//输入数据命令;//数据插入MySqlCommand mycmd =newMySqlCommand("DELETE FROM `user` WHERE `id` = '"+aa+"'", mycon);if(mycmd.ExecuteNonQuery()>0){
                MessageBox.Show("删除成功!");this.dataGridView1.Refresh();//刷新显示}else{
                MessageBox.Show("删除失败!");}
            Console.ReadLine();
            mycon.Close();
修改
新建一个窗口(在资源管理器右键),命名为FORM5,用于点击修改时,弹出一个窗口供用户修改,设计图如下: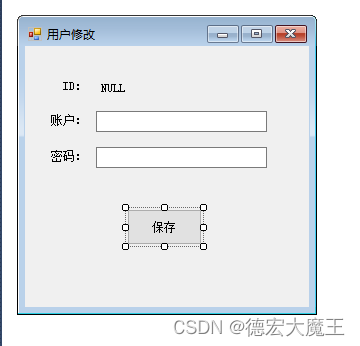
设计好后,回到Form4中,刚刚不是设计了删除嘛,修改和删除一样,先获取id值就可以,所以步骤是一样的,新建一个修改按钮,如下图所示: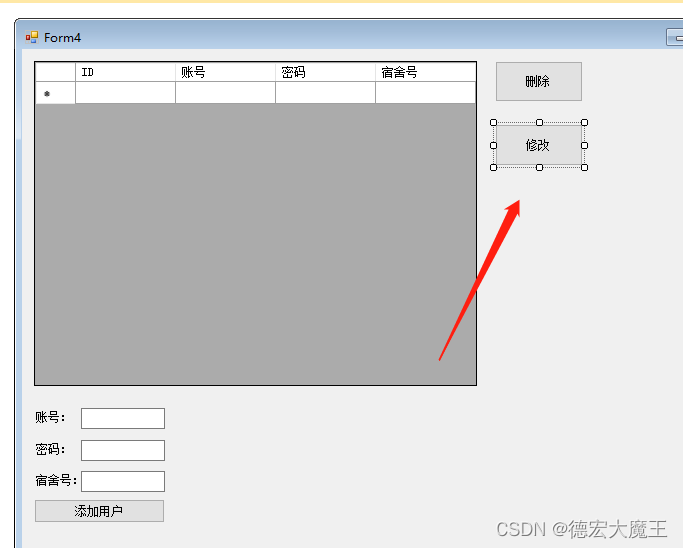
双击后我们在该点击事件加入获取id的代码(和刚刚的一样):
//修改int index = dataGridView1.SelectedCells[0].RowIndex;//获取所在行var aa = dataGridView1.Rows[index].Cells[0].Value;//获取所在行第一列的元素
MessageBox.Show(aa.ToString());
接下来需要把id传给Form5窗口,我们在这里了解下通过构造函数传值
特点:传值是单向的(不可以互相传值),实现简单
接收窗体需要如下代码:
(这里的id为string是因为我们在dataGridView1获取到的值类型为string所以这里我们用字符串接收,搞错类型就会报错红)
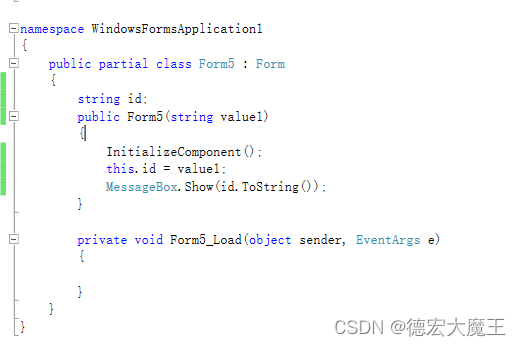
string id;publicForm5(string value1){InitializeComponent();this.id = value1;
            MessageBox.Show(id.ToString());}
传递窗体调用即可
new Form5(aa.ToString()).Show();
根据传过来的id进行查询最后显示到控件上去
这里接收到参数后演示图如下: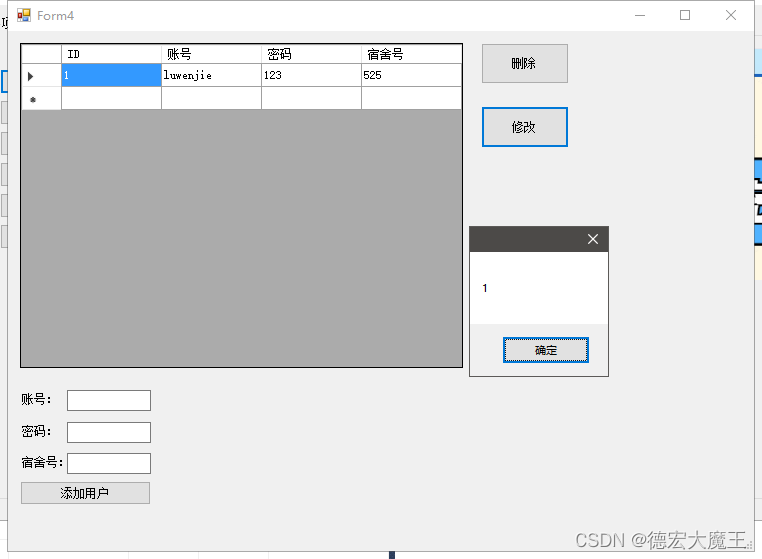
完整From5代码如下(注意上方代码举例需要全部写完才不会报错):
publicForm5(string value1){InitializeComponent();this.id = value1;//MessageBox.Show(id.ToString());//配置数据库string constr ="server=localhost;User Id=root;password=123456;Database=demo";//连接数据库MySqlConnection mycon =newMySqlConnection(constr);
            mycon.Open();//输入数据命令;MySqlCommand mycmd =newMySqlCommand("SELECT * FROM `user` where id="+ id +"", mycon);MySqlDataReader rec = mycmd.ExecuteReader();while(rec.Read()){

                label5.Text = rec[0].ToString();
                textBox1.Text = rec[1].ToString();
                textBox2.Text = rec[2].ToString();
                textBox3.Text = rec[3].ToString();}}
成功截图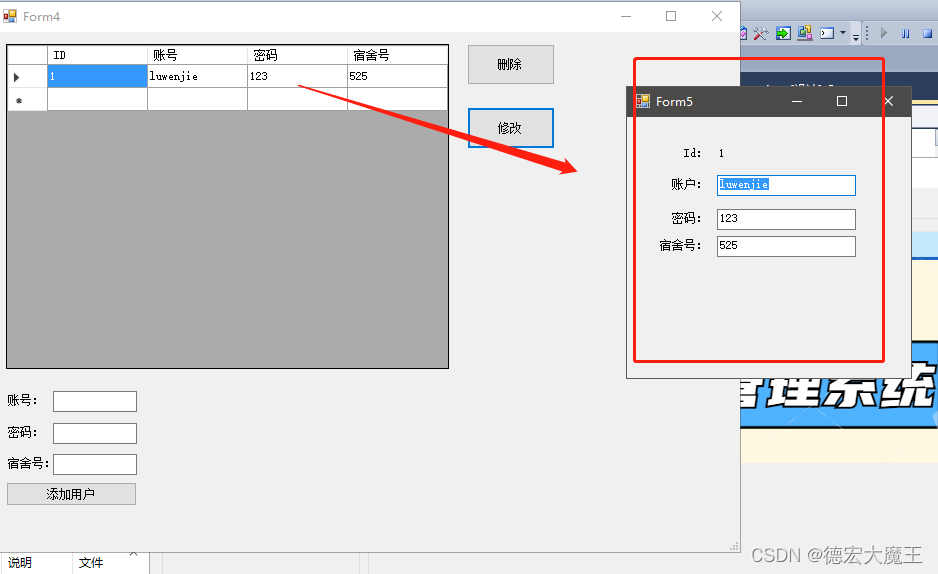
保存
在From5中新建保存按钮,双击后,在该按钮中添加点击事件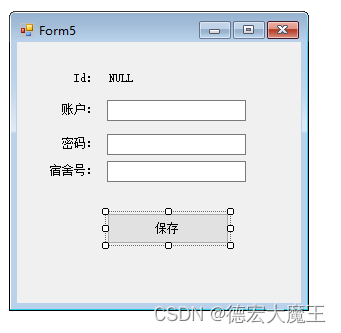
首先获取id、账号、密码、宿舍号
var id = label5.Text;var zh = textBox1.Text;var mm = textBox2.Text;var ss = textBox3.Text;
建立sql语句
MySqlCommand mycmd =newMySqlCommand("UPDATE `user` SET `username` = '', `password` = '', `room_num` = '' WHERE `id` = 1;", mycon);
完整代码:
var id = label5.Text;var zh = textBox1.Text;var mm = textBox2.Text;var ss = textBox3.Text;//配置数据库string constr ="server=localhost;User Id=root;password=123456;Database=demo";//连接数据库MySqlConnection mycon =newMySqlConnection(constr);
            mycon.Open();//输入数据命令;//数据插入MySqlCommand mycmd =newMySqlCommand("UPDATE `user` SET `username` = '"+zh+"', `password` = '"+mm+"', `room_num` = '"+ss+"' WHERE `id` = '"+id+"';", mycon);if(mycmd.ExecuteNonQuery()>0){
                MessageBox.Show("修改成功!");//刷新显示}else{
                MessageBox.Show("修改失败!");}
            Console.ReadLine();
            mycon.Close();
成功截图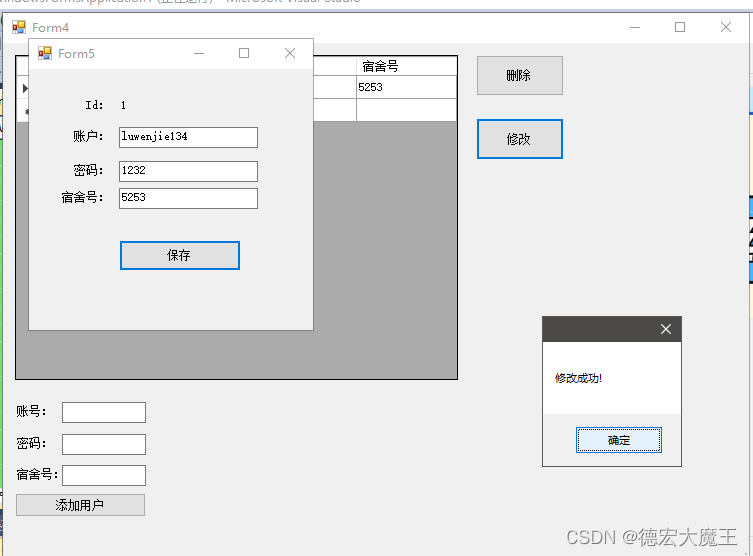
钥匙借出登记
与上面一样,不做赘述
宿舍卫生打分
与上面一样,不做赘述
电梯保修记录
与上面一样,不做赘述
重点难点讲解
这部分对全文做一个归纳,防止有的地方遗漏了,如果你有疑问可以看这里!
如果做到修改删除? 答:通过表单传值记录id在新的一个窗口查询一次数据,更新则是用了update
如果做到删除? 答:通过表单传值获取到的id进行数据库语句删除,删除本地的再删除数据库里面的
窗口如何传值:
本次通过构造函数,特点:传值是单向的(不可以互相传值),实现简单
实现代码如下:
在目标窗体中
int value1;string value2;public Form2 (int value1 ,string value2 ){

    InitializeComponent ();this.value1 = value1;this.value2 = value2;}
在父级窗体中(跳转前)这样调用
newForm2(111,"222").Show ();//这样就把111,"222",这2个值传送给了Form2
结合文中所给的来看,明天在更新!
版权归原作者 德宏大魔王 所有, 如有侵权,请联系我们删除。