1. 准备工作
配置好hive的远程模式,
hive-site.xml
配置如下:
<?xml version="1.0" encoding="UTF-8" standalone="no"?><?xml-stylesheet type="text/xsl" href="configuration.xsl"?><!--
Licensed to the Apache Software Foundation (ASF) under one or more
contributor license agreements. See the NOTICE file distributed with
this work for additional information regarding copyright ownership.
The ASF licenses this file to You under the Apache License, Version 2.0
(the "License"); you may not use this file except in compliance with
the License. You may obtain a copy of the License at
http://www.apache.org/licenses/LICENSE-2.0
Unless required by applicable law or agreed to in writing, software
distributed under the License is distributed on an "AS IS" BASIS,
WITHOUT WARRANTIES OR CONDITIONS OF ANY KIND, either express or implied.
See the License for the specific language governing permissions and
limitations under the License.
--><configuration><!-- 存储元数据mysql相关配置 --><property><name>javax.jdo.option.ConnectionURL</name><value>jdbc:mysql://localhost:3306/hive_meta?createDatabaseIfNotExist=true&useSSL=false&useUnicode=true&characterEncoding=UTF-8</value></property><property><name>javax.jdo.option.ConnectionDriverName</name><value>com.mysql.jdbc.Driver</value></property><property><name>javax.jdo.option.ConnectionUserName</name><value>root</value></property><property><name>javax.jdo.option.ConnectionPassword</name><value>123456</value></property><!-- H2S运行绑定host --><property><name>hive.server2.thrift.bind.host</name><value>my2308-host</value></property><!-- 远程模式部署metastore服务地址 --><property><name>hive.metastore.uris</name><value>thrift://my2308-host:9083</value></property><!-- 关闭元数据存储授权 --><property><name>hive.metastore.event.db.notification.api.auth</name><value>false</value></property><!-- 关闭元数据存储版本的验证 --><property><name>hive.metastore.schema.verification</name><value>false</value></property></configuration>
确保hadoop集群已经启动,然后启动metastore服务以及hive server2服务,命令如下:
# 后台挂起metastorenohup /export/servers/apache-hive-3.1.3-bin/bin/hive --service metastore &# 后台挂起server2nohup hiveserver2 > ./nohup1.out 2>&1&
2. 建立连接
下载hive对应版本的jdbc driver jar包,3.1.3版本链接如下:
https://repo1.maven.org/maven2/org/apache/hive/hive-jdbc/3.1.3/
进入页面,下载
hive-jdbc-3.1.3-standalone.jar
打开IDEA,创建或打开一个项目,点击Database,选择”+“号,点击Driver。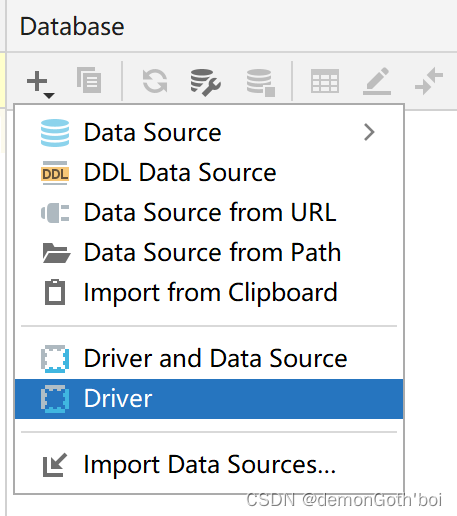
添加Hive的jdbc jar包。之后点击Apply完成添加。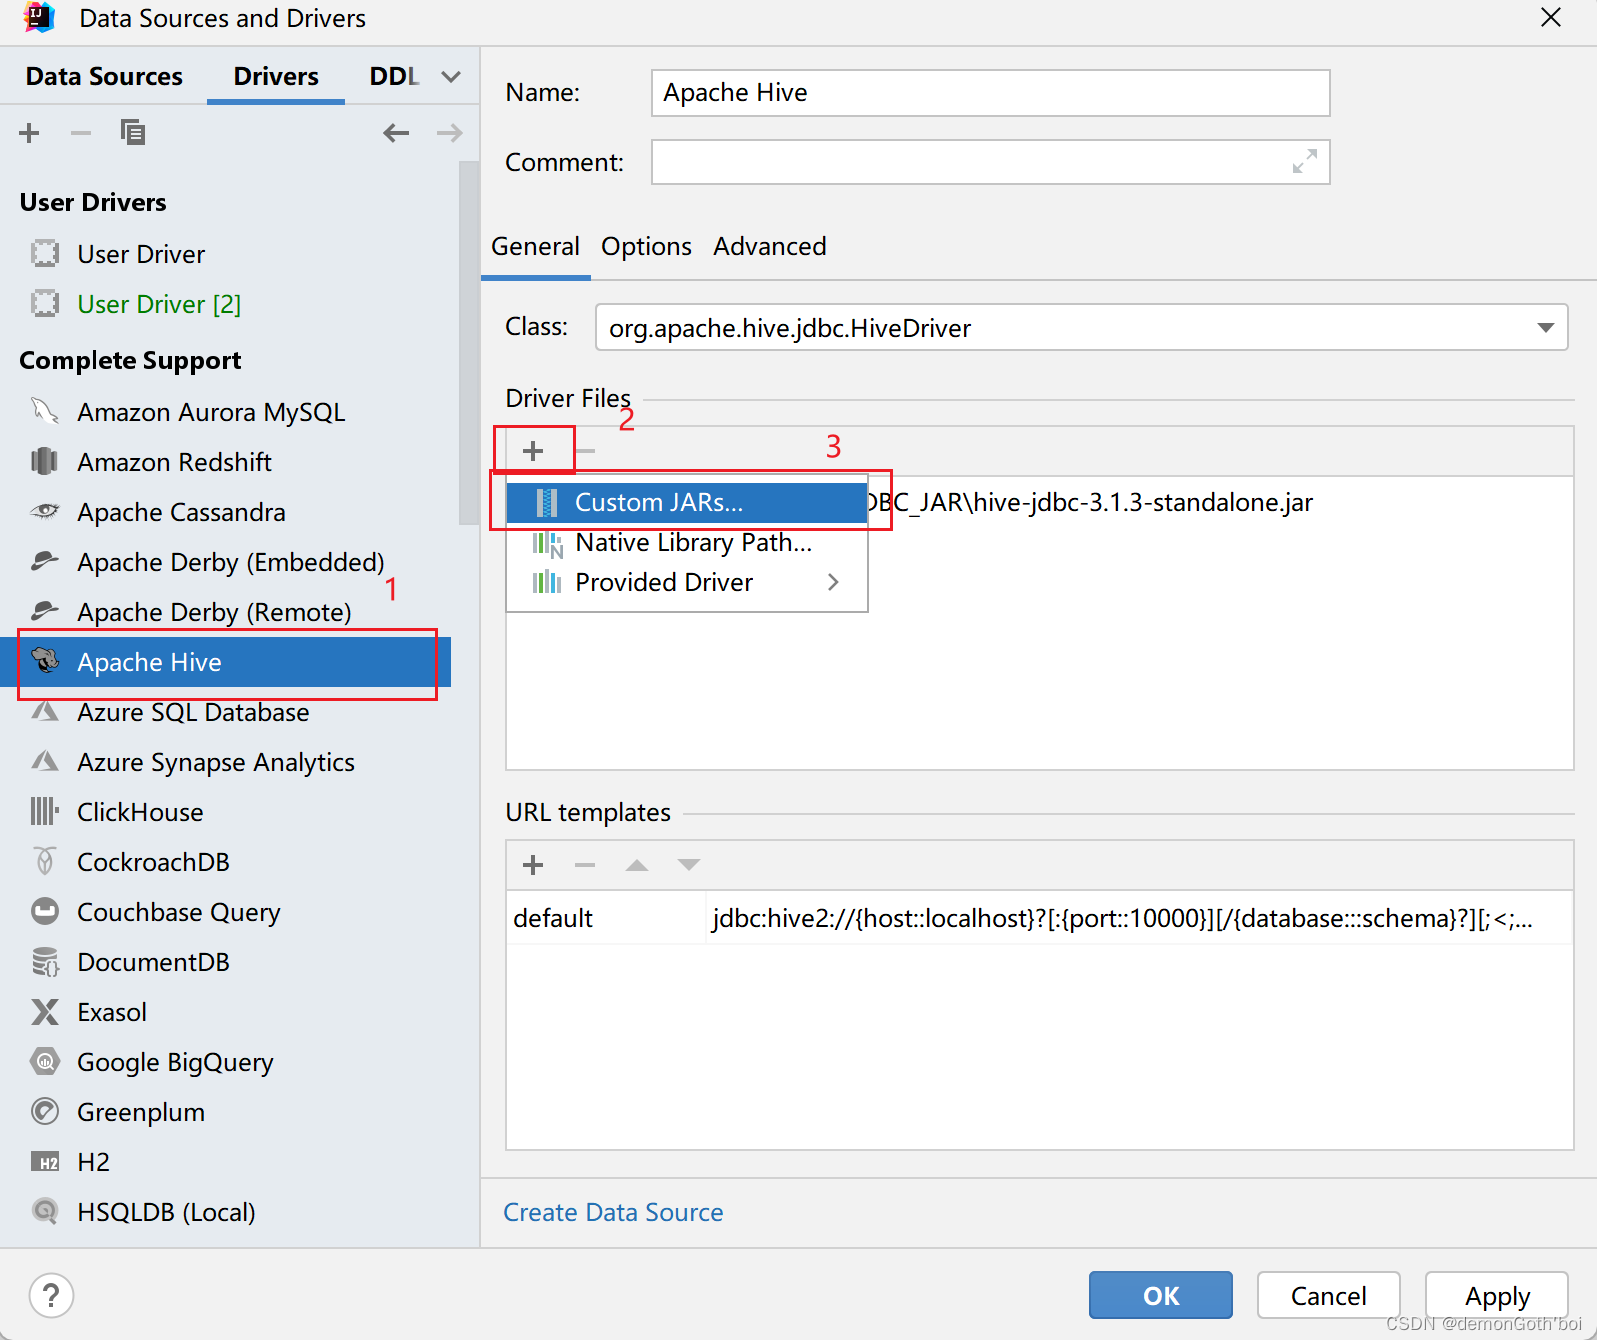
建立连接。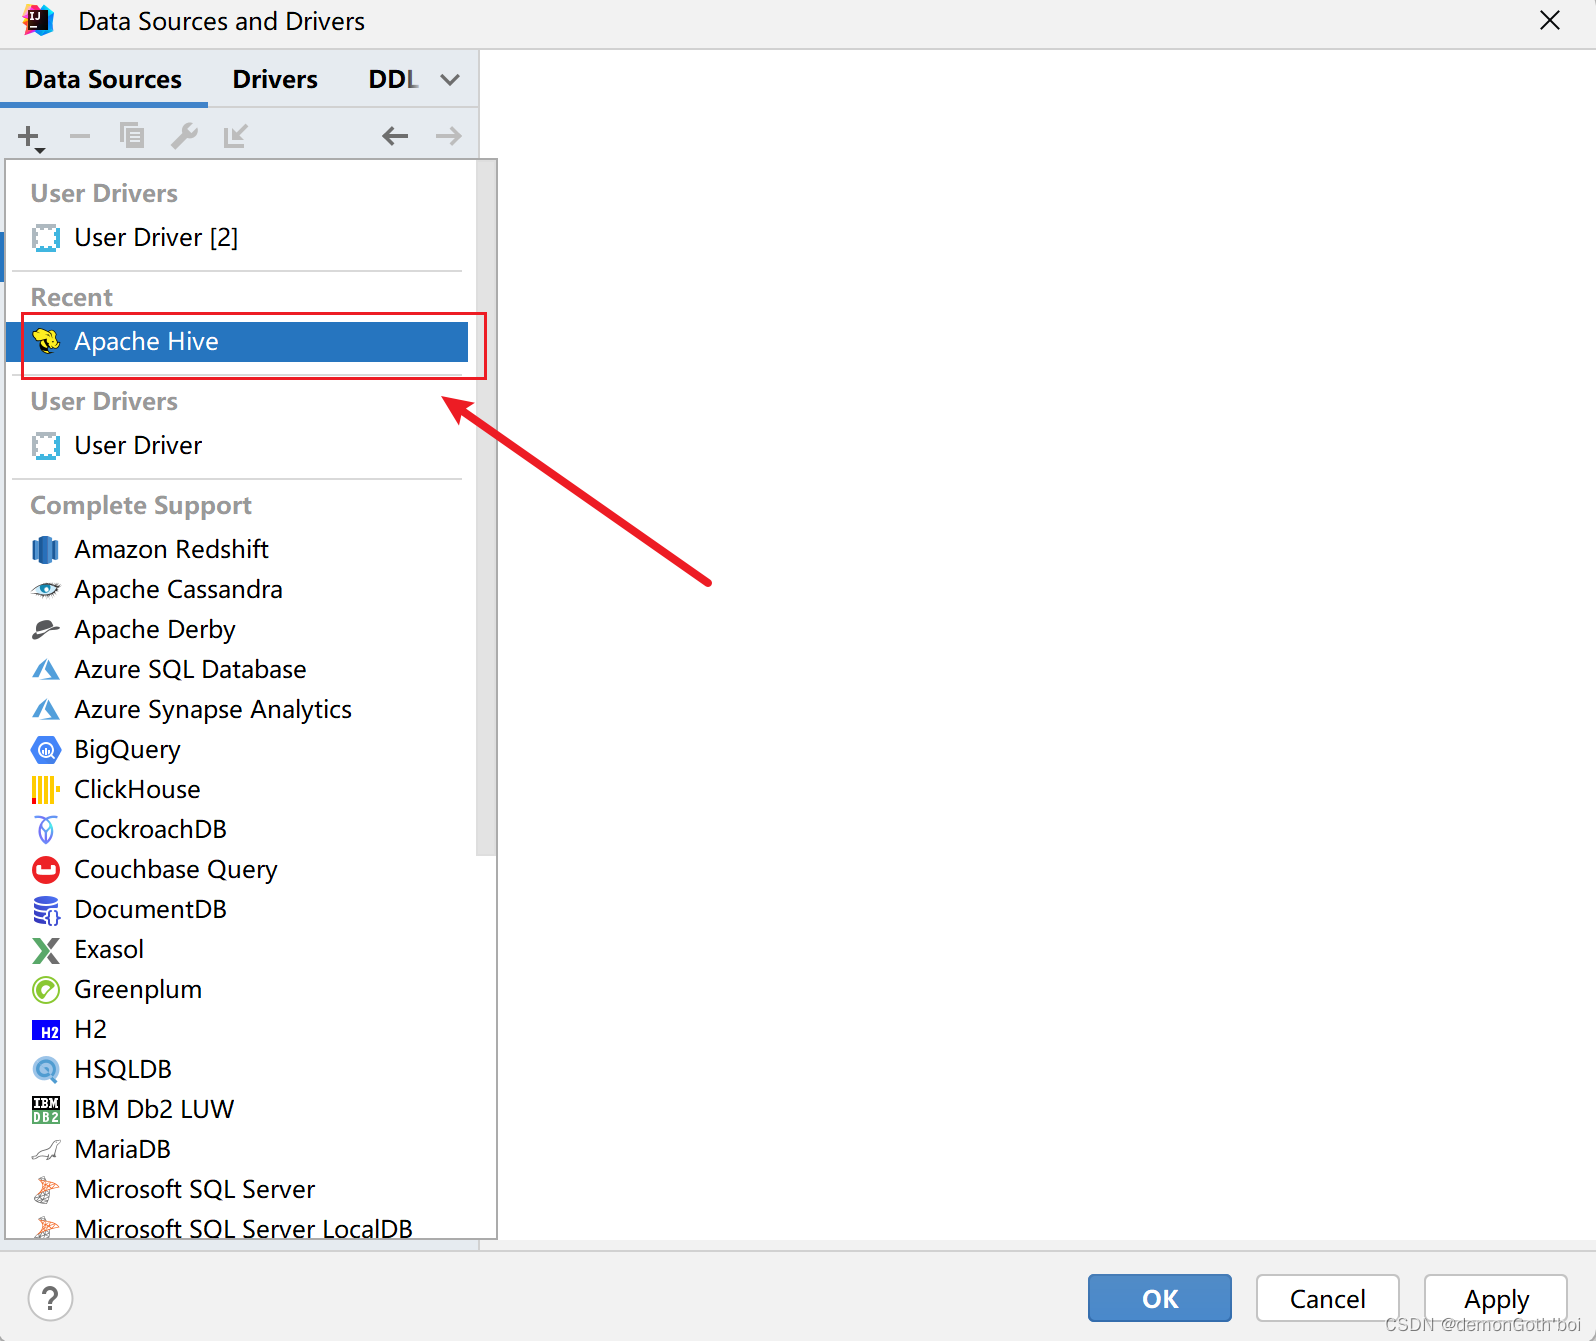
填写hive server2所在的服务器或主机的主机名或者ip,登录的用户名,然后测试连接。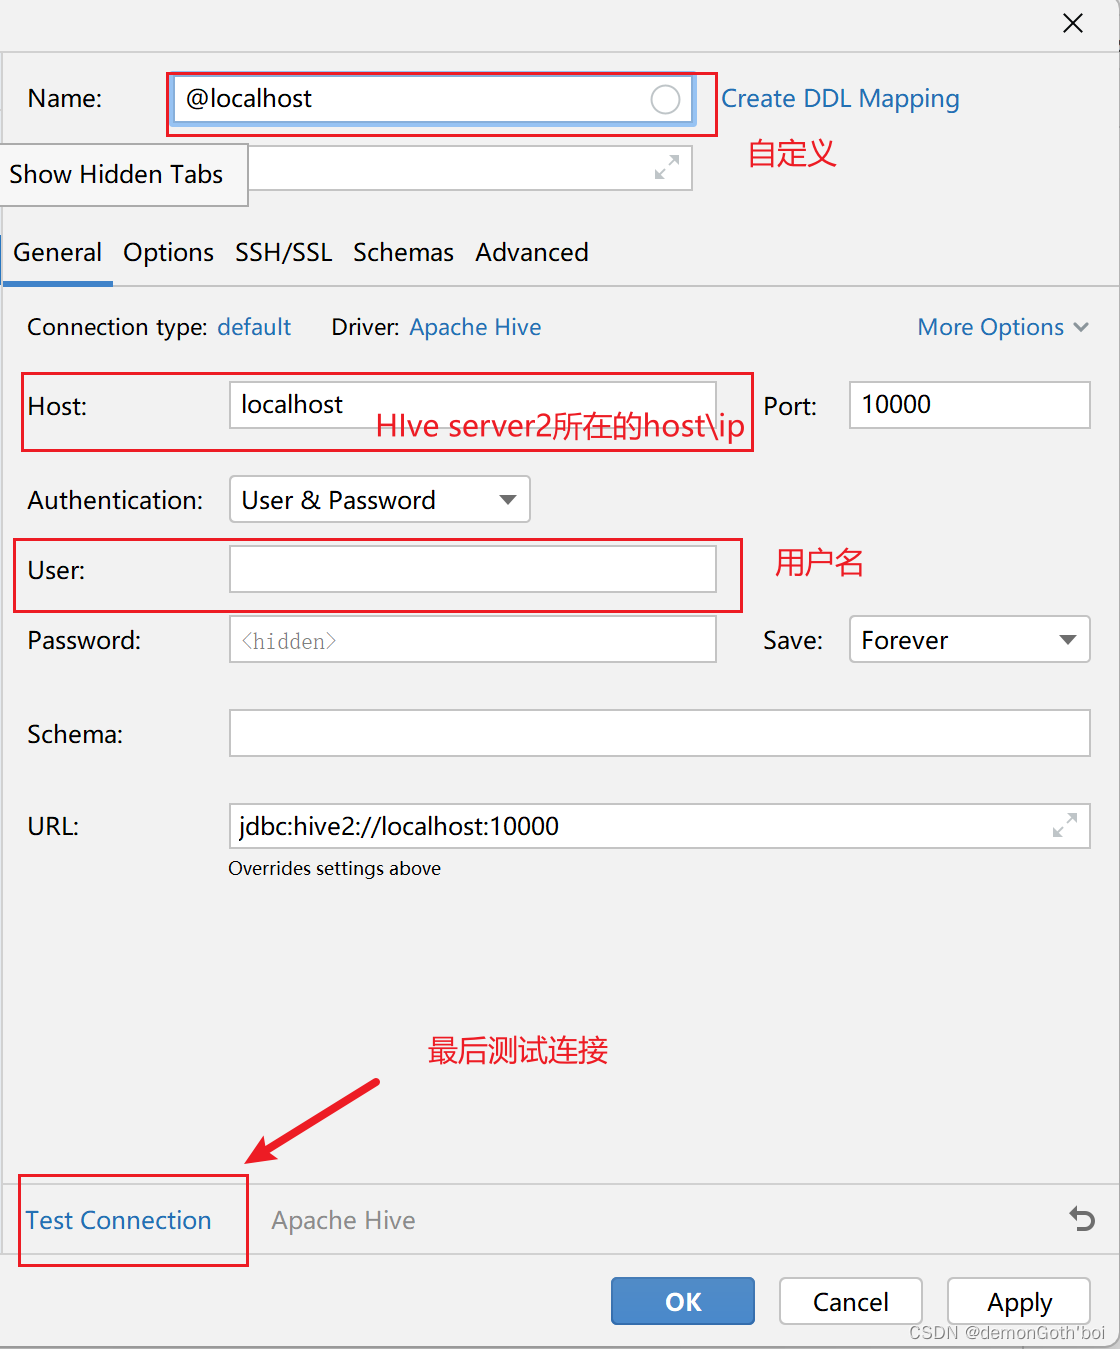
测试连接成功!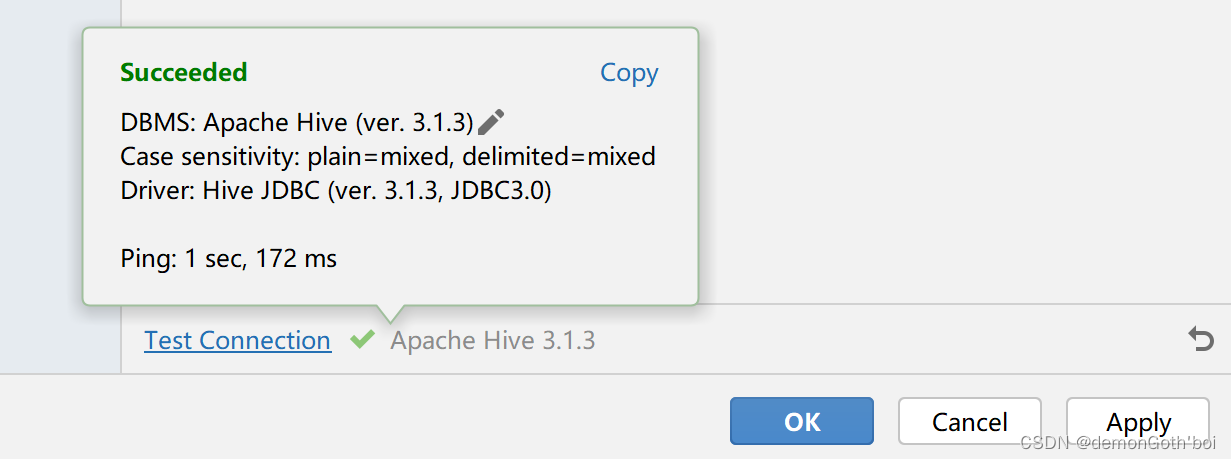
点击OK,完成hive的连接。
3. 结果
创建一个
.sql
的文件,即可快乐的进行hive QL的代码编写。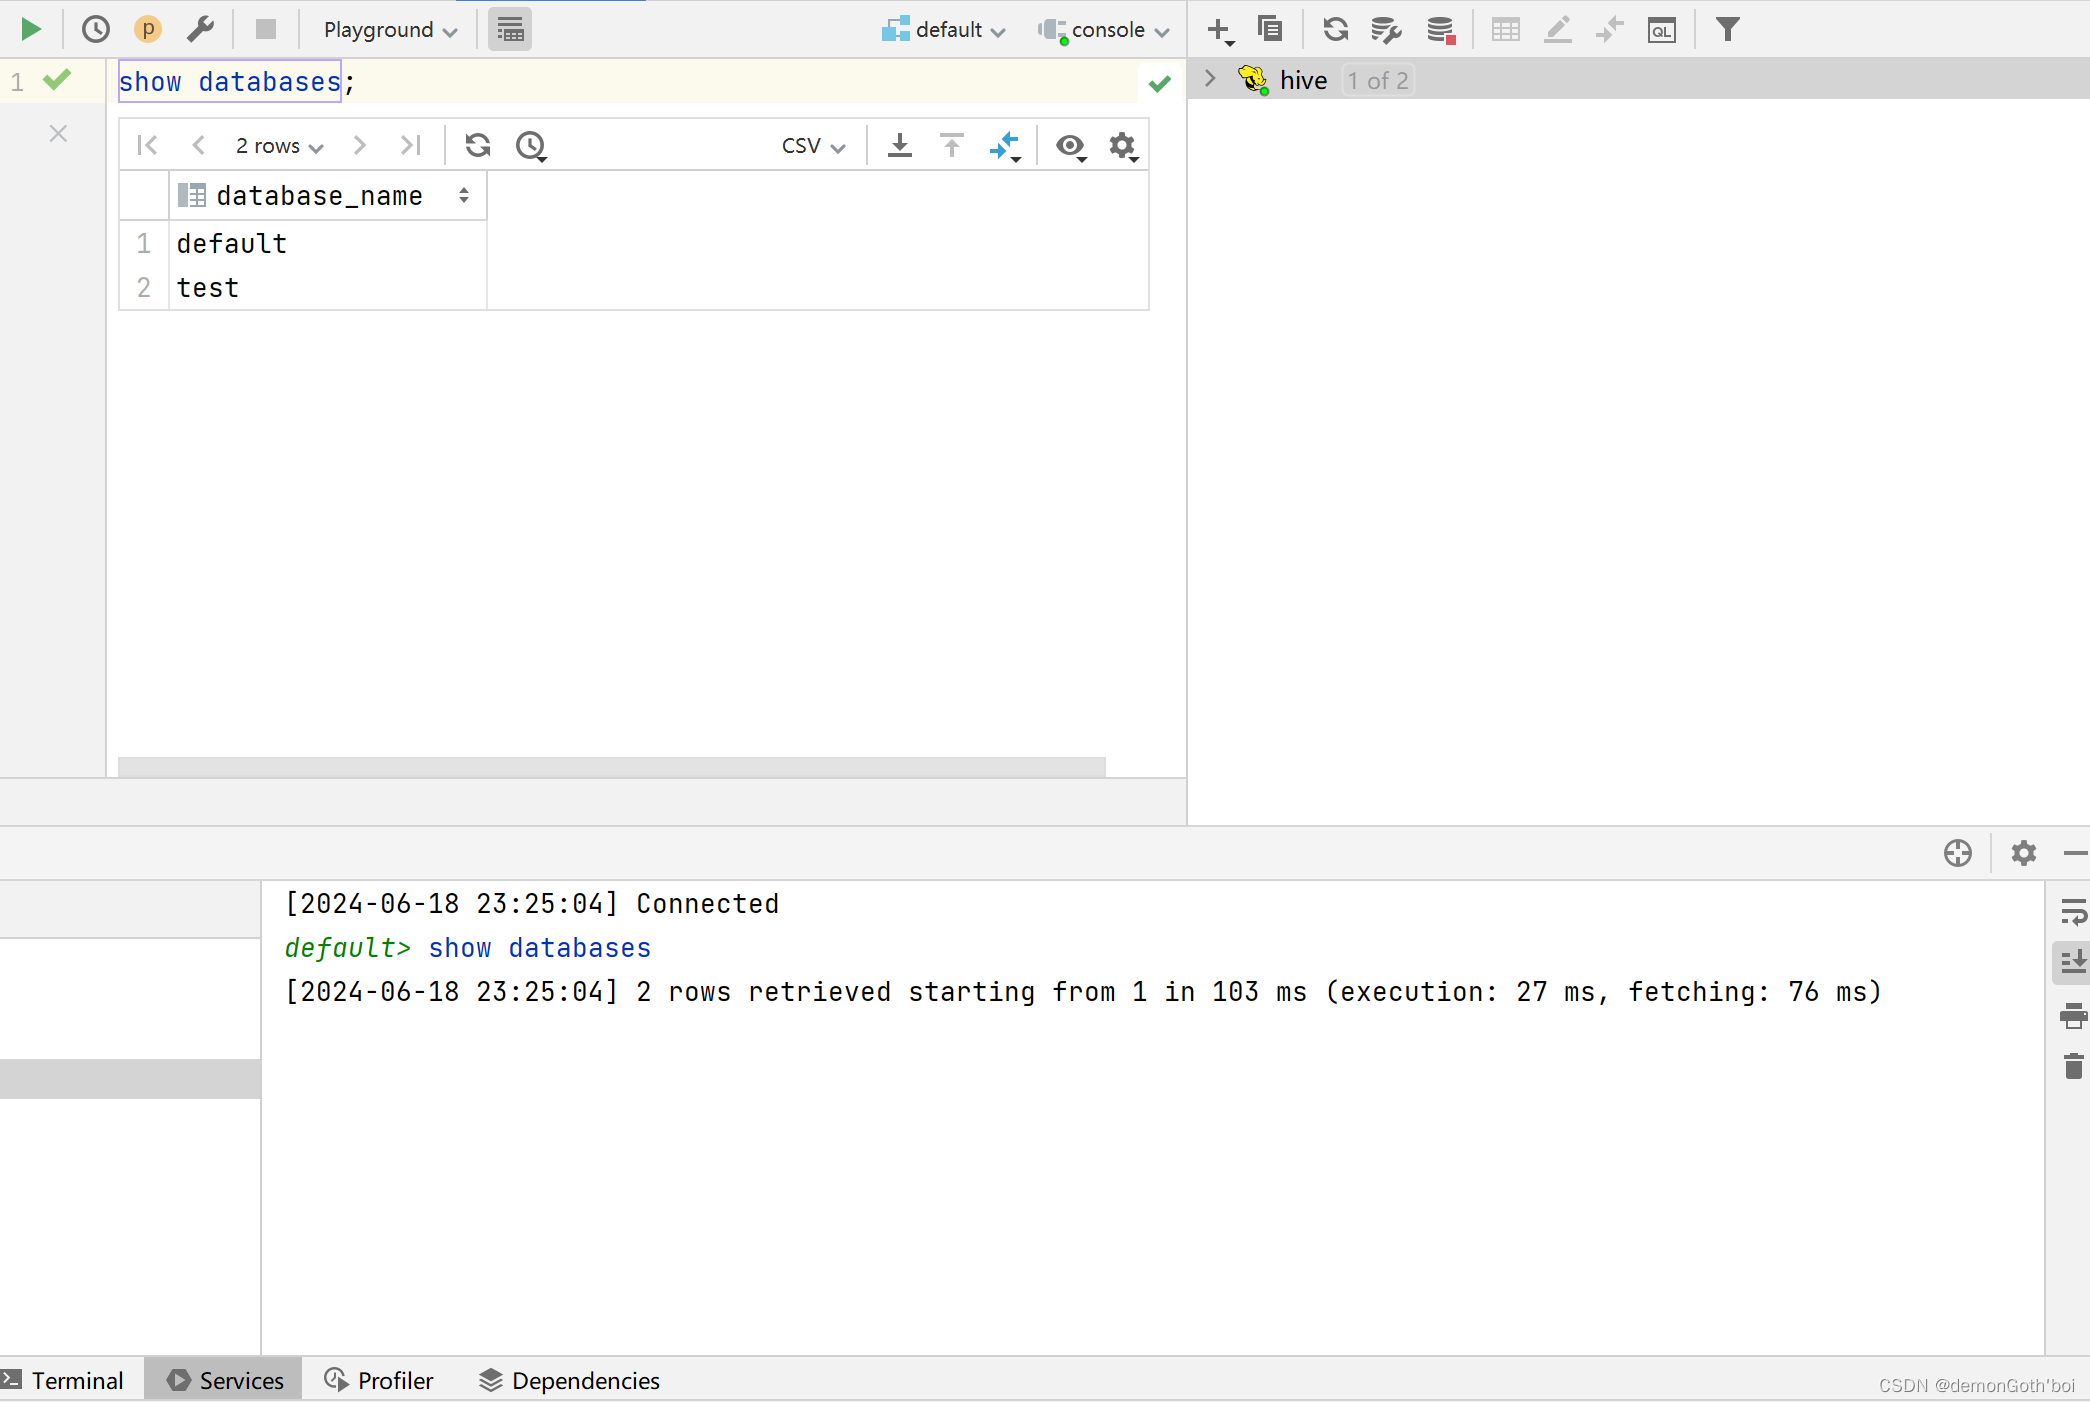
版权归原作者 demonGoth'boi 所有, 如有侵权,请联系我们删除。