
swagger常用注解
@Api 标识一个java类型是文档类,用controller类的类名上
@ApiModel 表示一个实体类/模型文档,用在类名上;
@ApiModelProperty 作用在属性上,添加属性描述;
@ApiOperation 作用在接口类的方法上,控制方法的相关描述;
@ApiImplicitParam 作用在接口方法上,描述单个参数信息,只能作用在方法上;
@ApiImplicitParams 作用在接口方法上,@ApiImplicitParam参数组;
@ApiParam 作用在接口方法上,描述单个参数信息,属性基本与@ApiImplicitParam一样,但可以作用在方法、参数、属性上;
更多详细注解 请参考: (95条消息) swagger常用注解_十年(Sugar)的博客-CSDN博客_swagger注解
在项目的pom文件中加入Swagger3依赖
    <!--Swagger3-->
    <dependency>
        <groupId>io.springfox</groupId>
        <artifactId>springfox-boot-starter</artifactId>
        <version>3.0.0</version>
    </dependency>
添加ui支持,添加最新的knife4j-spring-boot-starter UI依赖(可选) (swagger-bootstrap-ui 为老版UI不维护了,这里采用GitHub最新的UI)
<!--swagger-ui-->
<dependency>
    <groupId>com.github.xiaoymin</groupId>
    <artifactId>knife4j-spring-boot-starter</artifactId>
    <version>3.0.2</version>
</dependency>
在SpringBoot启动类上添加@EnableOpenApi注解开启Swagger3
@ServletComponentScan
@SpringBootApplication
@EnableOpenApi
public class Application {
    public static void main(String[] args) {
        SpringApplication.run(Application.class, args);
    }

}
添加Swagger3自定义配置类
package com.yeb.config;

import org.springframework.context.annotation.Bean;
import org.springframework.context.annotation.Configuration;
import org.springframework.web.servlet.config.annotation.ResourceHandlerRegistry;
import org.springframework.web.servlet.config.annotation.WebMvcConfigurationSupport;
import springfox.documentation.builders.ApiInfoBuilder;
import springfox.documentation.builders.PathSelectors;
import springfox.documentation.builders.RequestHandlerSelectors;
import springfox.documentation.oas.annotations.EnableOpenApi;
import springfox.documentation.service.ApiInfo;
import springfox.documentation.service.Contact;
import springfox.documentation.spi.DocumentationType;
import springfox.documentation.spring.web.plugins.Docket;

/**
 * @author wenxiansheng
 * @create 2022-11-27 18:00
 */

@Configuration
@EnableOpenApi
public class Swagger3Config extends WebMvcConfigurationSupport {

    @Override
    public void addResourceHandlers(ResourceHandlerRegistry registry) {
        registry.addResourceHandler("swagger-ui.html", "doc.html")
                .addResourceLocations("classpath:/META-INF/resources/");
        registry.addResourceHandler("/webjars/**")
                .addResourceLocations("classpath:/META-INF/resources/webjars/");
    }

    /**
     * 创建API应用
     * apiInfo() 增加API相关信息
     * 通过select()函数返回一个ApiSelectorBuilder实例,用来控制哪些接口暴露给Swagger来展现,
     * 本例采用指定扫描的包路径来定义指定要建立API的目录。
     *
     * @return
     */
    @Bean
    public Docket restApi() {
        return new Docket(DocumentationType.OAS_30)
                .groupName("标准接口")
                .apiInfo(apiInfo("Spring Boot中使用Swagger3构建RESTful APIs", "3.0"))
                .useDefaultResponseMessages(true)
                .forCodeGeneration(false)
                .select()
                .apis(RequestHandlerSelectors.basePackage("com.yeb.controller"))
                .paths(PathSelectors.any())
                .build();
    }

    /**
     * 创建该API的基本信息(这些基本信息会展现在文档页面中)
     * 访问地址:http://localhost:8080/swagger-ui/index.html/
     * 使用了第三方UI的访问路径为 http://localhost:8080/doc.html/
     *
     * @return
     */
    private ApiInfo apiInfo(String title, String version) {
        return new ApiInfoBuilder()
                .title(title)
                .description("更多请关注: https://blog.csdn.net/Lean_on_Me?type=blog")
                .termsOfServiceUrl("https://blog.csdn.net/Lean_on_Me?type=blog")
                .contact(new Contact("wenxiansheng", "https://blog.csdn.net/Lean_on_Me?type=blog", "[email protected]"))
                .version(version)
                .build();
    }
}
大功告成!!!
——————————————————————————————————
swagger-bootstrap-ui 界面图
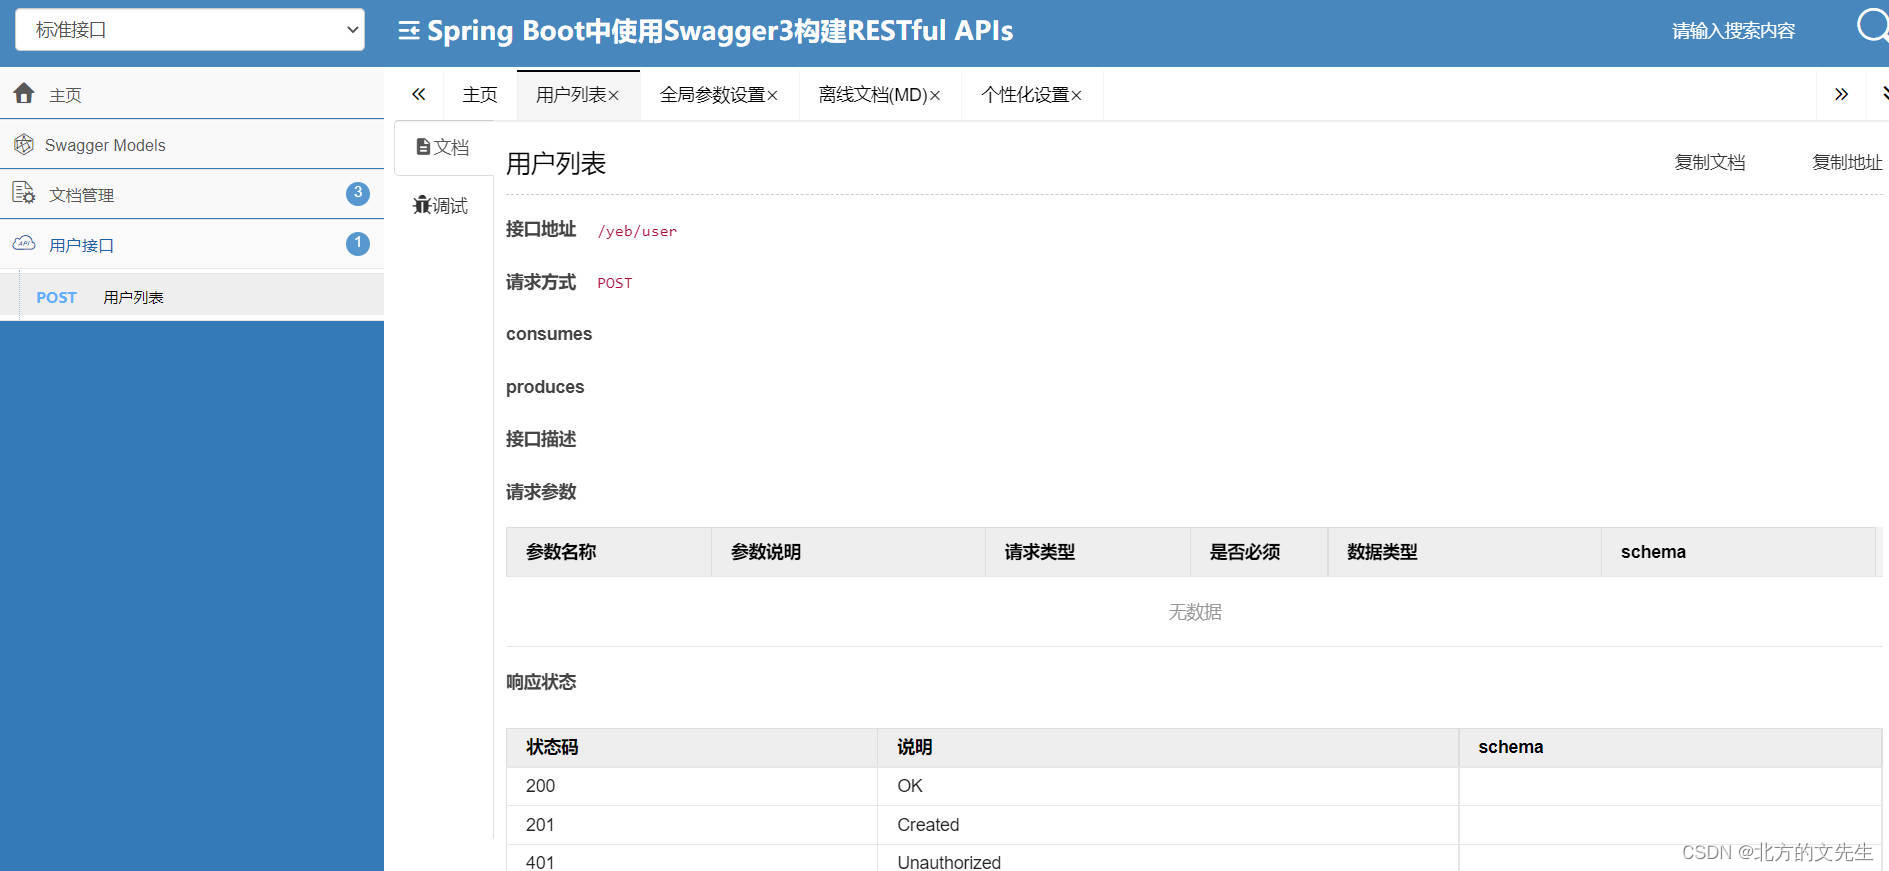
最新的UI knife4j-spring-boot-starter 界面图

本文转载自: https://blog.csdn.net/Lean_on_Me/article/details/128043257
版权归原作者 北方的文先生 所有, 如有侵权,请联系我们删除。
版权归原作者 北方的文先生 所有, 如有侵权,请联系我们删除。