
整个过程是个漫长的试错过程,如有需要可私信,下载本人编译好的基础版docker离线镜像,还可以定制更多功能哦。
一、准备工作
1、准备一台ubuntu16.04版64位的计算机。
建议使用国内开源地址如:浙江大学下载地址
http://mirrors.zju.edu.cn/ubuntu-releases/16.04/ubuntu-16.04.7-desktop-amd64.iso
2、升级软件ubuntu软件 可用图形界面直接升级或使用指令 apt-get update
3、安装升级gcc7
下载并安装gcc编译安装包
sudo add-apt-repository ppa:ubuntu-toolchain-r/test
sudo apt-get update
sudo apt-get install gcc-7
sudo apt-get install g++-7
将gcc7,g++7设置作为默认选项
sudo update-alternatives --install /usr/bin/gcc gcc /usr/bin/gcc-7 100
sudo update-alternatives --config gcc
sudo update-alternatives --install /usr/bin/g++ g++ /usr/bin/g++-7 100
sudo update-alternatives --config g++
4、安装升级node npm 本人使用的node是16.15.1 npm 8.12.1
安装
apt nodejs
升级
npm cache clean -f //清除npm缓存,执行命令
npm install -g n //n模块是专门用来管理nodejs的版本,安装n模块
n 16.15.1 // 指定node安装版本
npm install -g [email protected] // 指定npm安装版本
node -v //查看node版本
npm -v //查看npm版本
5、配置代理(强烈建议使用梯子,如果不能建议离开)
sudo vim /etc/profile
添加如下内容
export HTTP_PROXY=http://127.0.0.1:8080
export HTTPS_PROXY=http://127.0.0.1:8080
使配置生效
source /etc/profile
6、配置npm
sudo npm config set proxy http://127.0.0.1:8080
sudo npm config set https-proxy http://127.0.0.1:8080
sudo npm config set registry https://registry.npmjs.org/   //这两个二选一就行
npm config set registry https://registry.npm.taobao.org   //这两个二选一就行建议选国内的
二、下载onlyoffice编译工具
sudo apt-get install -y python git
git clone https://github.com/ONLYOFFICE/build_tools.git
三、开始运行(顺利的话需要好几个小时)
cd build_tools/tools/linux
./automate.py server
四、破解 修改20人同时编辑功能
到/server/Common/sources/constants.js
exports.LICENSE_CONNECTIONS = 20;#将此处修改你想要的连接数
修改build_tools/tools/linux/automate.py 文件
build_tools_params = ["--branch", branch,
                      "--module", modules,
                      "--update", "0", #此处修改为0,否则会覆盖你修改的文件
                      "--qt-dir", os.getcwd() + "/qt_build/Qt-5.9.9"]
再次执行编译
cd build_tools/tools/linux
./automate.py server
成功后在build_tools会生成out文件夹大概3G左右
五、安装(可参考官方网页Compiling ONLYOFFICE Docs for a local server - ONLYOFFICE)
本人建议使用windows下面的docker安装,生成docker镜像。
- 安装vim工具,及NGINX:
sudo apt-get install -y vim nginx - 删除nginx默认配置
sudo rm -f /etc/nginx/sites-enabled/default - 新建配制文件
vim /etc/nginx/sites-available/onlyoffice-documentserver//内容如下:map $http_host $this_host { "" $host; default $http_host;}map $http_x_forwarded_proto $the_scheme { default $http_x_forwarded_proto; "" $scheme;}map $http_x_forwarded_host $the_host { default $http_x_forwarded_host; "" $this_host;}map $http_upgrade $proxy_connection { default upgrade; "" close;}proxy_set_header Host $http_host;proxy_set_header Upgrade $http_upgrade;proxy_set_header Connection $proxy_connection;proxy_set_header X-Forwarded-Host $the_host;proxy_set_header X-Forwarded-Proto $the_scheme;server { listen 0.0.0.0:80; listen [::]:80 default_server; server_tokens off; rewrite ^\/OfficeWeb(\/apps\/.*)$ /web-apps$1 redirect; location / { proxy_pass http://localhost:8000; proxy_http_version 1.1; }} - 增加连接
sudo ln -s /etc/nginx/sites-available/onlyoffice-documentserver /etc/nginx/sites-enabled/onlyoffice-documentserver - 重新启动nginx
nginxsudo nginx -s reload6.安装和配制 PostgreSQL
//安装
sudo apt-get install postgresql

//启动
service postgresql start

//新建数据库用户等 密码为onlyoffice
sudo -i -u postgres psql -c "CREATE DATABASE onlyoffice;"
sudo -i -u postgres psql -c "CREATE USER onlyoffice WITH password 'onlyoffice';"
sudo -i -u postgres psql -c "GRANT ALL privileges ON DATABASE onlyoffice TO onlyoffice;"

//配制需要输入密码 onlyoffice
psql -hlocalhost -Uonlyoffice -d onlyoffice -f /out/linux_64/onlyoffice/documentserver/server/schema/postgresql/createdb.sql
7.安装和启动 RabbitMQ
//安装
sudo apt-get install rabbitmq-server

//启动
service rabbitmq-server start
8.创建字体
cd /out/linux_64/onlyoffice/documentserver/
mkdir fonts
LD_LIBRARY_PATH=${PWD}/server/FileConverter/bin server/tools/allfontsgen \
  --input="${PWD}/core-fonts" \
  --allfonts-web="${PWD}/sdkjs/common/AllFonts.js" \
  --allfonts="${PWD}/server/FileConverter/bin/AllFonts.js" \
  --images="${PWD}/sdkjs/common/Images" \
  --selection="${PWD}/server/FileConverter/bin/font_selection.bin" \
  --output-web='fonts' \
  --use-system="true"
9.创建模板
cd /out/linux_64/onlyoffice/documentserver/
LD_LIBRARY_PATH=${PWD}/server/FileConverter/bin server/tools/allthemesgen \
  --converter-dir="${PWD}/server/FileConverter/bin"\
  --src="${PWD}/sdkjs/slide/themes"\
  --output="${PWD}/sdkjs/common/Images"
10.运行服务
//启动FileConverter service服务:
cd /out/linux_64/onlyoffice/documentserver/server/FileConverter
LD_LIBRARY_PATH=$PWD/bin \
NODE_ENV=development-linux \
NODE_CONFIG_DIR=$PWD/../Common/config \
./converter

//启动 DocService service:
cd /out/linux_64/onlyoffice/documentserver/server/DocService
NODE_ENV=development-linux \
NODE_CONFIG_DIR=$PWD/../Common/config \
./docservice
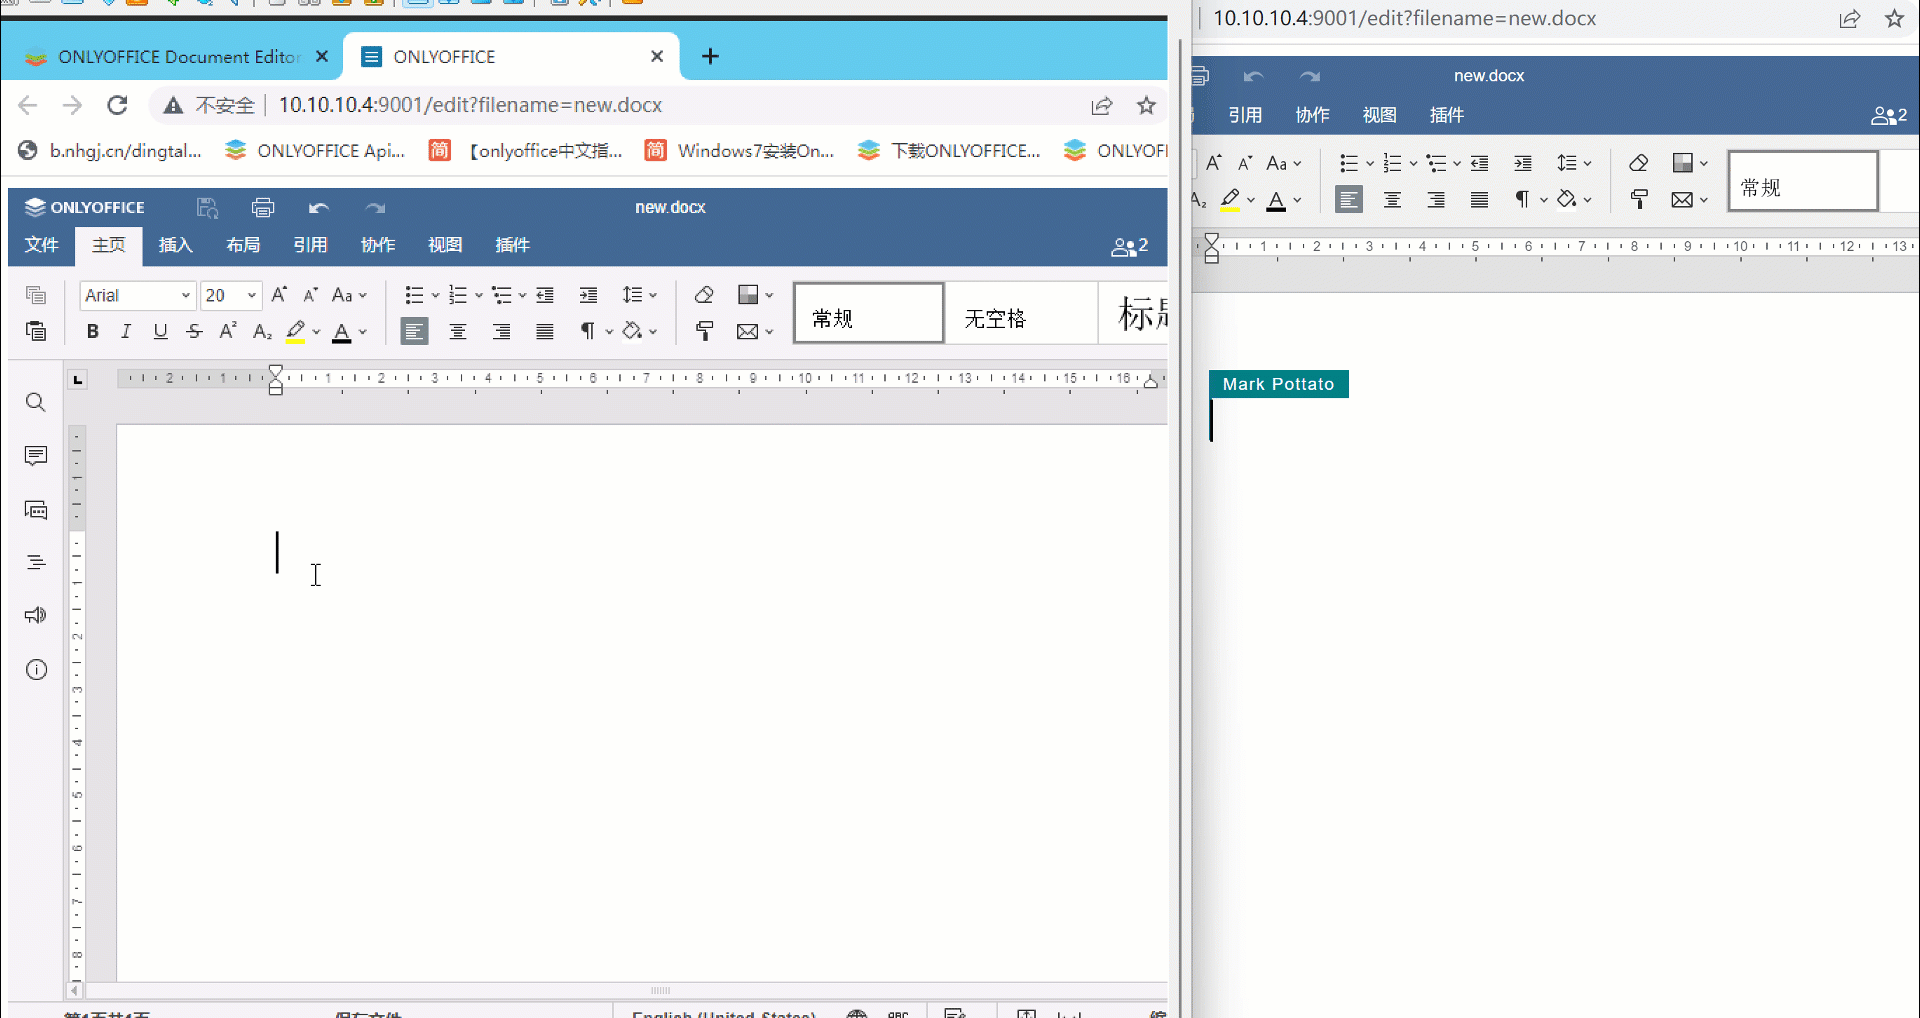
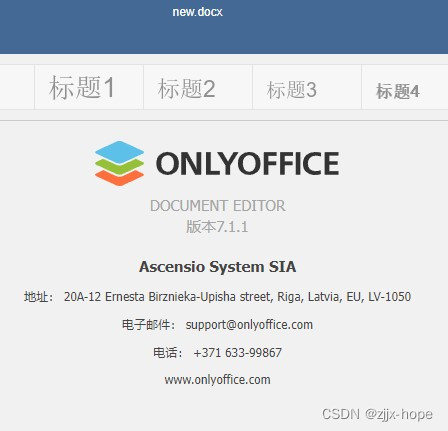
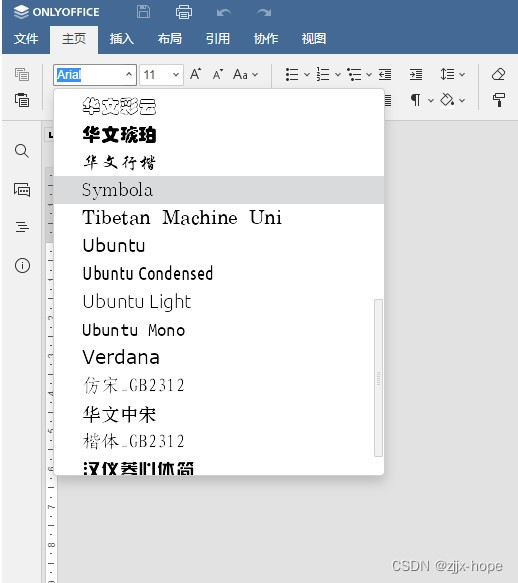
最后放几张效果图吧
本人还重新修改了字体,加入了常用的10几种字体
本文转载自: https://blog.csdn.net/zjnhgjwb/article/details/125179773
版权归原作者 zjjx-hope 所有, 如有侵权,请联系我们删除。
版权归原作者 zjjx-hope 所有, 如有侵权,请联系我们删除。