

本文是为了解决网友
赵云遇到的问题,顺便折腾的。虽然软件跑起来了,但是他遇到的问题,超出了老苏的认知。当然最终问题还是得到了解决,不过与
LibrePhotos无关;
什么是 LibrePhotos ?
LibrePhotos是一个自托管的开源照片管理和共享平台。它旨在提供一个类似于商业化照片服务的功能,但用户可以完全控制自己的数据,并在自己的服务器上存储照片。
什么是 UhuruPhotos ?
UhuruPhotos是一款功能齐全,使用
Jetpack Compose和最新的
android技术编写的
LibrePhotos android客户端。它借鉴了
Google Photos的很多想法,旨在成为功能齐全的相册替代品,包括离线支持、备份和同步等功能。

安装
在群晖上以 Docker 方式安装。
docker-compose.yml
将下面的内容保存为
docker-compose.yml
文件
源文件来自:https://github.com/LibrePhotos/librephotos-docker/blob/main/docker-compose.yml,老苏只修改了
container_name;
# DO NOT EDIT# The .env file has everything you need to edit.# Run options:# 1. Use prebuilt images (preferred method):#   run cmd: docker-compose up -d# 2. Build images on your own machine:#   build cmd: COMPOSE_DOCKER_CLI_BUILD=1 DOCKER_BUILDKIT=1 docker-compose build#   run cmd: docker-compose up -dversion:"3.8"services:proxy:image: reallibrephotos/librephotos-proxy:${tag}container_name: librephotos-proxy
    restart: unless-stopped
    volumes:- ${scanDirectory}:/data
      - ${data}/protected_media:/protected_media
    ports:- ${httpPort}:80depends_on:- backend
      - frontend

  db:image: postgres:13container_name: librephotos-db
    restart: unless-stopped
    environment:- POSTGRES_USER=${dbUser}- POSTGRES_PASSWORD=${dbPass}- POSTGRES_DB=${dbName}volumes:- ${data}/db:/var/lib/postgresql/data
    command: postgres -c fsync=off -c synchronous_commit=off -c full_page_writes=off -c random_page_cost=1.0
    healthcheck:test: psql -U ${dbUser}-d ${dbName}-c "SELECT 1;"
      interval: 5s
      timeout: 5s
      retries:5frontend:image: reallibrephotos/librephotos-frontend:${tag}container_name: librephotos-frontend
    restart: unless-stopped

  backend:image: reallibrephotos/librephotos:${tag}container_name: librephotos-backend
    restart: unless-stopped
    volumes:- ${scanDirectory}:/data
      - ${data}/protected_media:/protected_media
      - ${data}/logs:/logs
      - ${data}/cache:/root/.cache
    environment:- SECRET_KEY=${shhhhKey:-}- BACKEND_HOST=backend
      - ADMIN_EMAIL=${adminEmail:-}- ADMIN_USERNAME=${userName:-}- ADMIN_PASSWORD=${userPass:-}- DB_BACKEND=postgresql
      - DB_NAME=${dbName}- DB_USER=${dbUser}- DB_PASS=${dbPass}- DB_HOST=${dbHost}- DB_PORT=5432
      - MAPBOX_API_KEY=${mapApiKey:-}- WEB_CONCURRENCY=${gunniWorkers:-1}- SKIP_PATTERNS=${skipPatterns:-}- ALLOW_UPLOAD=${allowUpload:-false}- CSRF_TRUSTED_ORIGINS=${csrfTrustedOrigins:-}- DEBUG=0
      - HEAVYWEIGHT_PROCESS=${HEAVYWEIGHT_PROCESS:-}depends_on:db:condition: service_healthy
一共用到了
4
个镜像,其中:
reallibrephotos/librephotos-proxy:反向代理服务;reallibrephotos/librephotos:后端服务;reallibrephotos/librephotos-frontend:前端页面;
以上
3
个镜像
latest
对应的版本均为
2023w31
postgres:13:数据库服务;
env.txt
将下面的内容保存为
env.txt
文件
源文件来自:https://github.com/LibrePhotos/librephotos-docker/blob/main/librephotos.env,请根据自己的环境进行修改;
# This file contains all the things you need to change to set up your Libre Photos.
# There are a few items that must be set for it to work such as the location of your photos.
# After the mandatory entries there are some optional ones that you may set.

# Start of mandatory changes.

# Location of your photos.
scanDirectory=./librephotos/pictures

# Internal data of LibrePhotos
data=./librephotos/data

# ------------------------------------------------------------------------------------------------

# Wow, we are at the optional now. Pretty easy so far. You do not have to change any of the below.

# Set this value if you have a custom domain name. This allows uploads and django-admin access. If you do not have a custom domain name, leave this blank.
csrfTrustedOrigins=

#What port should Libre Photos be accessed at (Default 3000)
httpPort=3068

# What branch should we install the latest weekly build or the development branch (dev)
tag=latest

# Number of workers, which take care of the request to the api. This setting can dramatically affect the ram usage.
# A positive integer generally in the 2-4 x $(NUM_CORES) range.
# You’ll want to vary this a bit to find the best for your particular workload.
# Each worker needs 800MB of RAM. Change at your own will. Default is 2.
gunniWorkers=2

# You can set the database name. Did you know Libre Photos was forked from OwnPhotos?
dbName=librephotos

# Here you can change the user name for the database.
dbUser=docker

# The password used by the database.
dbPass=AaAa1234

# Default minimum rating to interpret as favorited. This default value is used when creating a new user.
# Users can change this in their settings (Dashboards > Library).
DEFAULT_FAVORITE_MIN_RATING=4

# Database host. Only change this if you want to use your own existing Postgres server. If using your own server, you can remove the 'db' container from docker-compose.yml. If you're changing the name of the DB's container name (DB_CONT_NAME further down), you need to set this variable to match that name too.
dbHost=db

# Set the names of the docker containers to your own entries. Or don't, I'm not your dad.
# Changing these will require you to `make rename` to rename the services, and start the system with your chosen `docker-compose up -d` invocation again.
# Note that changing the DB_CONT_NAME will also need you to set the `dbHost` variable to the same value.
DB_CONT_NAME=db
BACKEND_CONT_NAME=backend
FRONTEND_CONT_NAME=frontend
PROXY_CONT_NAME=proxy
PGADMIN_CONT_NAME=pgadmin
# ---------------------------------------------------------------------------------------------

# If you are not a developer ignore the following parameters: you will never need them.

# Where shall we store the backend and frontend code files.
codedir=./librephotos/code

# Location for pgAdmin
pgAdminLocation=./librephotos/pgadmin
相比源文件,老苏修改了
3
处
scanDirectory:从./librephotos/pictures修改为了./pictures;data:从./librephotos/data修改为了./data;httpPort:从3000修改为了3068,这个只要不冲突就行;
其他参数,除了
dbPass
可以按需要修改外,其他的直接用默认值就可以,除非你清楚每个参数的用途
如果执行时遇到下面的错误,请用
UTF-8
格式保存
env.txt
文件

然后执行下面的命令
# 新建文件夹 librephotos 和 子目录mkdir-p /volume1/docker/librephotos/{data/{cache,db,logs,protected_media},pictures}# 进入 librephotos 目录cd /volume1/docker/librephotos

# 将 docker-compose.yml 和 env.txt 放入当前目录# 一键启动docker-compose --env-file env.txt up -d
目录结构
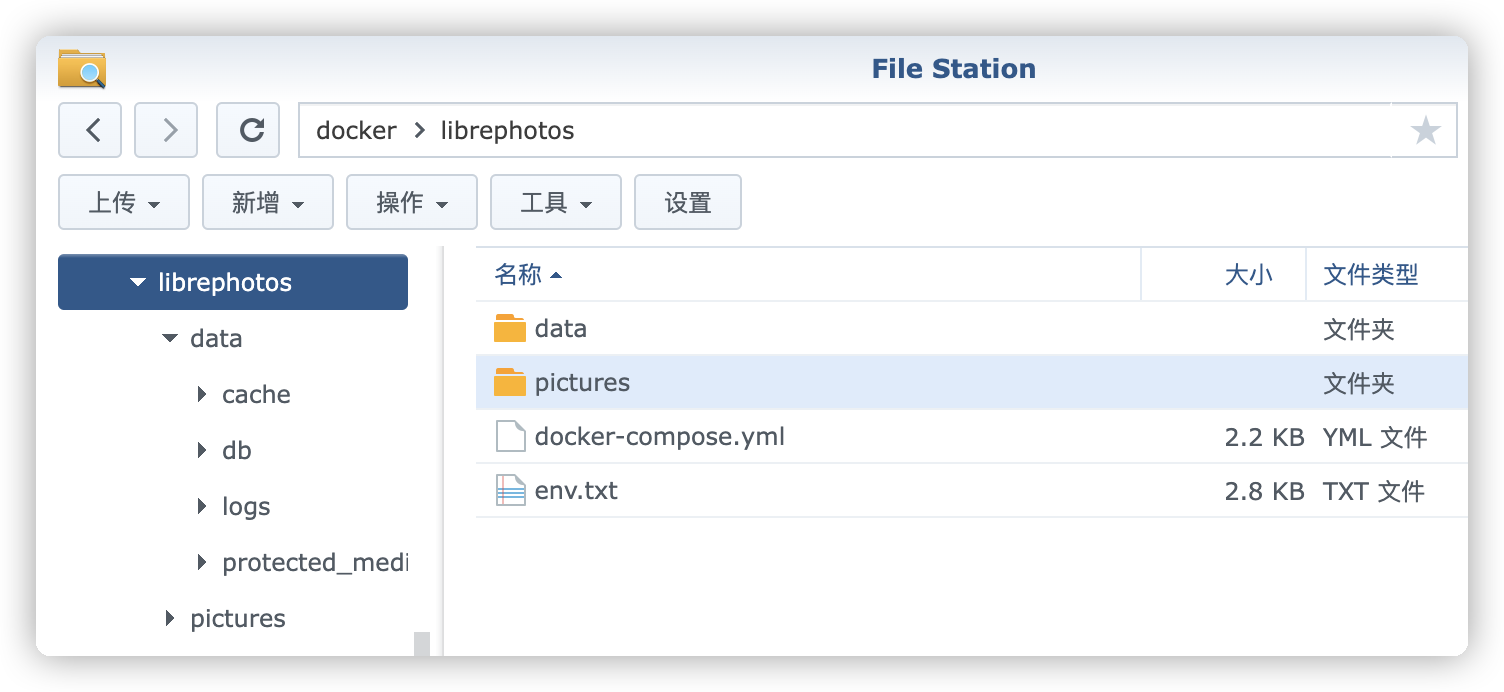
运行
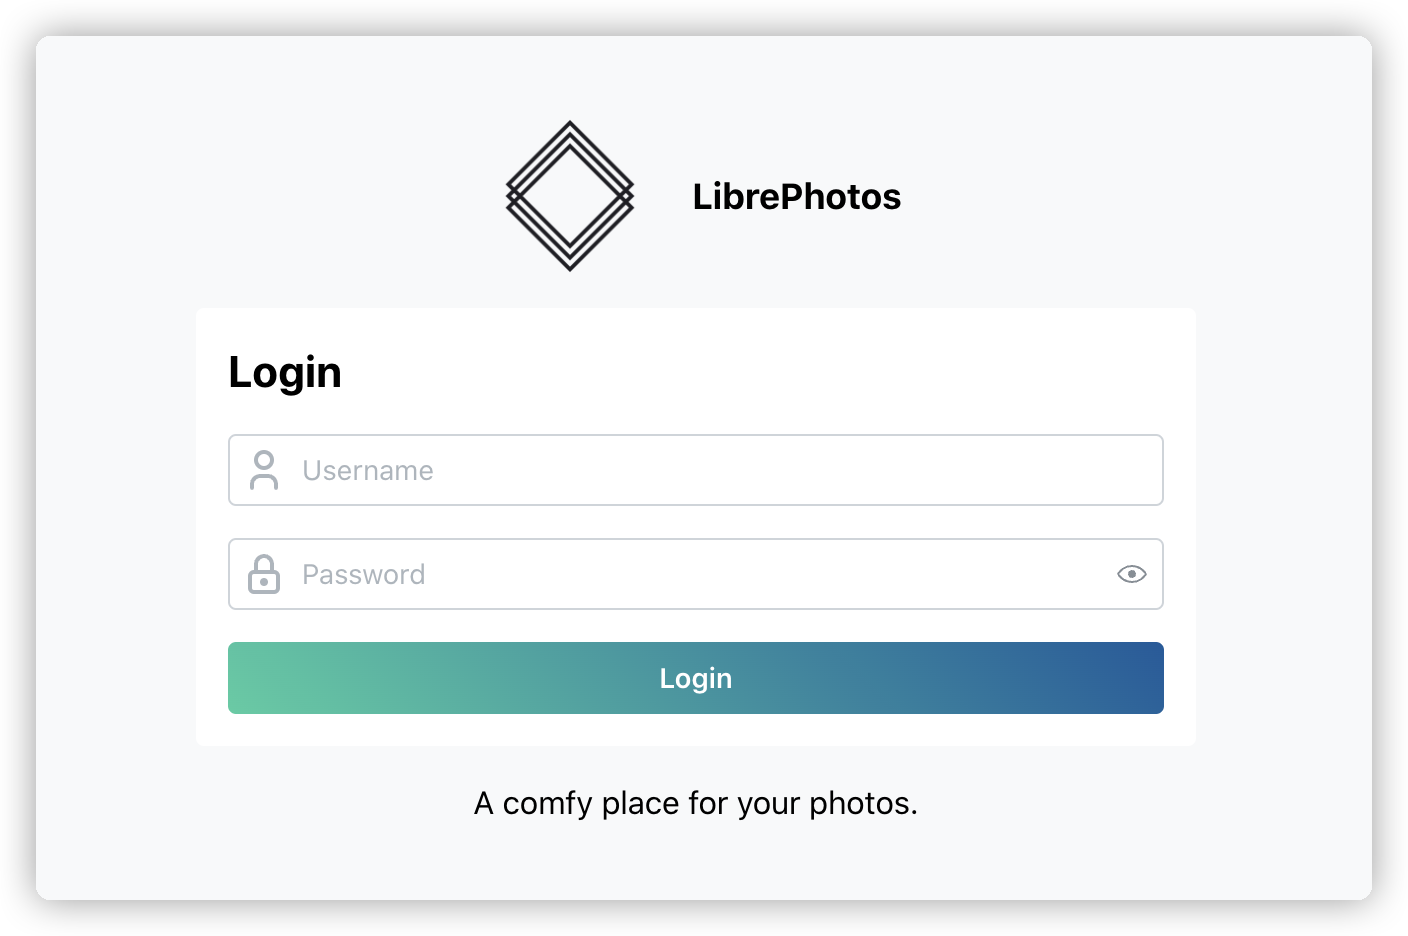
在浏览器中输入
http://群晖IP:3068
,第一次会看到注册页面

然后需要登录
登录成功后的主界面
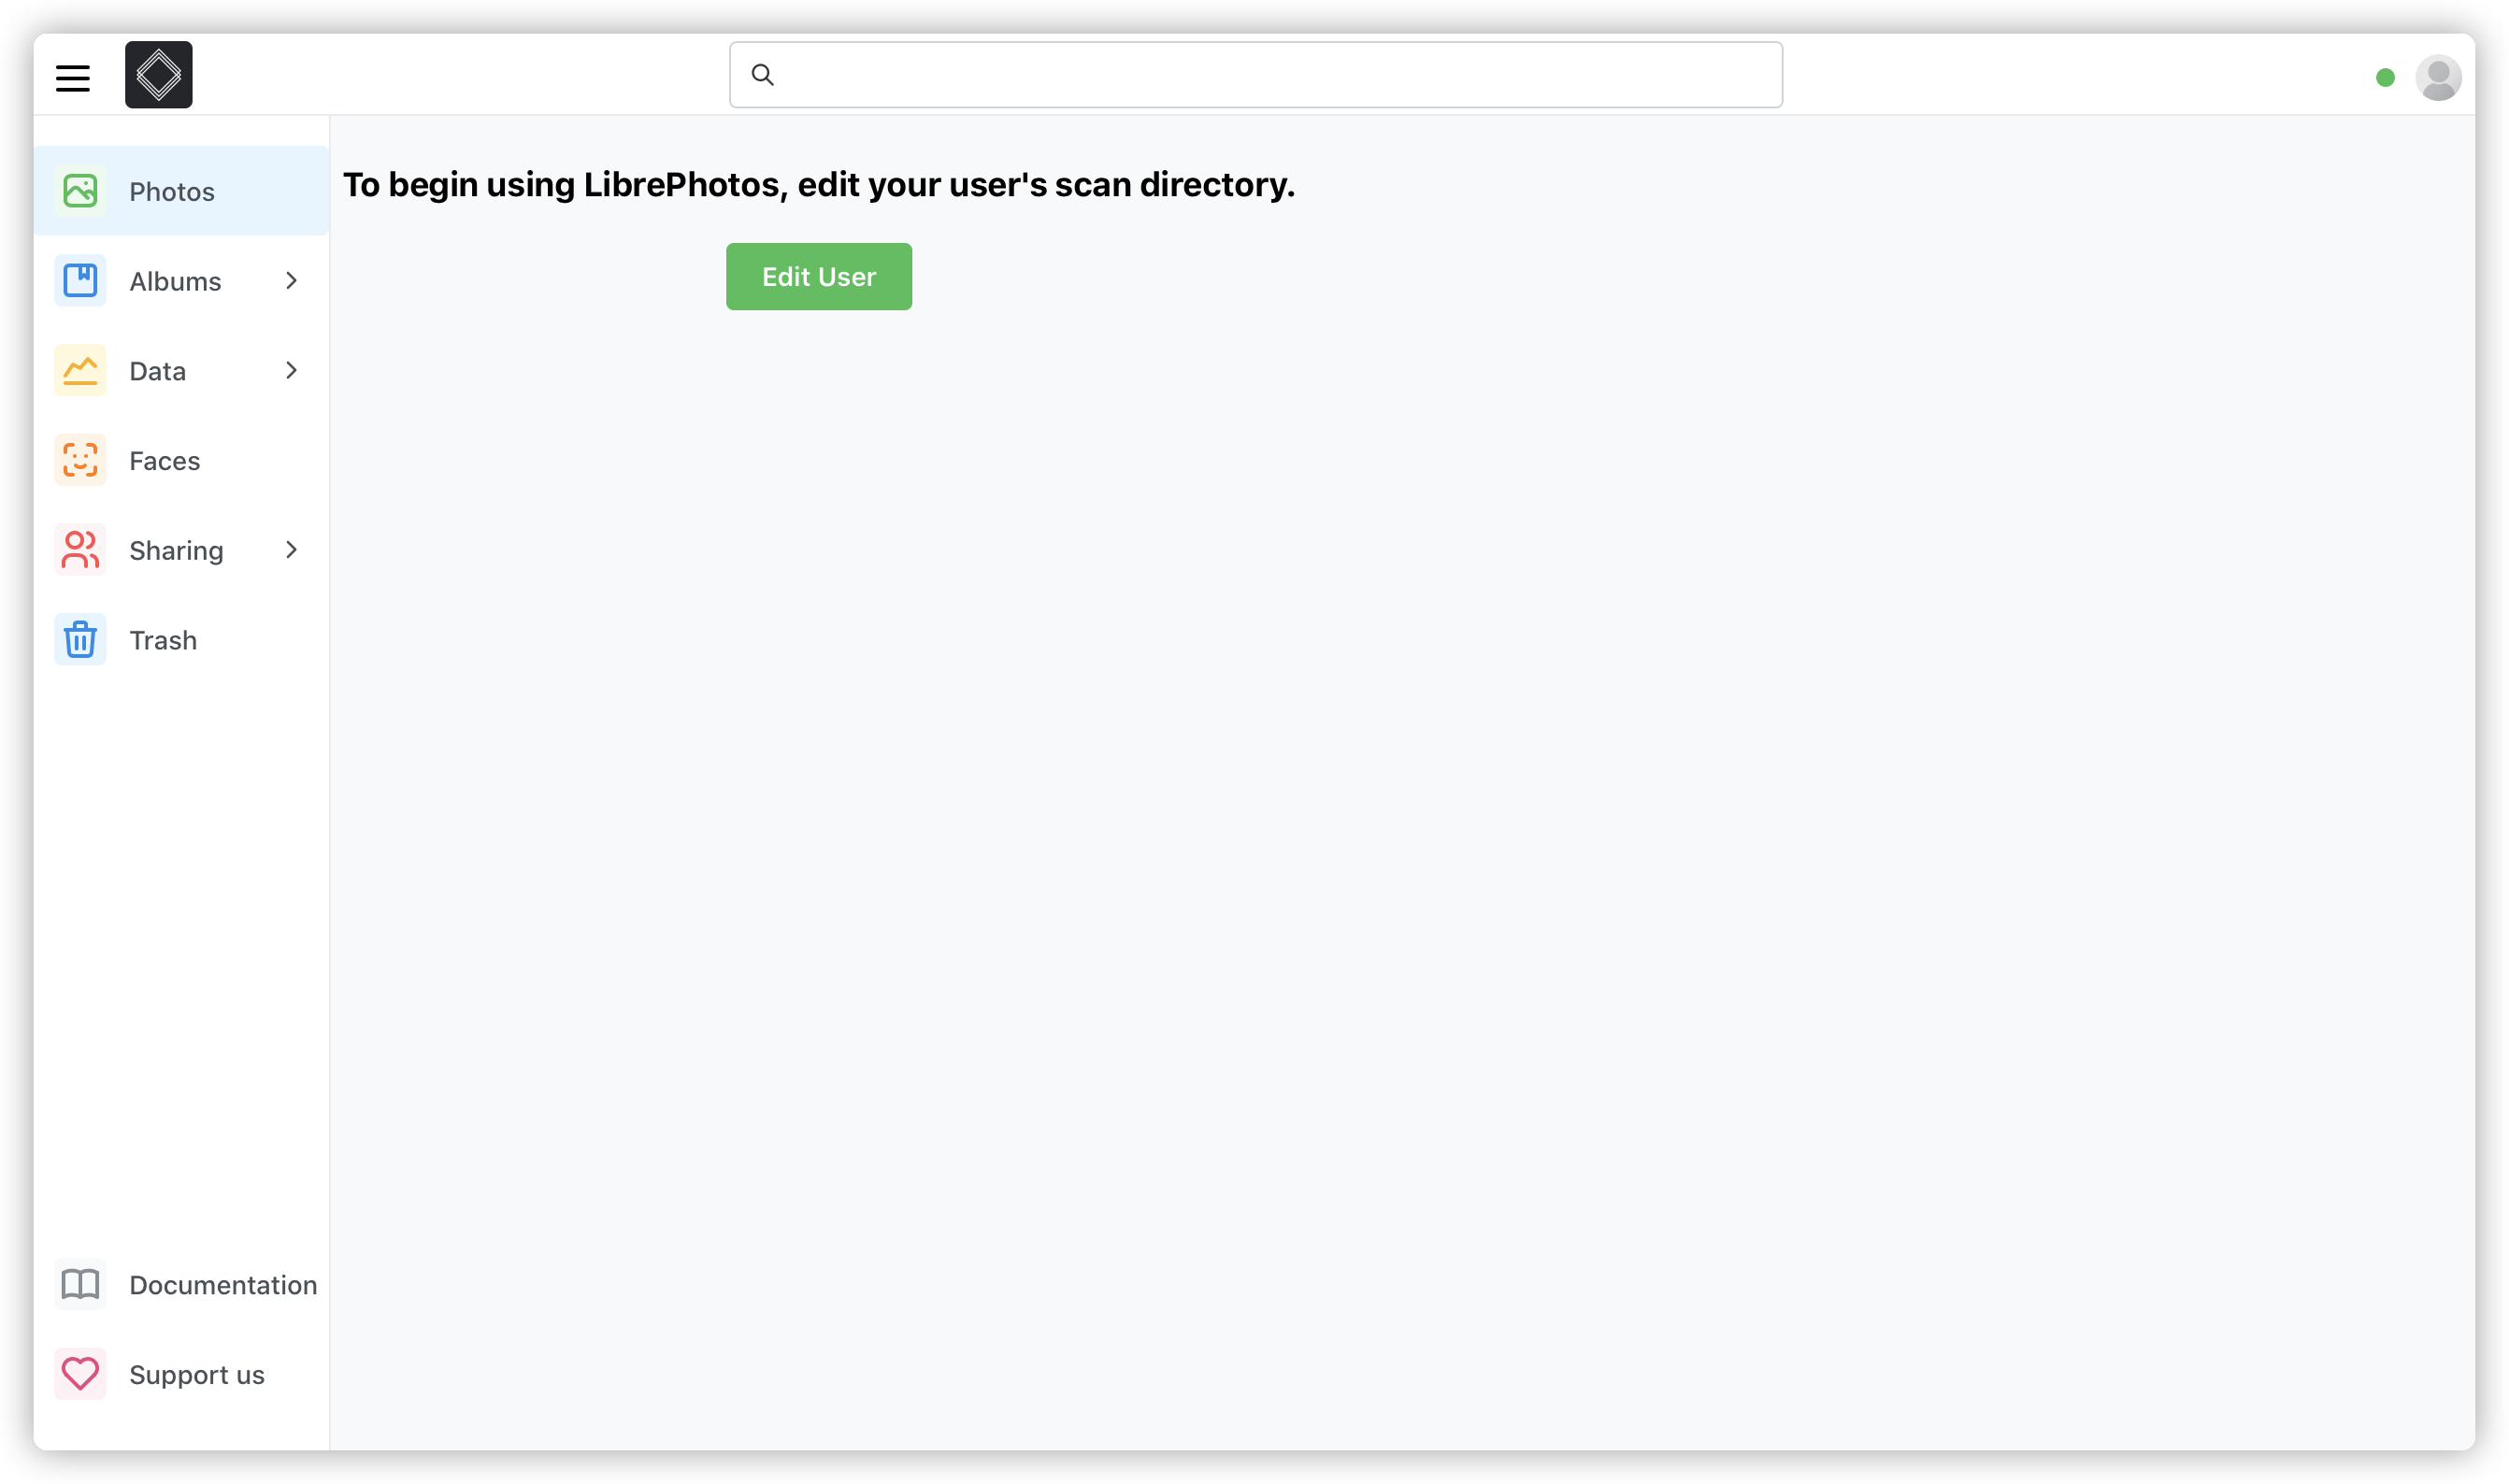
需要点
Edit User
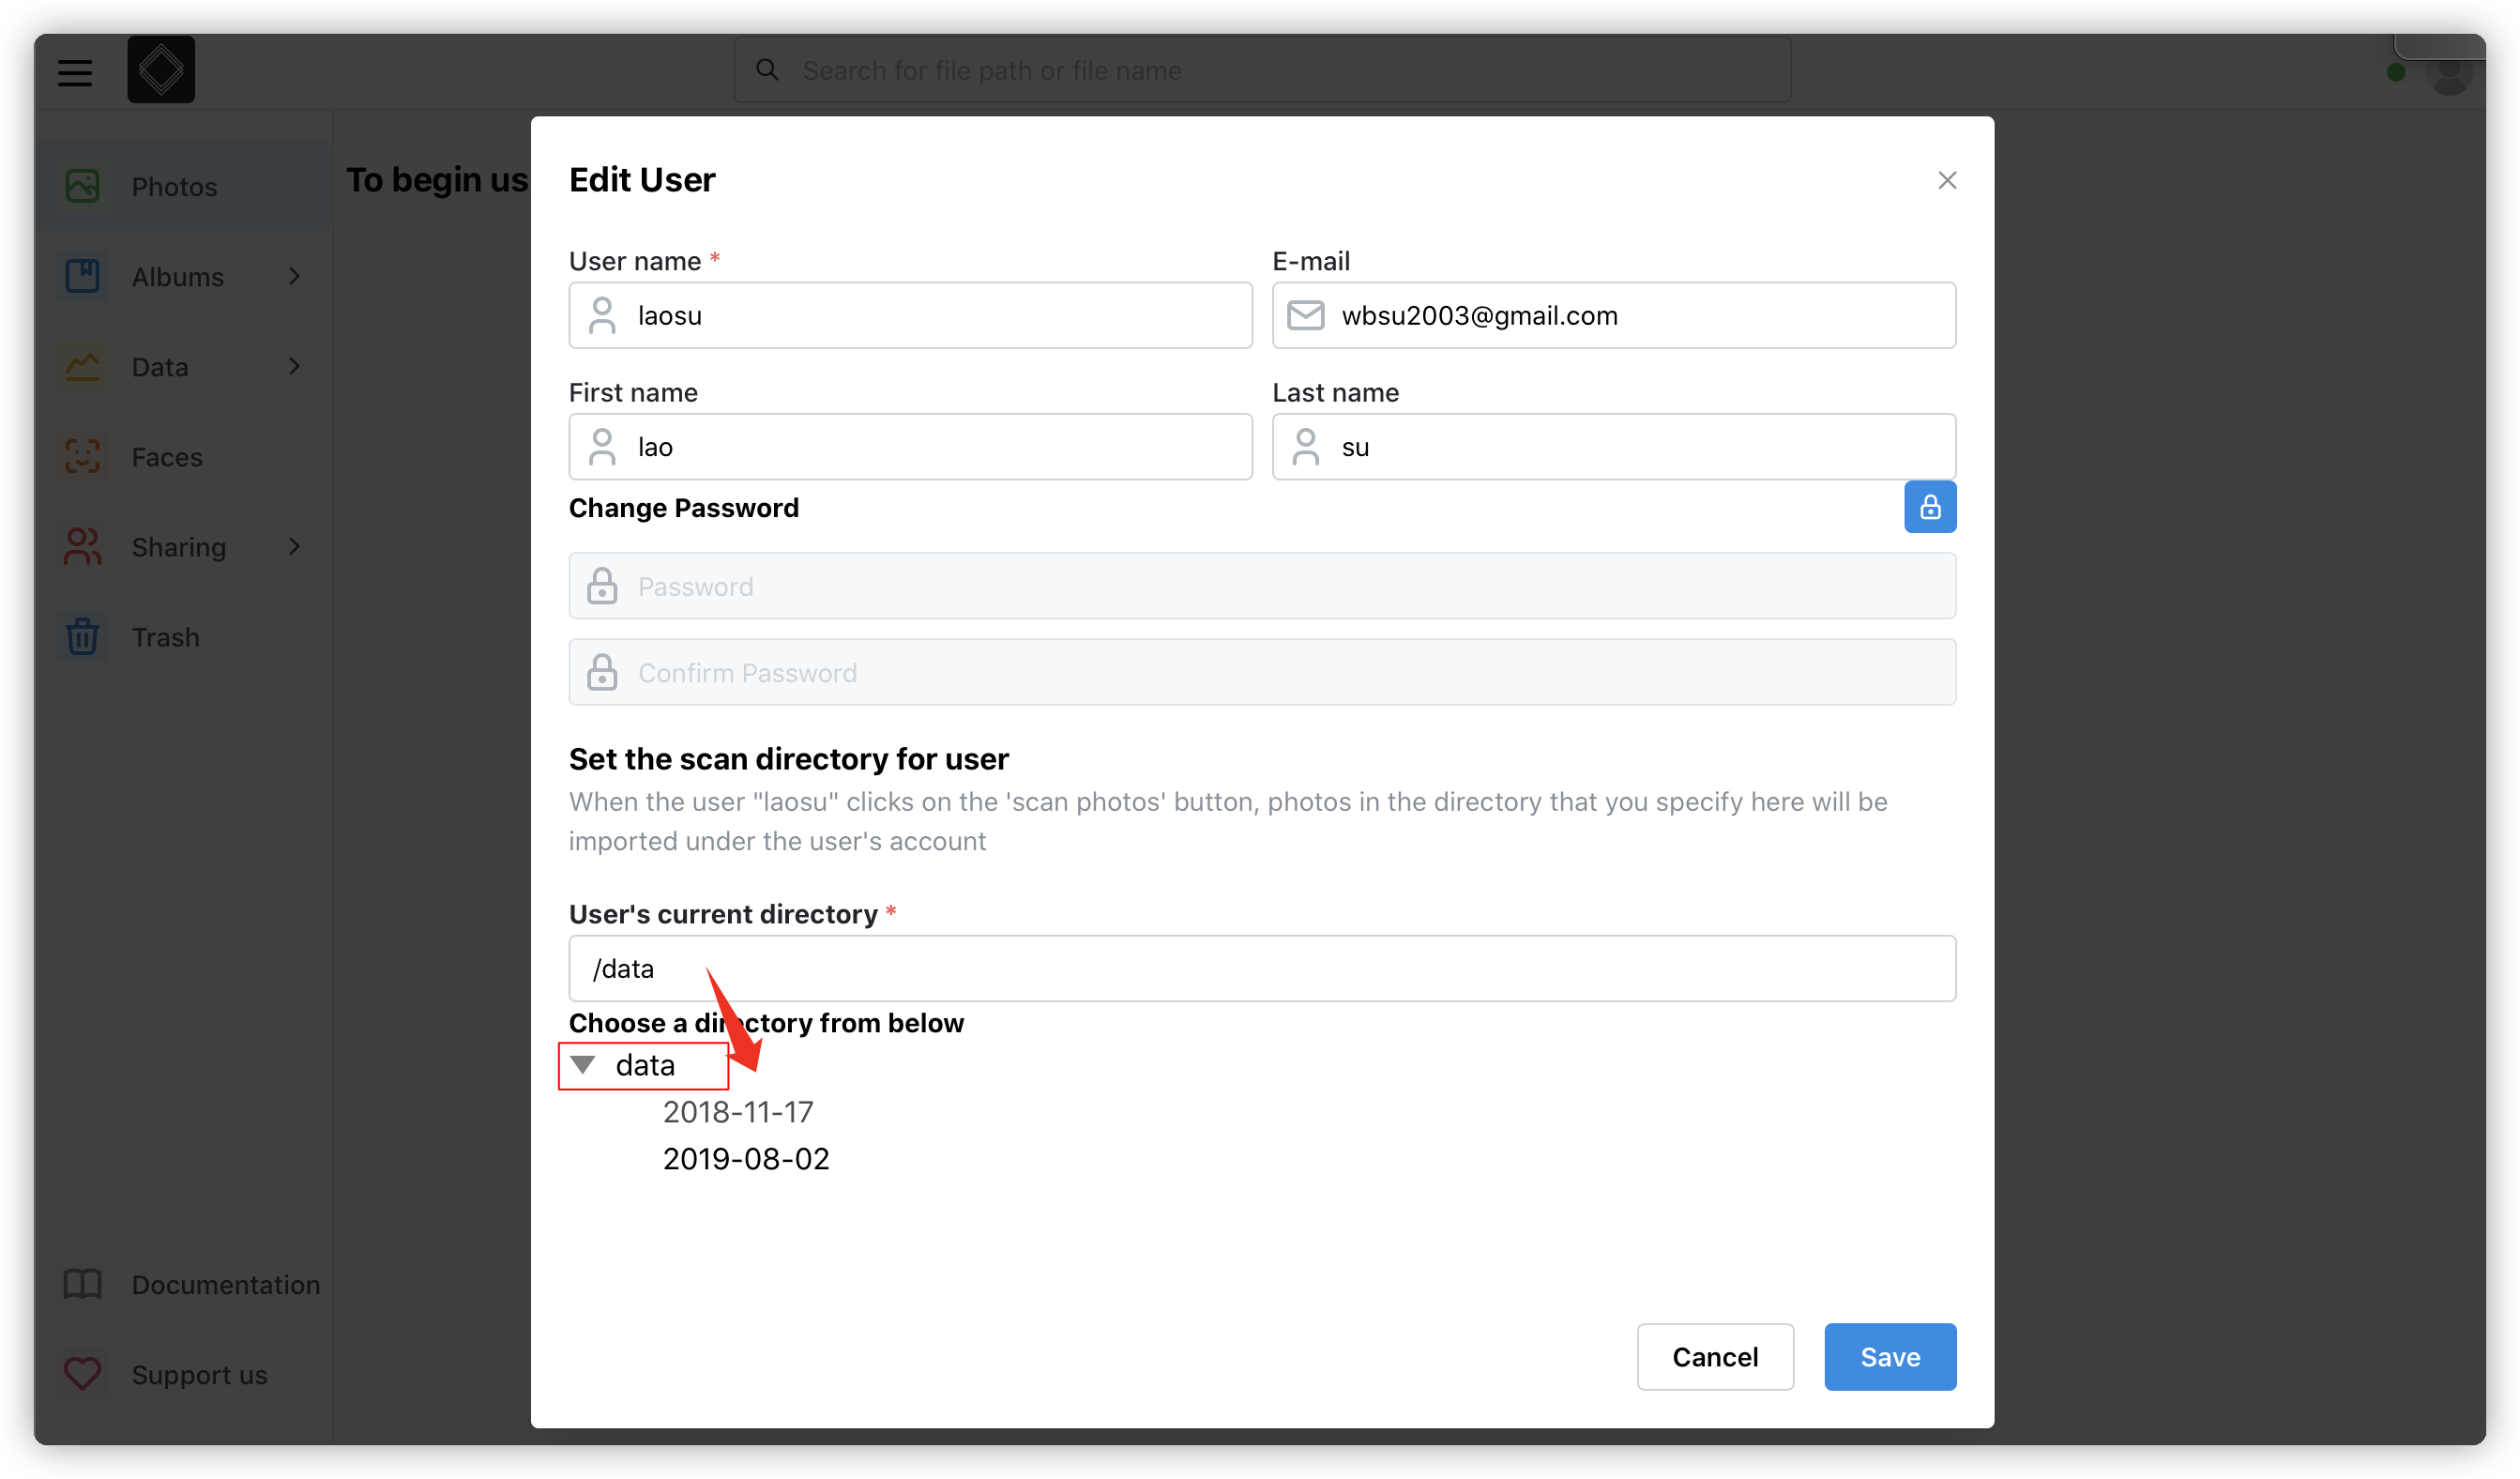
按钮来设置路径,直接点击下面的
data
或者直接输入
/data
,点
Save
保存即可
右下角会提示开始扫描

鼠标移到右上角的红点,可以看到照片处理进度
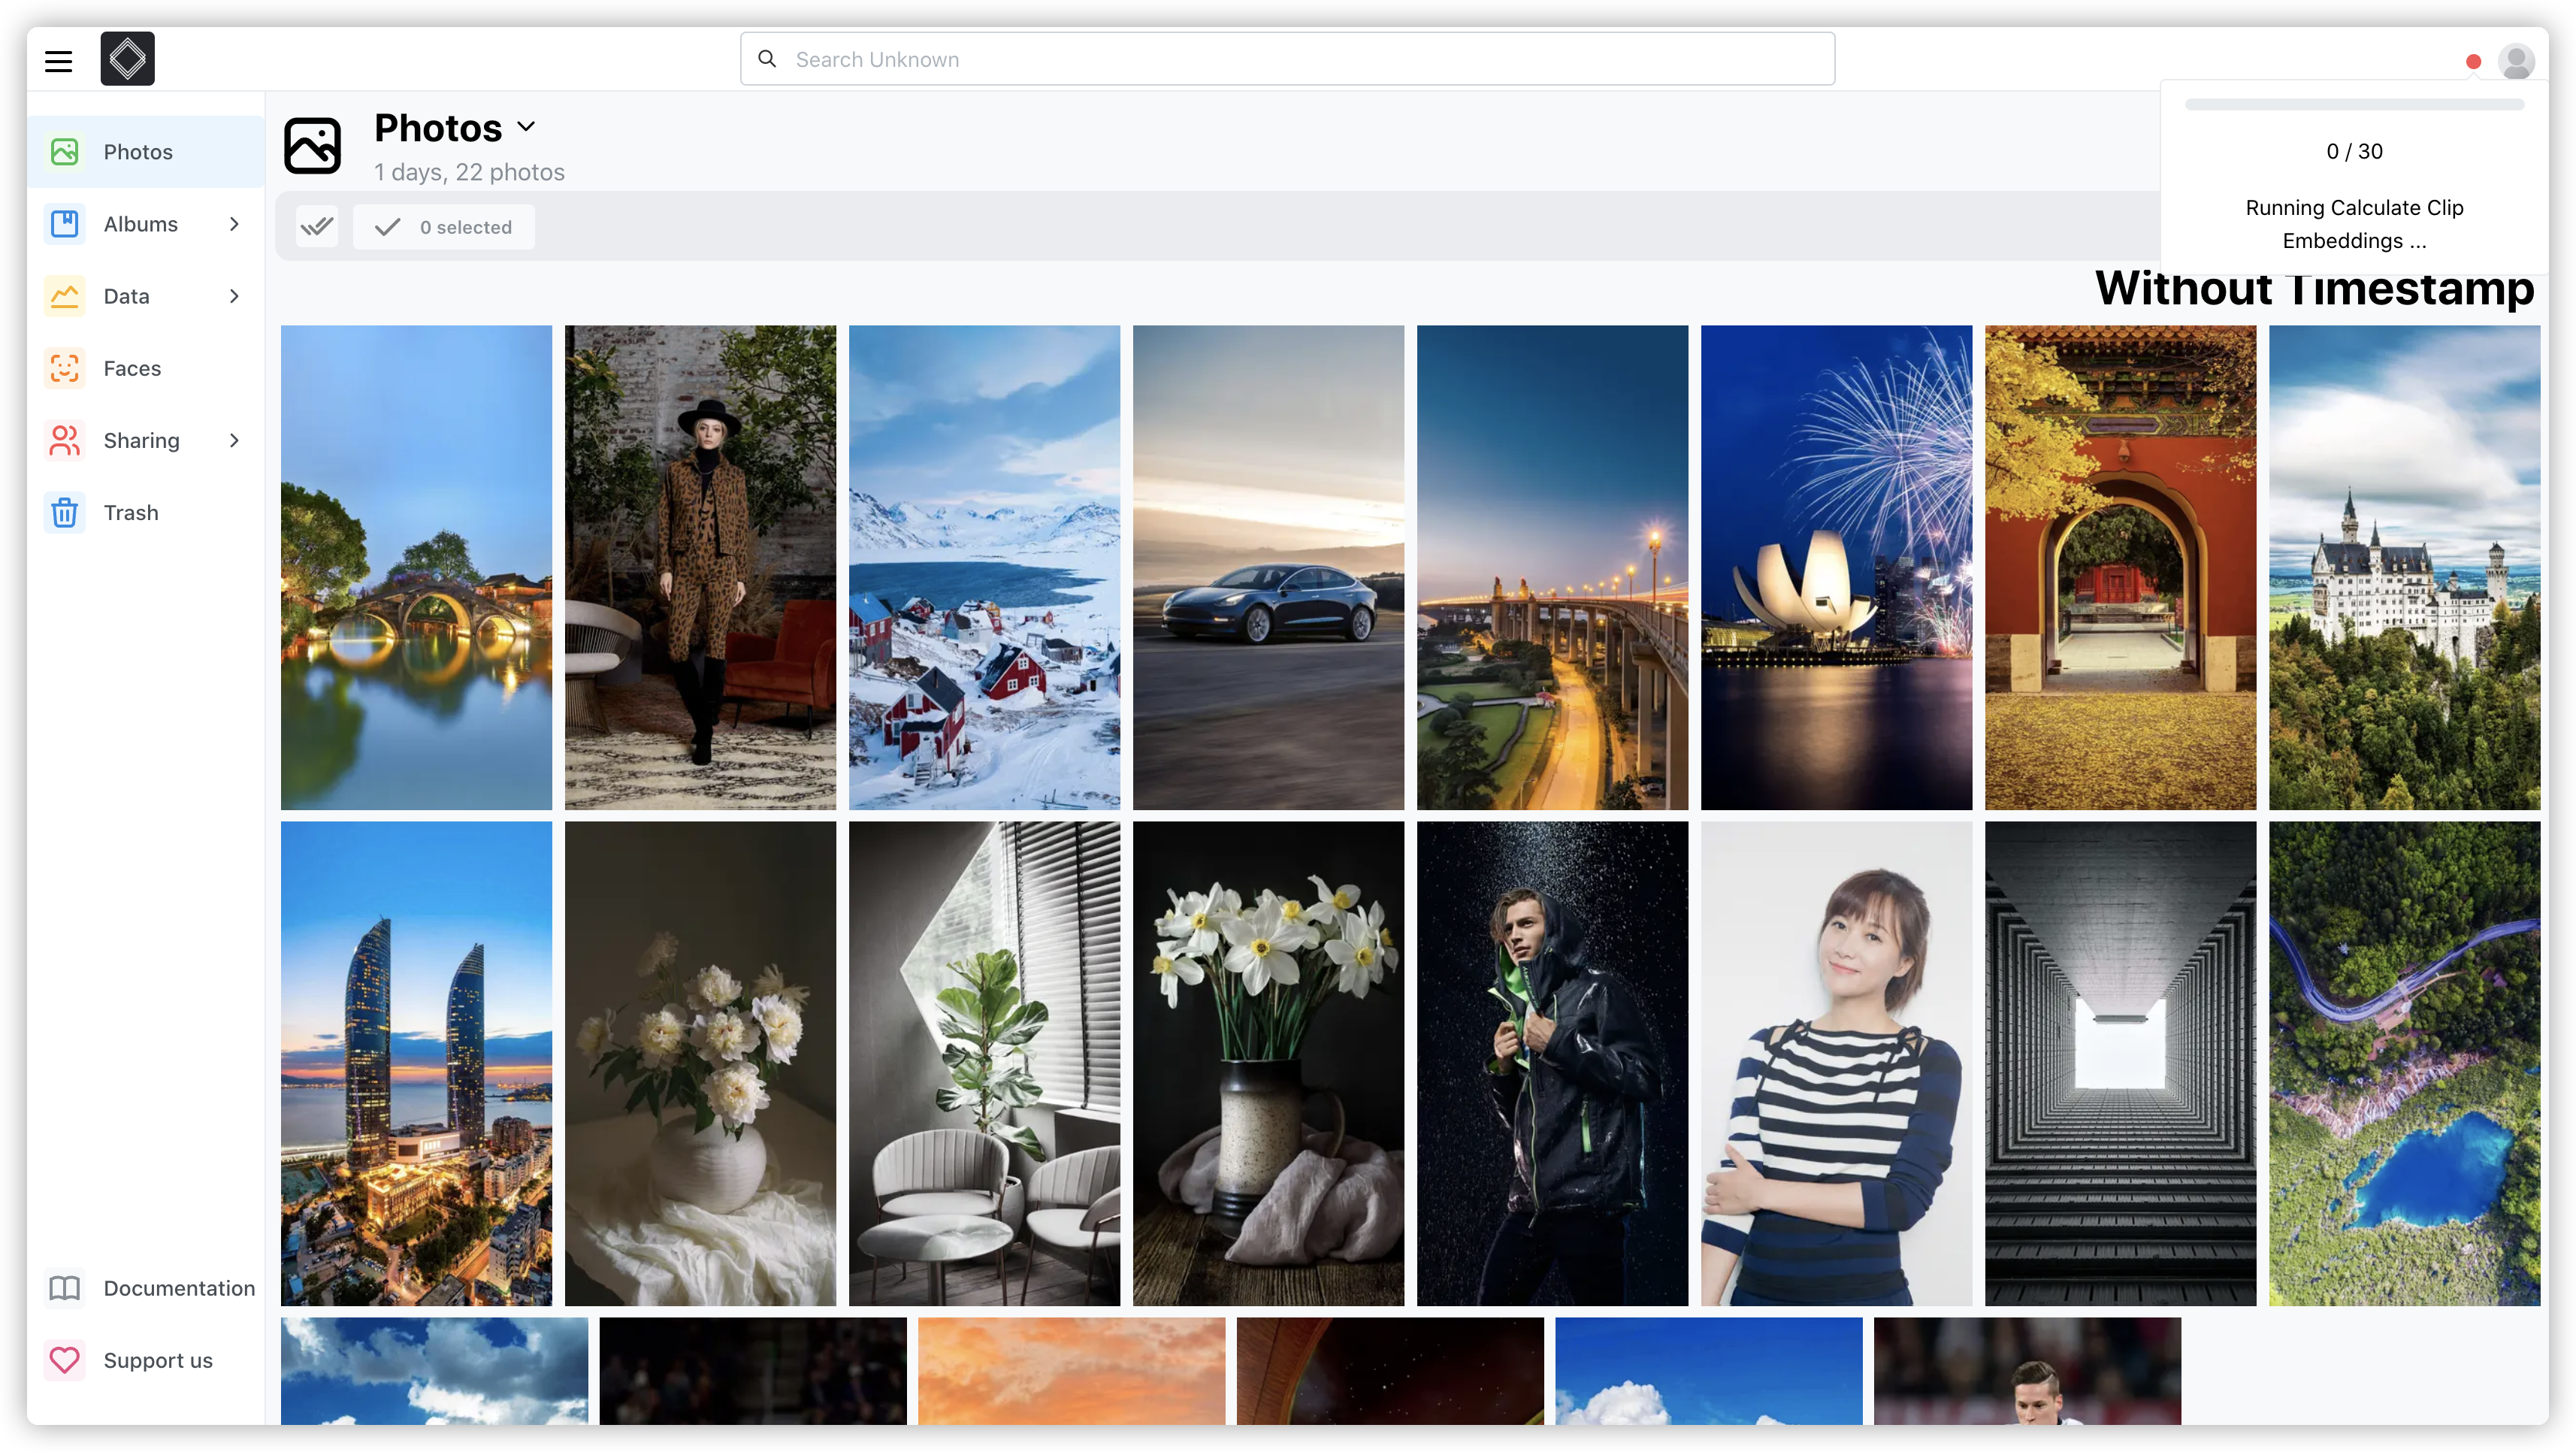
变成绿色时,表示已处理完成
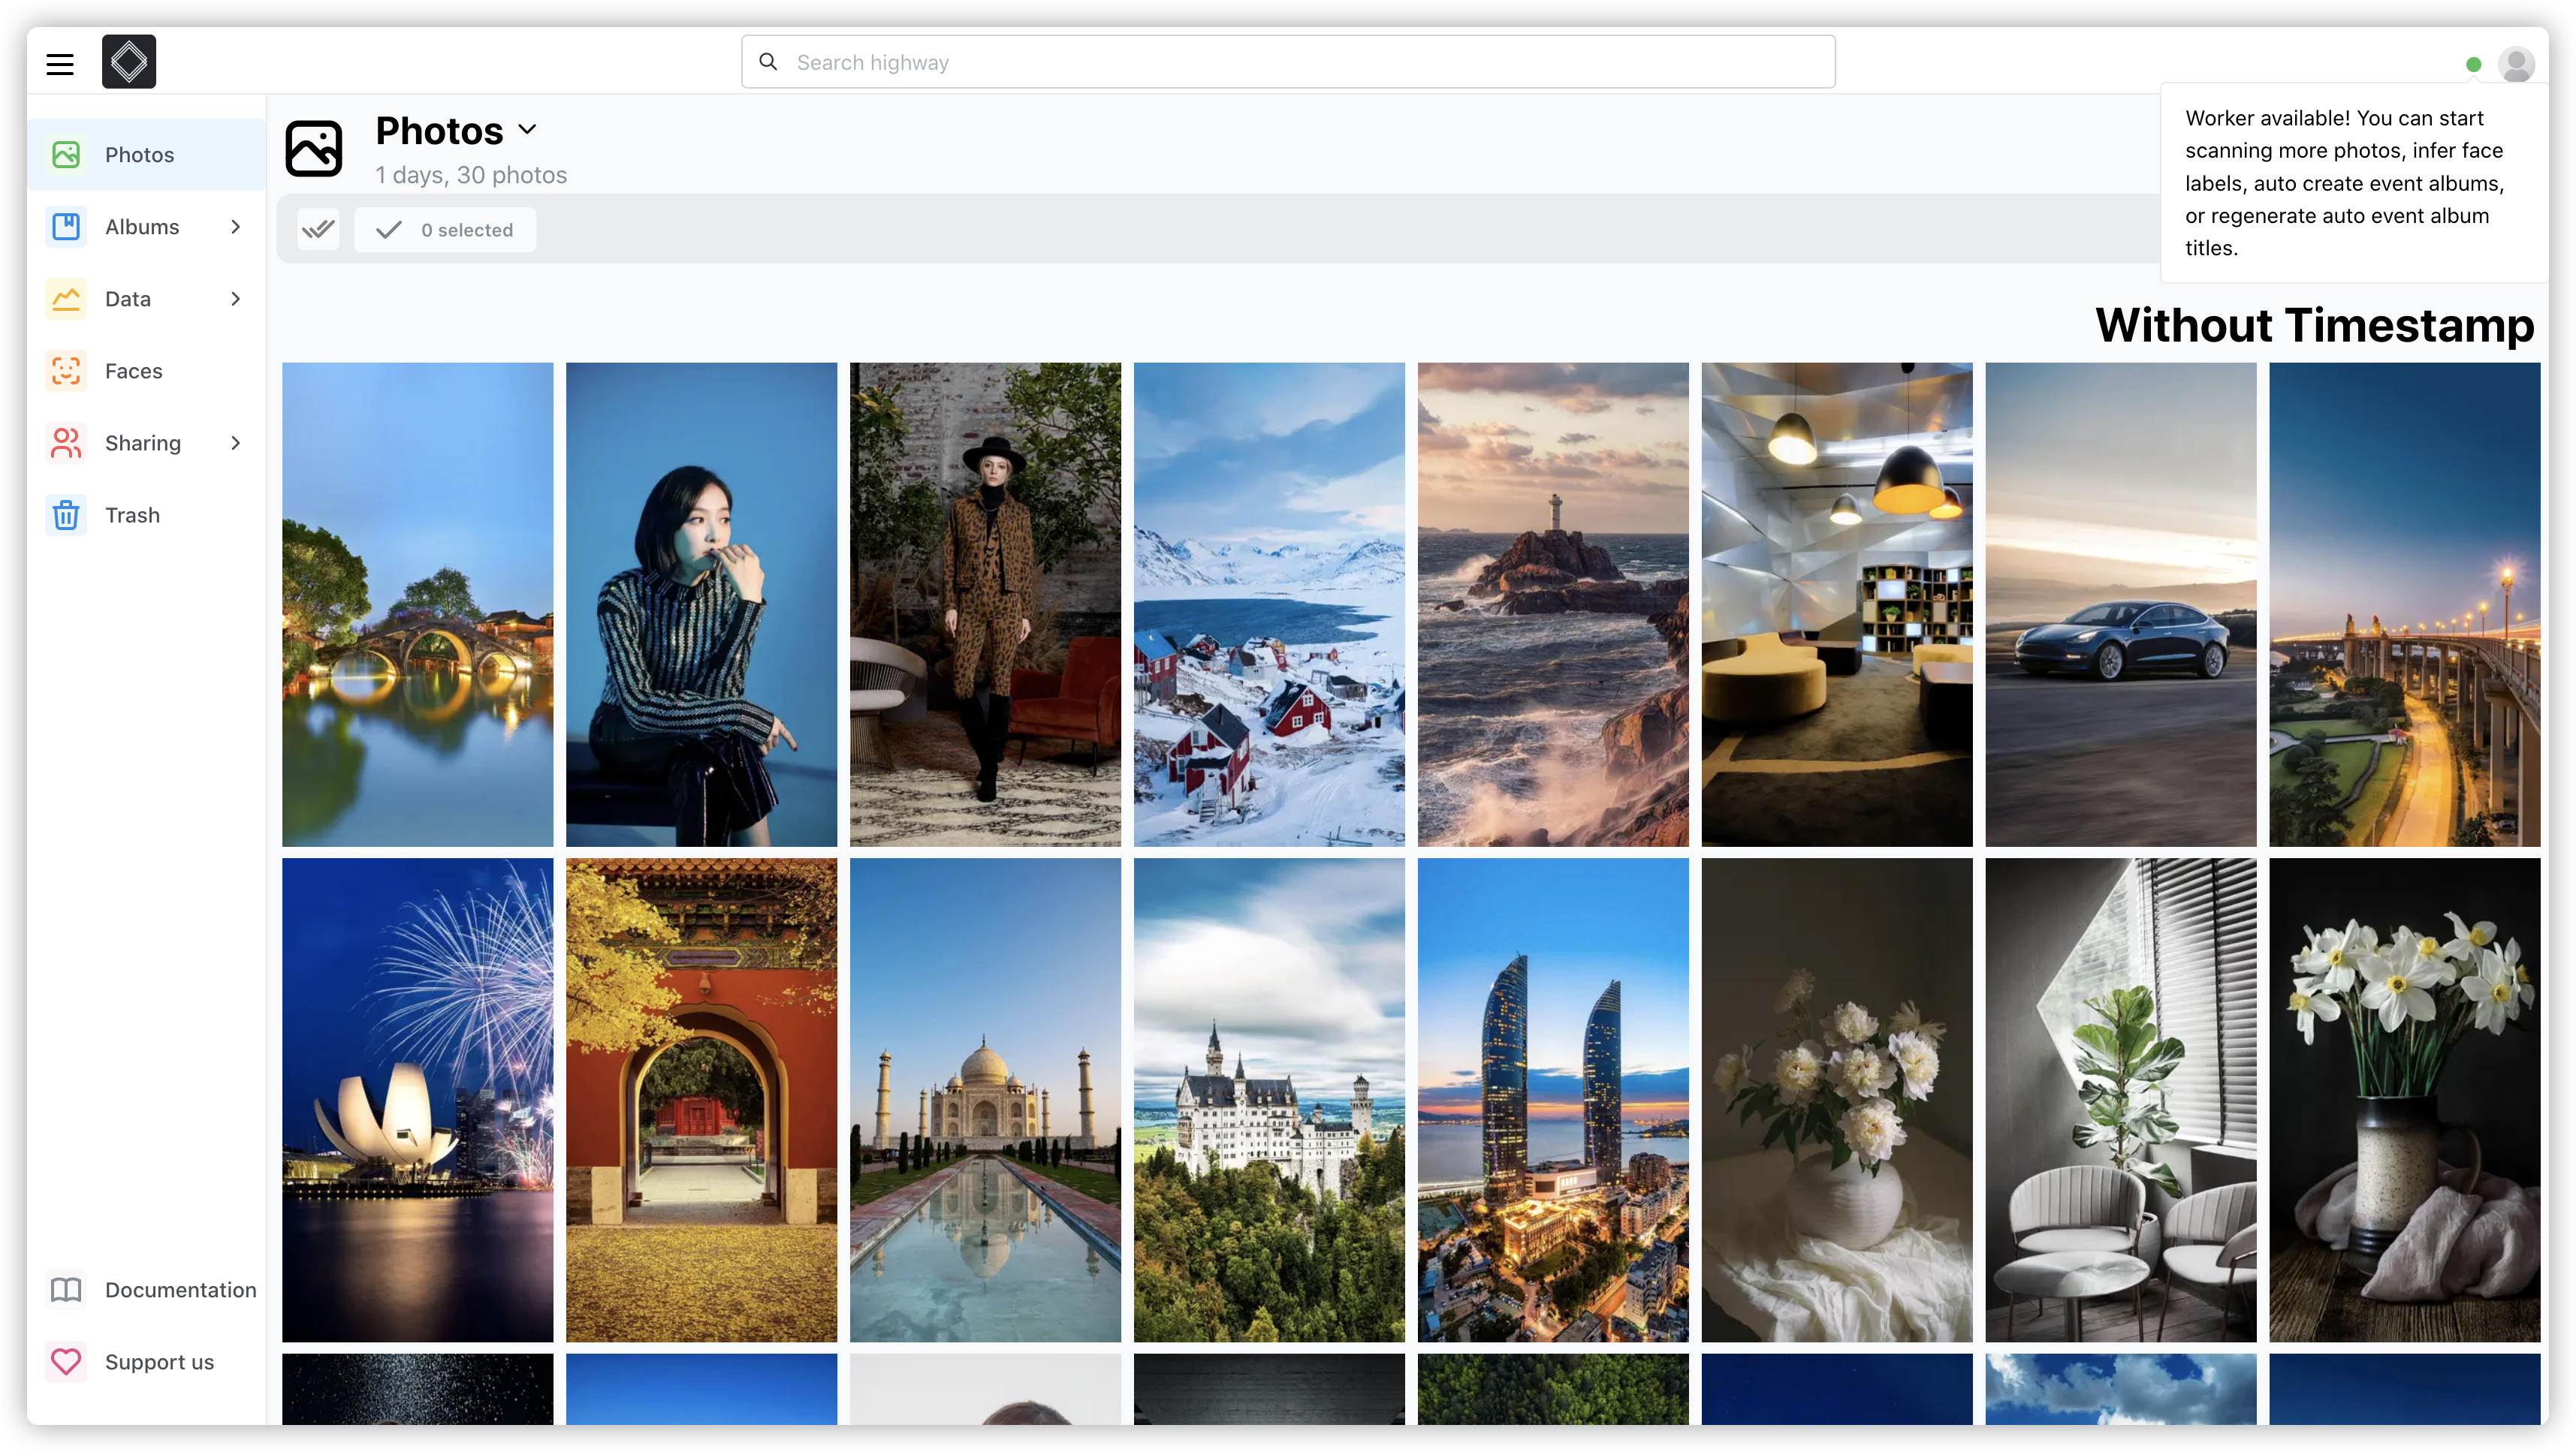
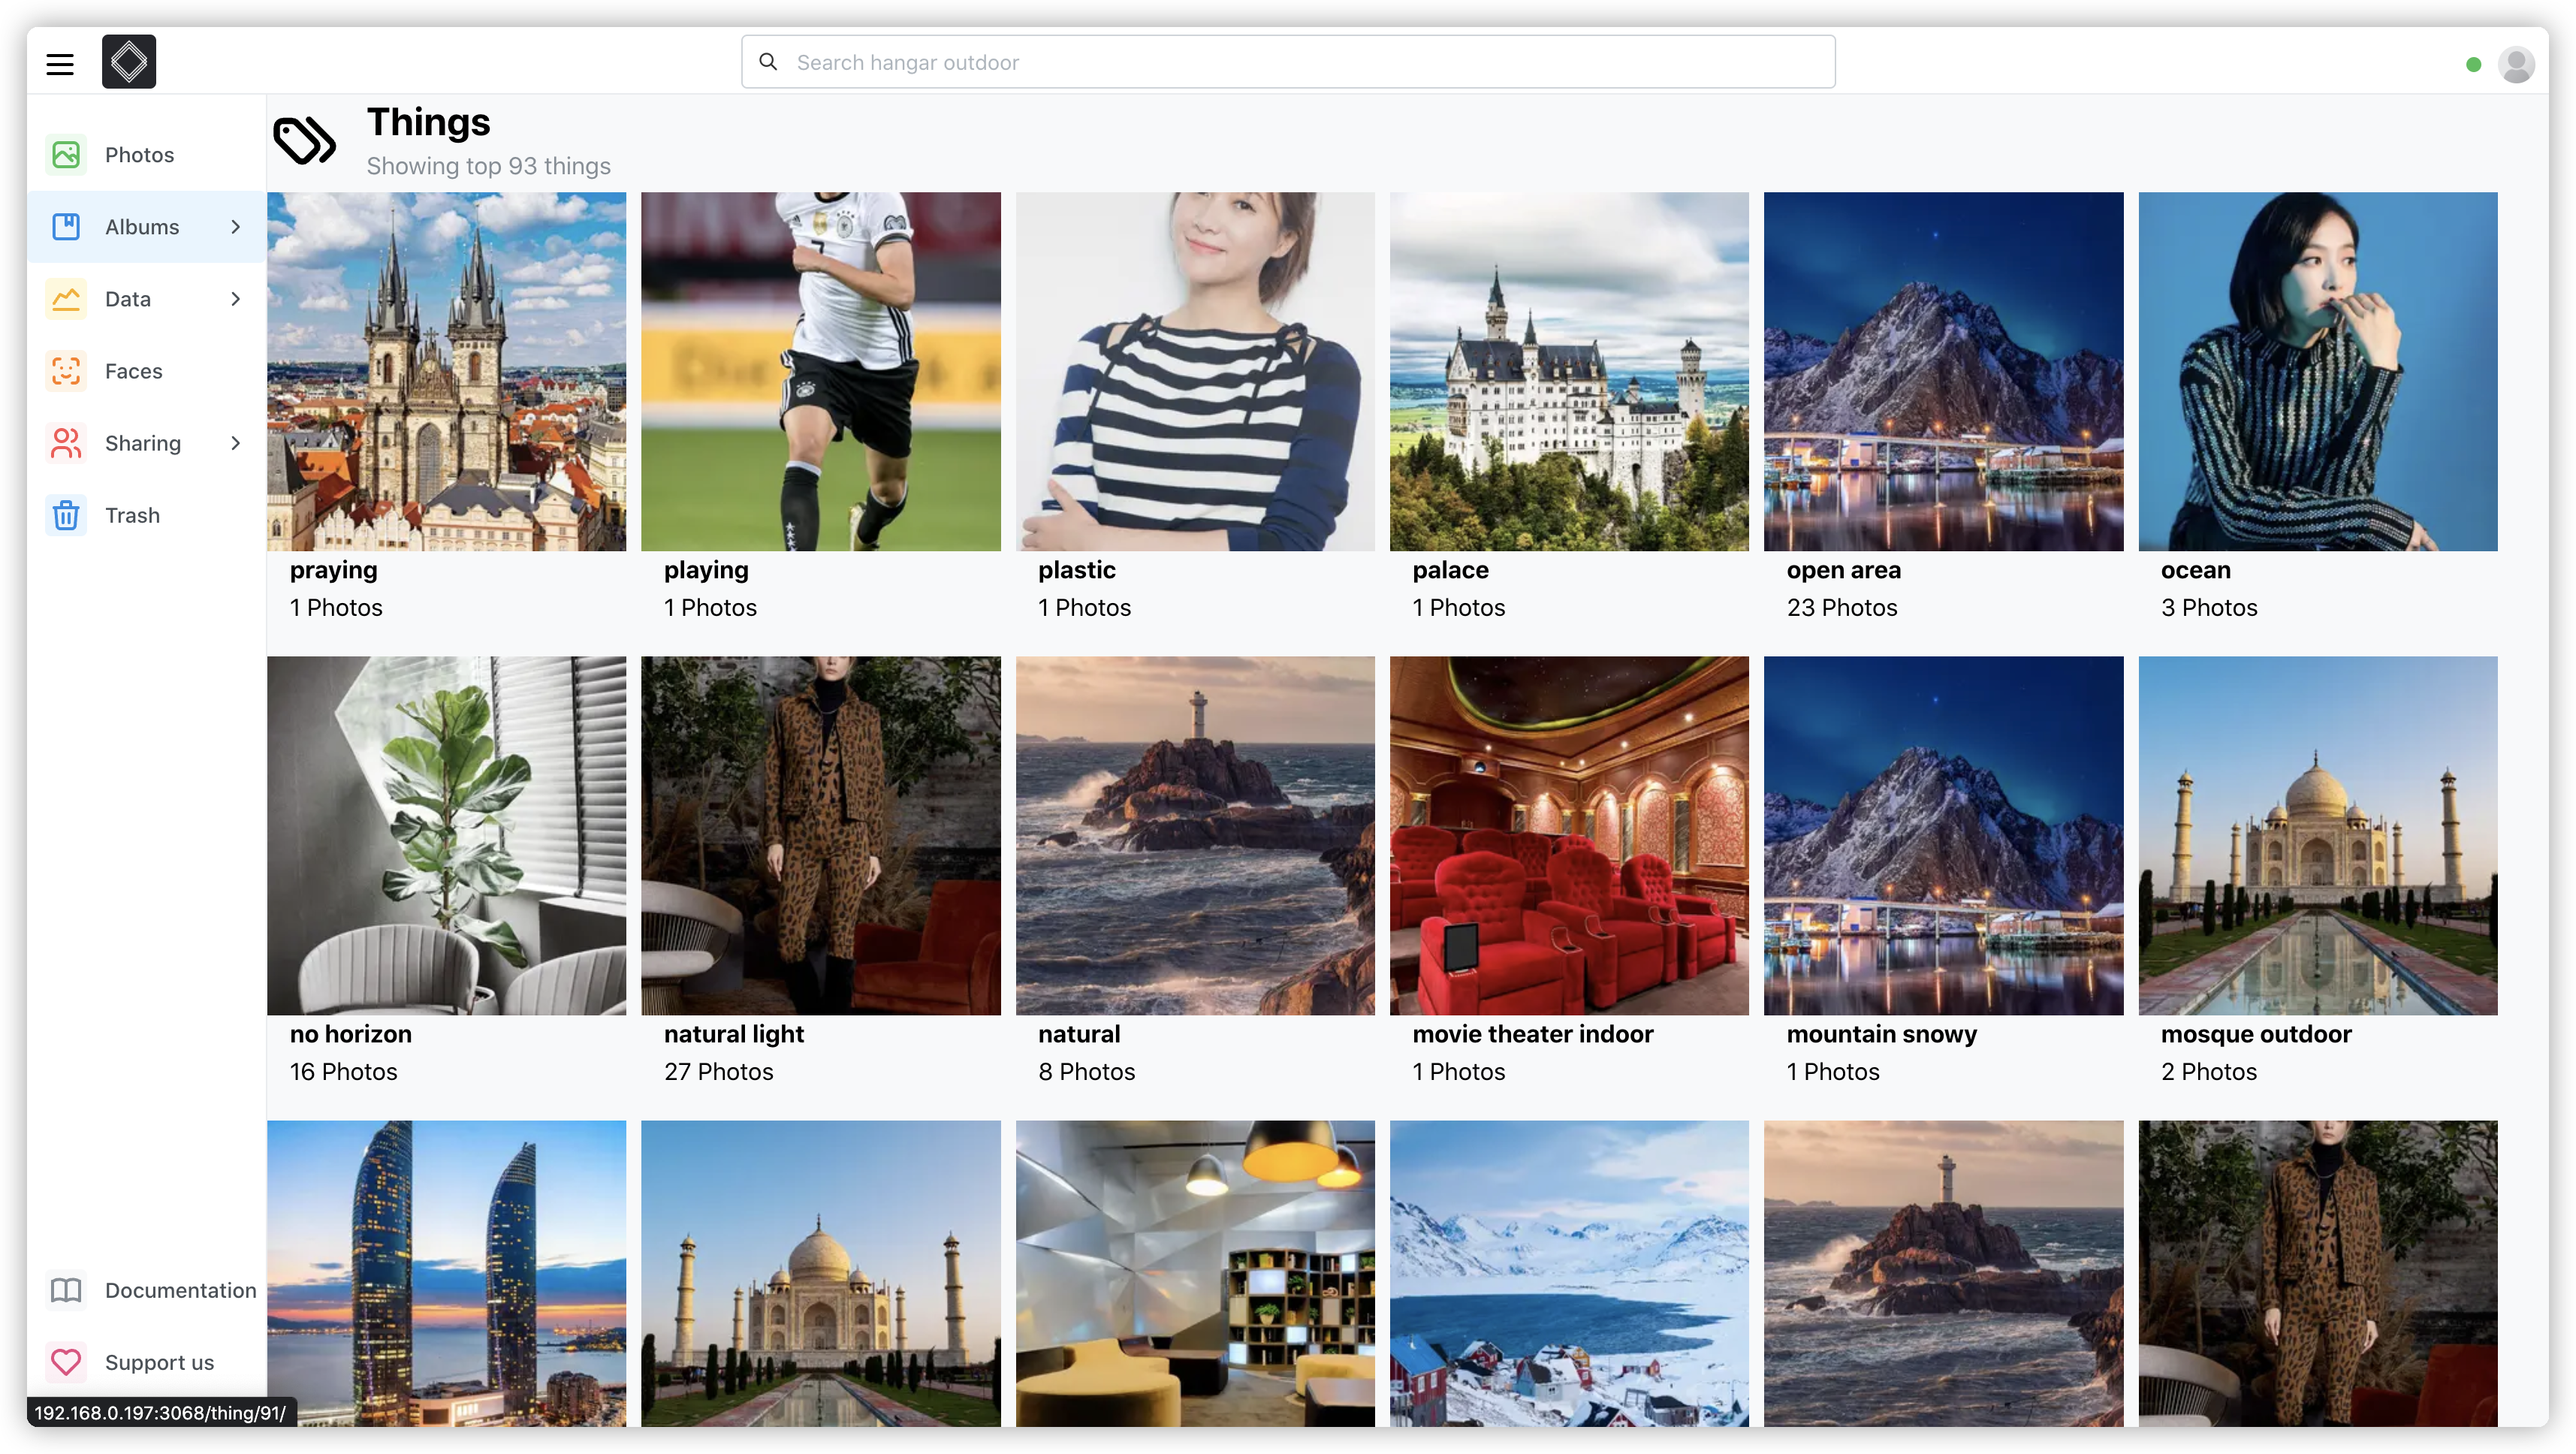
虽然支持
AI
,但期望值不要太高了
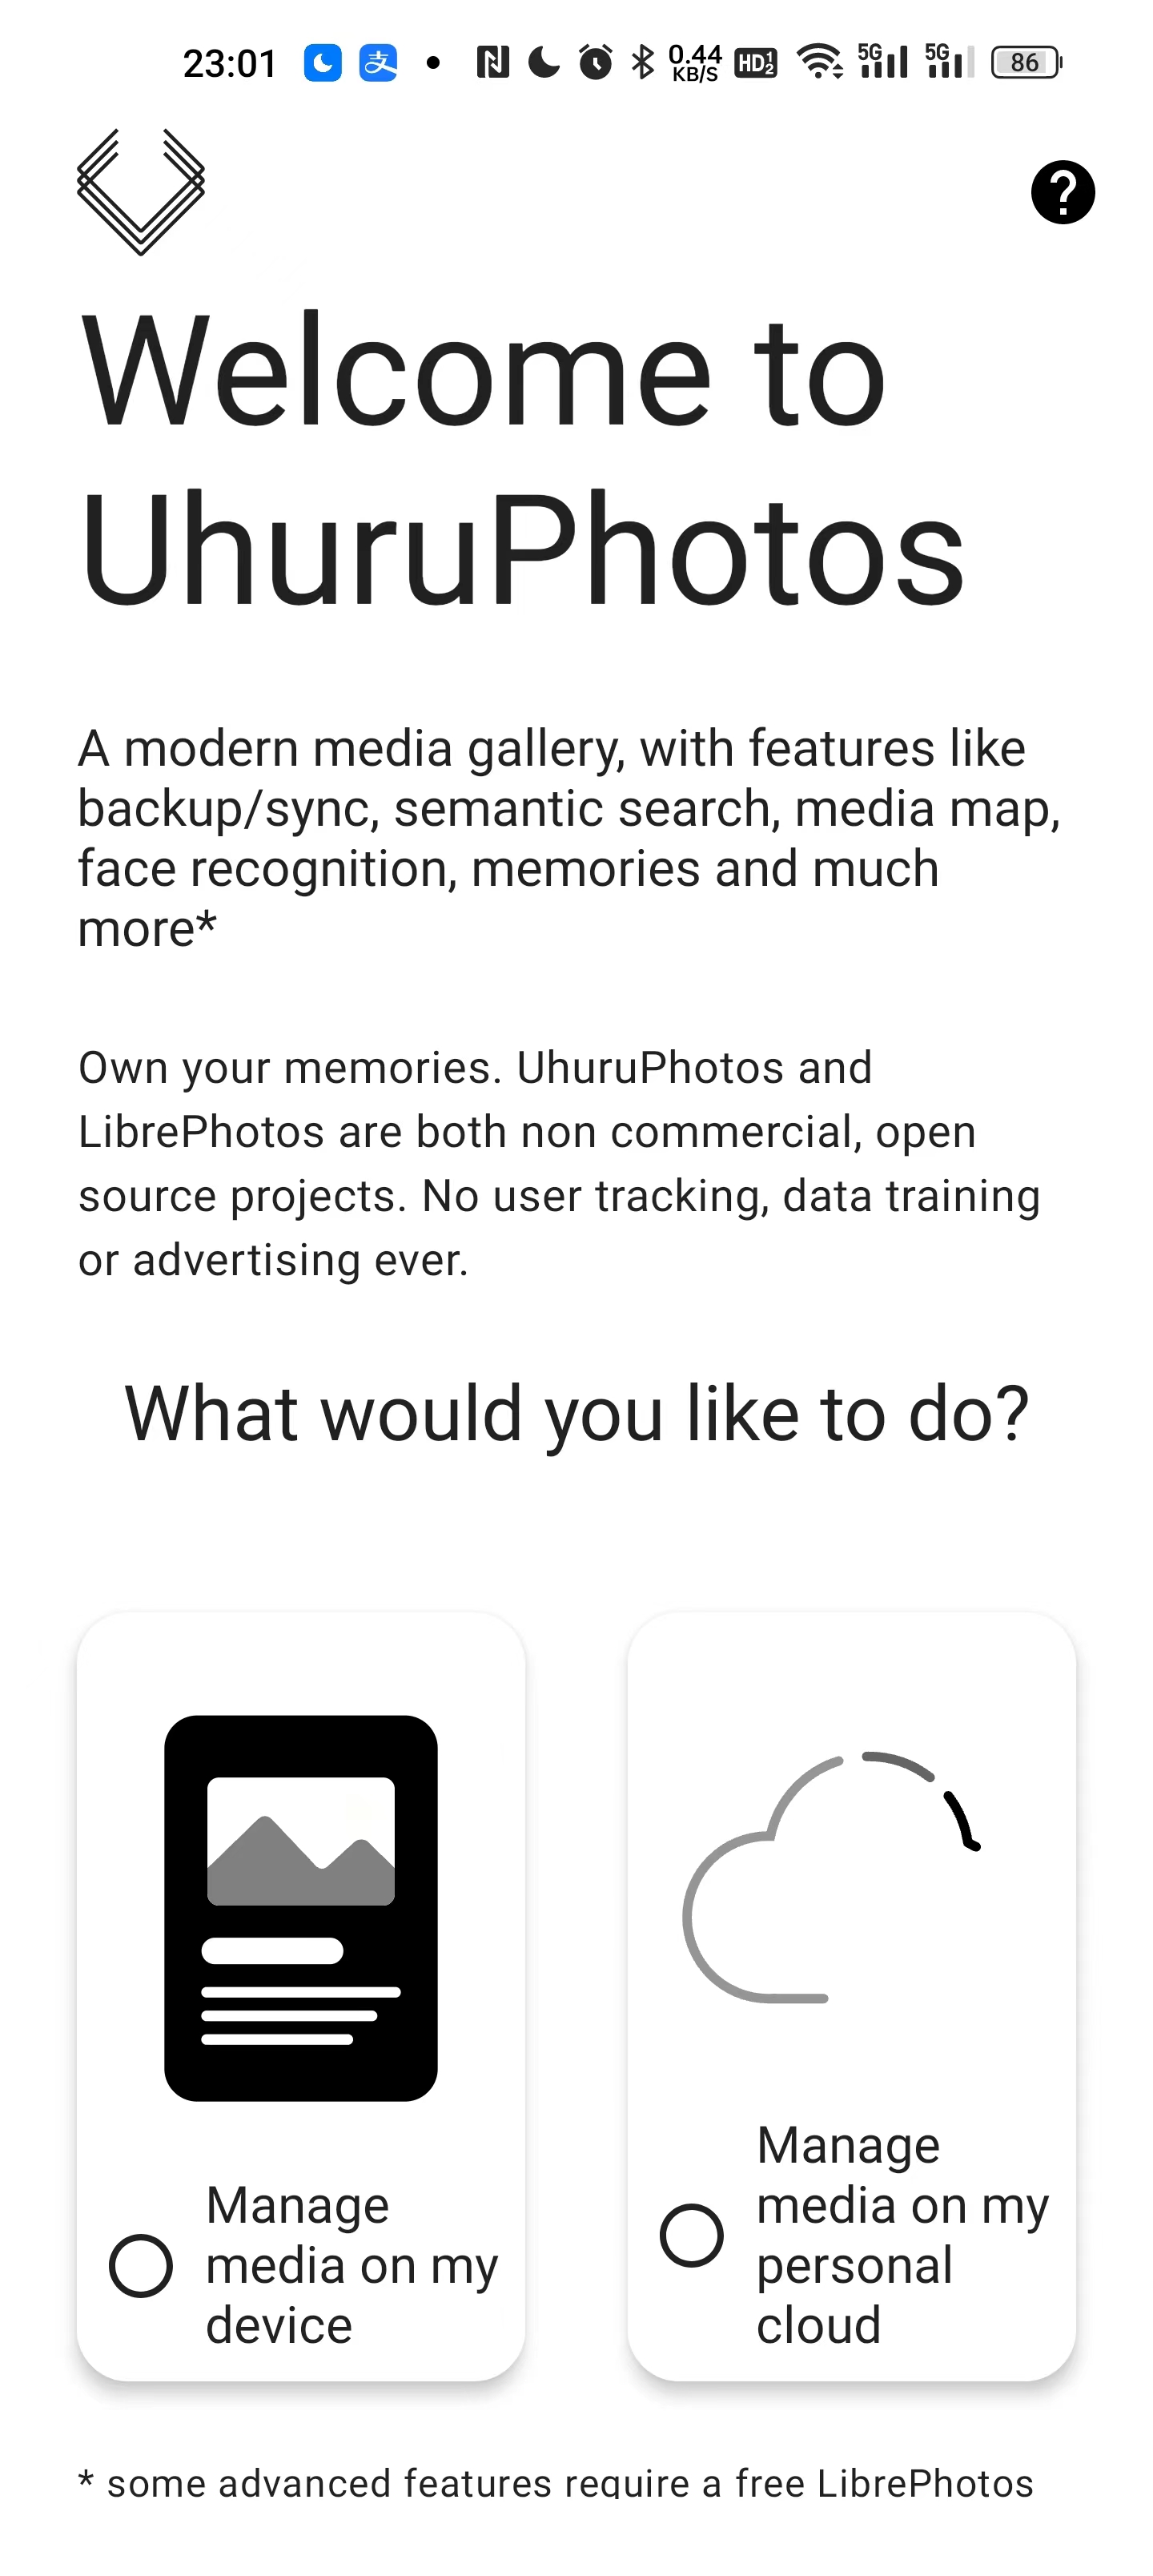
android 客户端
这是一个第三方的移动客户端,下载地址:https://github.com/savvasdalkitsis/uhuruphotos-android
选择右侧的
Manage media on mypersonal cloud
输入服务器地址、账号和密码

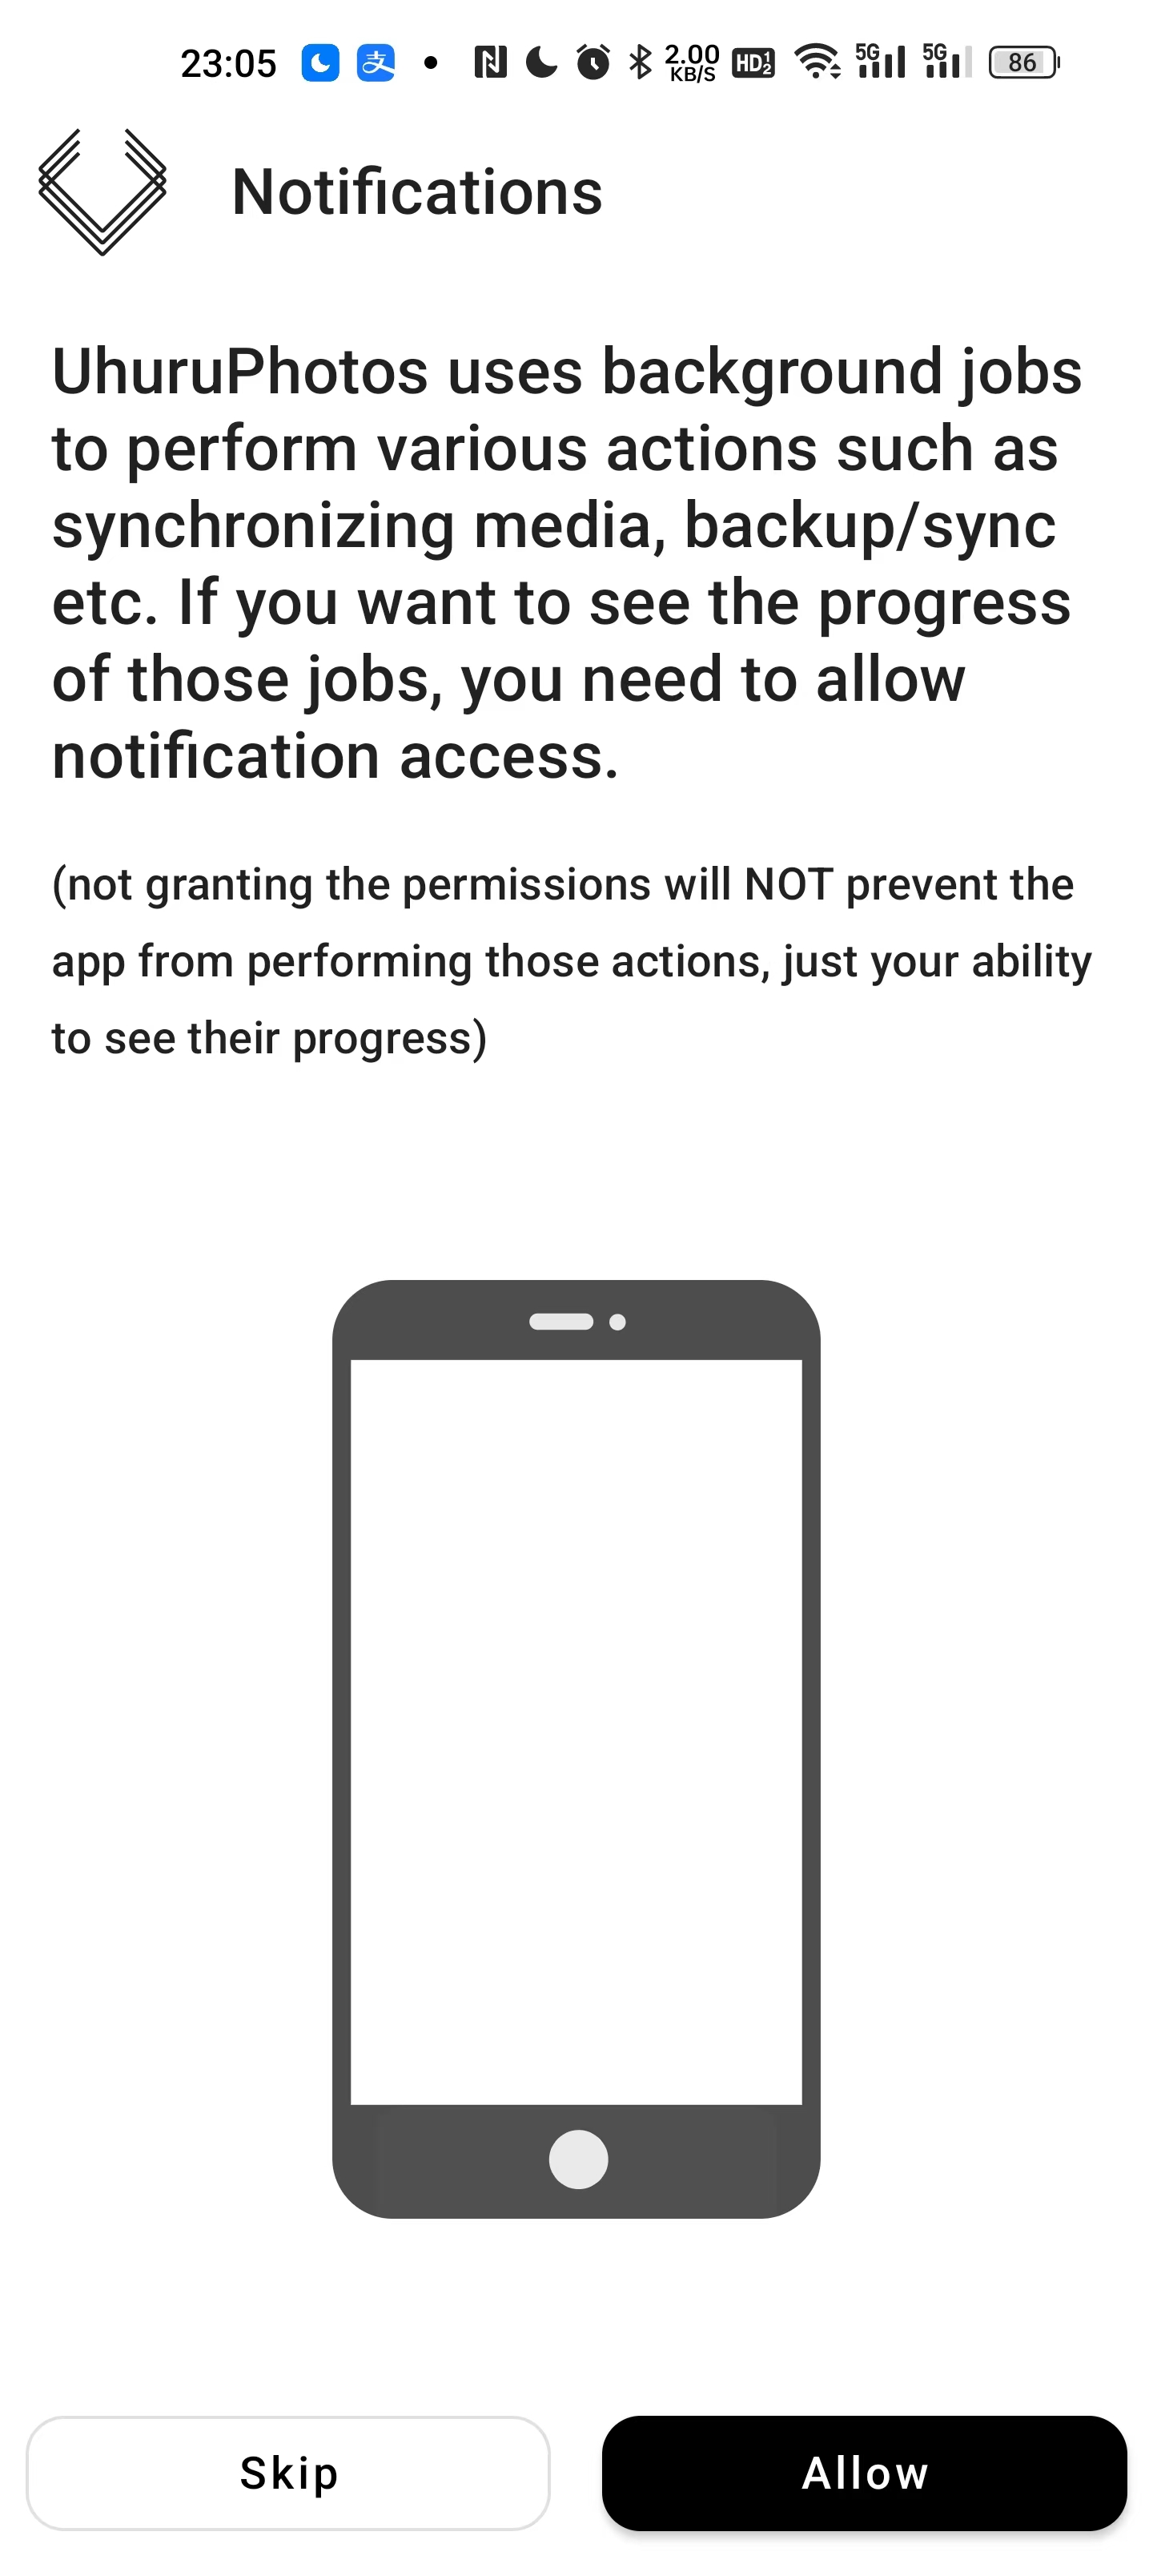
设置
Allow
允许通知
从
Media without date
分类中查看

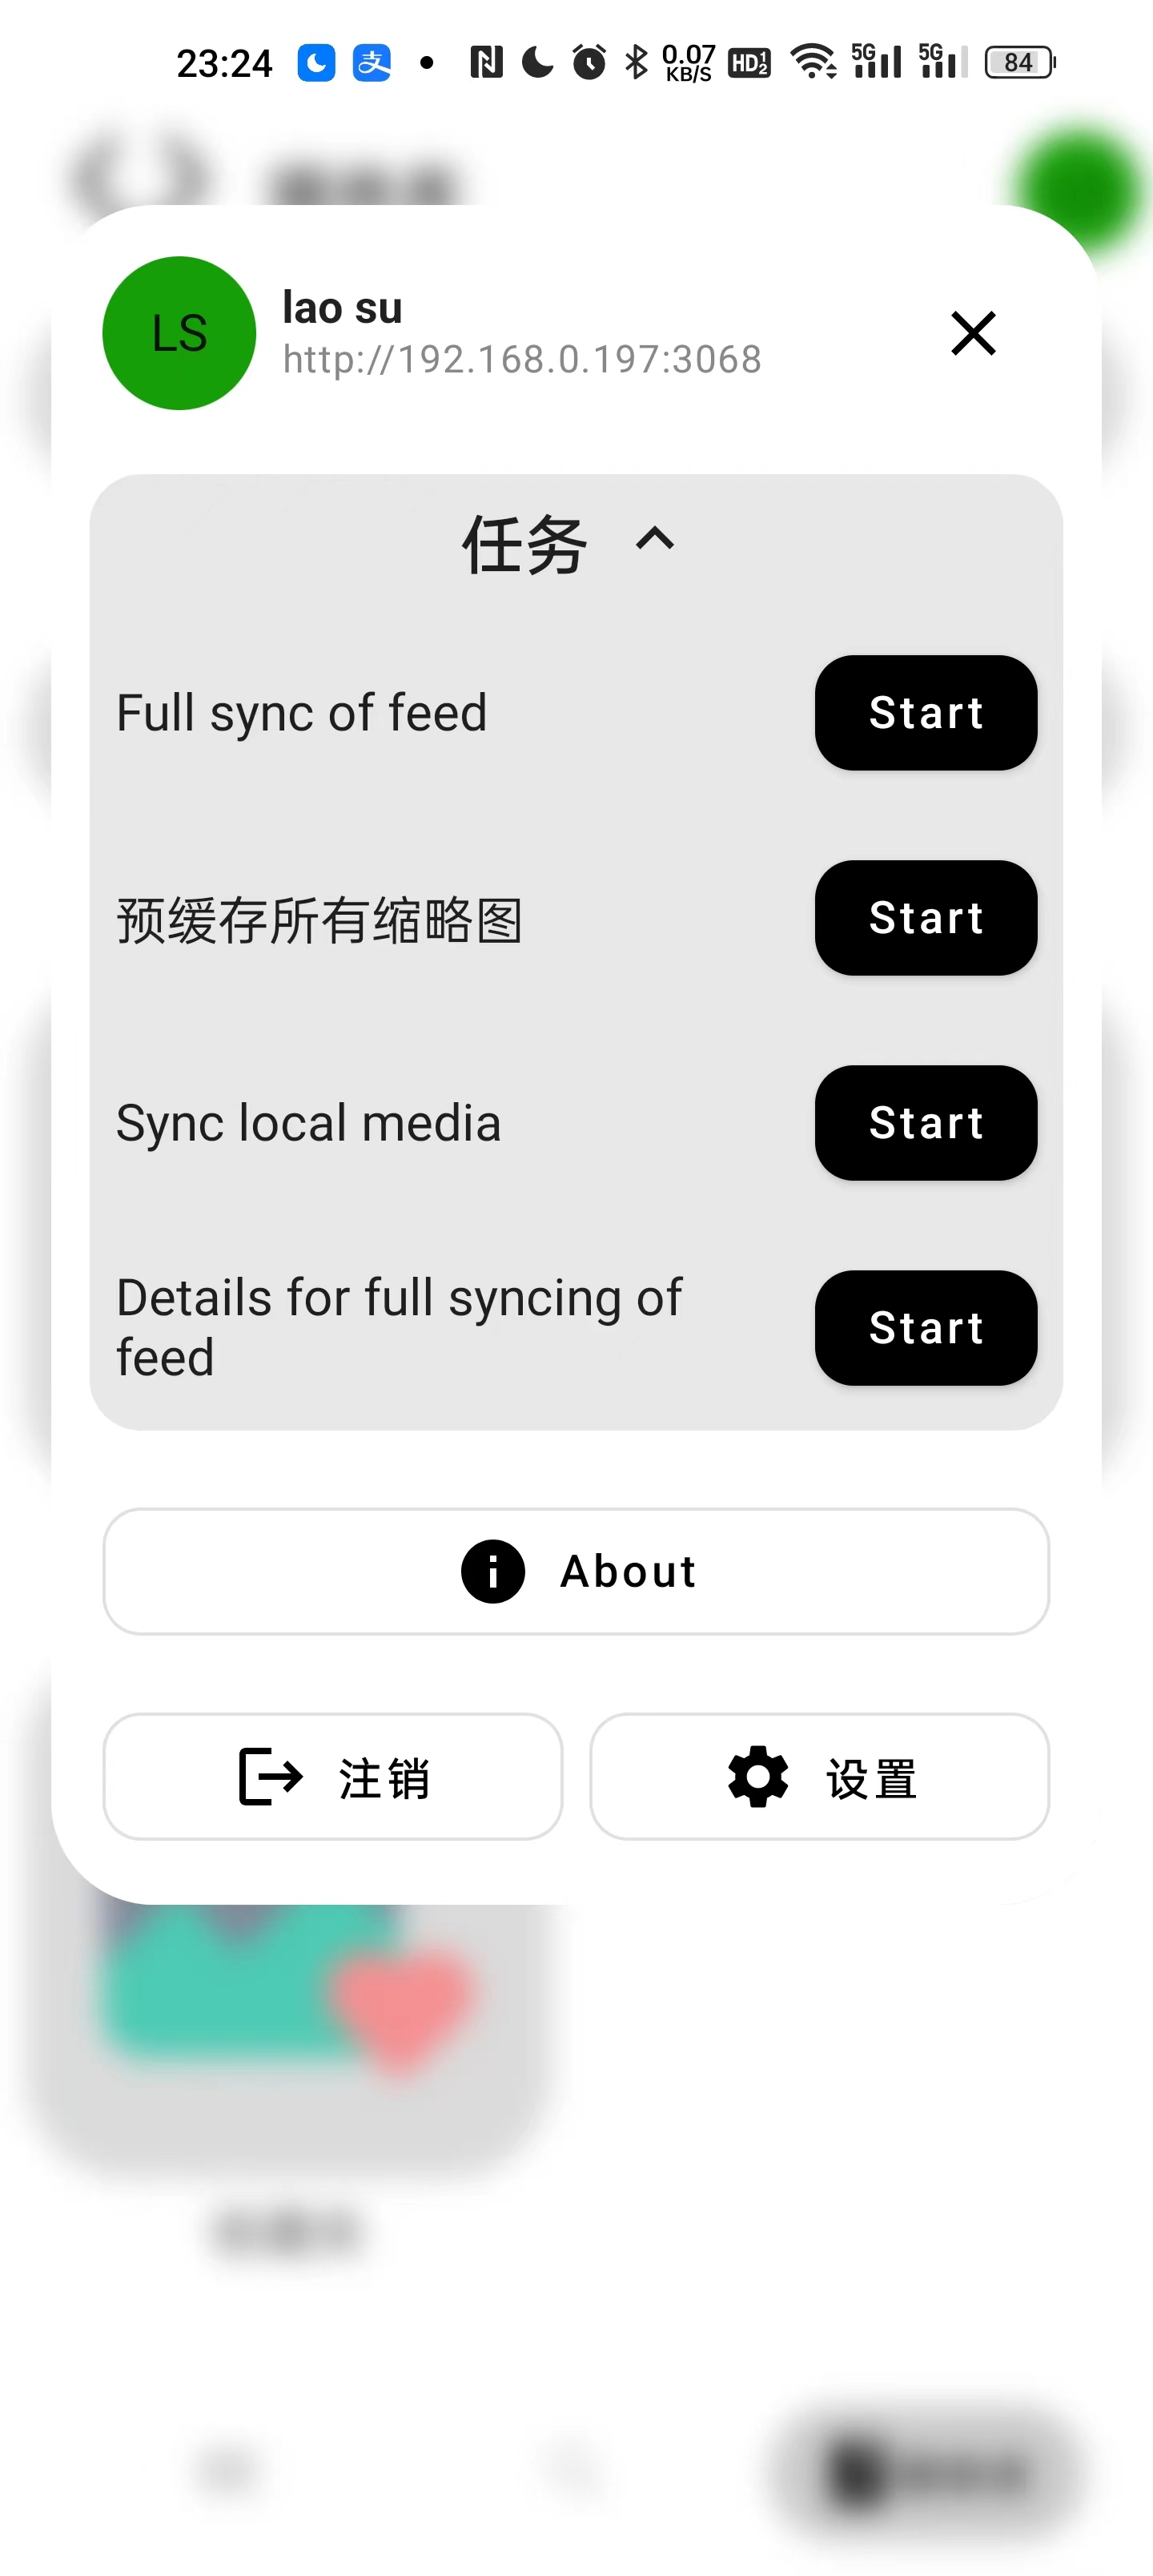
虽然还处于早期阶段,但它已经具备了很多功能,例如:与
LibrePhotos
服务器定期后台同步等
参考文档
LibrePhotos/librephotos: Self hosted alternative to Google Photos
地址:https://github.com/LibrePhotos/librephotos
LibrePhotos/librephotos-docker
地址:https://github.com/LibrePhotos/librephotos-docker
🐋 Docker | LibrePhotos
地址:https://docs.librephotos.com/docs/installation/standard-install/
UhuruPhotos. A LibrePhotos android client : selfhosted
地址:https://www.reddit.com/r/selfhosted/comments/ui5xwi/uhuruphotos_a_librephotos_android_client/
savvasdalkitsis/uhuruphotos-android: A LibrePhotos android client written using Jetpack Compose and all the latest Android technologies
地址:https://github.com/savvasdalkitsis/uhuruphotos-android
版权归原作者 杨浦老苏 所有, 如有侵权,请联系我们删除。