AI 人声模拟 MockingBird实现AI拟声 基础搭建和采坑处理。
1.下载项目
git@github.com:babysor/MockingBird.git
https://github.com/babysor/MockingBird.git
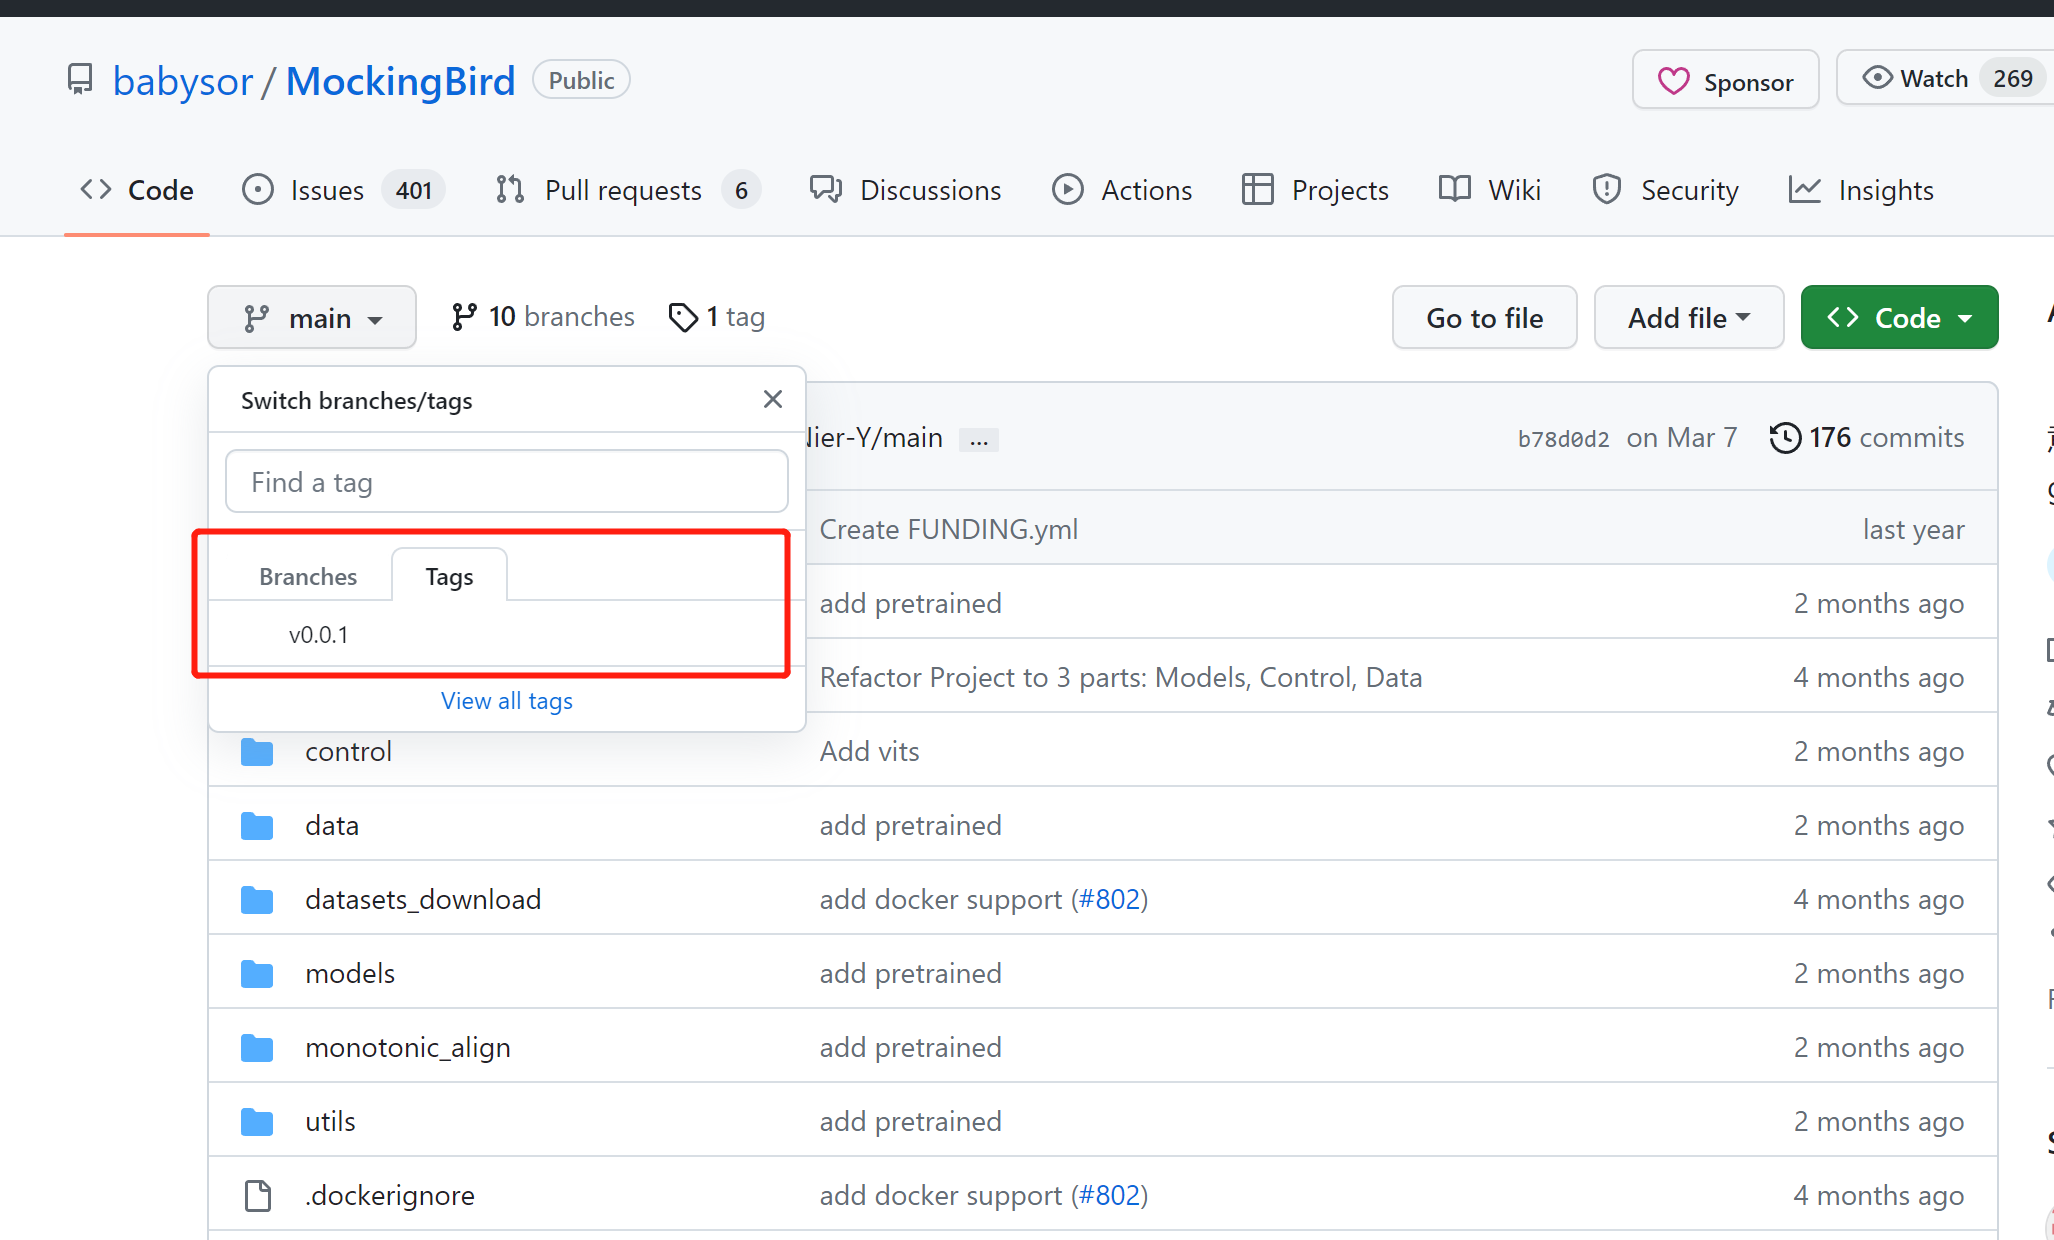
此项目分两个版本 请注意 一个是主版本 一个是V0.0.1版本

现在主要是演示v0.0.1版本
2.基础环境
- Anconada 安装 Anconada 安装
- 创建一个全新的conda环境 图像界面创建> 以下以python3.9版本开始配置,以下以创建新的conda环境名称MockingBird开始
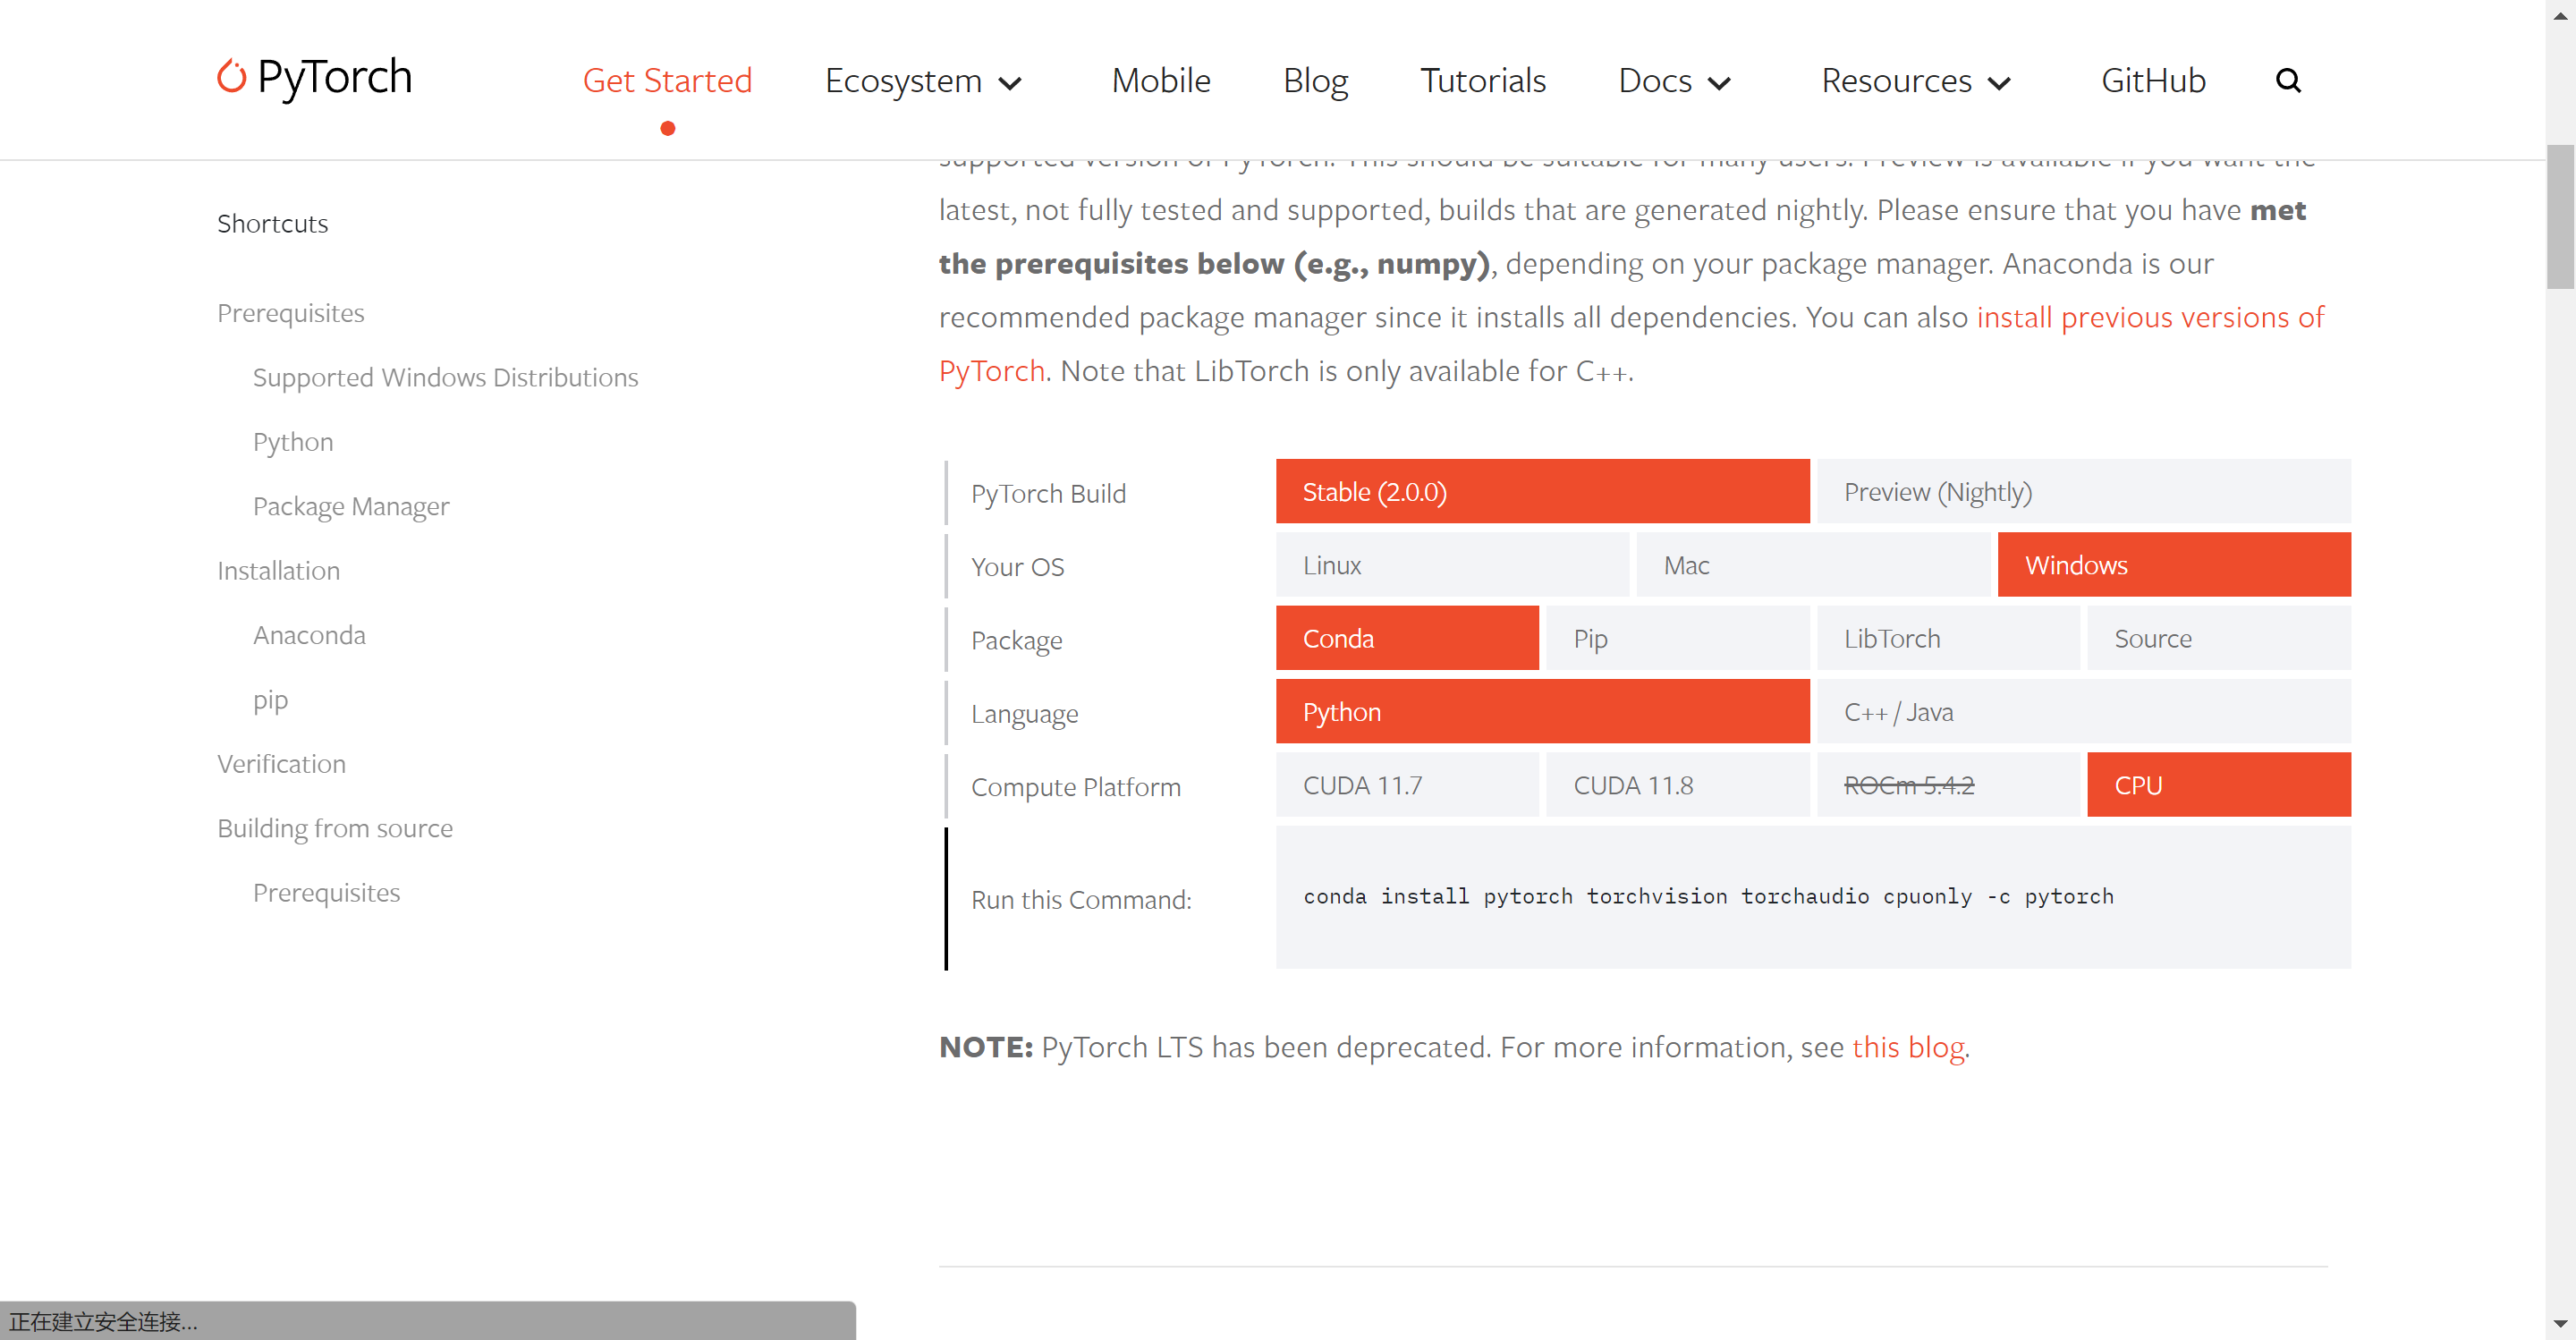
- 安装pytorch官网 选择你电脑可以适配版本

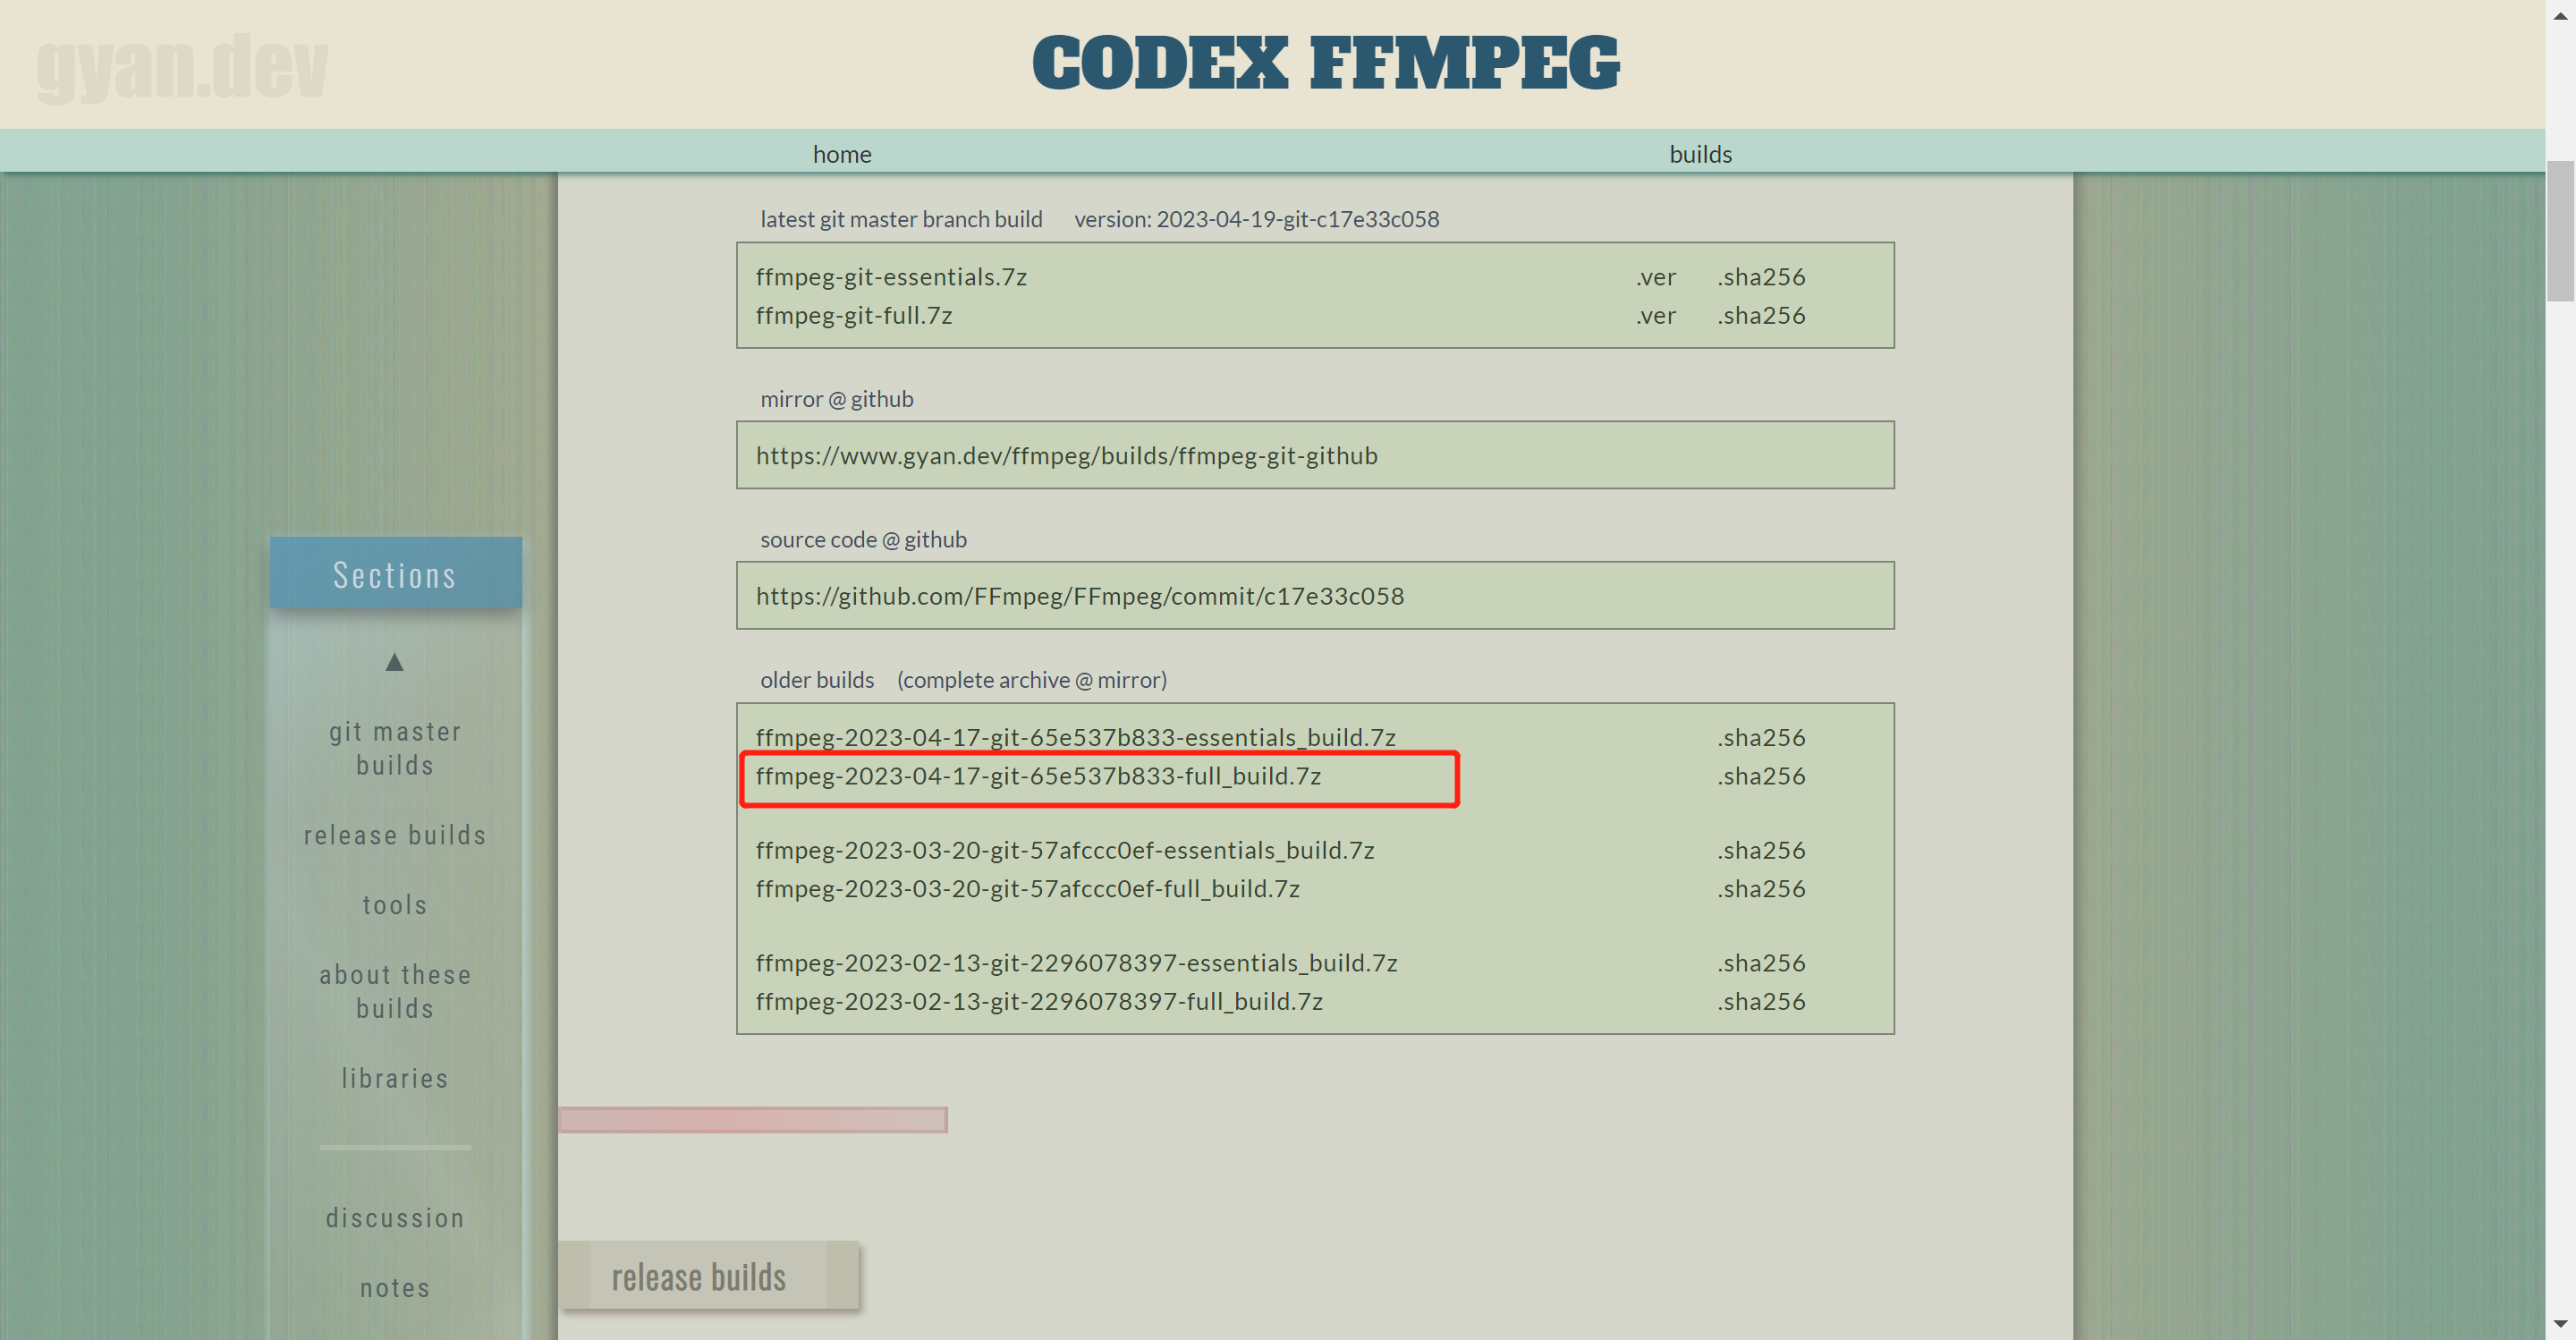
- 安装安装 ffmpeg

下载地址
需要配置环境变量,使得cmd中能启动ffmpeg 配置地址
- 切换到你下载的git目录。执行 pip install -r requirements.txt

问题
第一个
ERROR: Ignored the following versions that require a different python version:0.52.0 Requires-Python >=3.6,<3.9;0.52.0rc3 Requires-Python >=3.6,<3.9;0.55.2 Requires-Python <3.5
ERROR: Could not find a version that satisfies the requirement monotonic-align==0.0.3(from versions:1.0.0)
ERROR: No matching distribution found for monotonic-align==0.0.3
解决方案:这种情况就是把 monotonic-align的版本直接改成1.0.0 即
monotonic-align==1.0.0即可
第二个
error: Microsoft Visual C++14.0or greater is required. Get it with"Microsoft C++ Build Tools": https://visualstudio.microsoft.com/visual-cpp-build-tools/
解决方案
- 点击https://visualstudio.microsoft.com/visual-cpp-build-tools/ ,下载生成工具
- 配置如下C++环境
- 重启电脑
- 最后执行 pip install webrtcvad-wheels 即可
2.下载模型
使用前一定要tag切换到v0.0.1版本
下载的模型保存到
saved_models 这个文件夹需要自己创建
3. 启动
执行 python -u web.py
访问 http://localhost:8080 即可

版权归原作者 fiction destiny 所有, 如有侵权,请联系我们删除。
