一、跨域
    如果违法了浏览器的同源策略,就会出现跨域问题,所谓同源(即指在同一个域)就是两个页面具有相同的协议(protocol),主机(host)和端口号(port)。

    比如当前在域名为a的网站,向域名为b的网站发送ajax请求,或者在域名为a,端口为8080的前端页面,向域名为a,端口为9090的后端端口发送请求,就会出现跨域问题。
** 基本解决思路:**
- 发JSONP
- 服务器代理
- 可以安装一个浏览器插件
allow-control-allow-origin绕过同源策略。
等等。。。
主要解决方式还是**服务器代理**。
二、前端
这里以React项目为例,主要借助 http-proxy-middleware 模块。
** 安装模块 **
cnpm i --save-dev http-proxy-middleware # dev环境
** 创建setupProxy**
const { createProxyMiddleware } = require('http-proxy-middleware');

module.exports = function(app) {
    app.use(
        '/api',
        createProxyMiddleware({
            target: 'http://localhost:8080',
            changeOrigin: true,
        })
    );
};
配置代理
以上面的代码为例,如果你的请求路径为/api/getUserInfo,会给你代理到:http://localhost:8080/api/getUserInfo,这个接口,根据自己的需求配置即可。
都弄好后,重启项目!!!
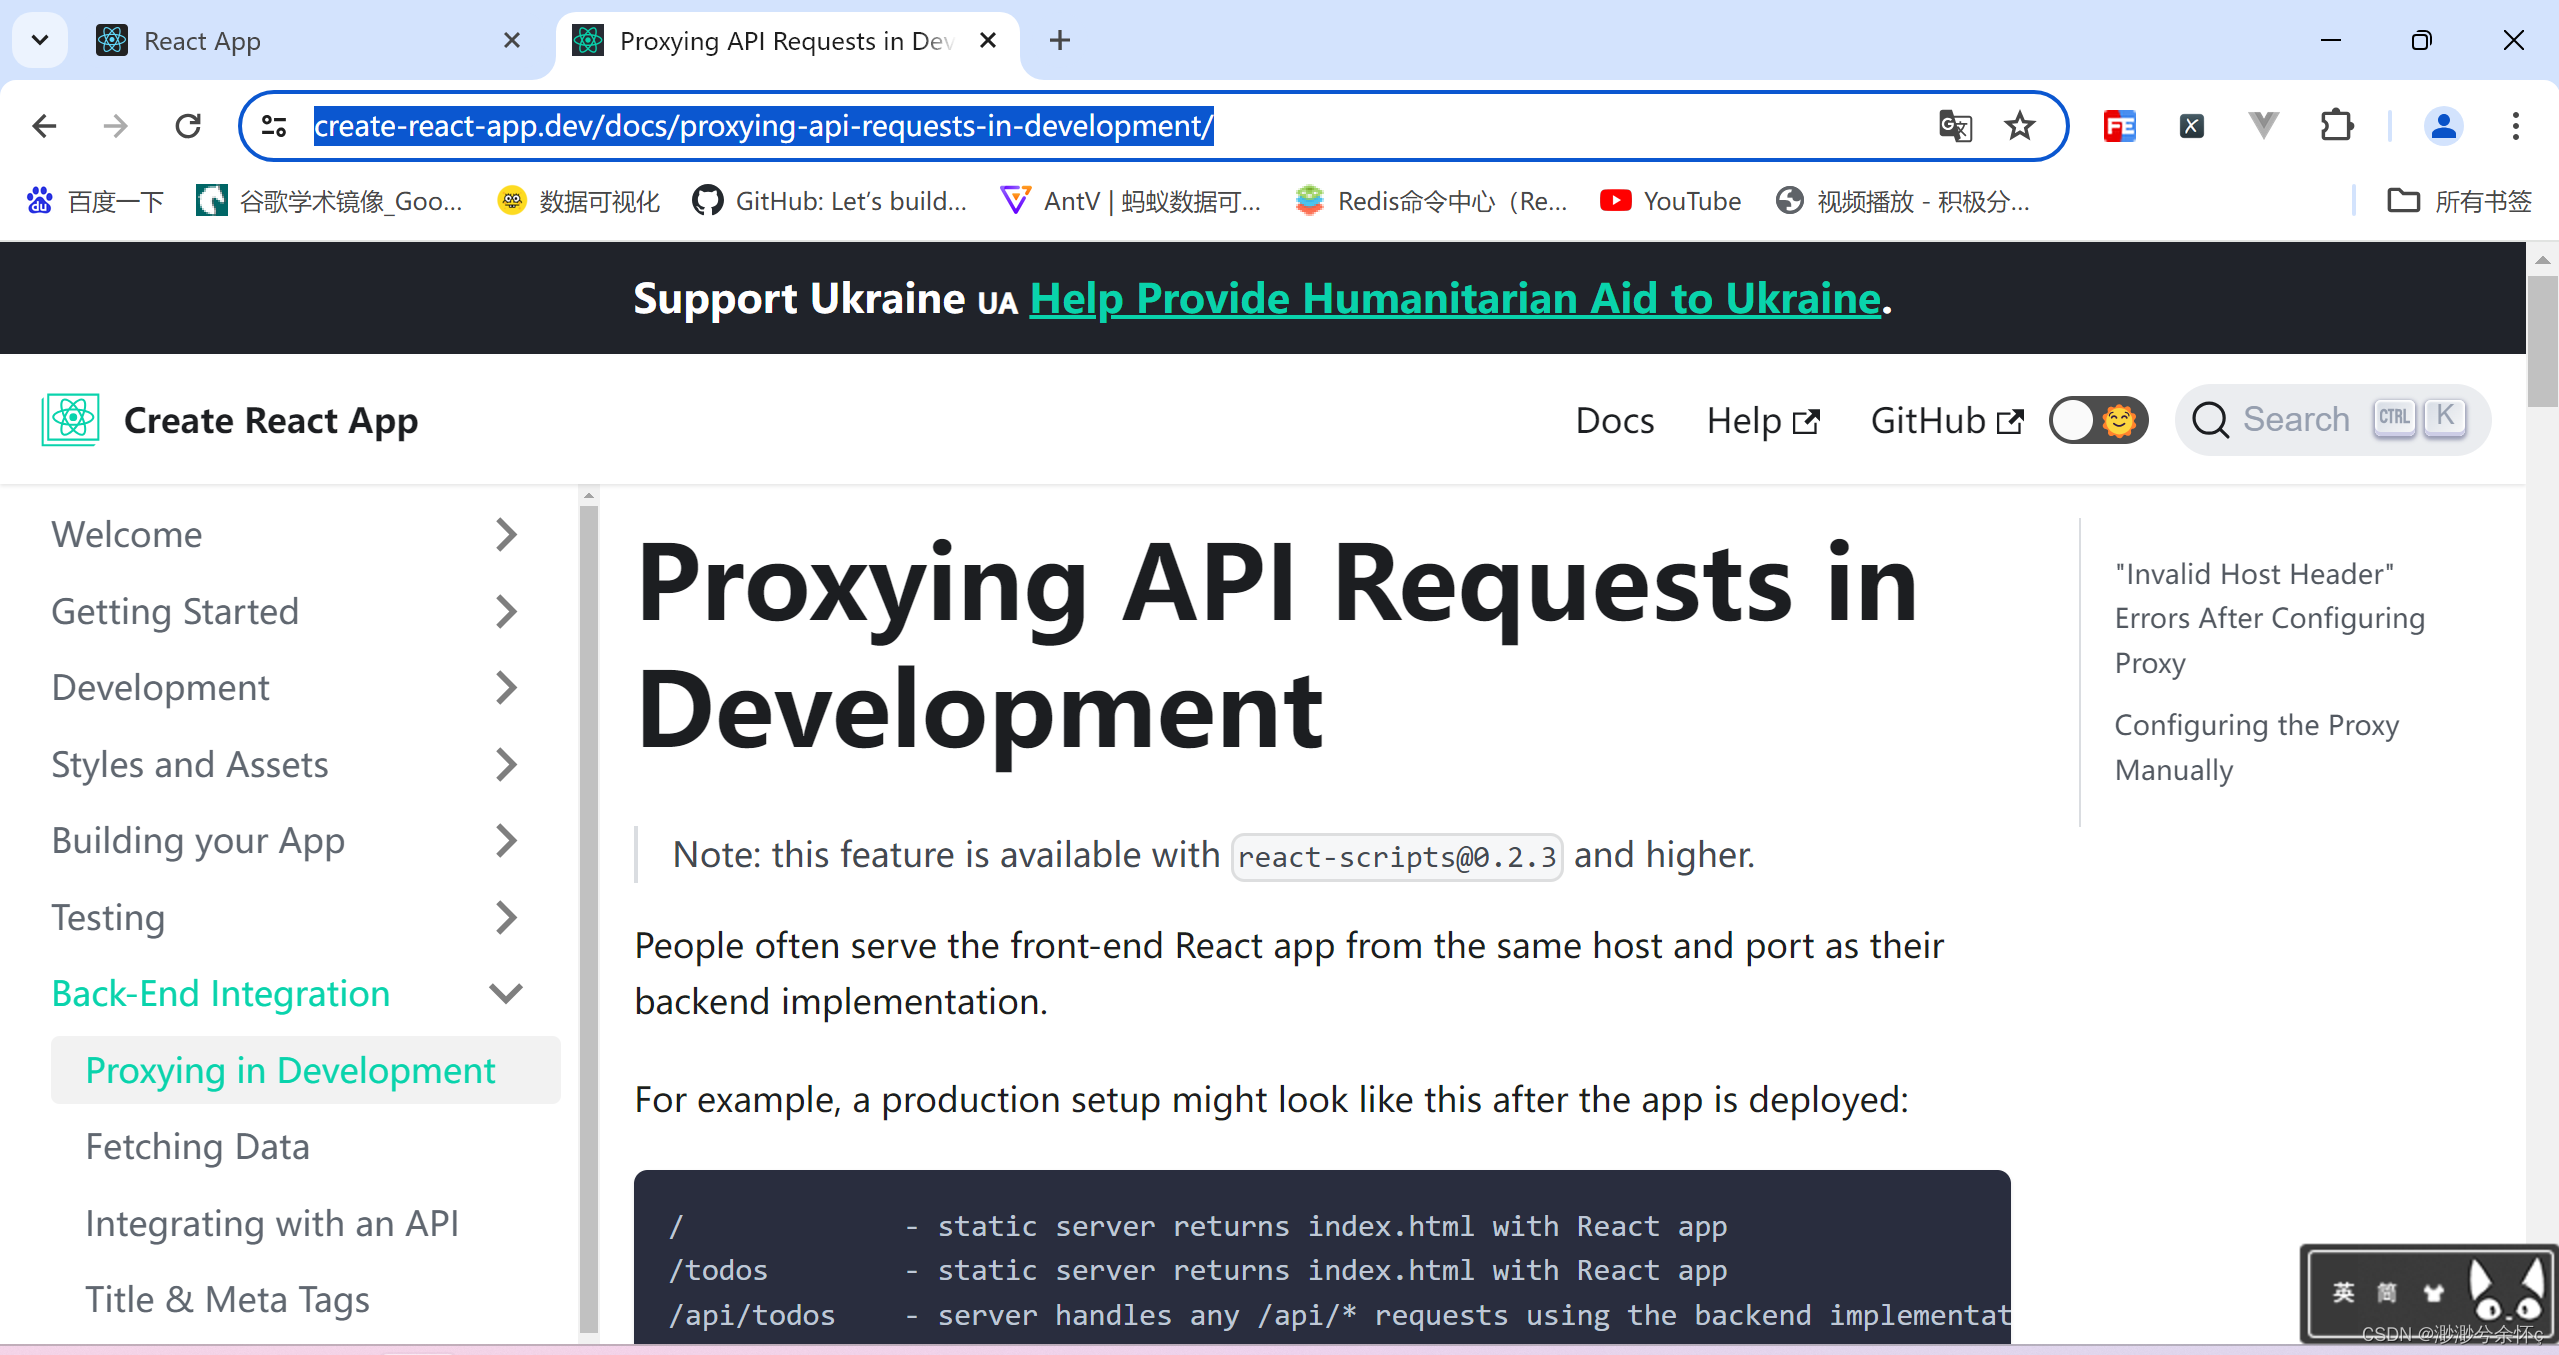
可以看下官网的说明:
Proxying API Requests in Development | Create React App

关于Vue如何解决跨域问题,这里附上一篇博客:
前端vue3解决跨域问题_为什么接口一经过vue3就跨域-CSDN博客
三、后端
以JAVA的SpringBoot框架为例:
使用@CrossOrigin注解
对想要允许跨域请求的接口,加上@CrossOrigin注解即可。
    @PostMapping("/login")
    @CrossOrigin
    @ApiOperation("用户登录")
    public ResultJson<LoginVO>login(@RequestBody UserVO user){
        log.info("用户登录 {}" ,user);

        String password = DigestUtils.md5DigestAsHex(user.getPassword().getBytes());
        log.info("登录:用户提交的密码(加密后): {}",password);

        User targetUser = userService.login(user.getEmail(), password);

        if(targetUser == null){
            log.info("邮箱或密码错误!");
            return ResultJson.error("邮箱或密码错误!");
        }
        String token = null;
        if(redisUtil.exists("token:"+user.getEmail()))
        {
            token = (String) redisUtil.get("token:"+user.getEmail());
        }else{
            //登录成功后,生成jwt令牌
            Map<String, Object> claims = new HashMap<>();
            claims.put("user", user.getEmail());
            token = JwtUtil.createJWT(
                    jwtProperties.getSecretKey(),
                    jwtProperties.getTtl(),
                    claims);
            //将token放到redis中去。
            redisUtil.setex("token:"+user.getEmail(),token,3600 * 24 * 30);

        }
        String nowData = redisUtil.nowDate();
        //将登录的useID放到对应日期的集合中去
        redisUtil.sadd("time:"+nowData,targetUser.getId());


        //过期时间一天
        redisUtil.expire(nowData, 3600 * 24);

        if (! redisUtil.sismember("time:"+nowData,targetUser.getId())) {

            if(!redisUtil.hexists("msg:userLine",nowData))
                redisUtil.hset("msg:userLine",nowData,1);
            else
                redisUtil.hincrby("msg:userLine", nowData,1);
        }
        //将最终的结果返回
        return ResultJson.success(new LoginVO(token, targetUser));
    }
添加全局过滤器
若项目中所有接口都允许跨域访问,可增加全局过滤器允许跨域访问。
import org.springframework.context.annotation.Bean;
import org.springframework.context.annotation.Configuration;
import org.springframework.web.cors.CorsConfiguration;
import org.springframework.web.cors.UrlBasedCorsConfigurationSource;
import org.springframework.web.filter.CorsFilter;

@Configuration
public class CorsConfig {
    // 当前跨域请求最大有效时长。这里默认1天
    private static final long MAX_AGE = 24 * 60 * 60;

    @Bean
    public CorsFilter corsFilter() {
        UrlBasedCorsConfigurationSource source = new UrlBasedCorsConfigurationSource();
        CorsConfiguration corsConfiguration = new CorsConfiguration();
        corsConfiguration.addAllowedOrigin("*"); // 1 设置访问源地址,
        corsConfiguration.addAllowedHeader("*"); // 2 设置访问源请求头
        corsConfiguration.addAllowedMethod("*"); // 3 设置访问源请求方法,或设置为"GET", "POST", "DELETE", "PUT"
        corsConfiguration.setMaxAge(MAX_AGE);
        source.registerCorsConfiguration("/**", corsConfiguration); // 4 对接口配置跨域设置
        return new CorsFilter(source);
    }
}
在Web的配置类中
import org.springframework.context.annotation.Configuration;
import org.springframework.web.servlet.config.annotation.CorsRegistry;
import org.springframework.web.servlet.config.annotation.WebMvcConfigurer;

@Configuration
public class WebConfig implements WebMvcConfigurer {
    // 当前跨域请求最大有效时长。这里默认1天
    private static final long MAX_AGE = 24 * 60 * 60;

    @Override
    public void addCorsMappings(CorsRegistry registry) {
        registry.addMapping("/**")
                .allowedOrigins("*")
                .allowedMethods("*")
                .allowedHeaders("*")
                .maxAge(MAX_AGE);
    }
}
** 别忘了重启项目!!!**
参考:
Spring Boot项目中解决跨域问题(四种方式)_springboot 解决跨域-CSDN博客
四、Nginx反向代理
以Vue项目为例,打包后,可以使用Nginx进行部署,使用Nginx解决跨域问题的思路,和在前端解决的思路一致,都是把前端的请求路径代理到后端的接口。
server{
        listen  80;
        server_name localhost;
        # 代理
        location /api/ {
            proxy_set_header Upgrade $http_upgrade;
            proxy_set_header Connection "upgrade";
            proxy_read_timeout 600s;
            proxy_pass http://127.0.0.1:8080/;
        }
        # 前端项目部署
        location / {
            alias /docker/nginx/html/;
            try_files $uri $uri/ /index.html;
            index  index.html index.htm;
        }
    }
以这段代码为例,比如一个请求:http:localhost:80/api/getUserInfo(这个监听的就是80端口),会代理到 http:localhost:8080/getUserInfo,从而解决跨域问题。
如有问题,请指出!
版权归原作者 鱼虾一整碗• 所有, 如有侵权,请联系我们删除。