方式一:派生于QThread
派生于QThread,这是Qt创建线程中最常用的方法,重写void QThread::run(),在run写具体的内容,外部通过start调用,即可执行线程体run();
注意:
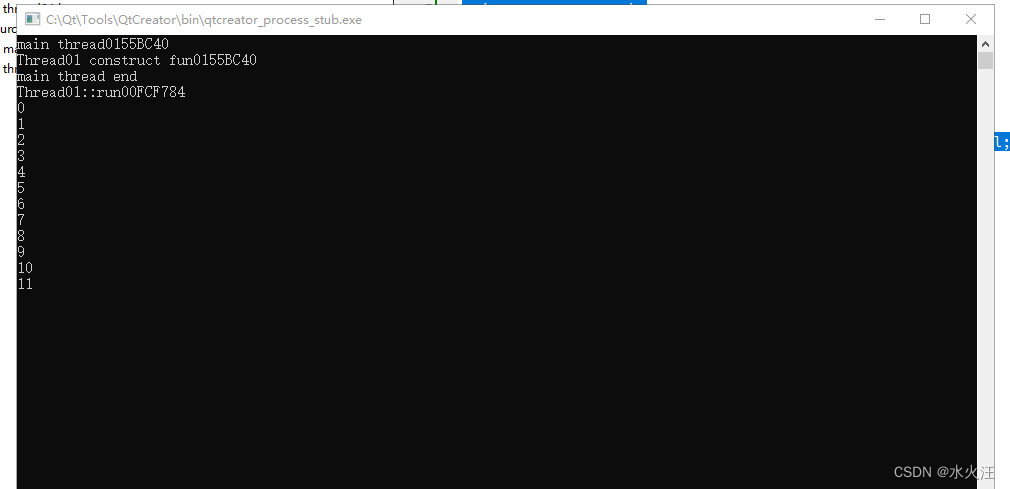
派生于QThread的类,构造函数属于主线程,run函数属于子线程,可以通过打印线程id判断。
方式二:派生于QRunable
派生于QRunable,重写run()方法里处理其他任务,调用时需要借助线程池。
mythread* pth = new Mythread();
QThreadPool::globalinstance()->start(pth);
注意:
这种创建线程的方法的最大缺点就是:不能使用QT的信号-槽机制,因为QRunnable不会继承QObject。但是这种方法的好处就是,可以让QThreadPool来管理线程,QThreadPool会自动的清理我们新建的QRunnable对象
方式三:moveToThread
派生于QObject,使用moveToThread方法,将QThread对象作为私有成员,在构造函数里moveToThread,然后启动线程。
this->moveToThread(&m_th);

m_th.start();
方式一的实现:
thread01.h
#ifndef THREAD01_H
#define THREAD01_H

#include <QThread>

class Thread01 : public QThread
{
     Q_OBJECT;
public:
    Thread01();

    void run() override;
};

#endif // THREAD01_H
thread01.cpp
#include "thread01.h"
#include <QDebug>
#include <iostream>

using namespace std;
Thread01::Thread01()
{
     cout<< "Thread01 construct fun" << QThread::currentThread() << endl;
}

void Thread01::run()
{
      cout<< "Thread01::run" << QThread::currentThread() << endl;
      int index  = 0;
      while(1)
      {
          qDebug() << index++;
          QThread::msleep(500);
      }

}
main.cpp
#include <QCoreApplication>
#include "thread01.h"
#include <iostream>

using namespace std;

int main(int argc, char *argv[])
{
    QCoreApplication a(argc, argv);

    cout<< "main thread" << QThread::currentThread() << endl;

    Thread01 th;
    th.start();

    cout<< "main thread end" << endl;

    return a.exec();
}
运行:

方式二的实现:
thread02.h
#ifndef THREAD02_H
#define THREAD02_H

#include <QRunnable>

class Thread02 : public QRunnable
{
public:
    Thread02();
    ~Thread02();
    void run() override;
};

#endif // THREAD02_H
thread02.cpp
#include "thread02.h"
#include <QThread>

#include <iostream>

using namespace std;
Thread02::Thread02()
{
    cout<< "Thread01 construct fun" << QThread::currentThread() << endl;
}

Thread02::~Thread02()
{
      cout<< "Thread01 destructor fun" << QThread::currentThread() << endl;
}

void Thread02::run()
{
     cout<< "Thread02 construct fun" << QThread::currentThread() << endl;
}
main.cpp
#include <QCoreApplication>
#include "thread01.h"
#include "thread02.h"
#include <iostream>
#include <QThreadPool>
using namespace std;

int main(int argc, char *argv[])
{
    QCoreApplication a(argc, argv);

    cout<< "main thread" << QThread::currentThread() << endl;

   /* Thread01 th;
    th.start();*/

   Thread02 *th = new Thread02();
   QThreadPool::globalInstance()->start(th);

    cout<< "main thread end" << endl;

    return a.exec();
}
运行:

方式三的实现
thread03.h
#ifndef THREAD03_H
#define THREAD03_H
#include <QObject>
#include <QThread>
class thread03 : public QObject
{
    Q_OBJECT
public:
    explicit thread03(QObject *parent = nullptr);
public slots:
    void fun();
signals:

private:
     QThread m_th;

};

#endif // THREAD03_H
thread03.cpp
#include "thread03.h"
#include <QDebug>
#include <iostream>

using namespace std;
thread03::thread03(QObject *parent)
    : QObject{parent}
{

    this->moveToThread(&m_th);
    m_th.start();
    cout<< "Thread03 construct fun" << QThread::currentThread() << endl;

}

void thread03::fun()
{
   cout<< "Thread03  fun" << QThread::currentThread() << endl;
   qDebug() << "func";
   int index = 0;
   while(1)
   {
       qDebug() << index++;
       QThread::msleep(300);
   }
}
widget.h
#ifndef WIDGET_H
#define WIDGET_H

#include <QWidget>
#include "thread03.h"

QT_BEGIN_NAMESPACE
namespace Ui { class Widget; }
QT_END_NAMESPACE

class Widget : public QWidget
{
    Q_OBJECT

public:
    Widget(QWidget *parent = nullptr);
    ~Widget();

private slots:
    void on_pushButton_clicked();

signals:
    void sig_fun();

private:
    Ui::Widget *ui;
    thread03* m_pTh03 = nullptr;
};
#endif // WIDGET_H
widget.cpp
#include "widget.h"
#include "ui_widget.h"
#include <iostream>

using namespace std;

Widget::Widget(QWidget *parent)
    : QWidget(parent)
    , ui(new Ui::Widget)
{
    ui->setupUi(this);
    m_pTh03 = new thread03();
    connect(this,&Widget::sig_fun,m_pTh03,&thread03::fun);
}

Widget::~Widget()
{
    delete ui;
}

void Widget::on_pushButton_clicked()
{
     cout<< "on_pushButton_clicked" << QThread::currentThread() << endl;
     emit sig_fun();
}
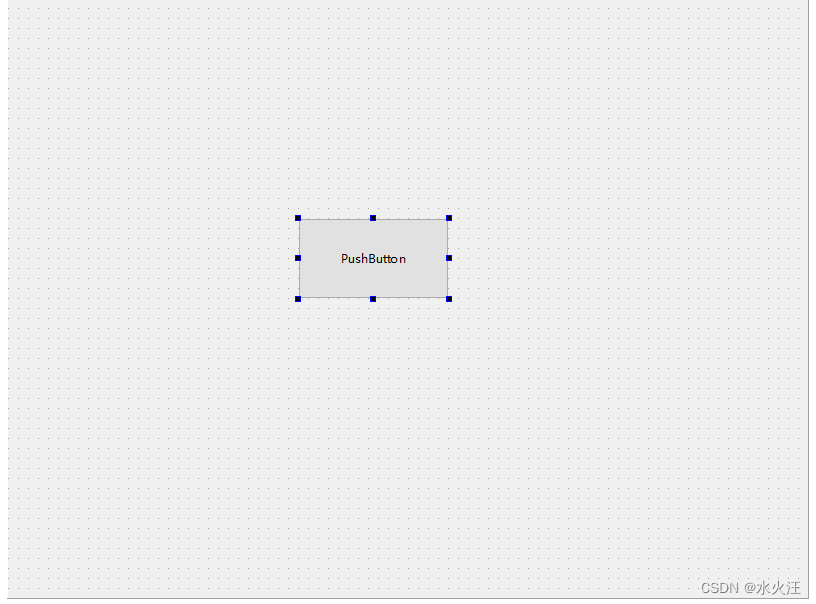
界面和运行结果:


版权归原作者 水火汪 所有, 如有侵权,请联系我们删除。