
编写Scala代码,使用Spark讲Mysql数据表中的数据抽取到Hive的ODS层
抽取MySQL的metast库中Production表的全量数据进入Hive的ods库中表production,字段排序、类型不变,同时添加静态分区,分区字段类型为String,且值为当前日期的前一天日期(分区字段格式为yyyyMMdd)。
使用IDEA创建maven项目
配置pom文件
<project xmlns="http://maven.apache.org/POM/4.0.0" xmlns:xsi="http://www.w3.org/2001/XMLSchema-instance" xsi:schemaLocation="http://maven.apache.org/POM/4.0.0 http://maven.apache.org/maven-v4_0_0.xsd"><modelVersion>4.0.0</modelVersion><groupId>com.tledu</groupId><artifactId>llll</artifactId><version>1.0-SNAPSHOT</version><name>${project.artifactId}</name><description>My wonderfull scala app</description><inceptionYear>2018</inceptionYear><licenses><license><name>My License</name><url>http://....</url><distribution>repo</distribution></license></licenses><properties><maven.compiler.source>1.8</maven.compiler.source><maven.compiler.target>1.8</maven.compiler.target><encoding>UTF-8</encoding><scala.version>2.11.11</scala.version><scala.compat.version>2.11</scala.compat.version><spec2.version>4.2.0</spec2.version></properties><dependencies><dependency><groupId>org.scala-lang</groupId><artifactId>scala-library</artifactId><version>${scala.version}</version></dependency><dependency><groupId>org.apache.spark</groupId><artifactId>spark-core_${scala.compat.version}</artifactId><version>2.3.2</version><scope>provided</scope></dependency><dependency><groupId>org.apache.spark</groupId><artifactId>spark-sql_${scala.compat.version}</artifactId><version>2.3.2</version><scope>provided</scope></dependency><dependency><groupId>org.apache.spark</groupId><artifactId>spark-hive_2.11</artifactId><version>2.0.2</version><scope>provided</scope></dependency><dependency><groupId>mysql</groupId><artifactId>mysql-connector-java</artifactId><version>8.0.23</version></dependency><!-- Test --><dependency><groupId>junit</groupId><artifactId>junit</artifactId><version>4.12</version><scope>test</scope></dependency><dependency><groupId>org.scalatest</groupId><artifactId>scalatest_${scala.compat.version}</artifactId><version>3.0.5</version><scope>test</scope></dependency><dependency><groupId>org.specs2</groupId><artifactId>specs2-core_${scala.compat.version}</artifactId><version>${spec2.version}</version><scope>test</scope></dependency><dependency><groupId>org.specs2</groupId><artifactId>specs2-junit_${scala.compat.version}</artifactId><version>${spec2.version}</version><scope>test</scope></dependency></dependencies><build><sourceDirectory>src/main/scala</sourceDirectory><testSourceDirectory>src/test/scala</testSourceDirectory><plugins><plugin><!-- see http://davidb.github.com/scala-maven-plugin --><groupId>net.alchim31.maven</groupId><artifactId>scala-maven-plugin</artifactId><version>3.3.2</version><executions><execution><goals><goal>compile</goal><goal>testCompile</goal></goals><configuration><args><arg>-dependencyfile</arg><arg>${project.build.directory}/.scala_dependencies</arg></args></configuration></execution></executions></plugin><plugin><groupId>org.apache.maven.plugins</groupId><artifactId>maven-surefire-plugin</artifactId><version>2.21.0</version><configuration><!-- Tests will be run withscalatest-maven-plugin instead --><skipTests>true</skipTests></configuration></plugin><plugin><groupId>org.scalatest</groupId><artifactId>scalatest-maven-plugin</artifactId><version>2.0.0</version><configuration><reportsDirectory>${project.build.directory}/surefire-reports</reportsDirectory><junitxml>.</junitxml><filereports>TestSuiteReport.txt</filereports><!-- Comma separated list of JUnit test class names to execute--><jUnitClasses>samples.AppTest</jUnitClasses></configuration><executions><execution><id>test</id><goals><goal>test</goal></goals></execution></executions></plugin><plugin><artifactId>maven-assembly-plugin</artifactId><configuration><descriptorRefs><descriptorRef>jar-with-dependencies</descriptorRef></descriptorRefs></configuration><executions><execution><id>make-assembly</id><phase>package</phase><goals><goal>assembly</goal></goals></execution></executions></plugin></plugins></build></project>
导入scala
我这里演示用的是Unbanto,操作步骤一样

 点击+号去添加,这里注意scala版本号要与pom配置文件中的一致

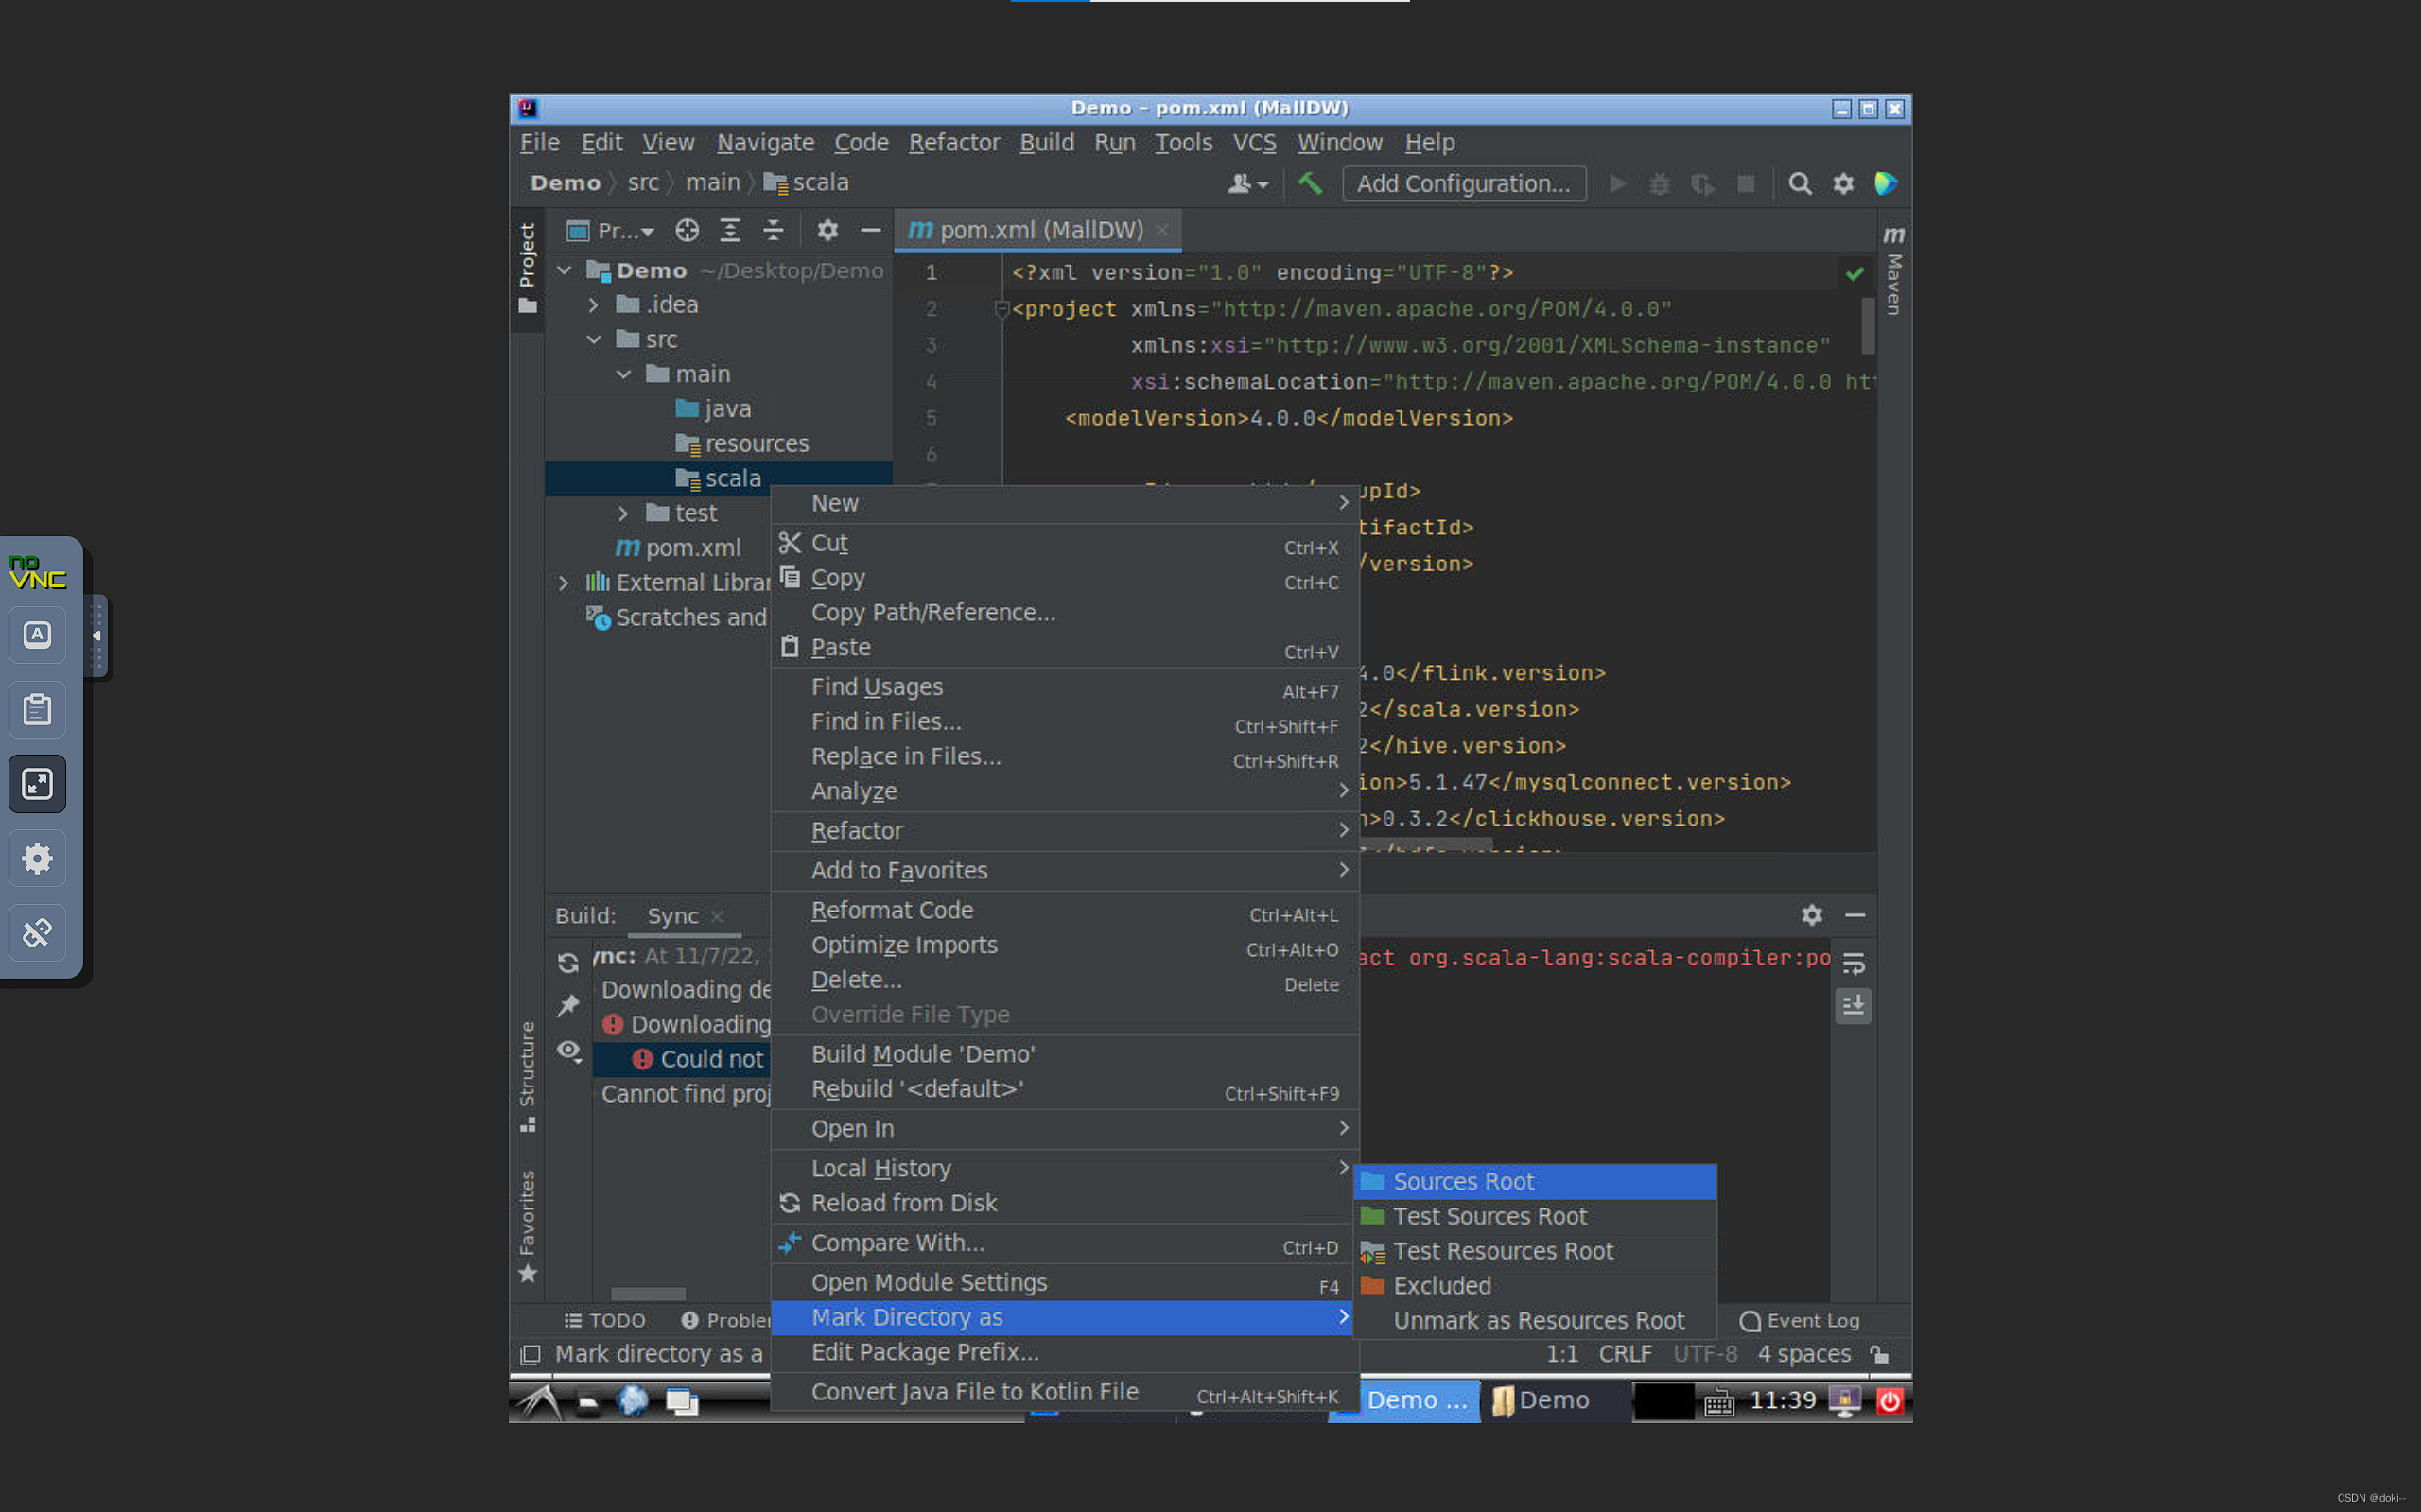
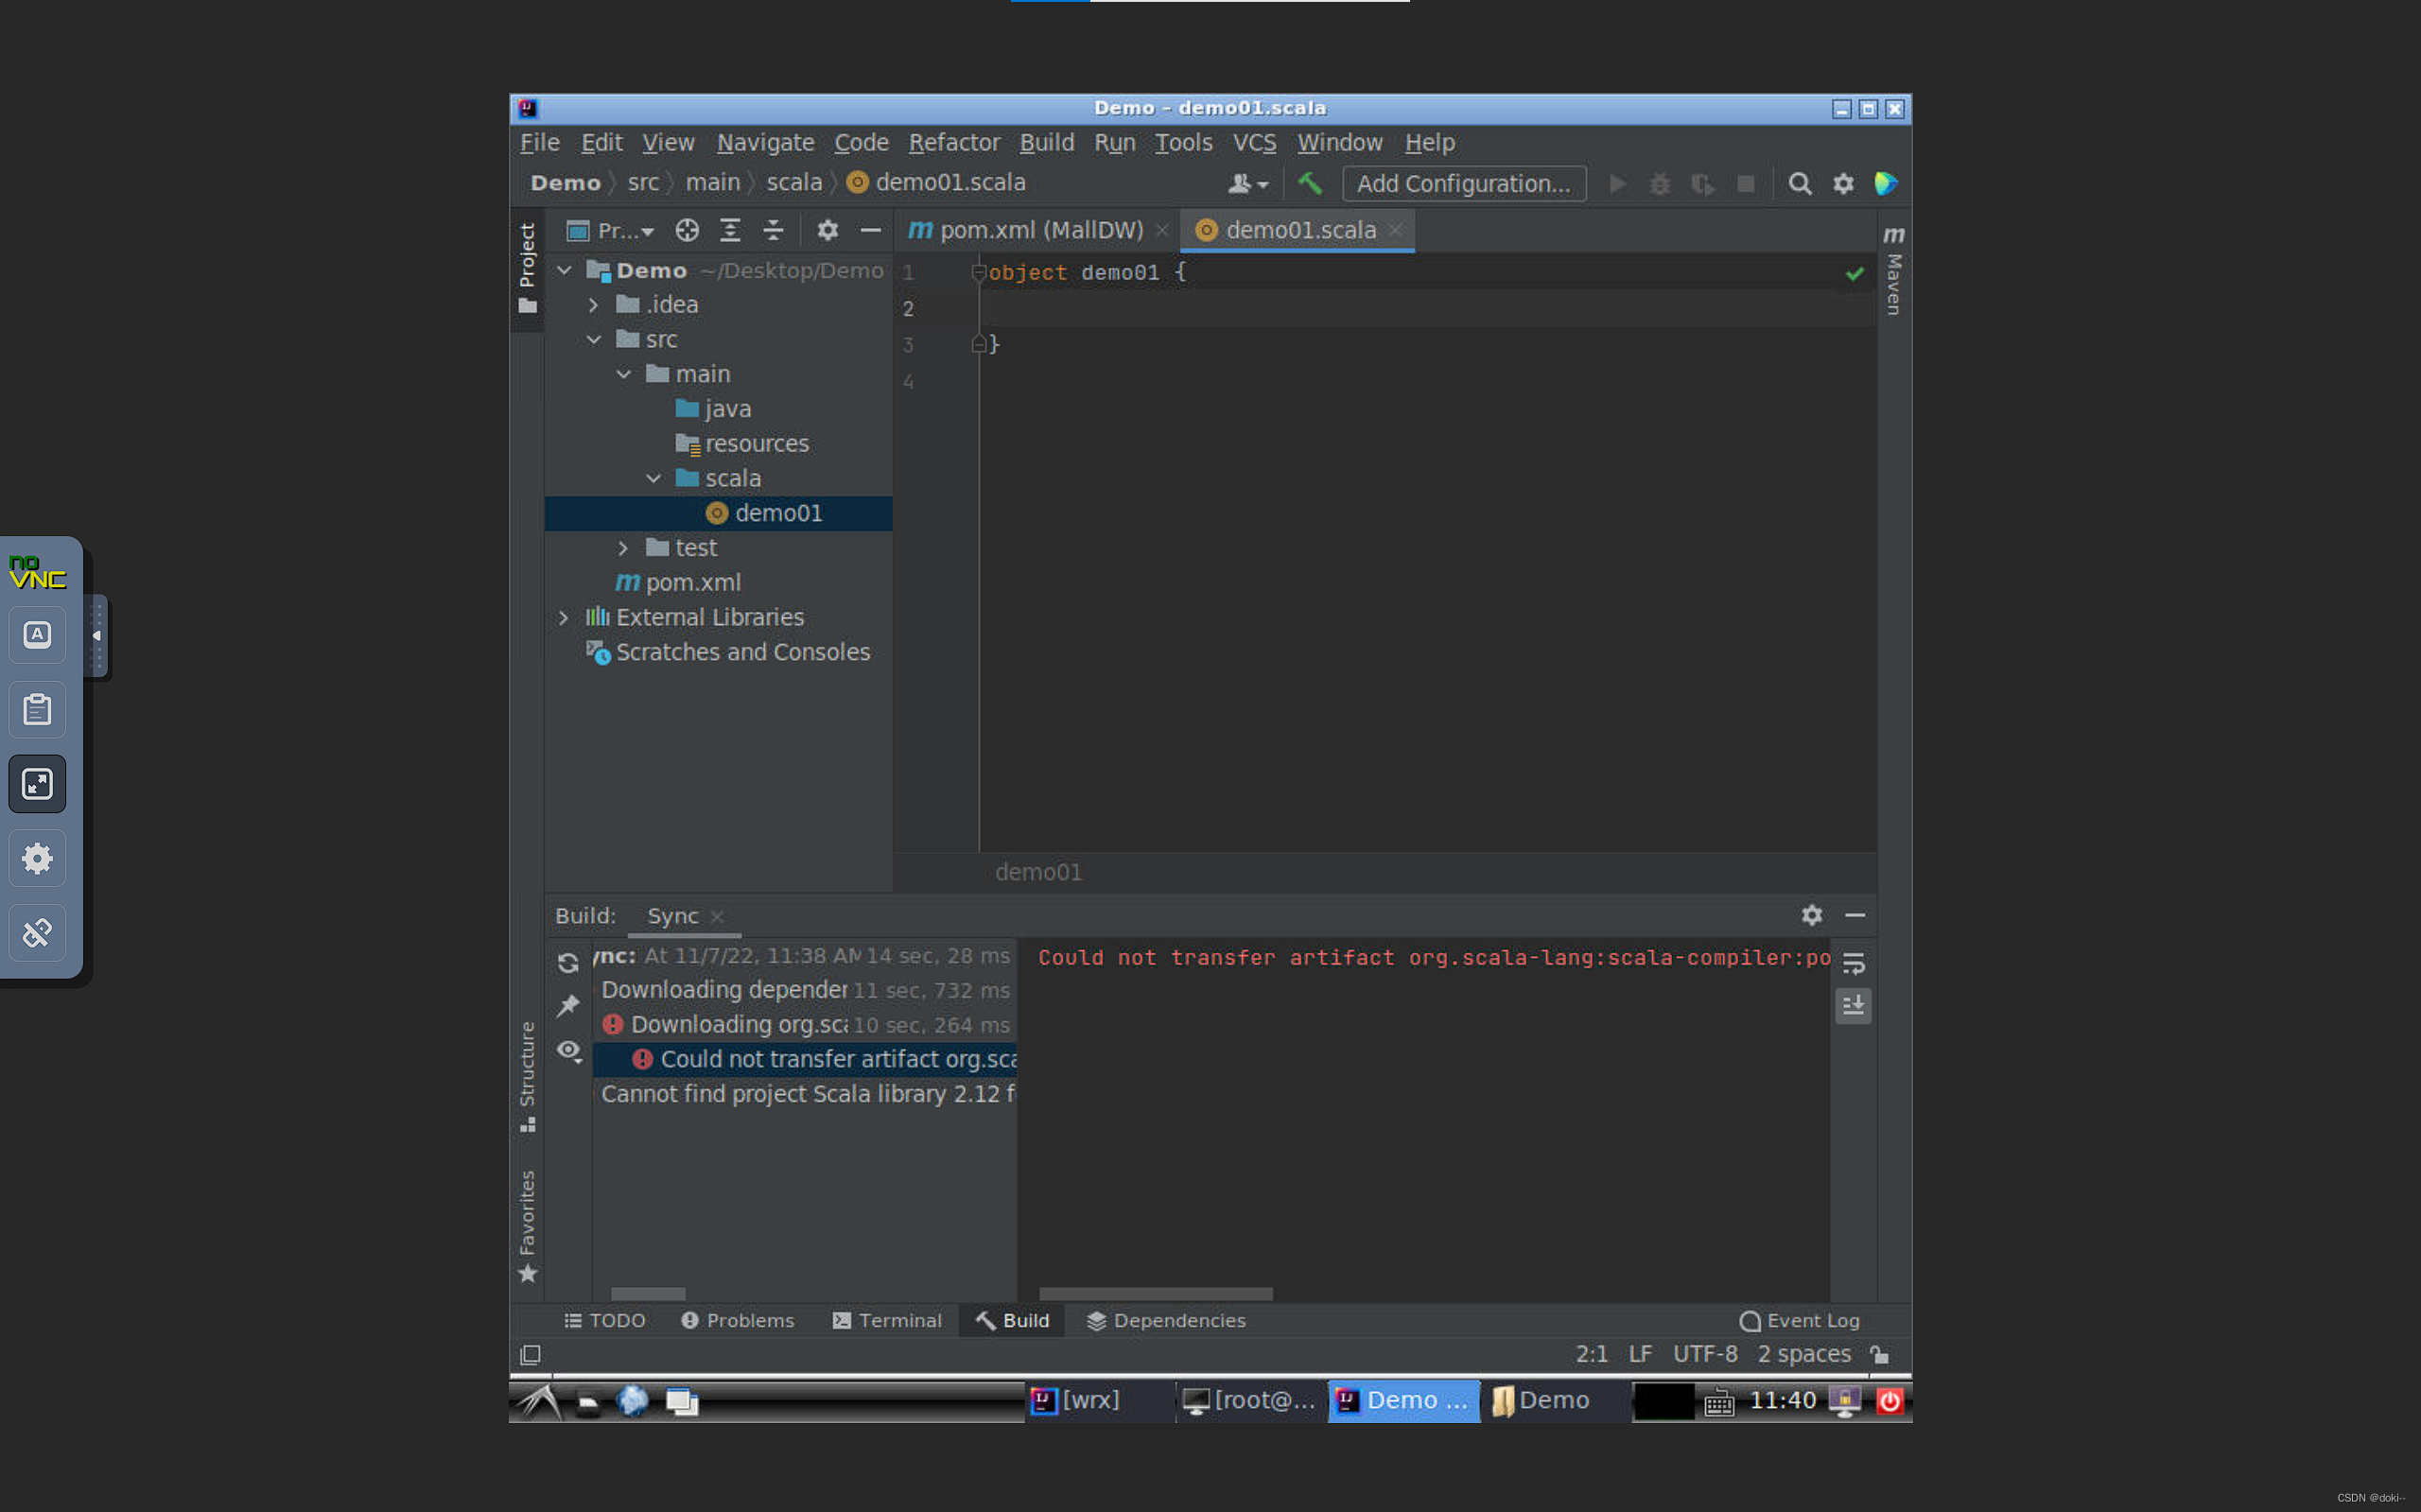
创建一个scala目录并将它标记为根目录,在scala里新建一个object
编程过程如下
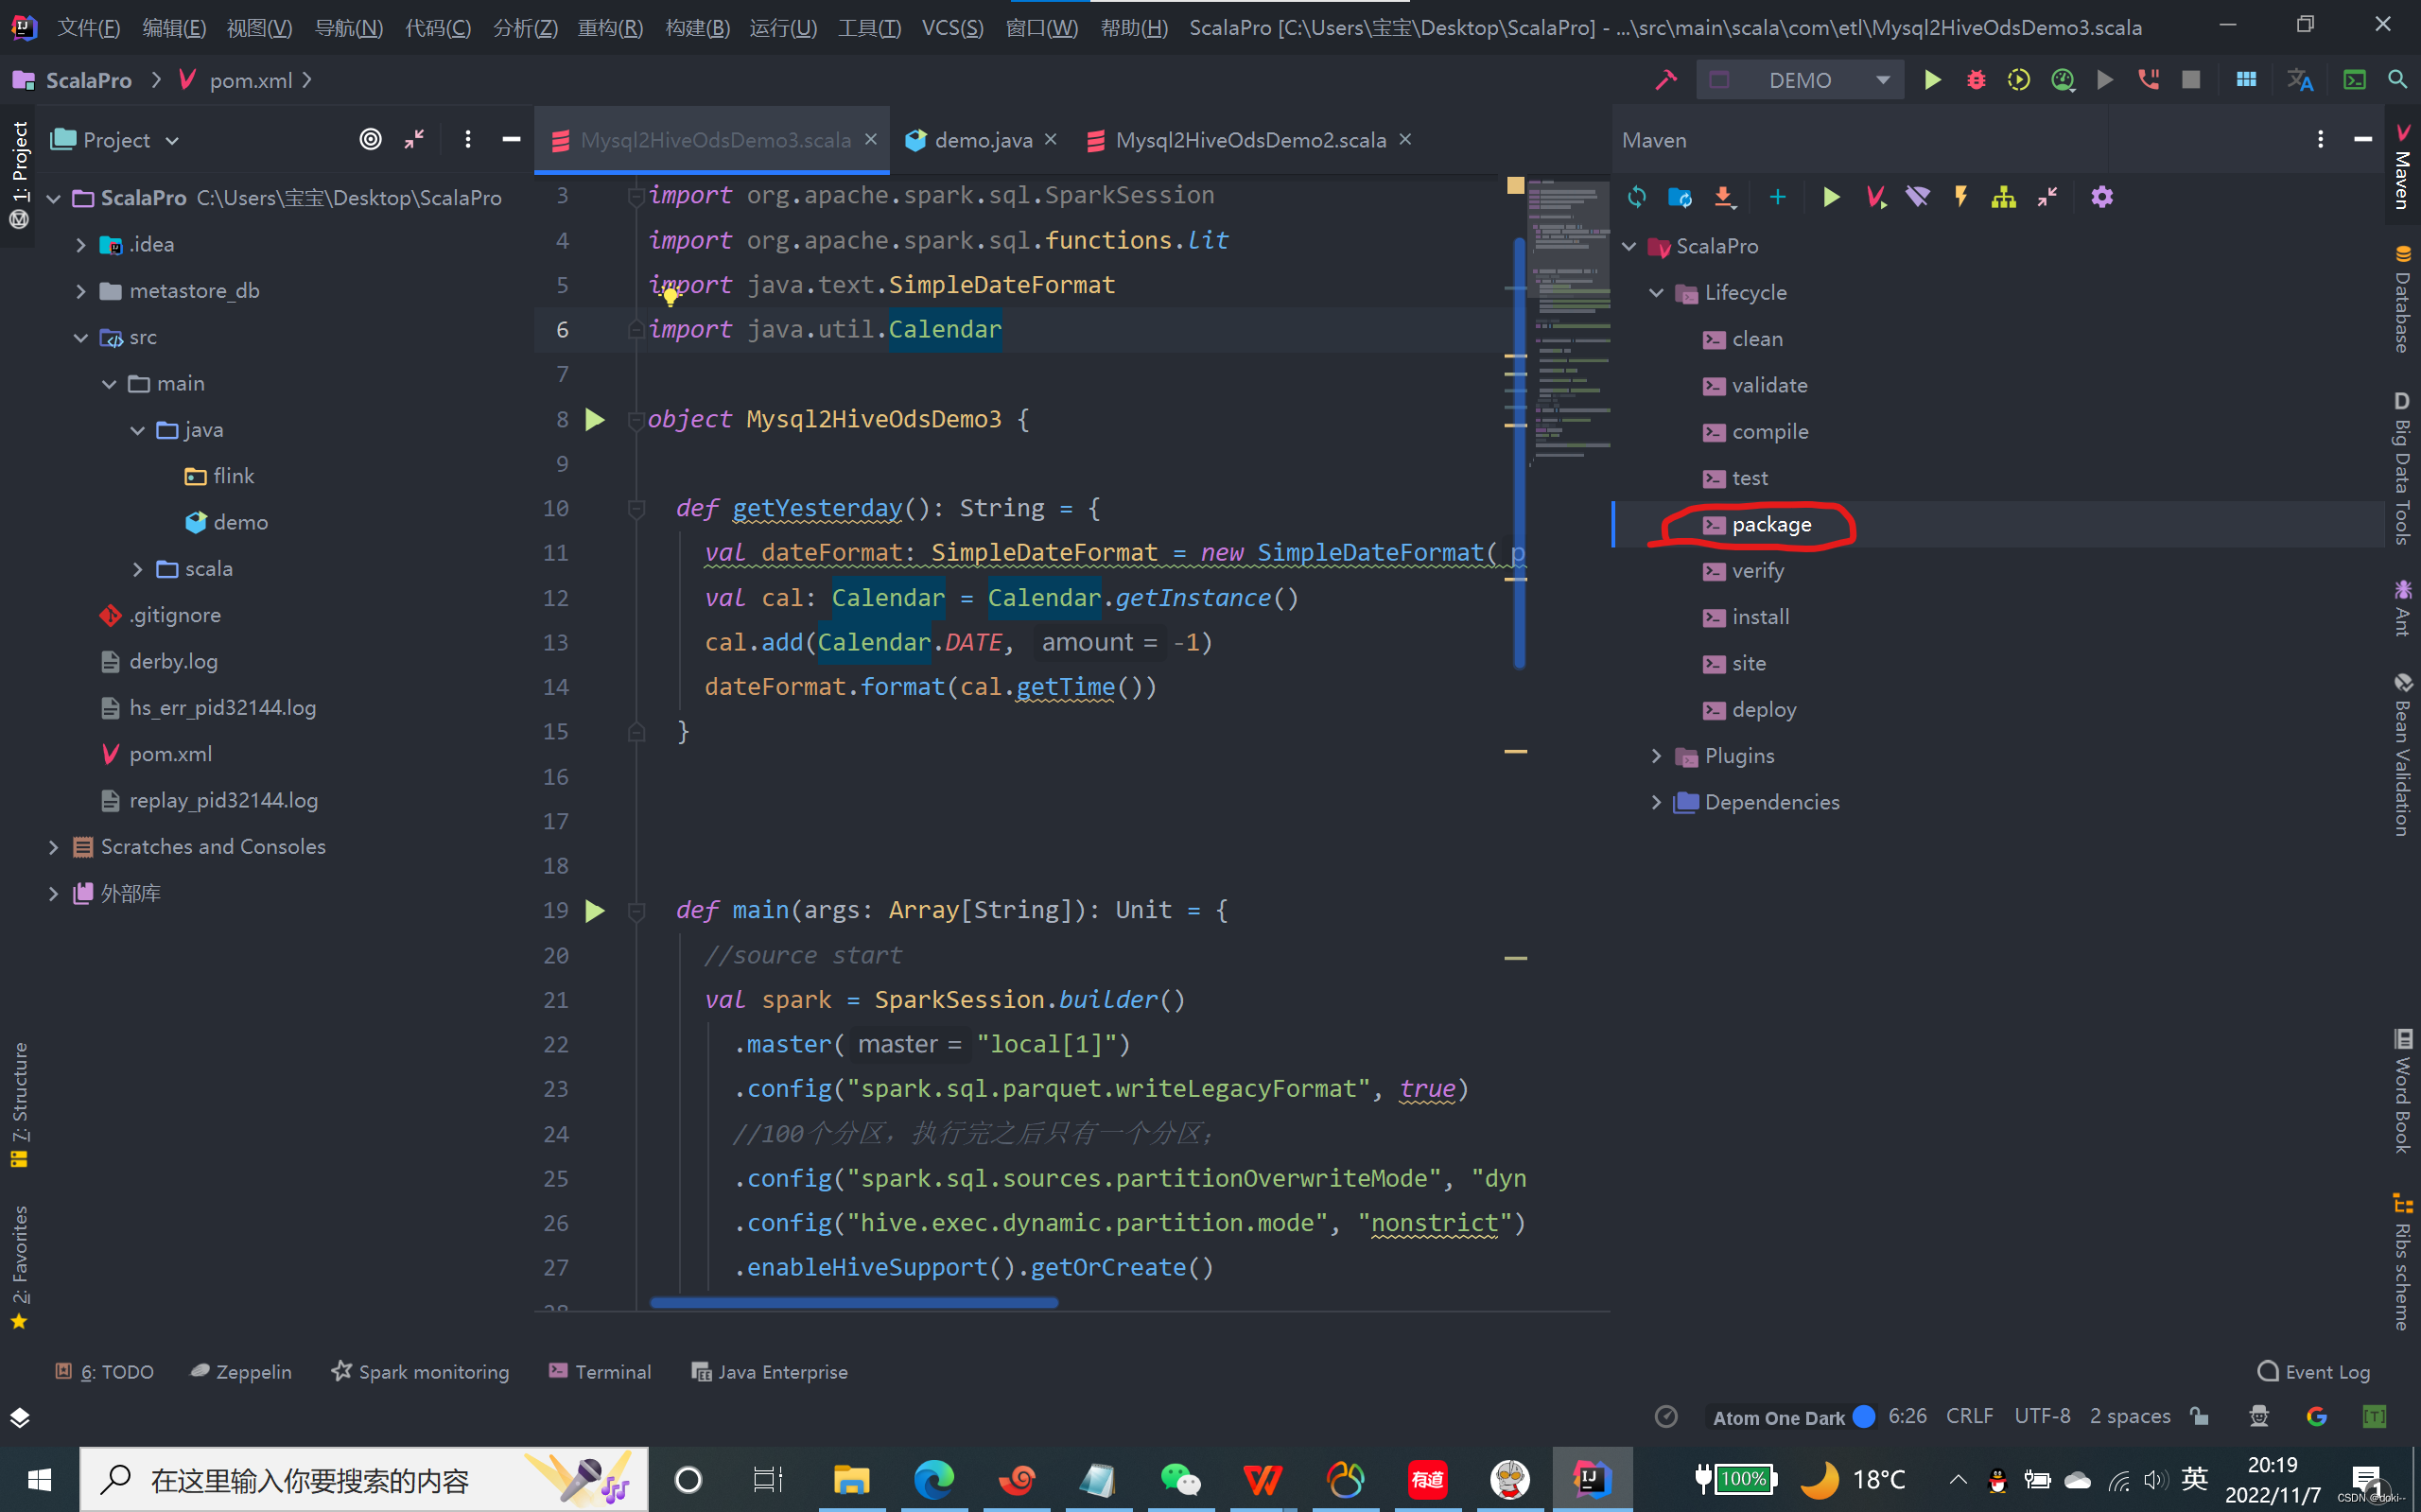
object demo01 {

  def getYesterday(): String ={
    val dateFormat: SimpleDateFormat =newSimpleDateFormat("yyyyMMdd")
    val cal: Calendar = Calendar.getInstance()
    cal.add(Calendar.DATE,-1)
    dateFormat.format(cal.getTime())}

  def main(args: Array[String]): Unit ={//source start
    val spark = SparkSession.builder().master("local[1]").config("spark.sql.parquet.writeLegacyFormat",true)//100个分区,执行完之后只有一个分区;.config("spark.sql.sources.partitionOverwriteMode","dynamic")//动态分区.config("spark.sql.legacy.parquet.int96RebaseModeInWrite","LEGACY").config("hive.exec.dynamic.partition.mode","nonstrict").enableHiveSupport().getOrCreate()//spark连接mysql
    val url = s"jdbc:mysql://IP地址:3306/shtd_industry?useUnicode=true&characterEncoding=utf8&useSSL=false"


    val readerCustomerInf = spark.read.format("jdbc").option("url", url).option("driver","com.mysql.jdbc.Driver").option("user","root").option("password","123456").option("dbtable","数据库表名").load()//转换为DataFrame//source end//增加分区字段   etl
    val addPtDF = readerCustomerInf.withColumn("etl_date",lit(getYesterday()))

    val tableName ="hive表名"//切换hive的数据库import spark.sql
    sql("use ods")//sink
    addPtDF.write.mode("overwrite").partitionBy("etl_date").saveAsTable(tableName).formatted("orc")

    spark.table(tableName).show()}}
将编写好的代码打包发送到linux中
在集群上上传你打好的包
通常使用rz指令上传
可以写一个脚本运行你的包
vi spark.sh

/opt/module/spark-3.1.1-yarn/bin/spark-submit \
--class 要运行的类名 \
--master yarn \
--deploy-mode client \
--driver-memory 2g \
--executor-memory 1g \
--executor-cores 2 \
/jar包的地址/这里是你的jar包
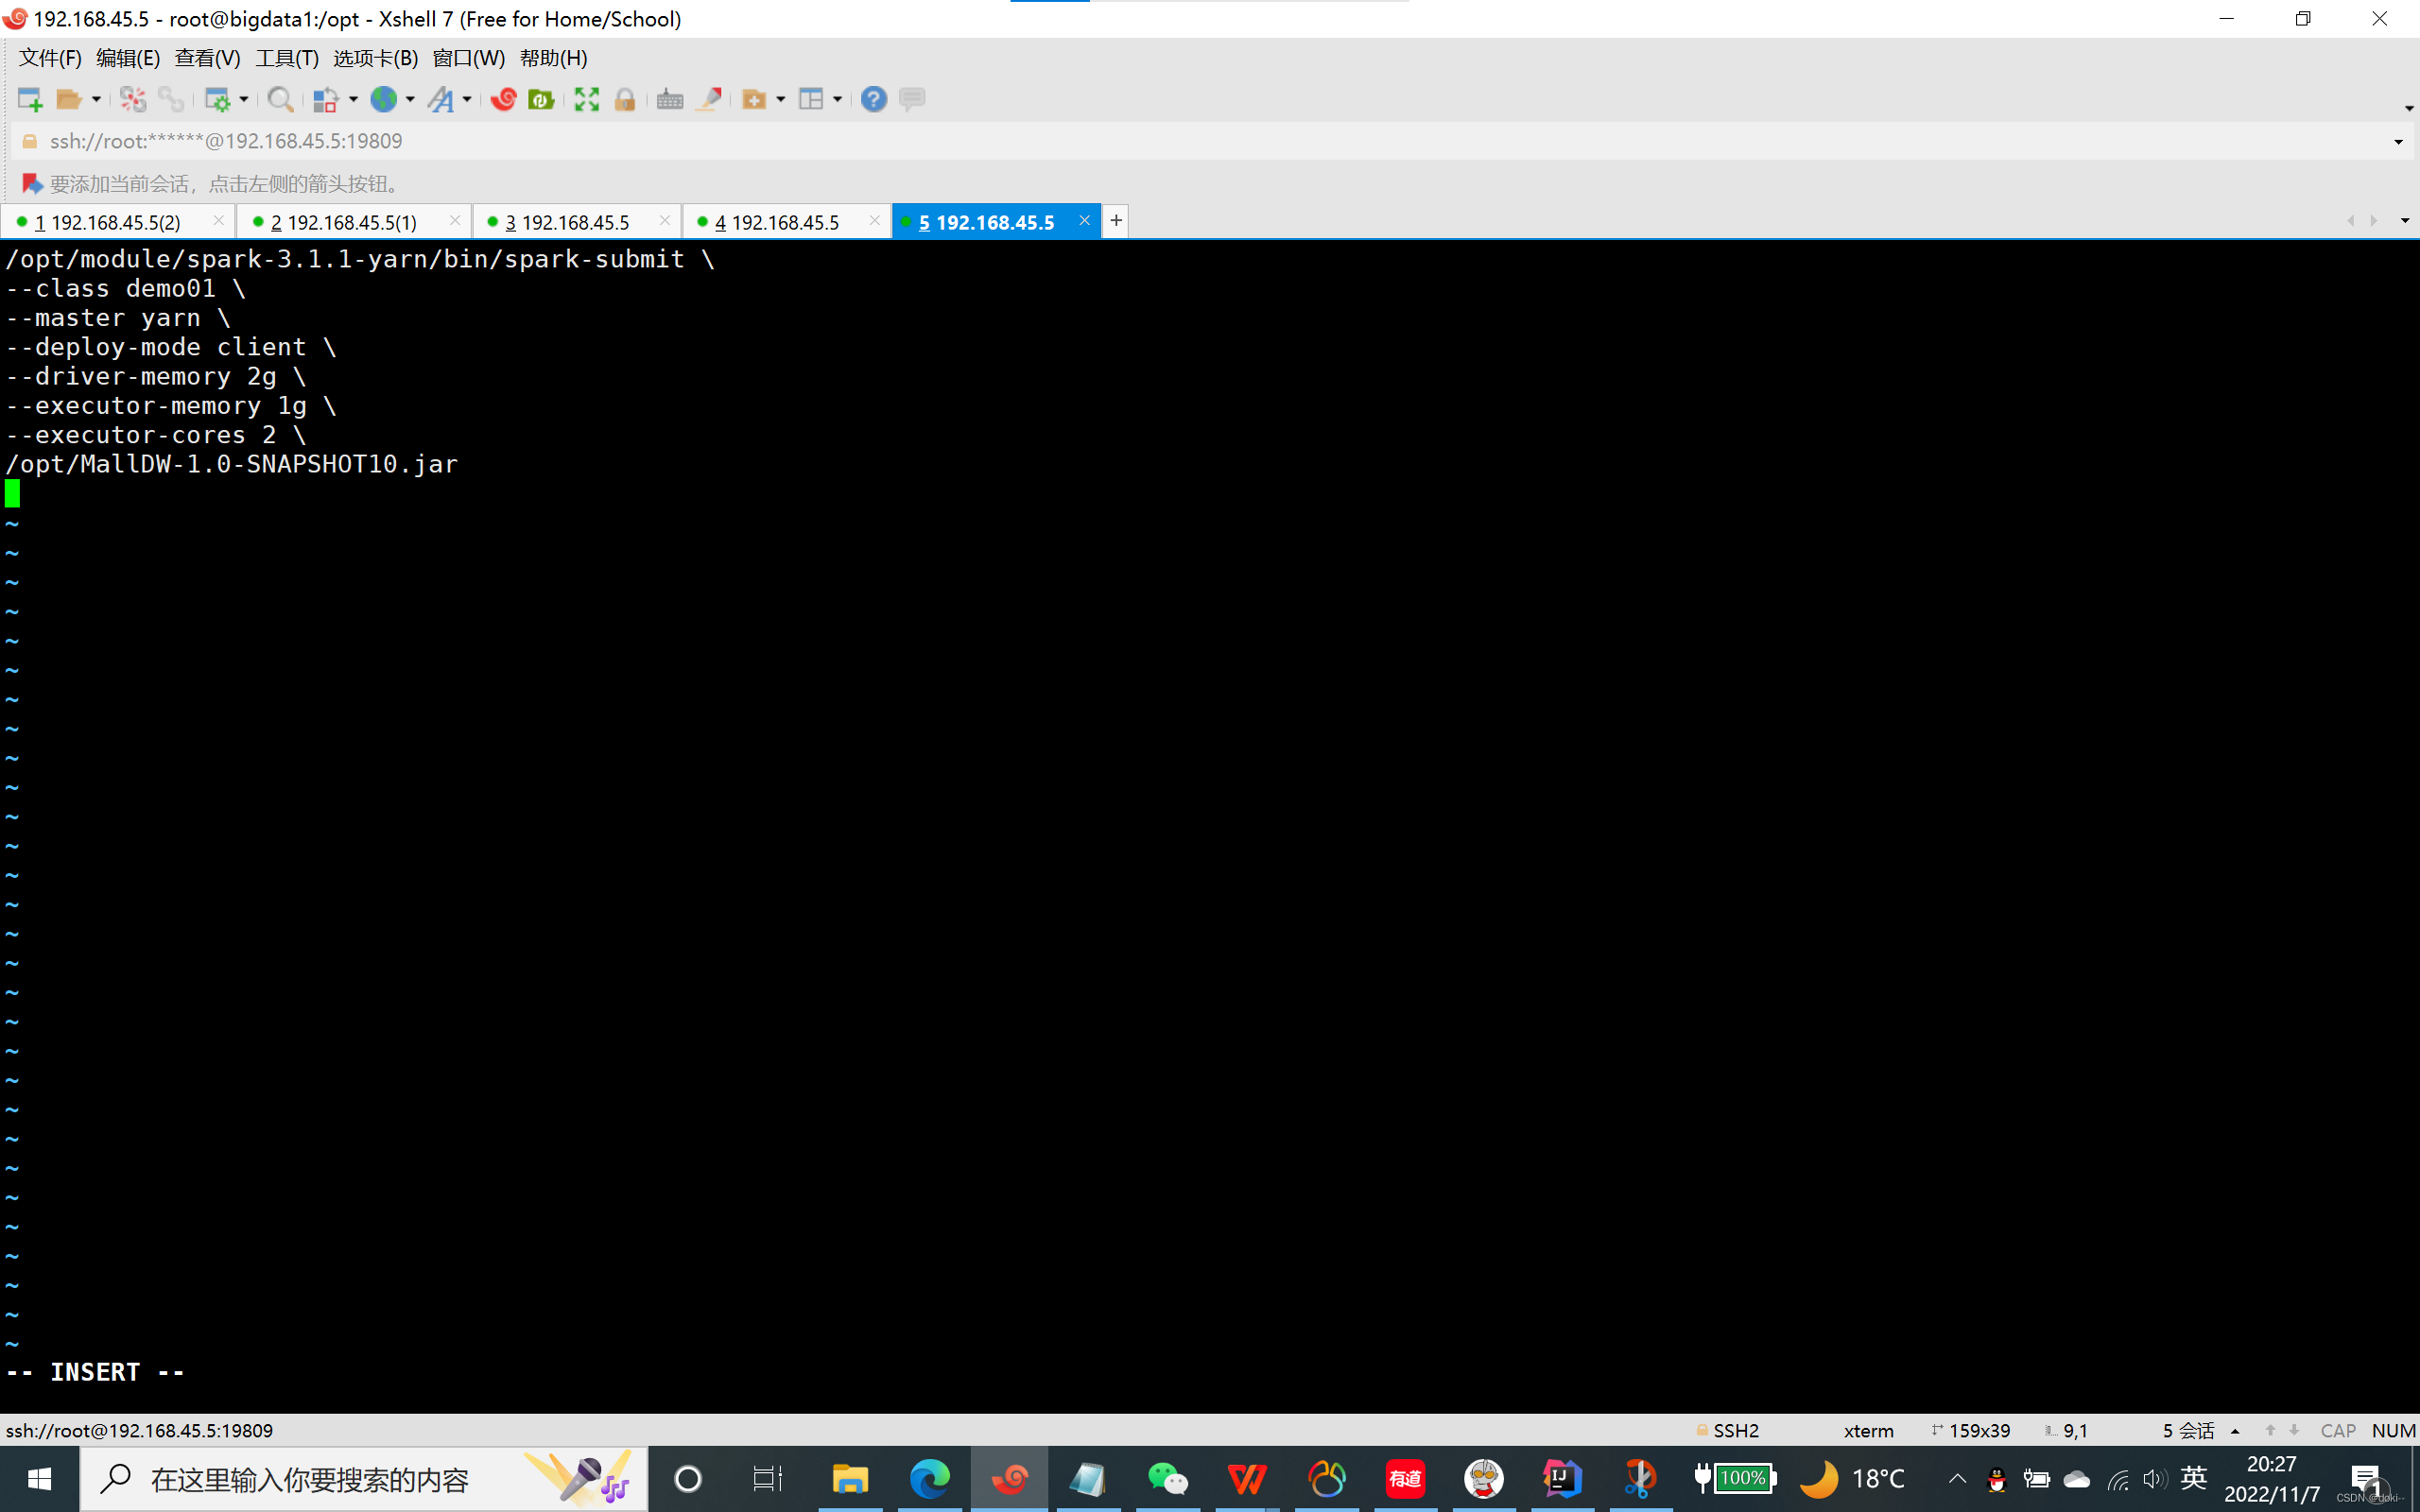
保存退出
sh spark.sh 运行脚本
Mysql数据就导入HIVE数据库的ods层中了
本文转载自: https://blog.csdn.net/qq_41289004/article/details/127737908
版权归原作者 doki-- 所有, 如有侵权,请联系我们删除。
版权归原作者 doki-- 所有, 如有侵权,请联系我们删除。